
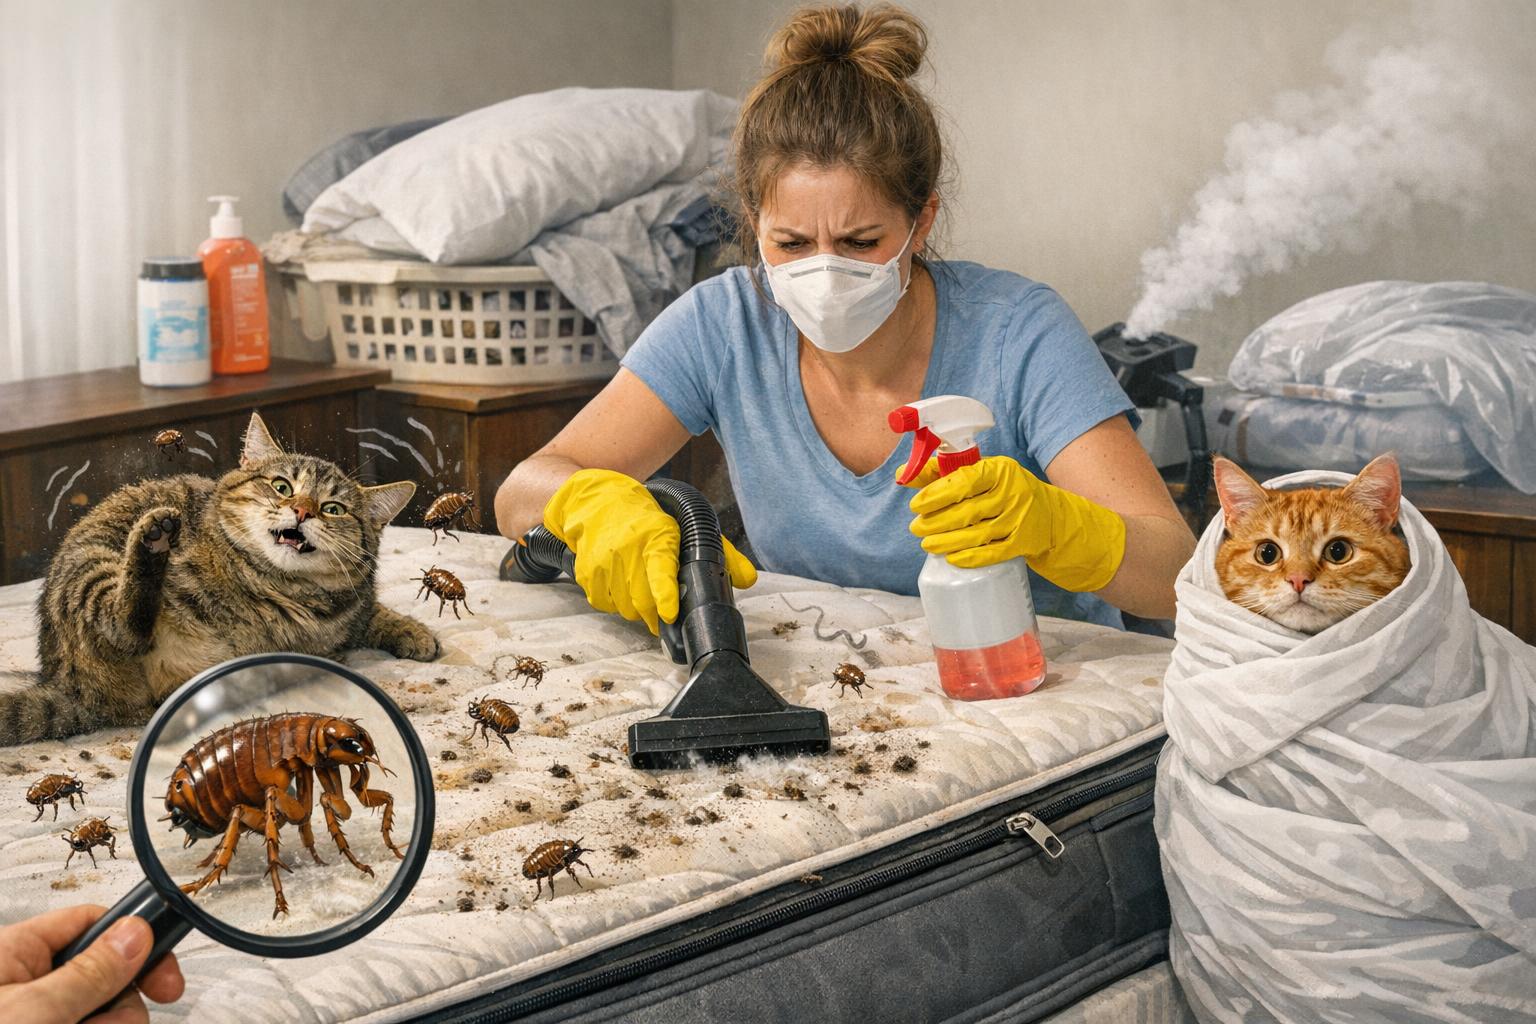
Keeping a home free of pests is part science, part habit, and part knowing what to do before you even see the problem. If your house currently has no infestation, the last thing you want is to go through a scramble later. These friendly, practical tips will help you lean into good flea survival practices—yes, that’s the phrase we’re targeting, but more importantly, it’s about preventing tiny jumpy nuisances before they become a nightmare.
## Flea Survival Basics For A Healthy Home
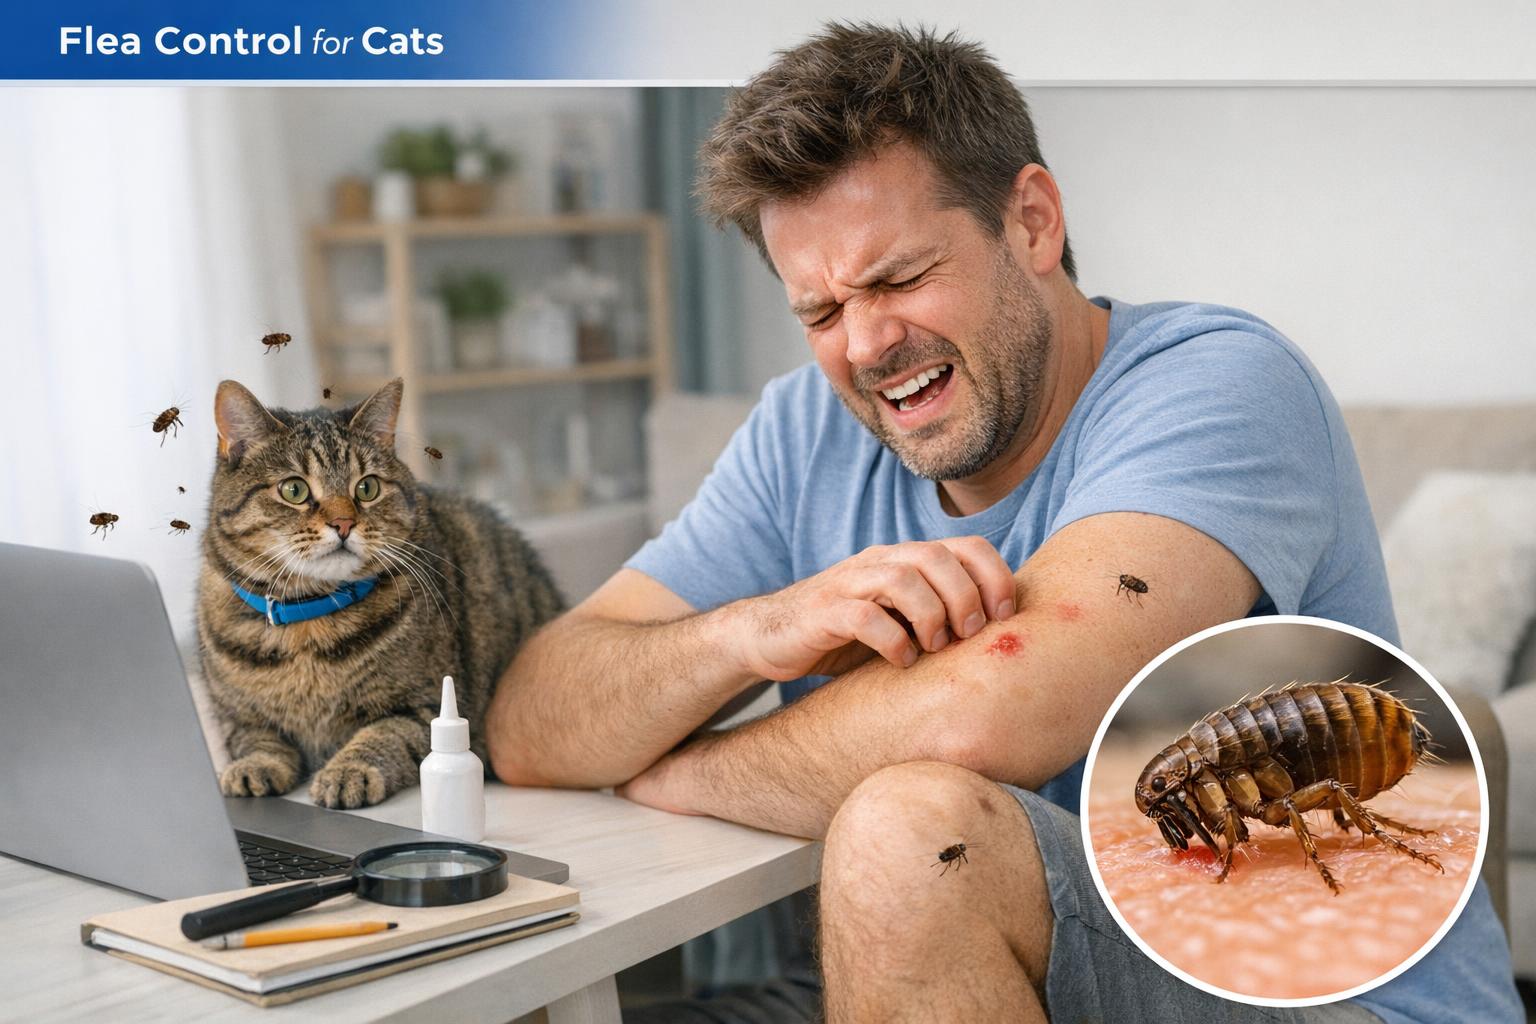
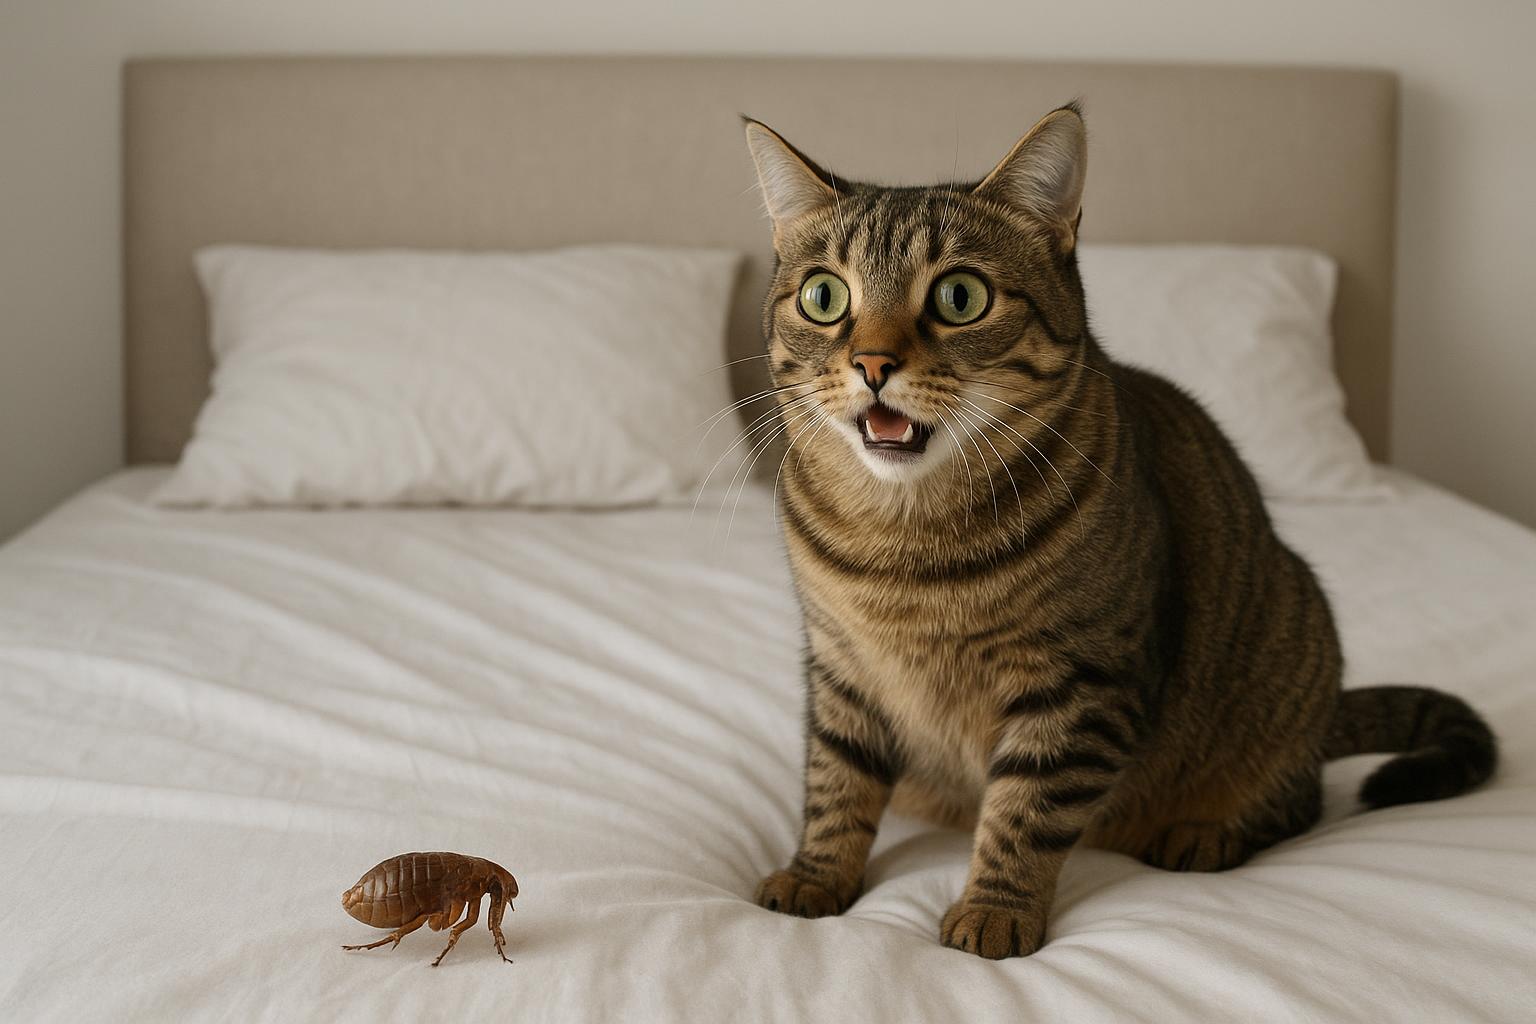
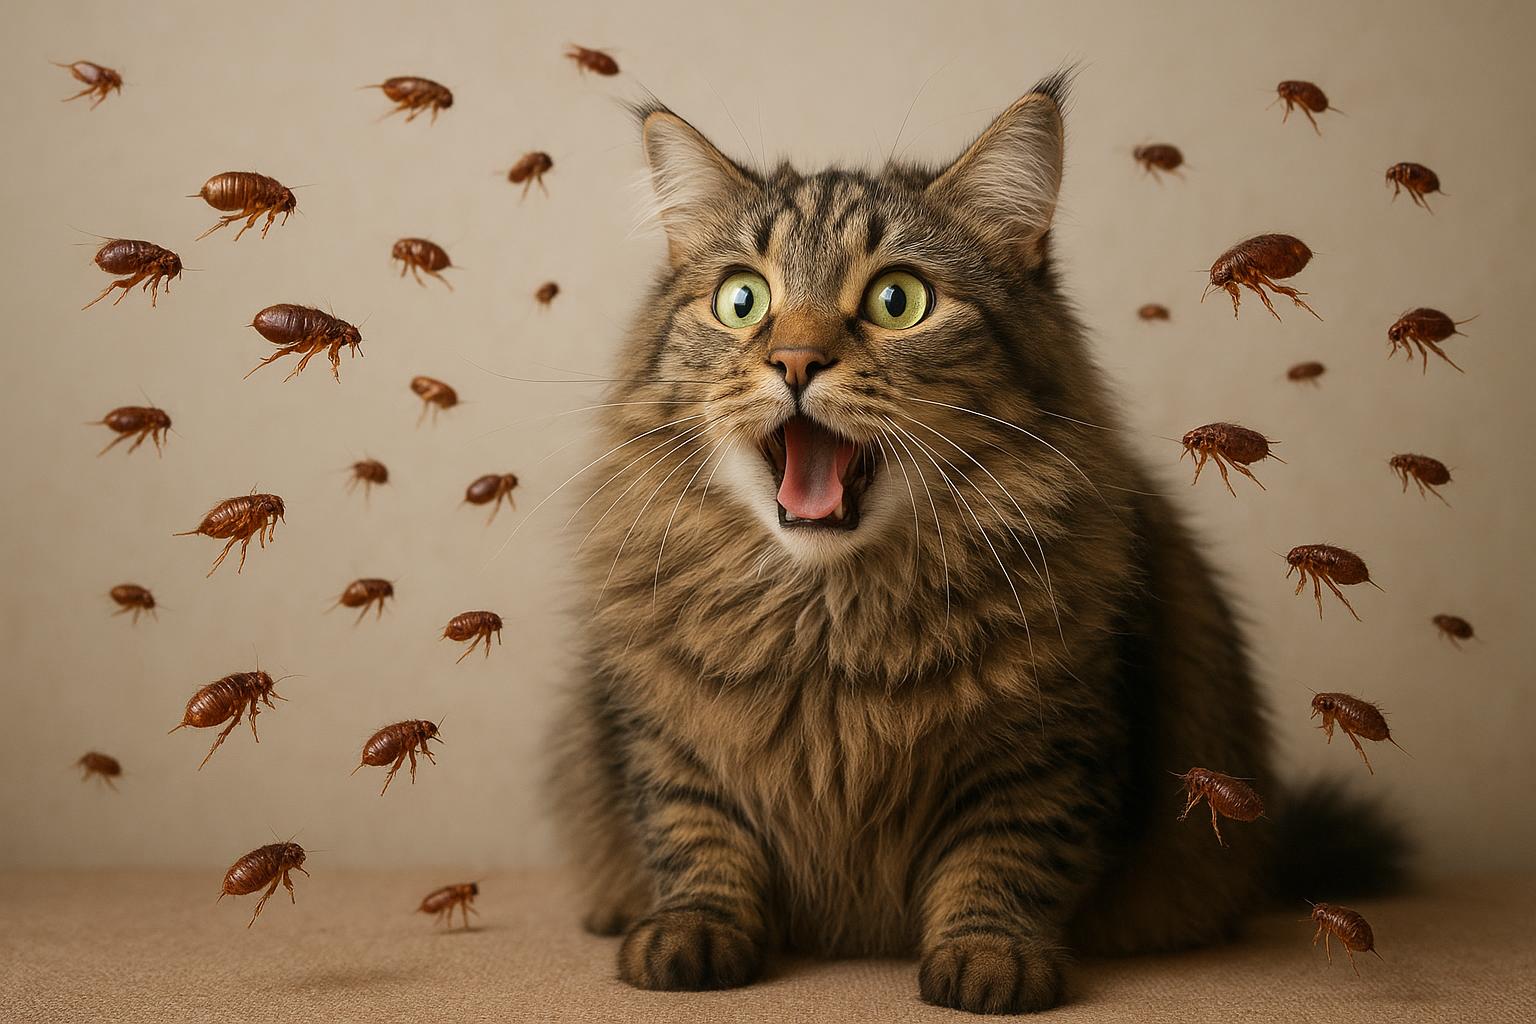
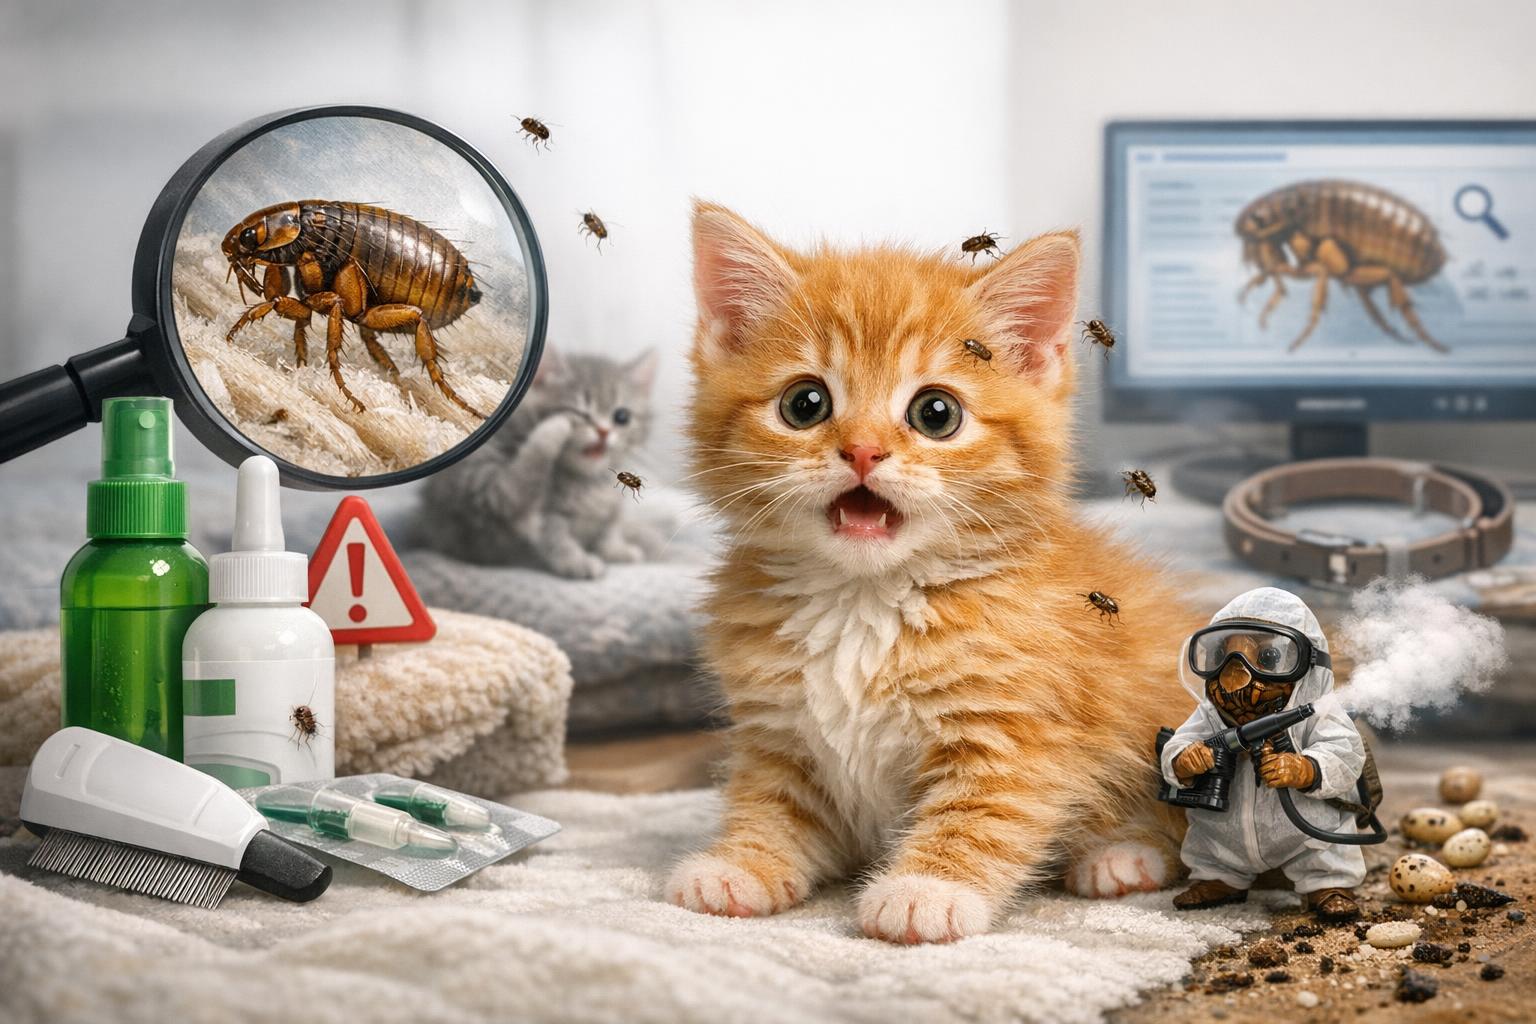
Fleas are tiny, hardy, and surprisingly suited to slipping into human spaces via pets, wildlife, or secondhand furniture. Practicing solid flea survival habits means thinking ahead: reduce favorable habitat, monitor regularly, and act quickly at the first sign of trouble. You don’t need to be paranoid, just proactive—like having an umbrella in your car even if the sky looks clear.
### How Fleas Get Into Homes
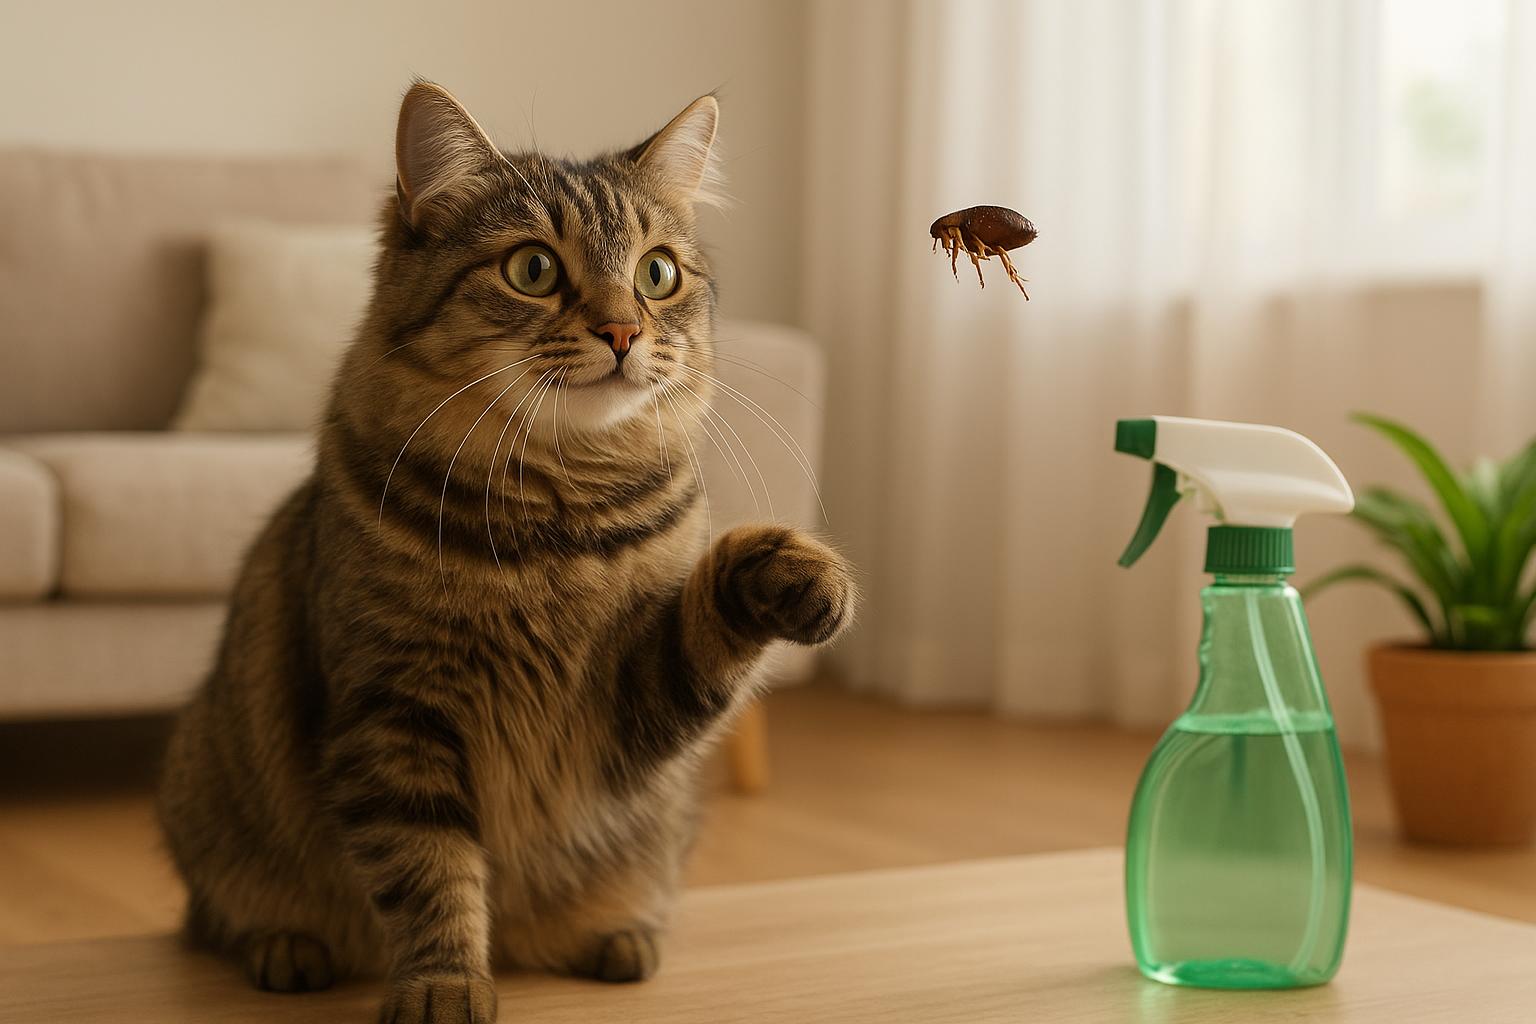
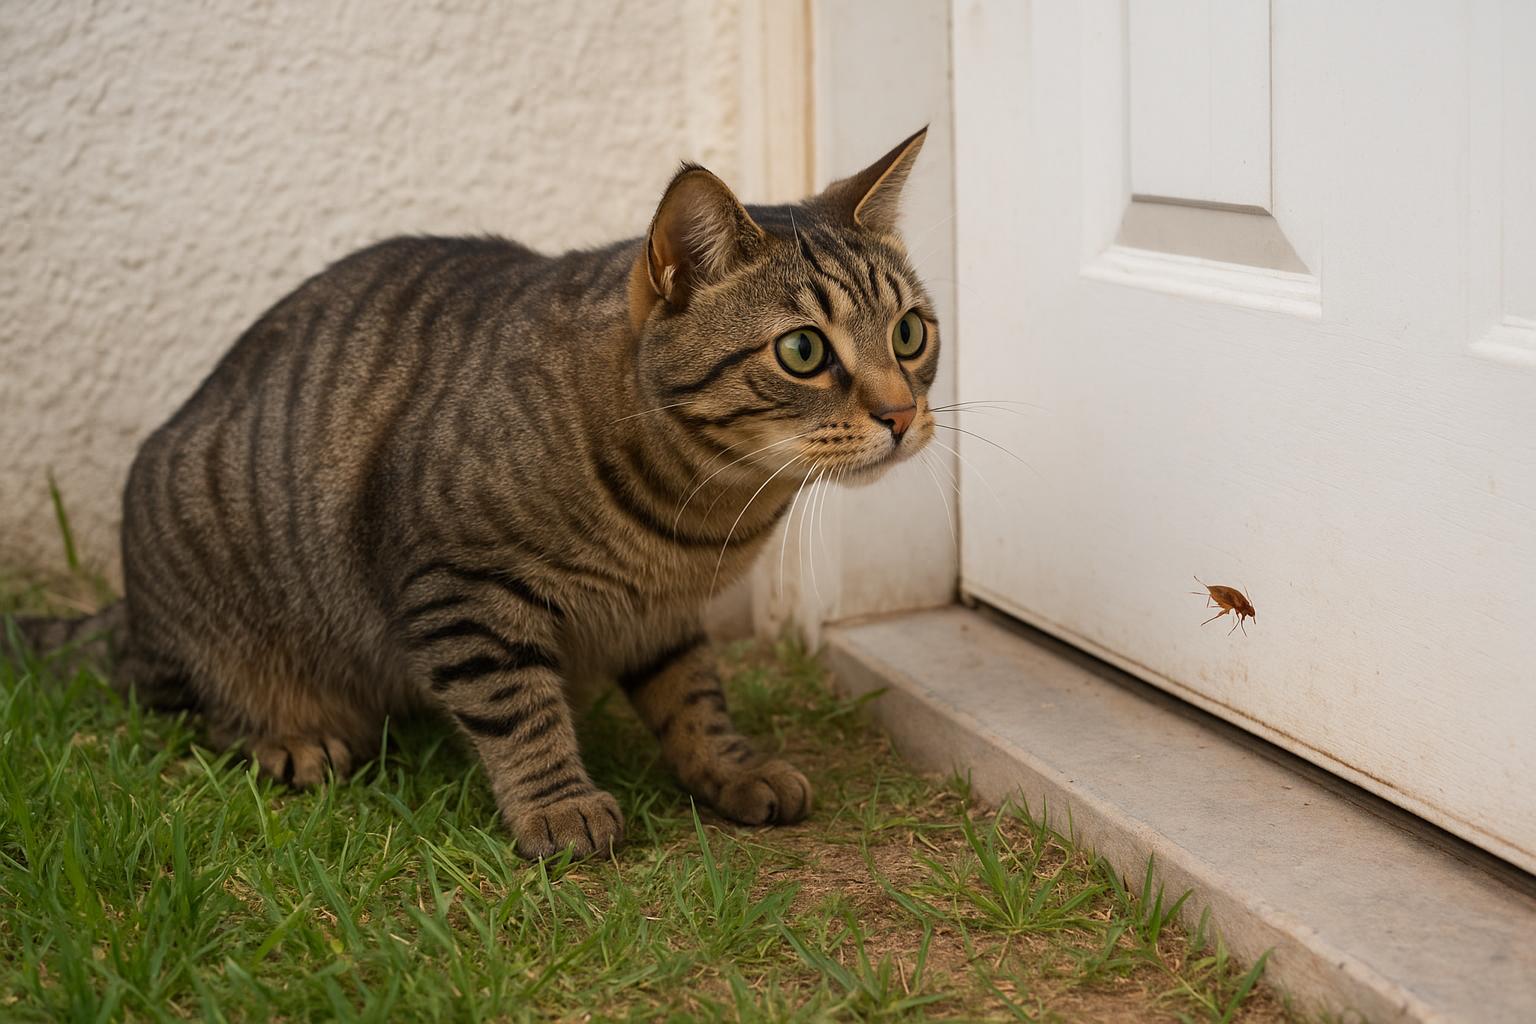
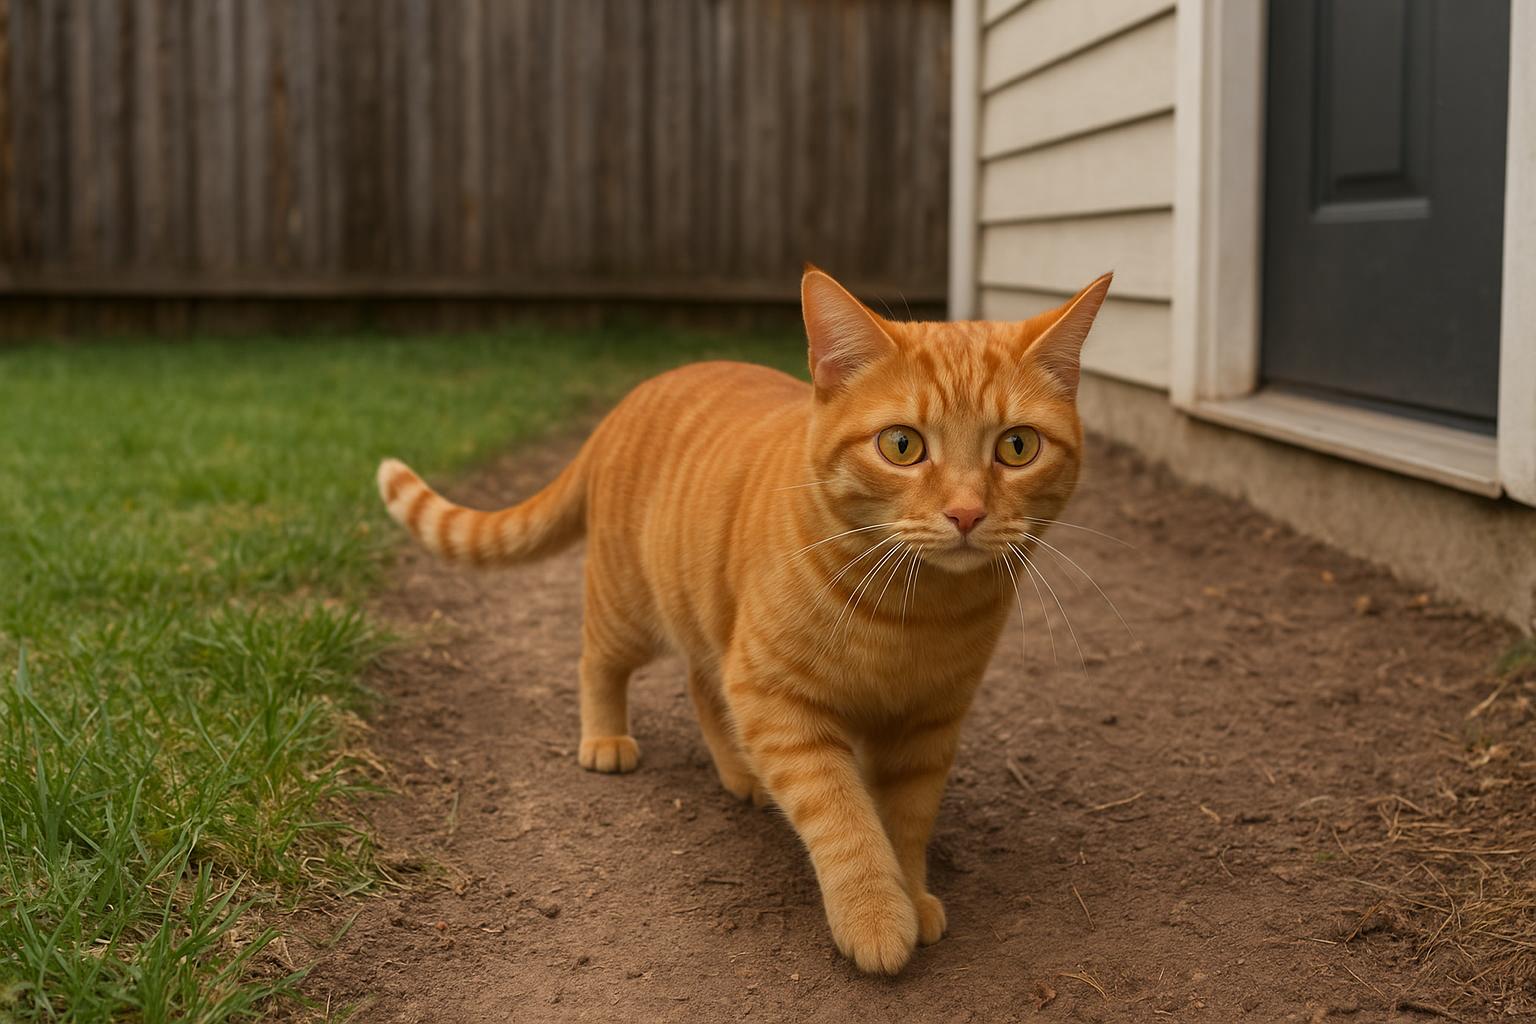
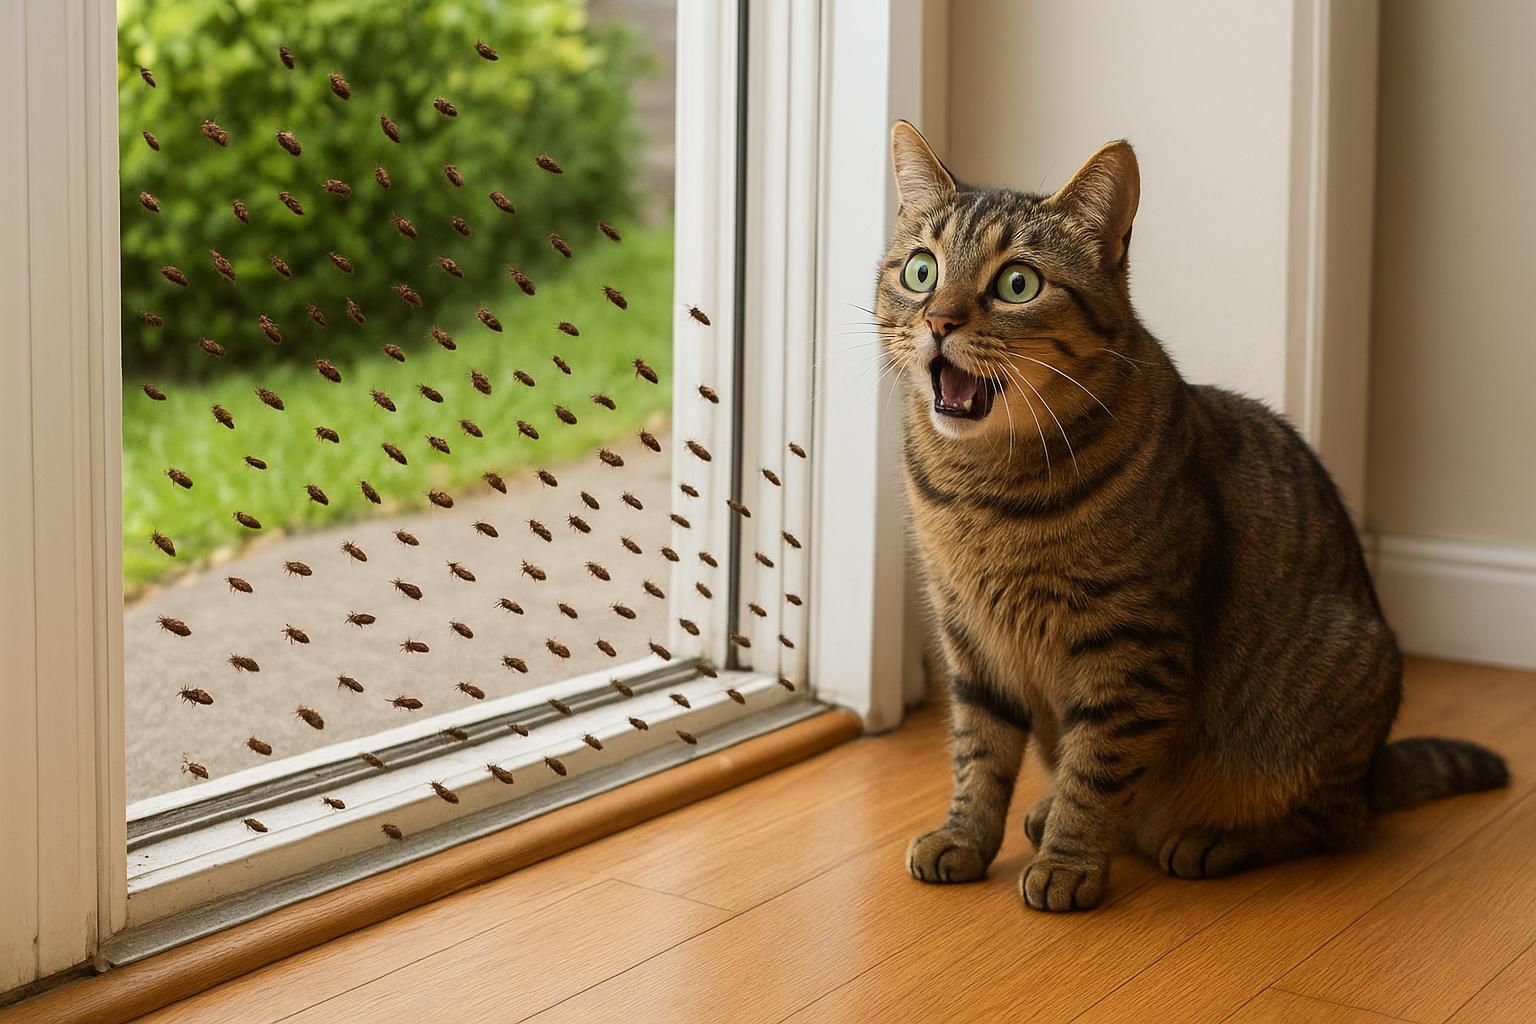
Most fleas hitchhike on mammals—dogs, cats, raccoons, rabbits, even rodents. They can also cling to shoes, bags, and used furniture. Once inside, they look for warm, grassy, or fabric-rich areas to lay eggs. Eggs, larvae, and pupae can hide in carpets, upholstery, pet beds, cracks in baseboards, and even in outdoor soil near doors. Preventive flea survival means cutting off those opportunities.
### Signs To Watch For
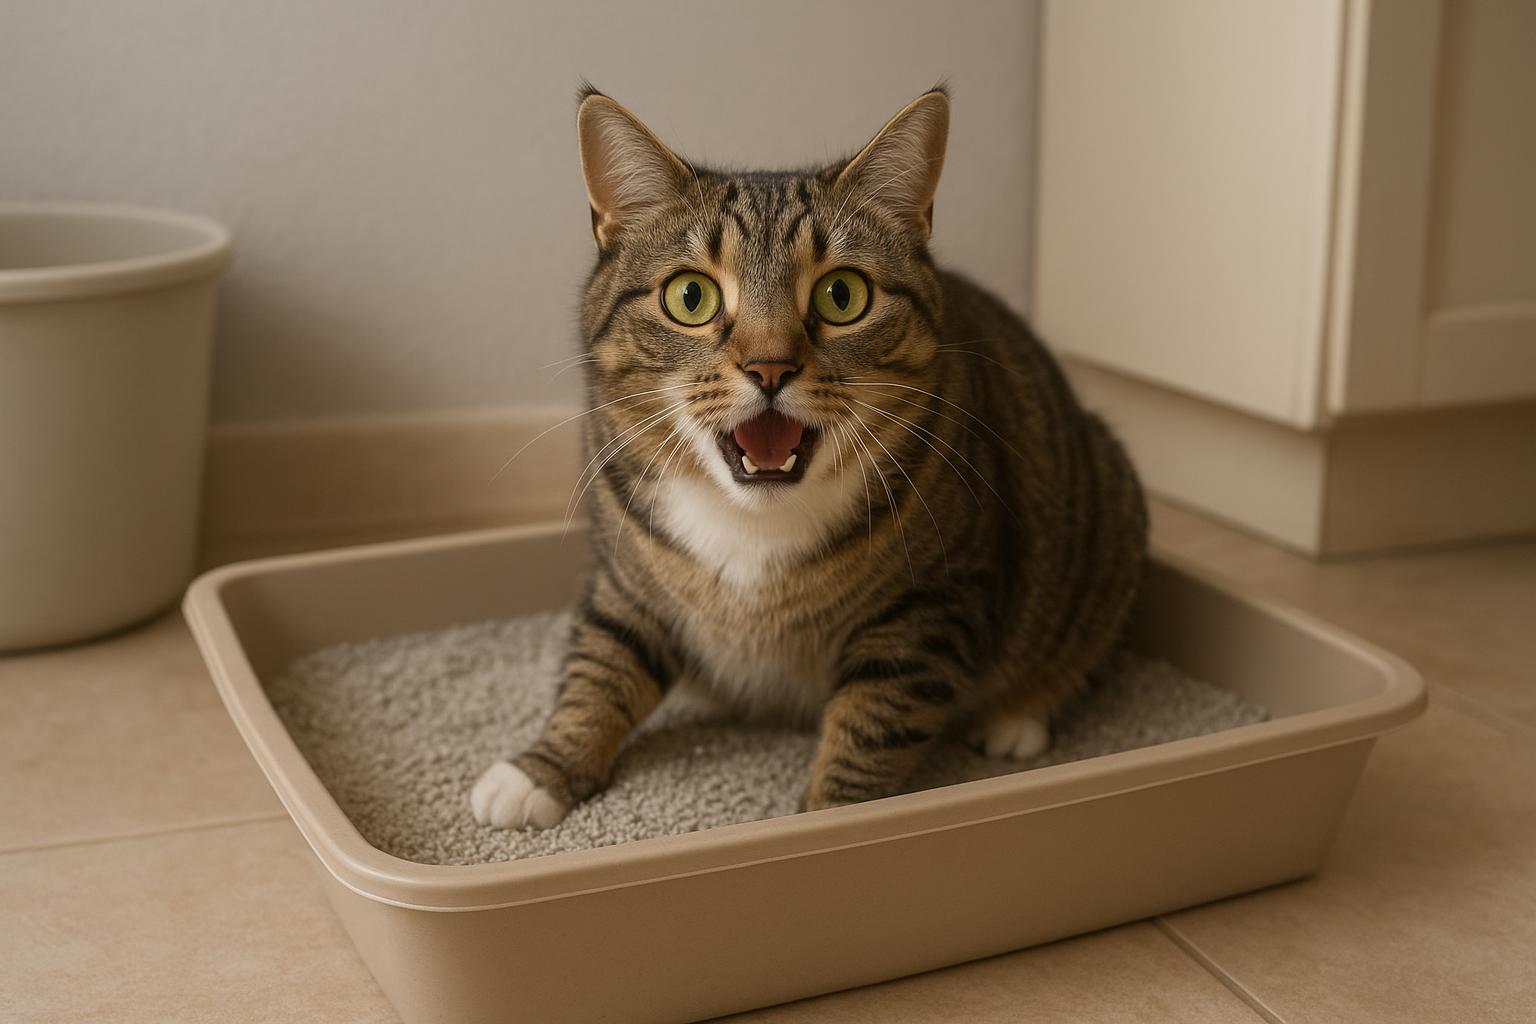
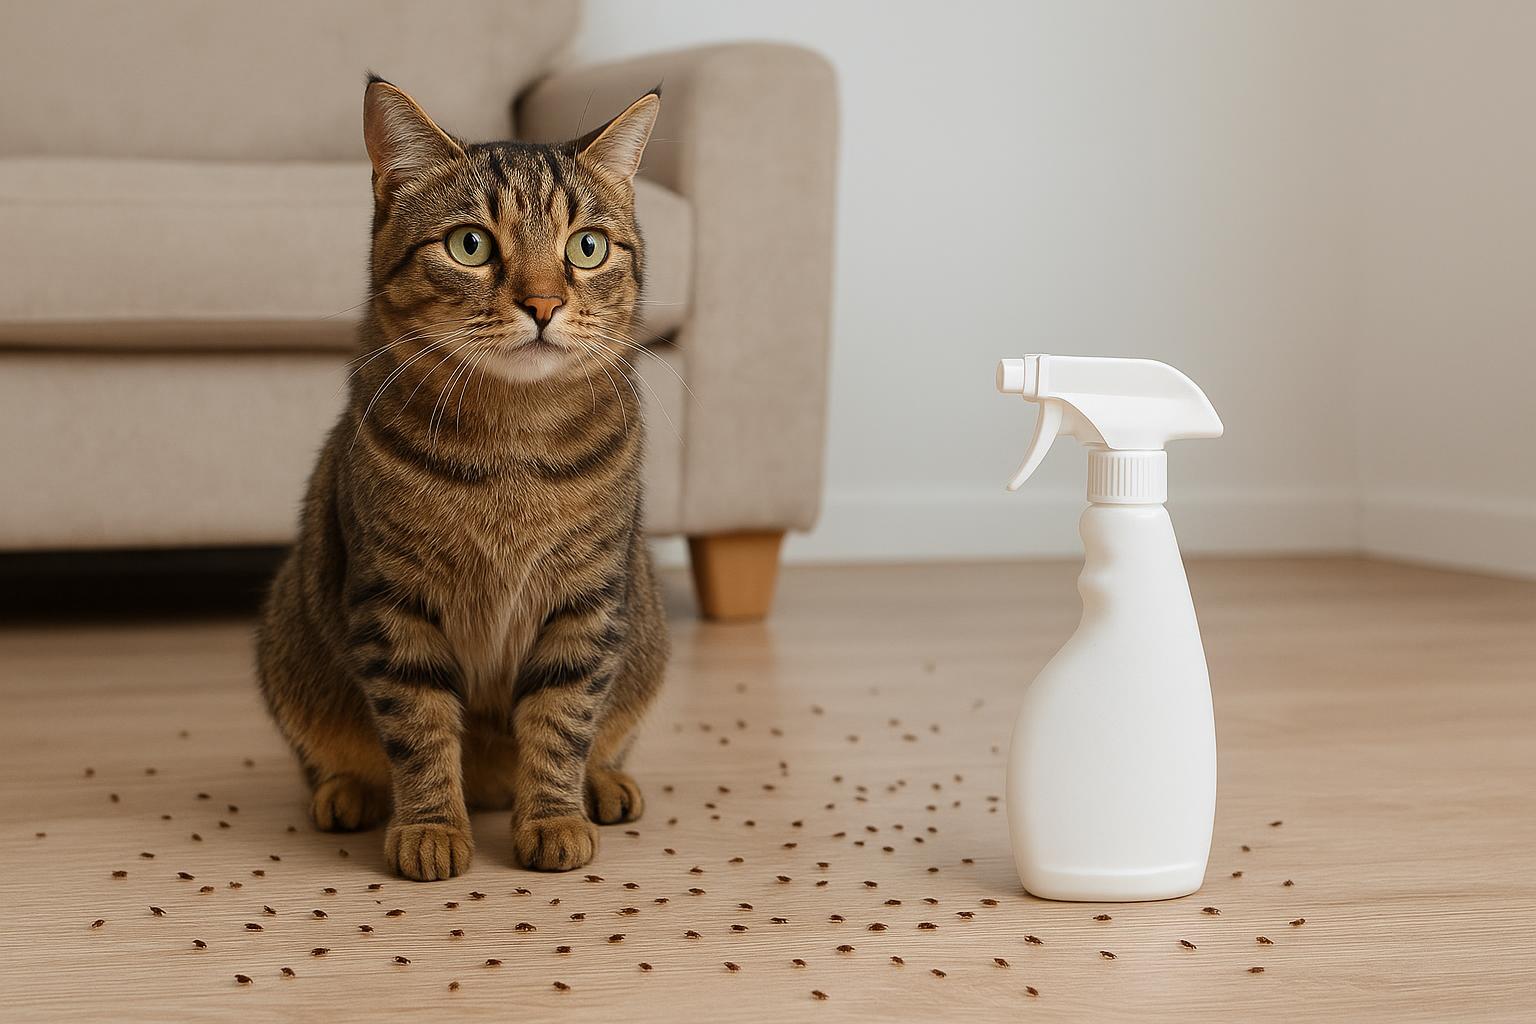
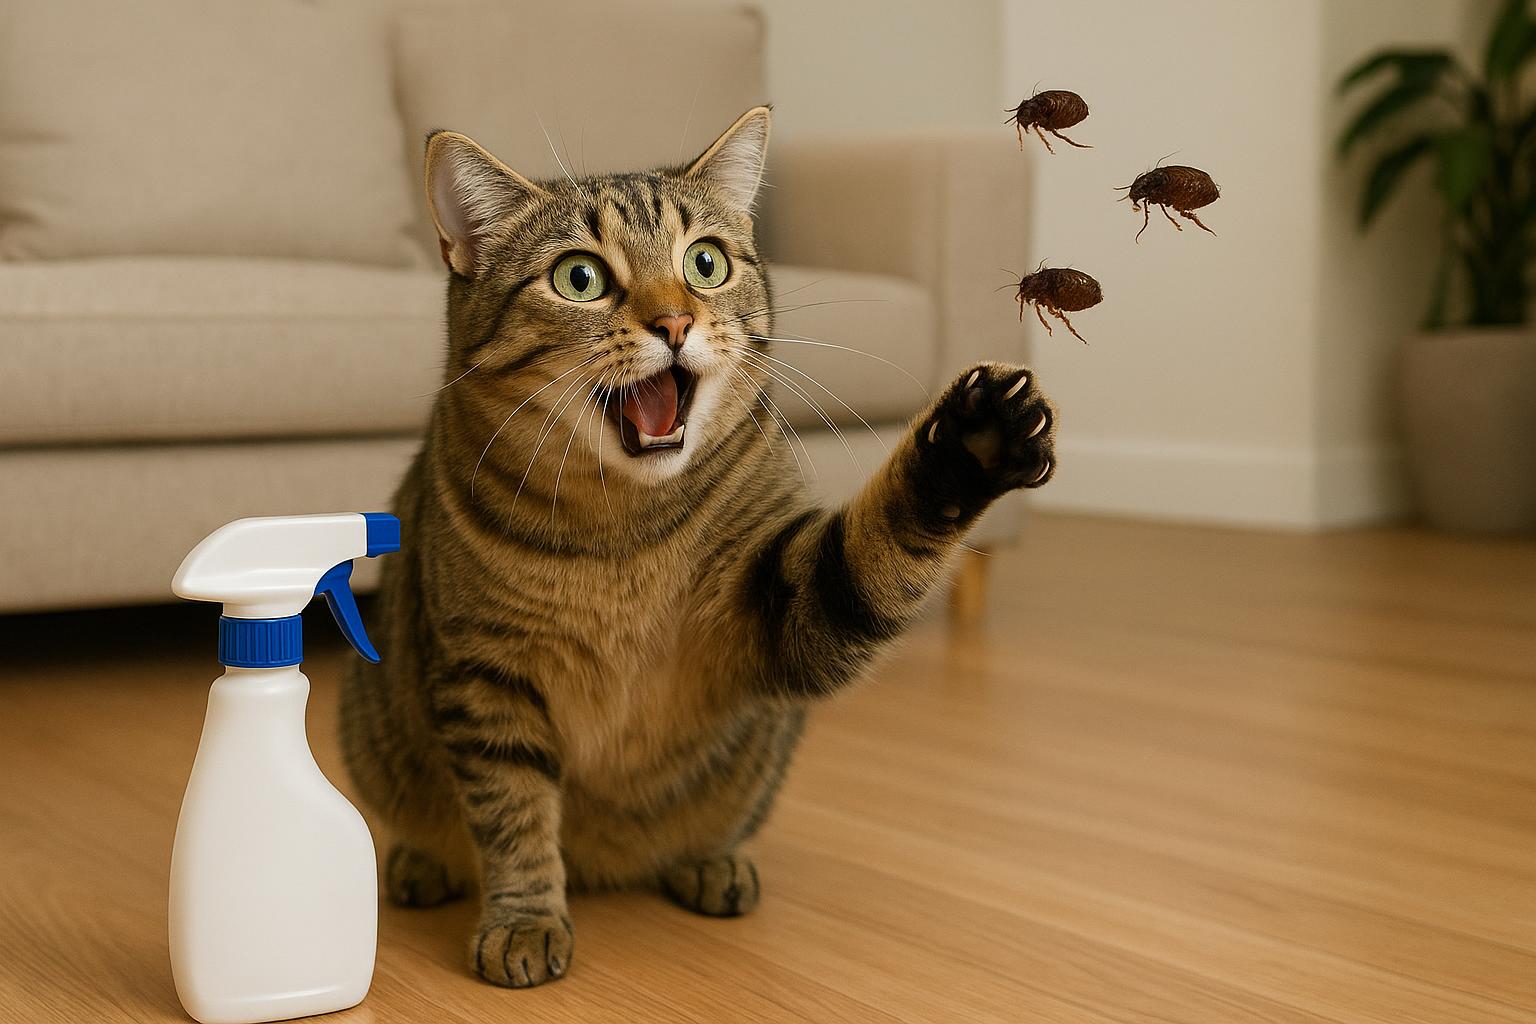
It’s easier to stop a spider than a flea colony. Watch for these early warning signs in a home without infestation:
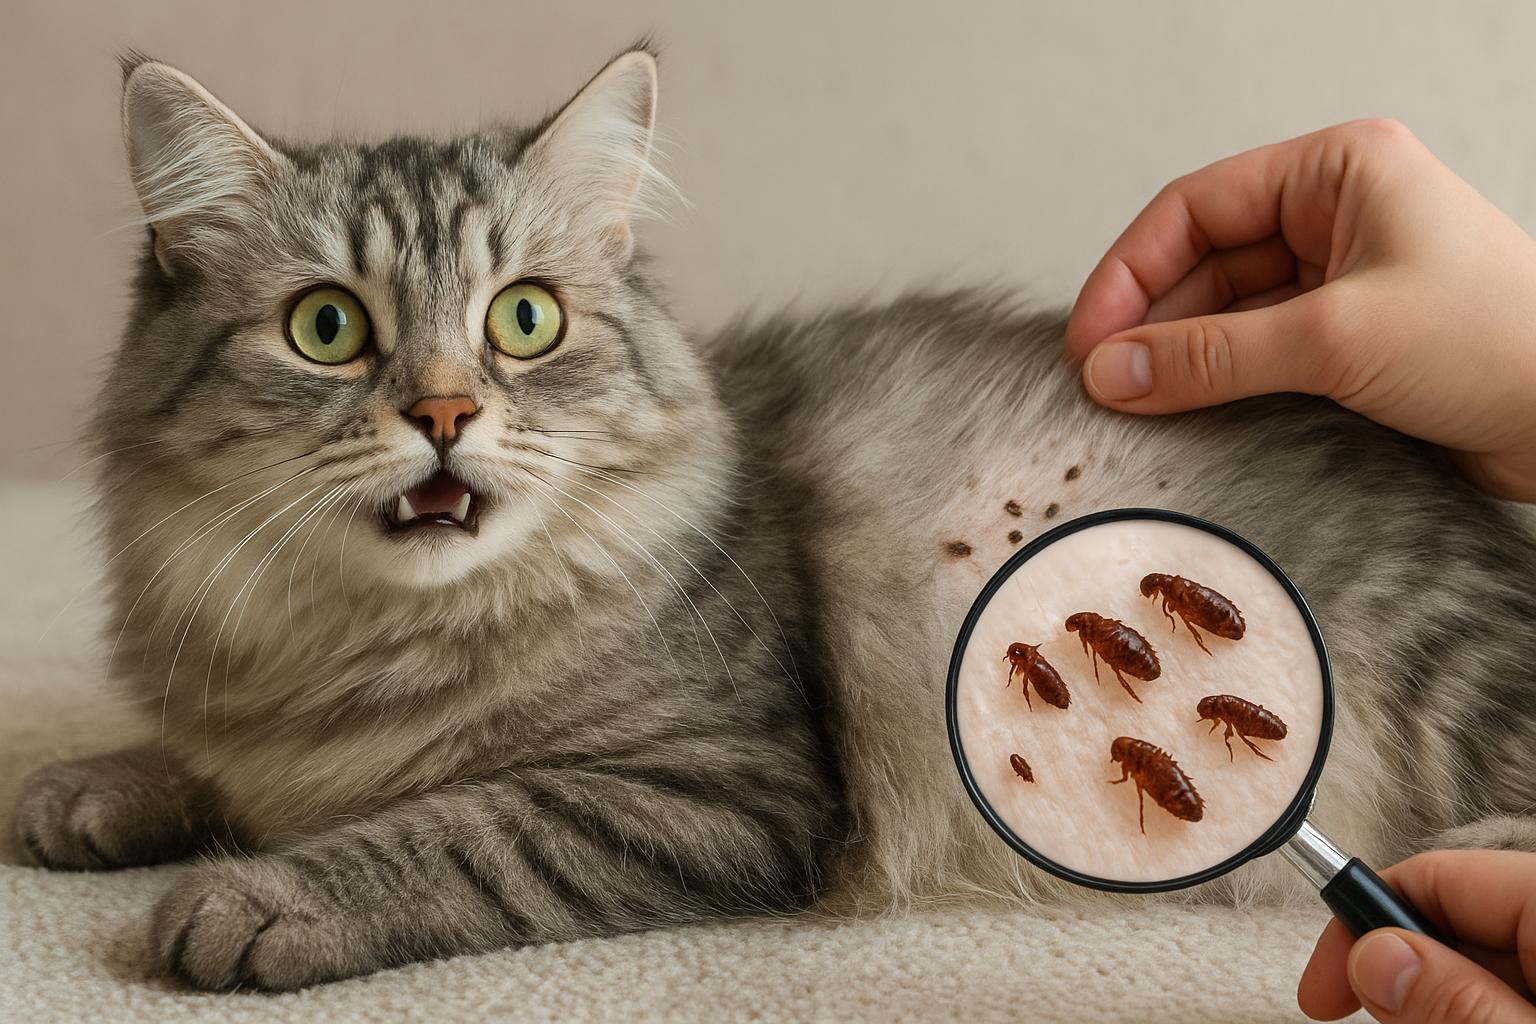
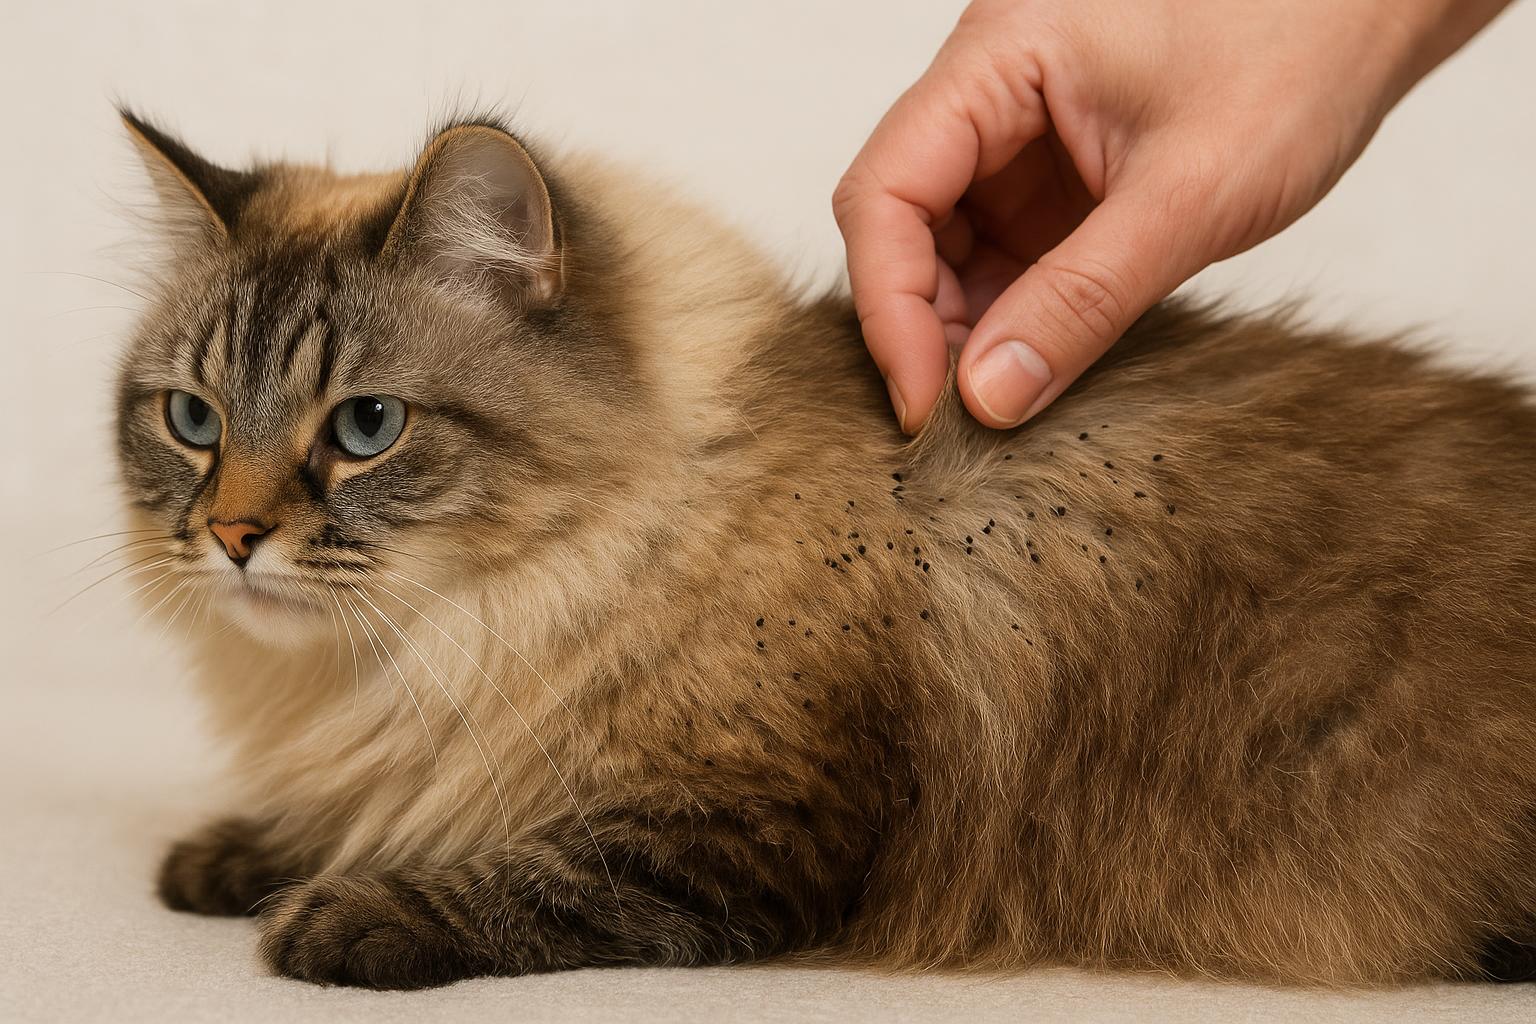
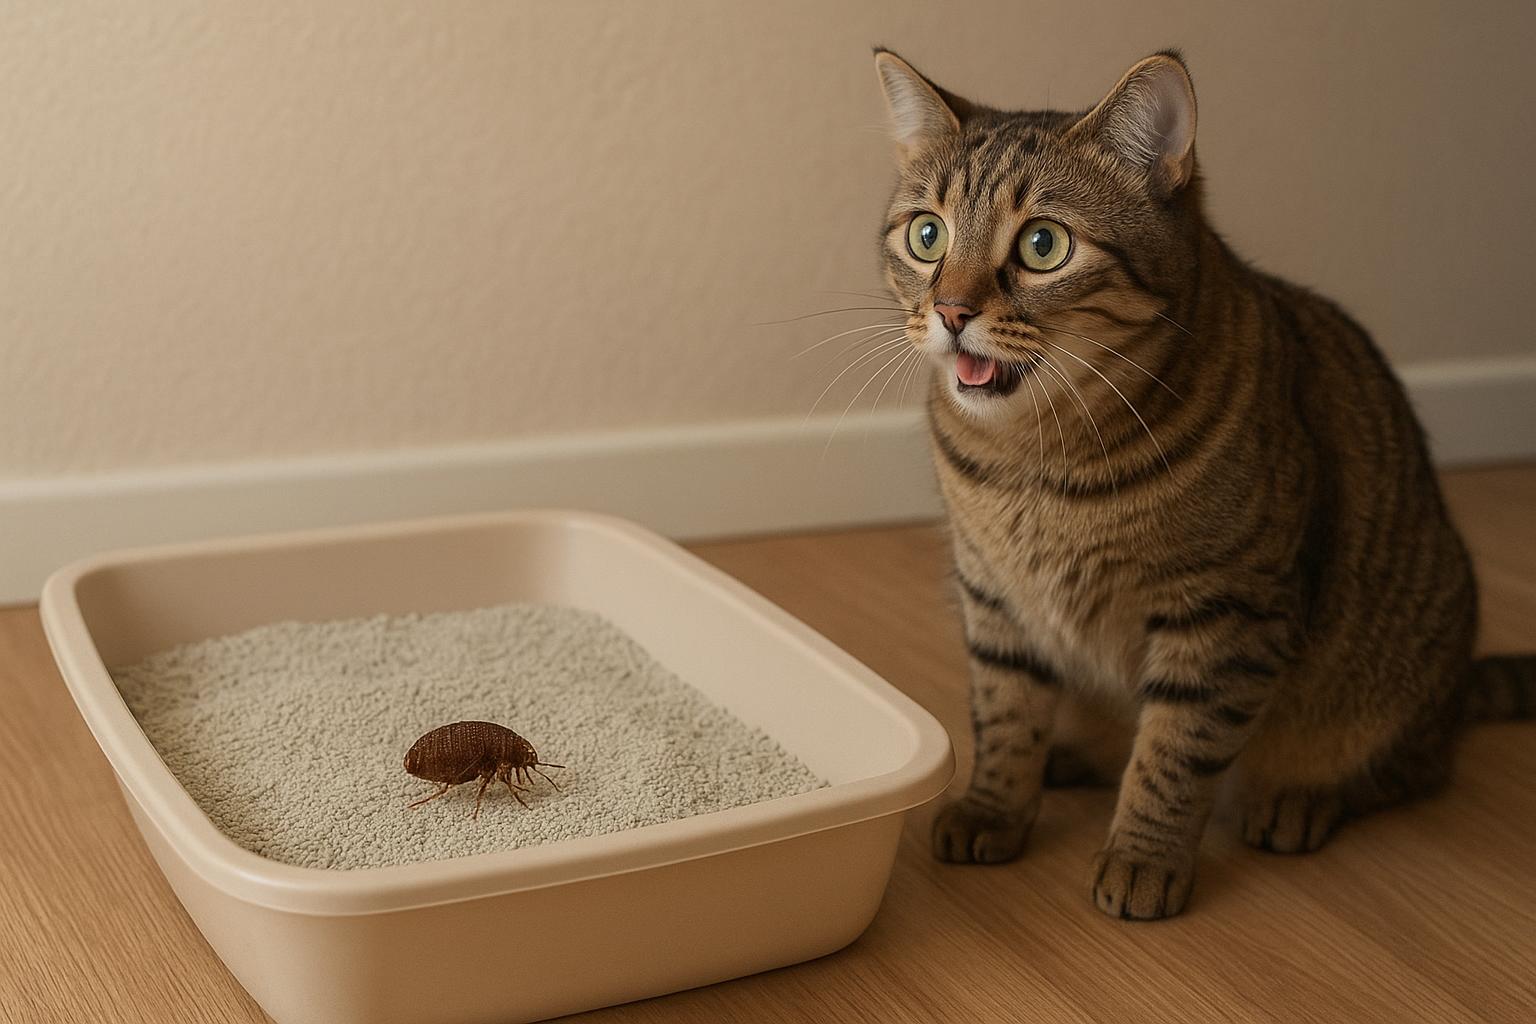
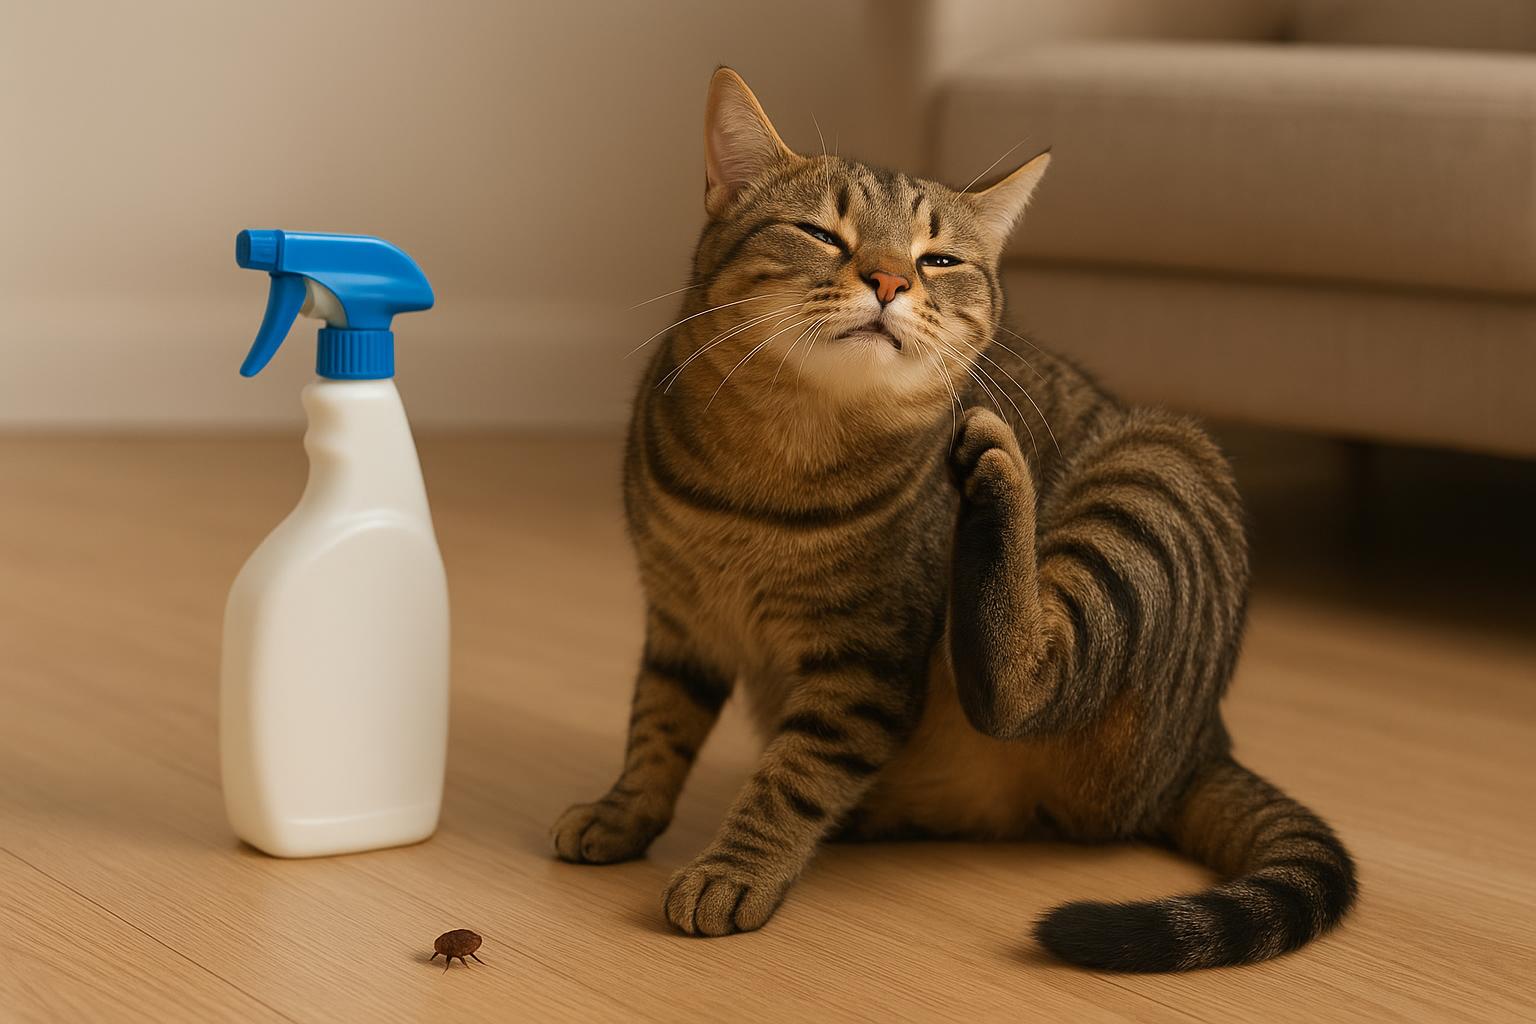
– Pets scratching more than usual or small red bites around their necks and ears.
– Tiny black specks (flea dirt) on pet bedding or your carpet.
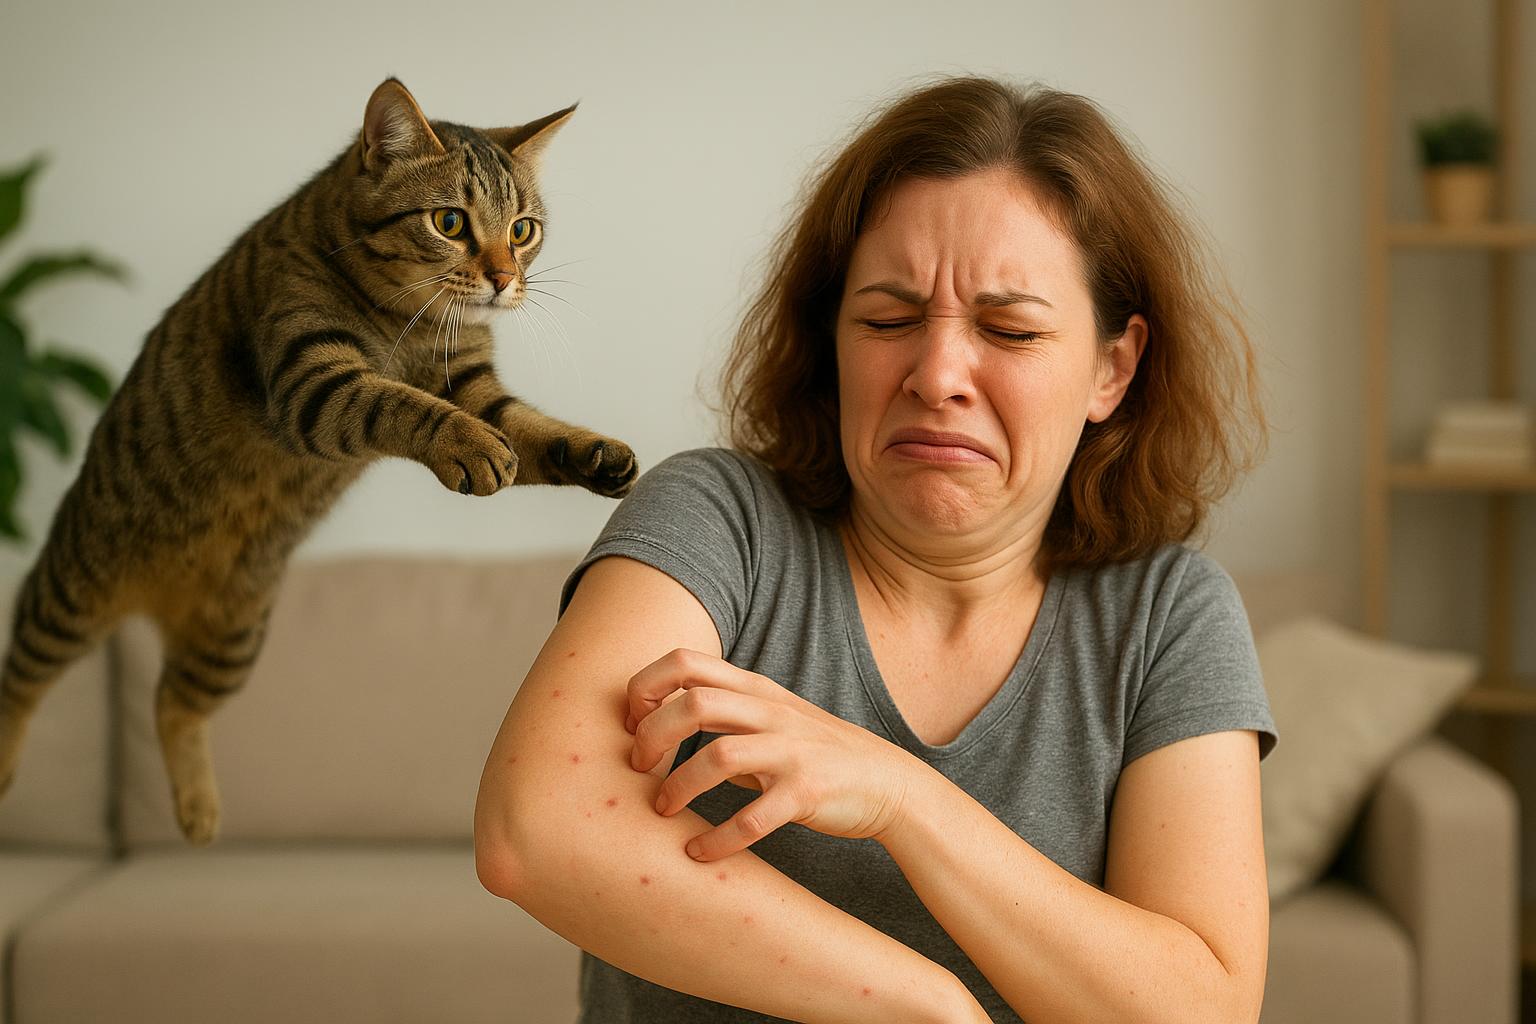
– Occasional small red marks on human skin, especially around ankles or waistline.
Catch these early and you’ll save yourself a lot of time and hassle—think of it as practicing good flea survival hygiene.
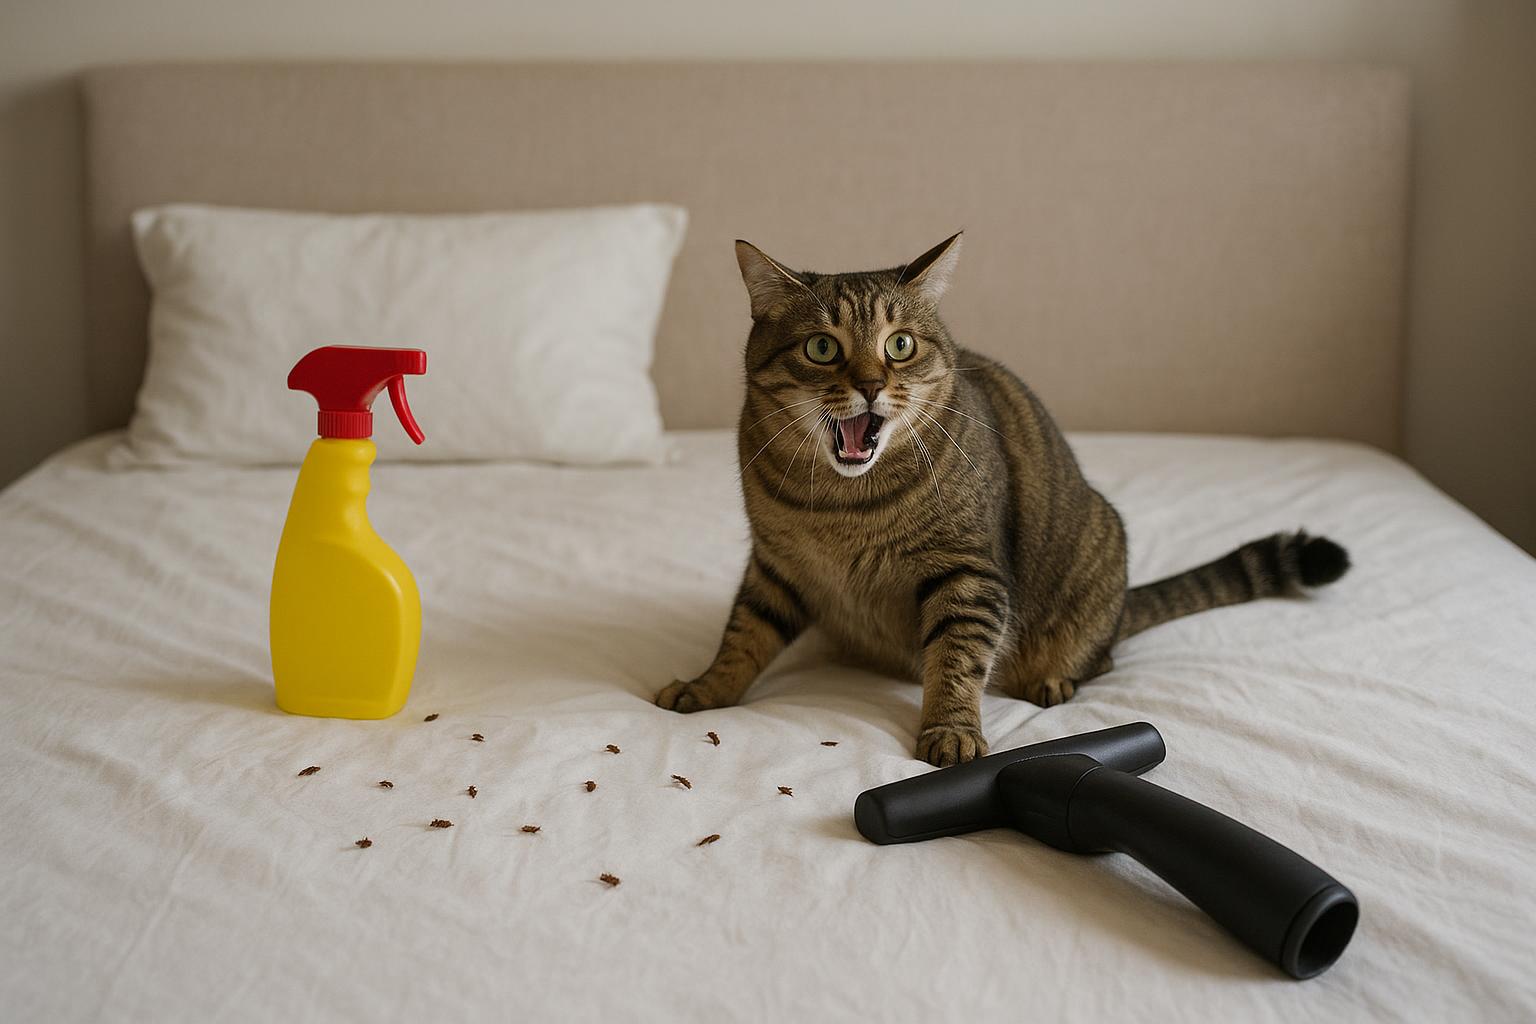
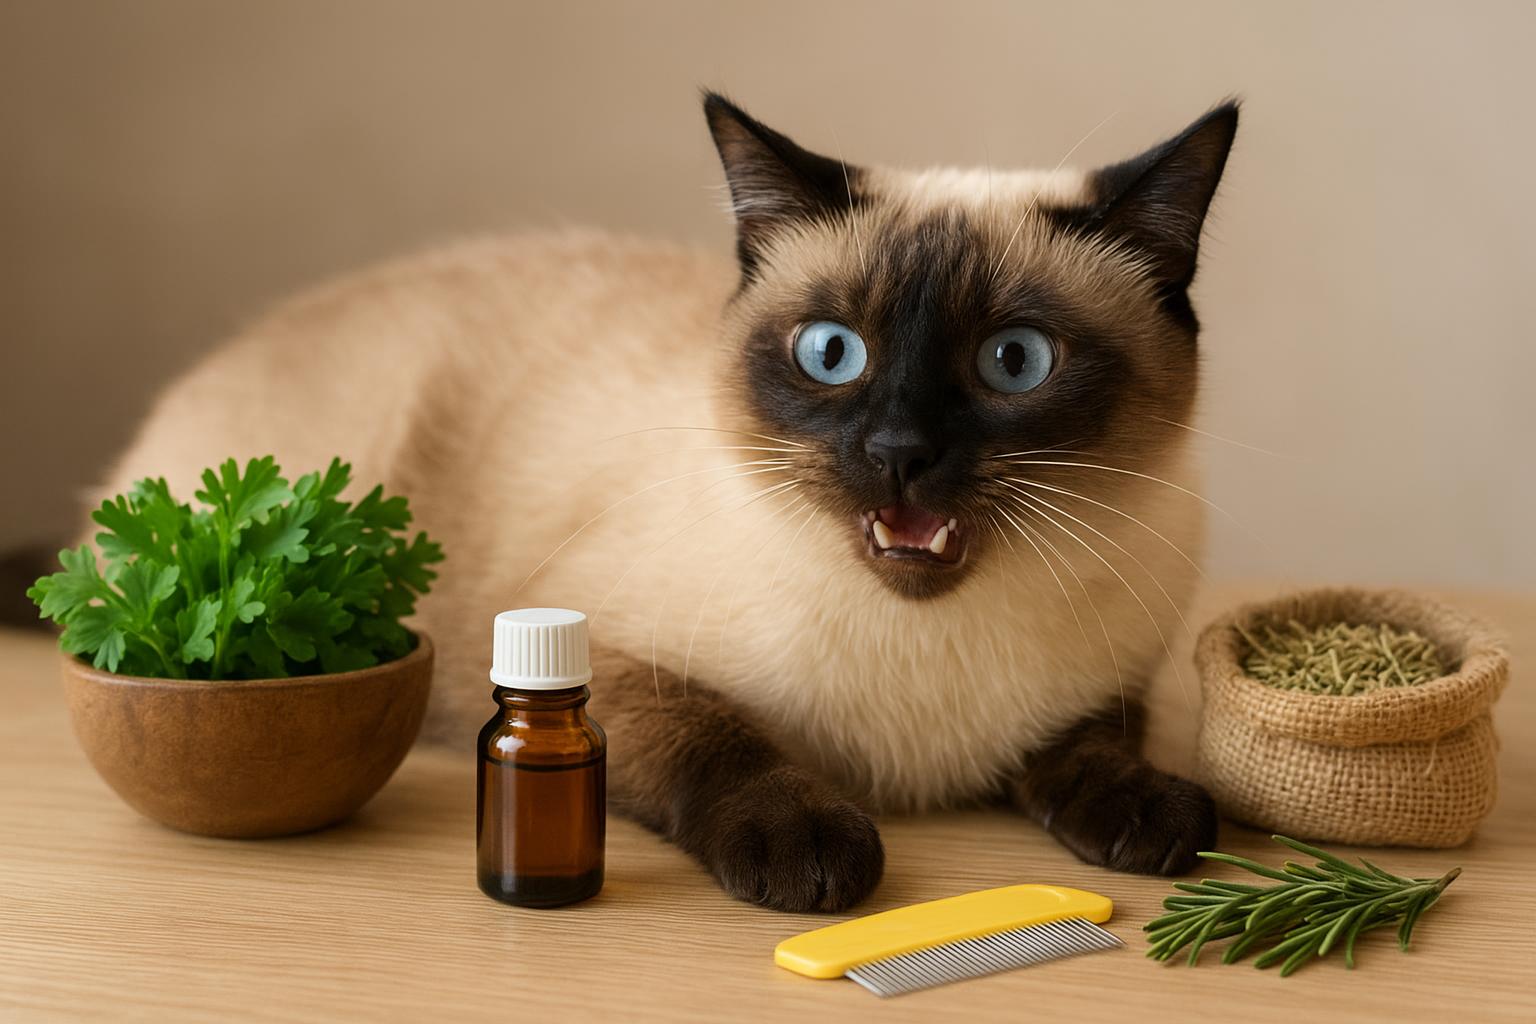
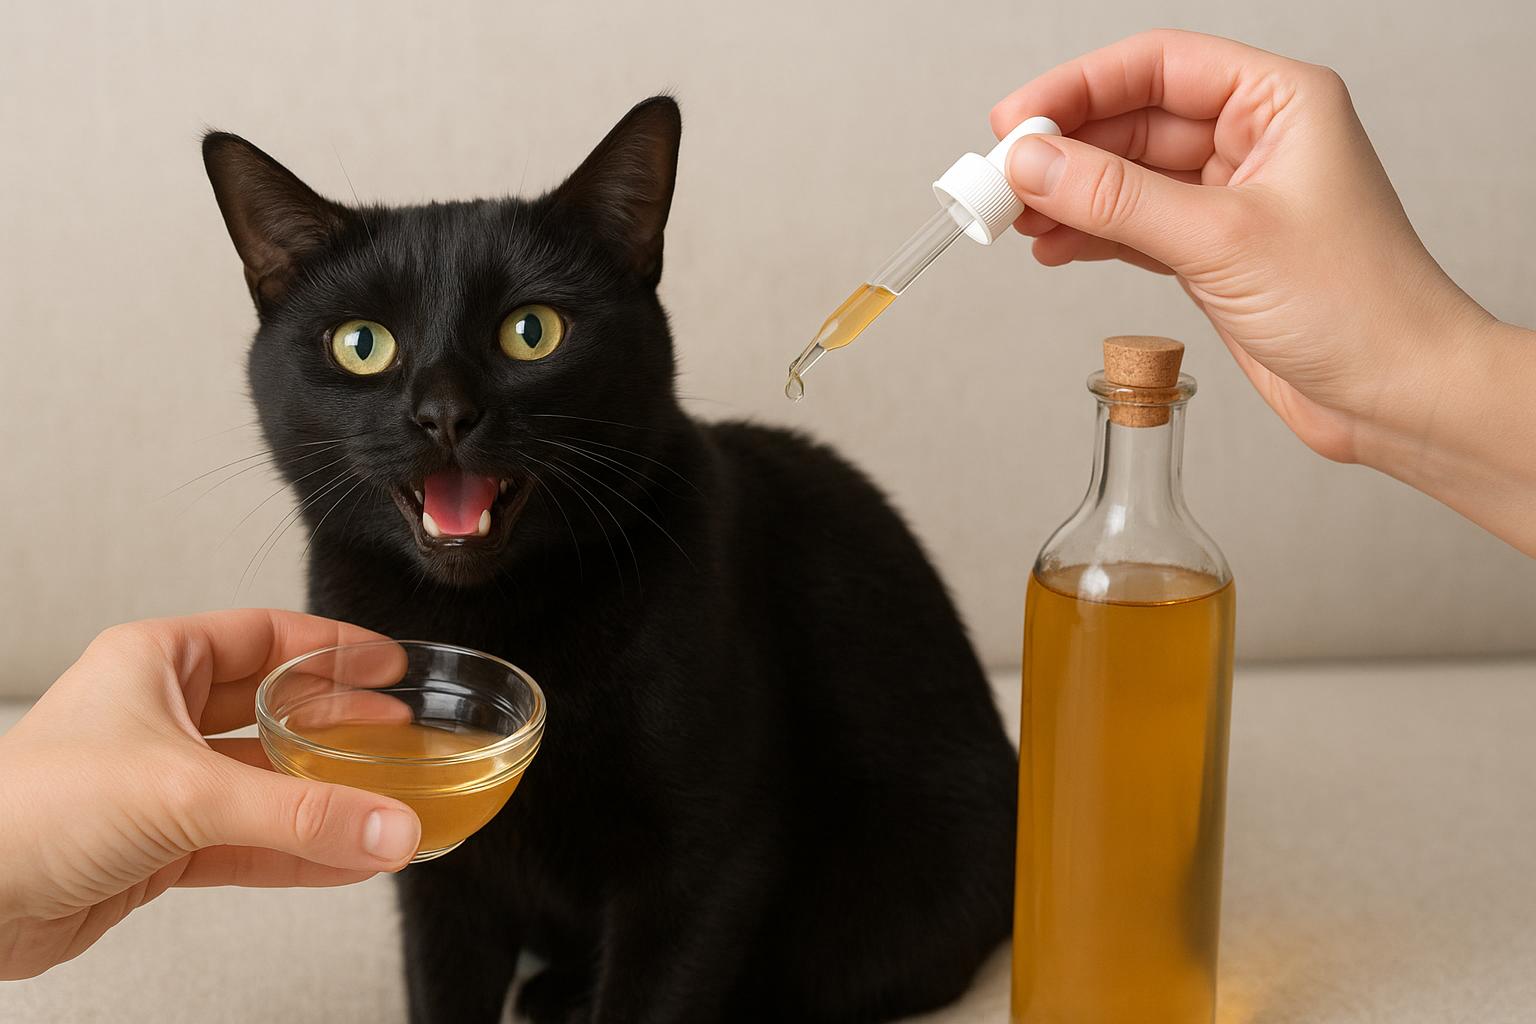
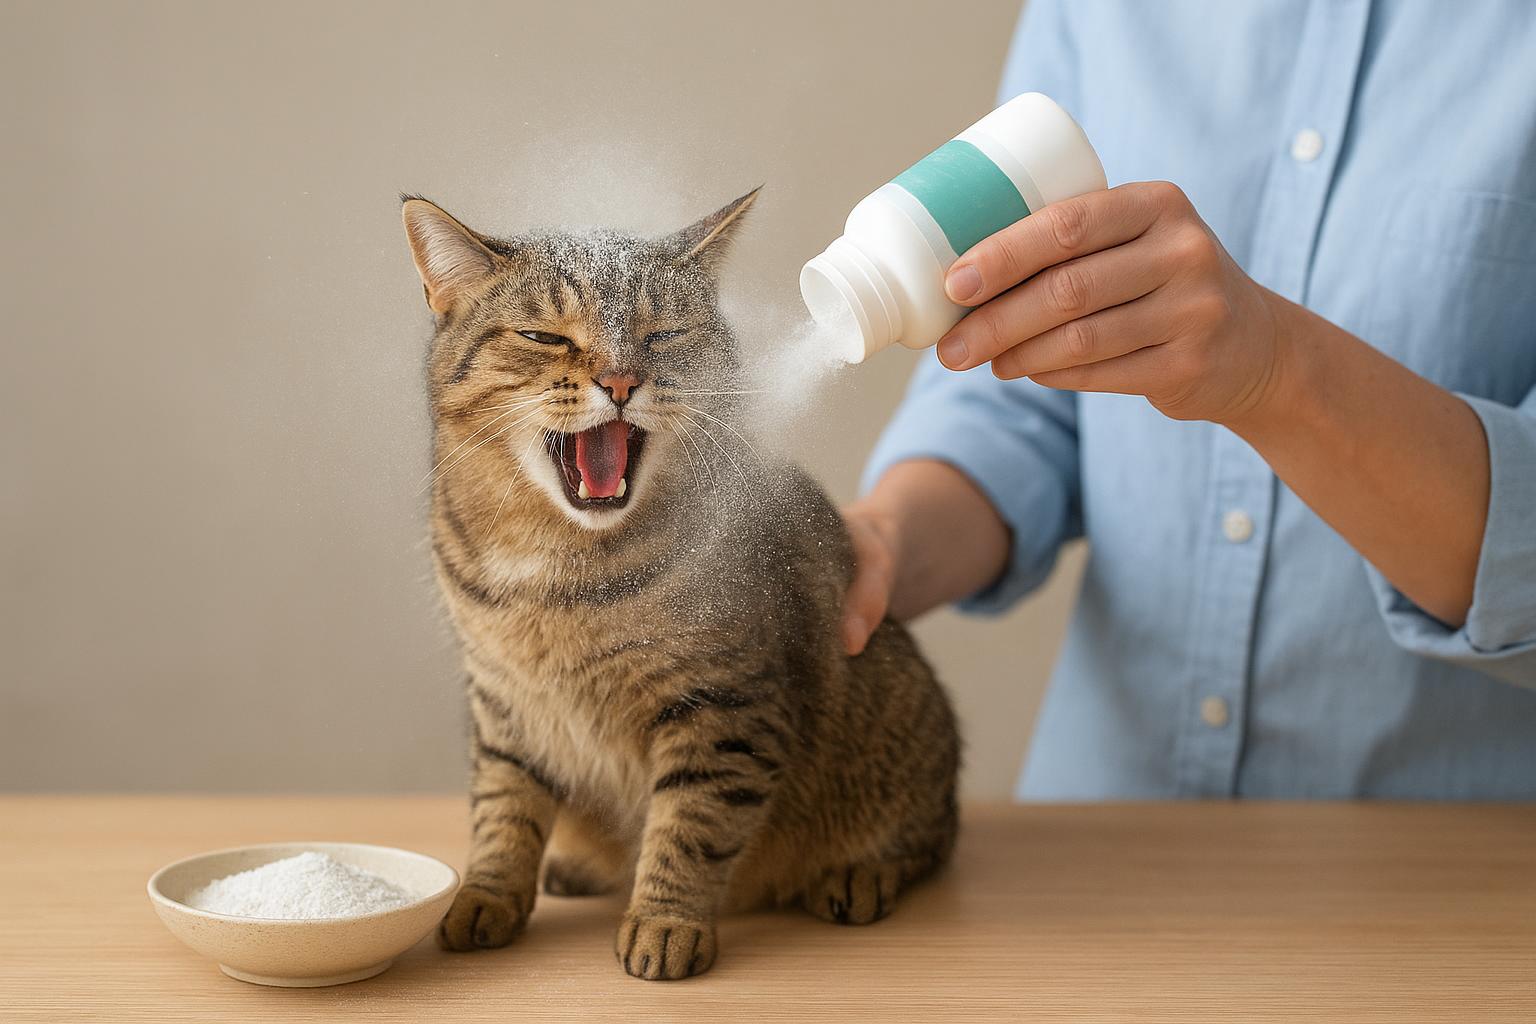
## Remedy 1: Natural Diatomaceous Earth Application
When using any remedy, be precise and follow safety directions. This method is low-toxicity and effective for preventative treatments in a house without an active infestation.
Ingredients / Required Materials:
– Food-grade diatomaceous earth (DE), not pool-grade
– Nitrile or latex gloves
– Dust mask or N95 respirator
– A fine hand duster or a squeeze-bottle applicator
– Vacuum cleaner with a HEPA filter
– Soft broom or brush (optional)
– Sealable trash bags
Step-By-Step Creation And Application:
1. Preparation: Put on gloves and a dust mask to avoid inhaling DE dust. Keep pets and children out of the room during application.
2. Inspect Areas: Identify pet resting points, rugs, baseboards, and cracks where eggs or larvae could develop. Focus on carpet edges, pet beds, and under furniture.
3. Apply DE: Using the applicator, lightly dust a thin, even layer of DE over carpet fibers, along baseboards, under furniture, and in pet bedding (only use DE sparingly in bedding and ensure pet bedding can be washed afterward). Avoid piles or clumps—thin coverage is more effective.
4. Wait: Leave the DE in place for 48–72 hours. DE works by dehydrating pests after contact; it is slower but effective and safe when used correctly.
5. Vacuum Thoroughly: After the waiting period, vacuum the treated areas thoroughly. Dispose of vacuum contents in a sealed bag and place it in an outdoor trash container immediately.
6. Repeat Schedule: For preventative purposes in a non-infested home, apply DE once every 8–12 weeks in high-risk areas, or after any potential exposure event (e.g., a new pet, wildlife visits). If you ever detect fleas, increase frequency and broaden treatment zones.
Notes: Use only food-grade DE inside the home. DE is abrasive and can irritate lungs if inhaled—hence the respiratory protection.
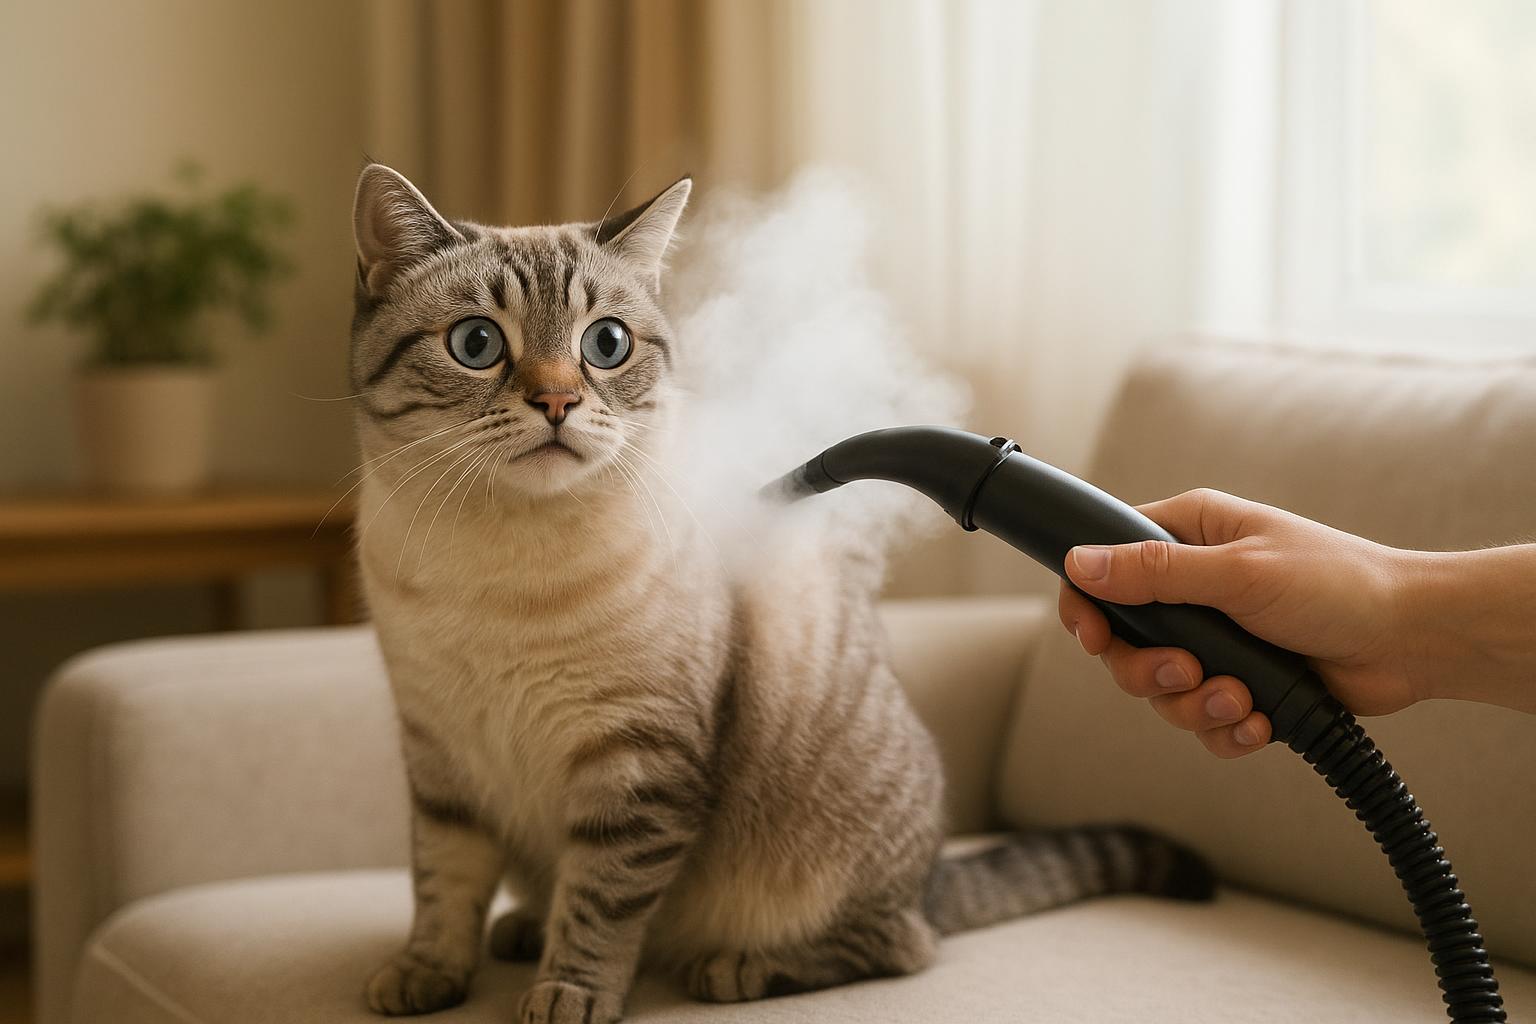
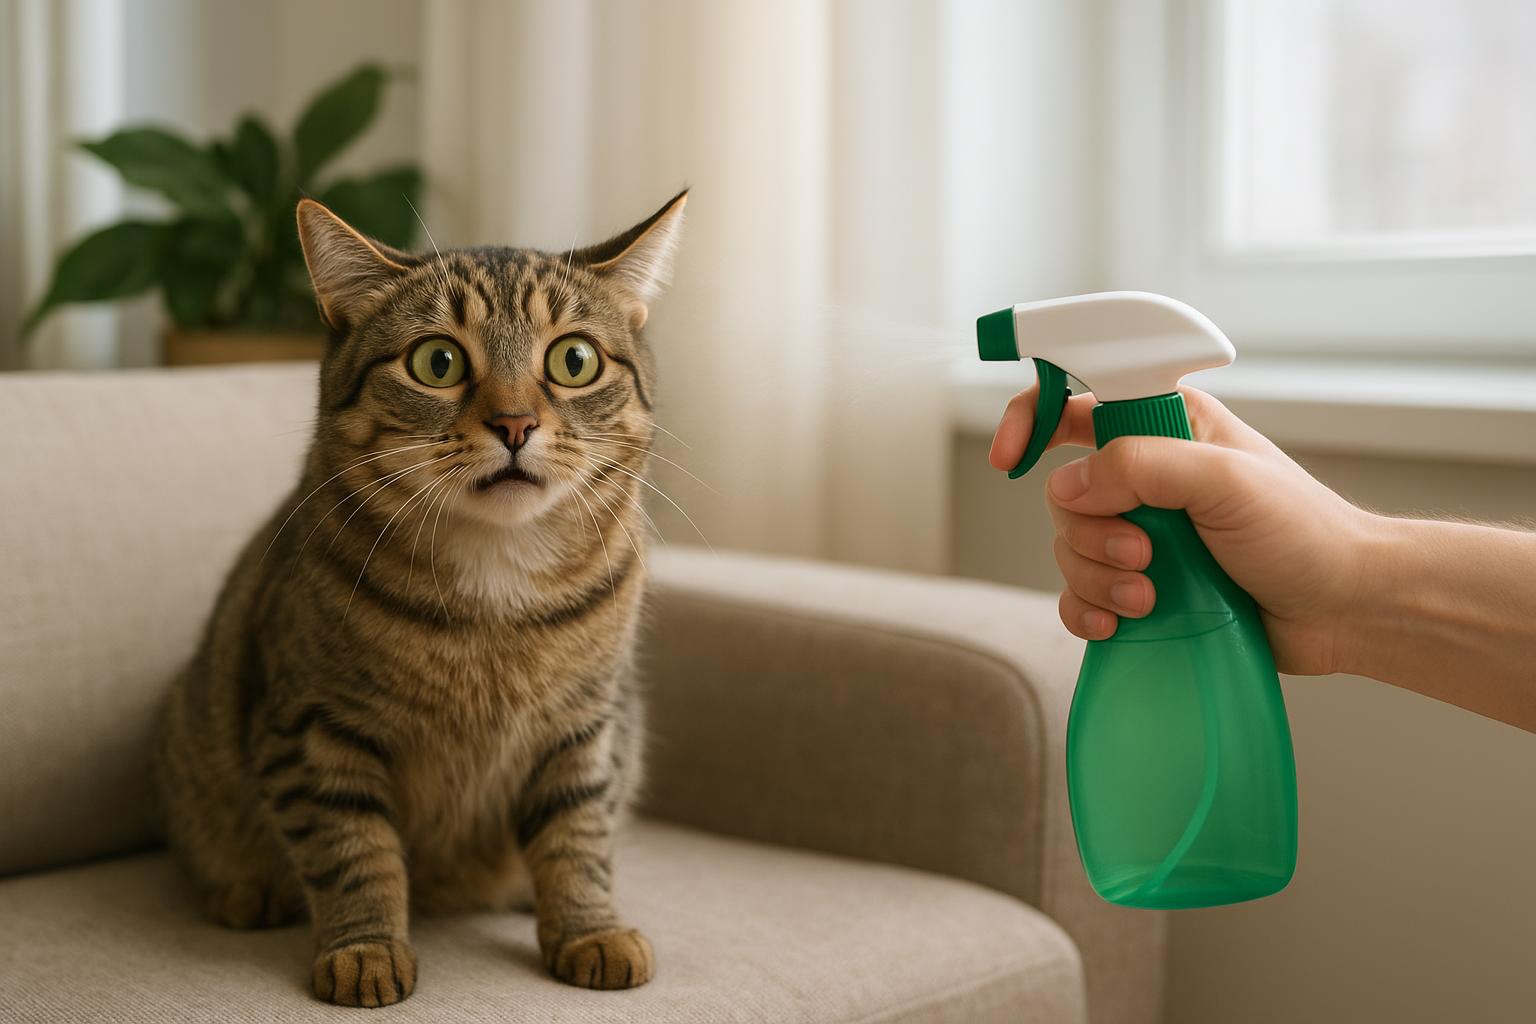
## Remedy 2: Vacuuming And Steam Cleaning Protocol
This remedy is mechanical and hygienic. It’s formal in approach because consistency and proper technique matter for preventative flea survival.
Ingredients / Required Materials:
– Vacuum cleaner with strong suction and HEPA filtration
– Crevice and brush attachments
– Steam cleaner (handheld or floor model) capable of reaching at least 212°F (100°C) steam temperature
– Laundry detergent and access to a washing machine with hot-water setting
– Trash bags for disposal of vacuum contents
– Protective gloves
Step-By-Step Creation And Application:
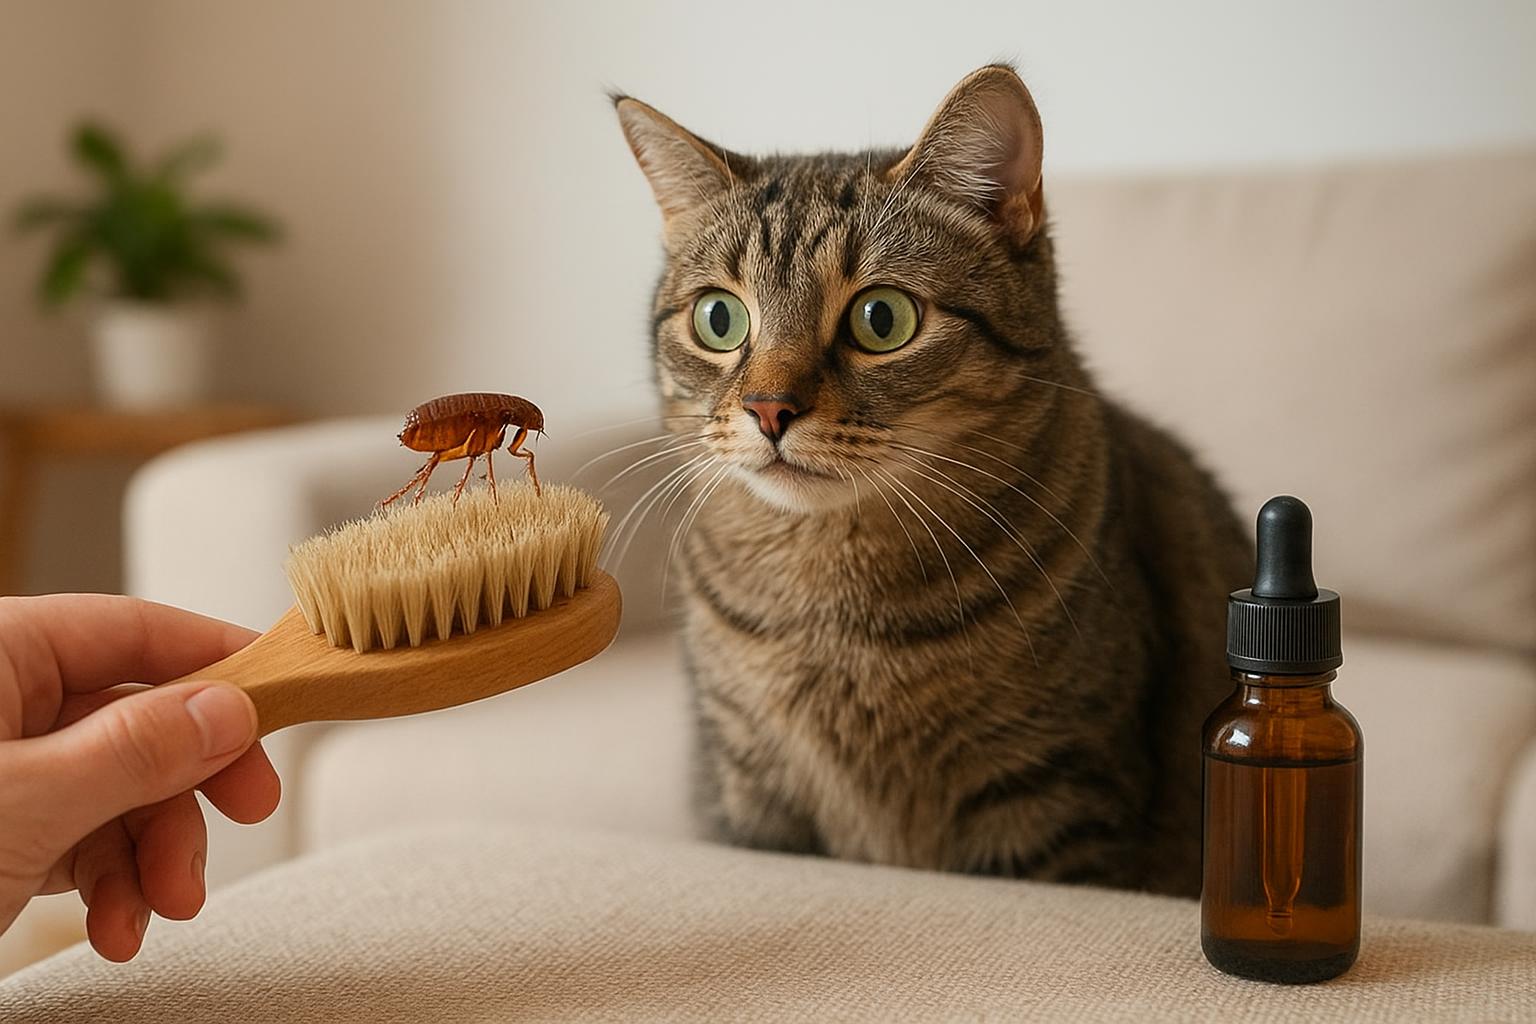
1. Daily/Weekly Vacuuming Routine: Vacuum high-traffic and pet-frequented areas at least twice weekly. Focus on carpet edges, under furniture, pet sleeping areas, and upholstery. Use crevice tool to pull dirt from corners and baseboards.
2. Bag/Canister Disposal: After vacuuming, remove and seal bag or empty canister contents into a trash bag. Seal it tightly and dispose of it outside to prevent any eggs or larvae from reestablishing.
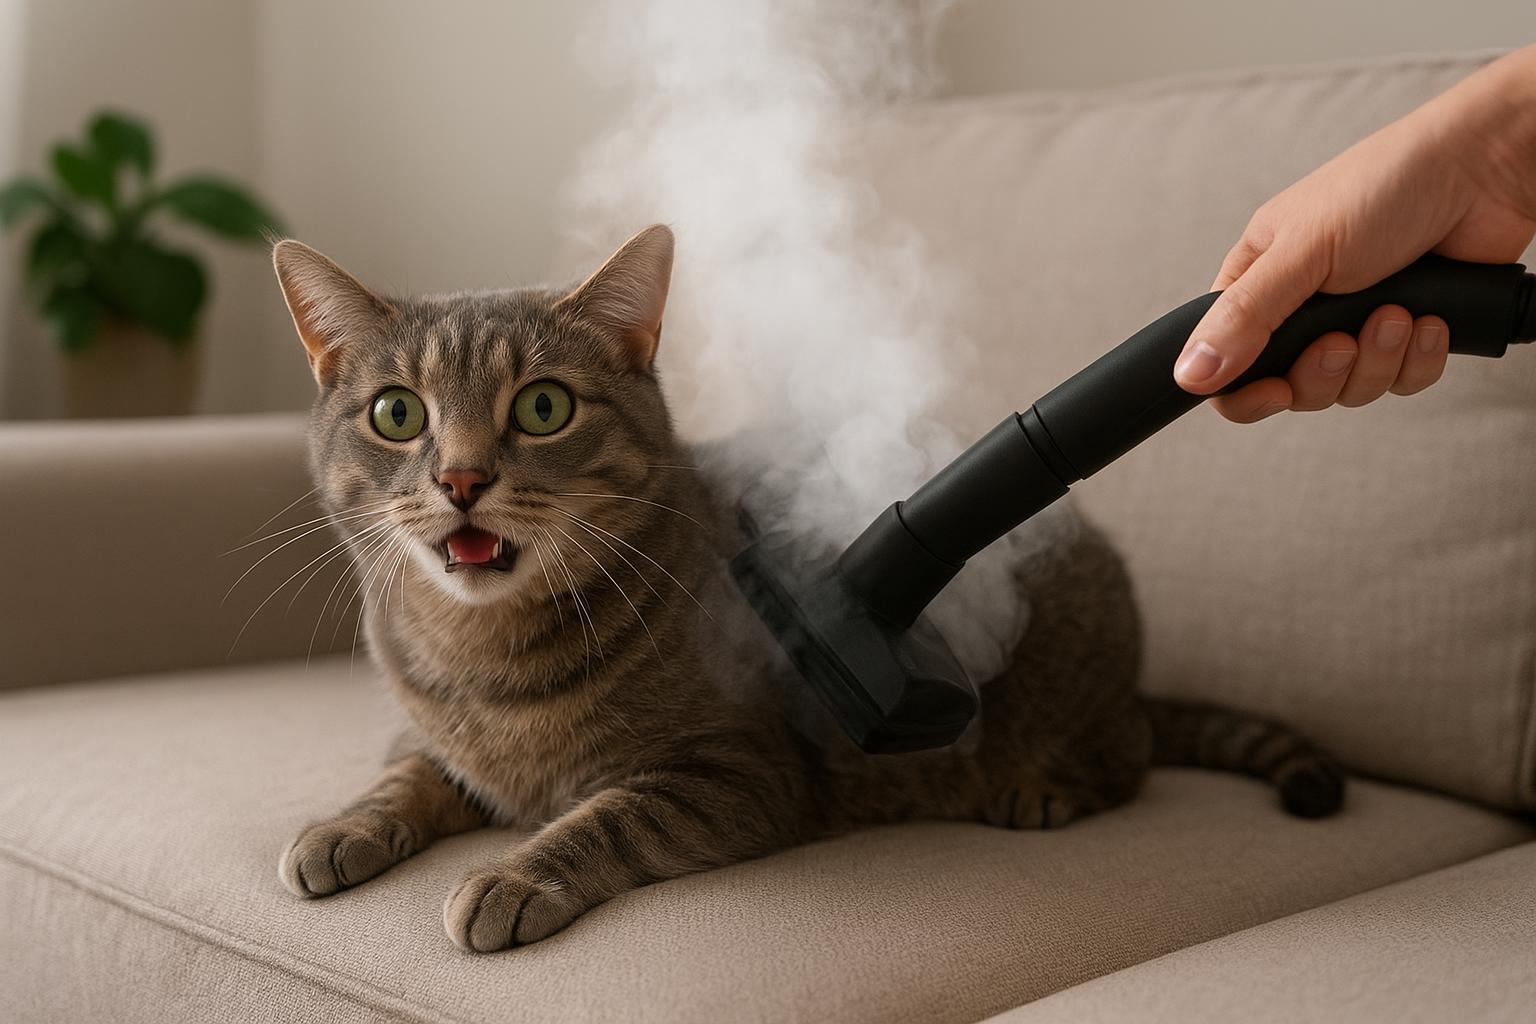
3. Steam Cleaning: Once a month (or more often if you have pets), steam clean carpets and upholstery. Steam at high temperature to kill eggs and larvae. Follow manufacturer instructions to avoid damaging fibers and ensure adequate drying to prevent mold.
4. Launder Textiles: Wash pet bedding, throw rugs, and removable cushion covers in hot water (>130°F if fabric allows) and dry on high heat. Do this weekly for pet bedding as preventive flea survival practice.
5. Inspect And Treat Entry Points: Vacuum and steam-clean door mats and threshold areas frequently. Seal cracks and crevices in floors and baseboards where a flea lifecycle could hide.
6. Documentation: Keep a simple log of vacuuming and steam cleaning dates to maintain consistency.
Notes: Steam kills eggs and larvae on contact, but it won’t reach deeply embedded pupae. Combined with regular vacuuming, steam cleaning significantly reduces the chance of a population establishing.
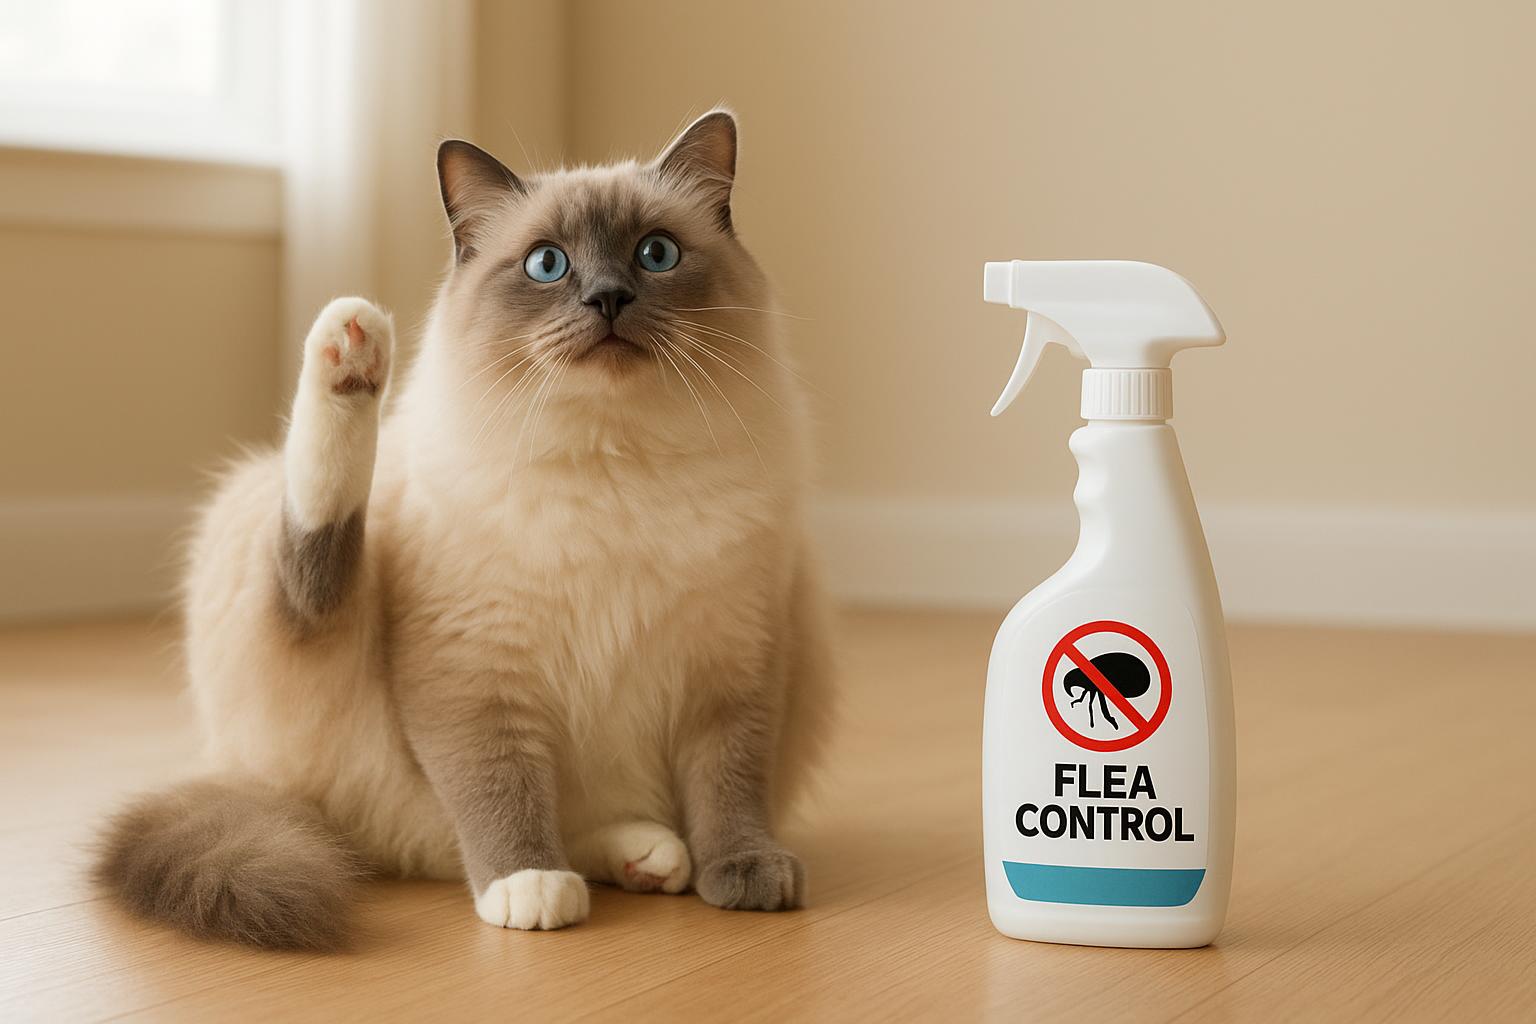
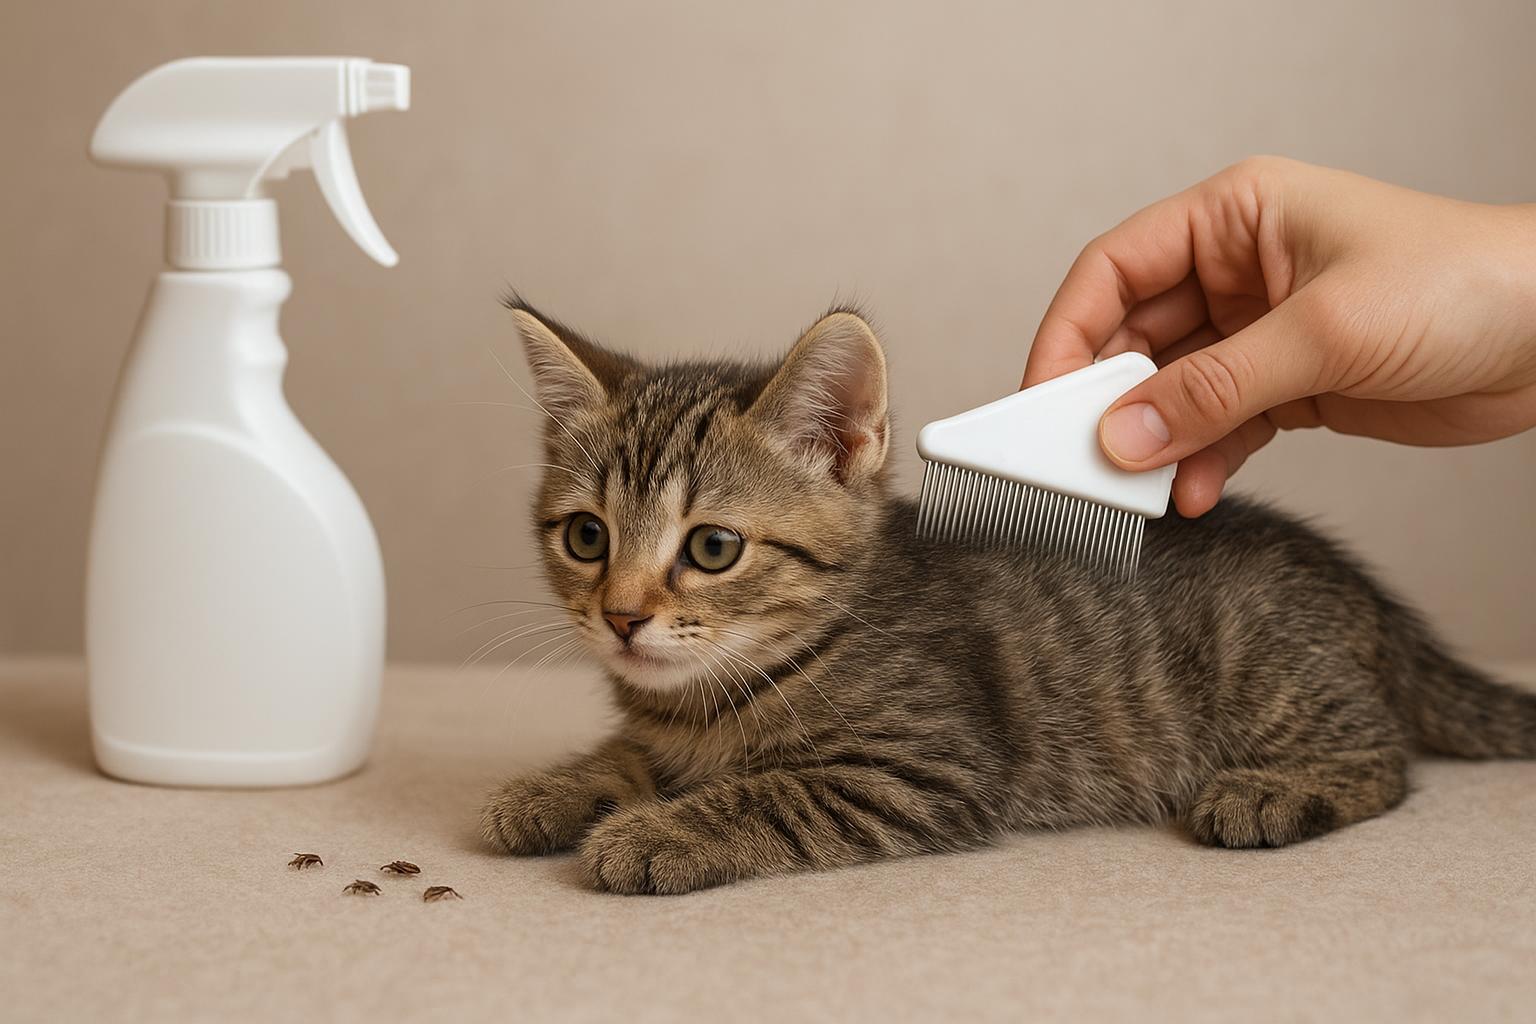
### Pet Care As Prevention
Pets are central to flea survival dynamics. Routine pet care is preventive care.
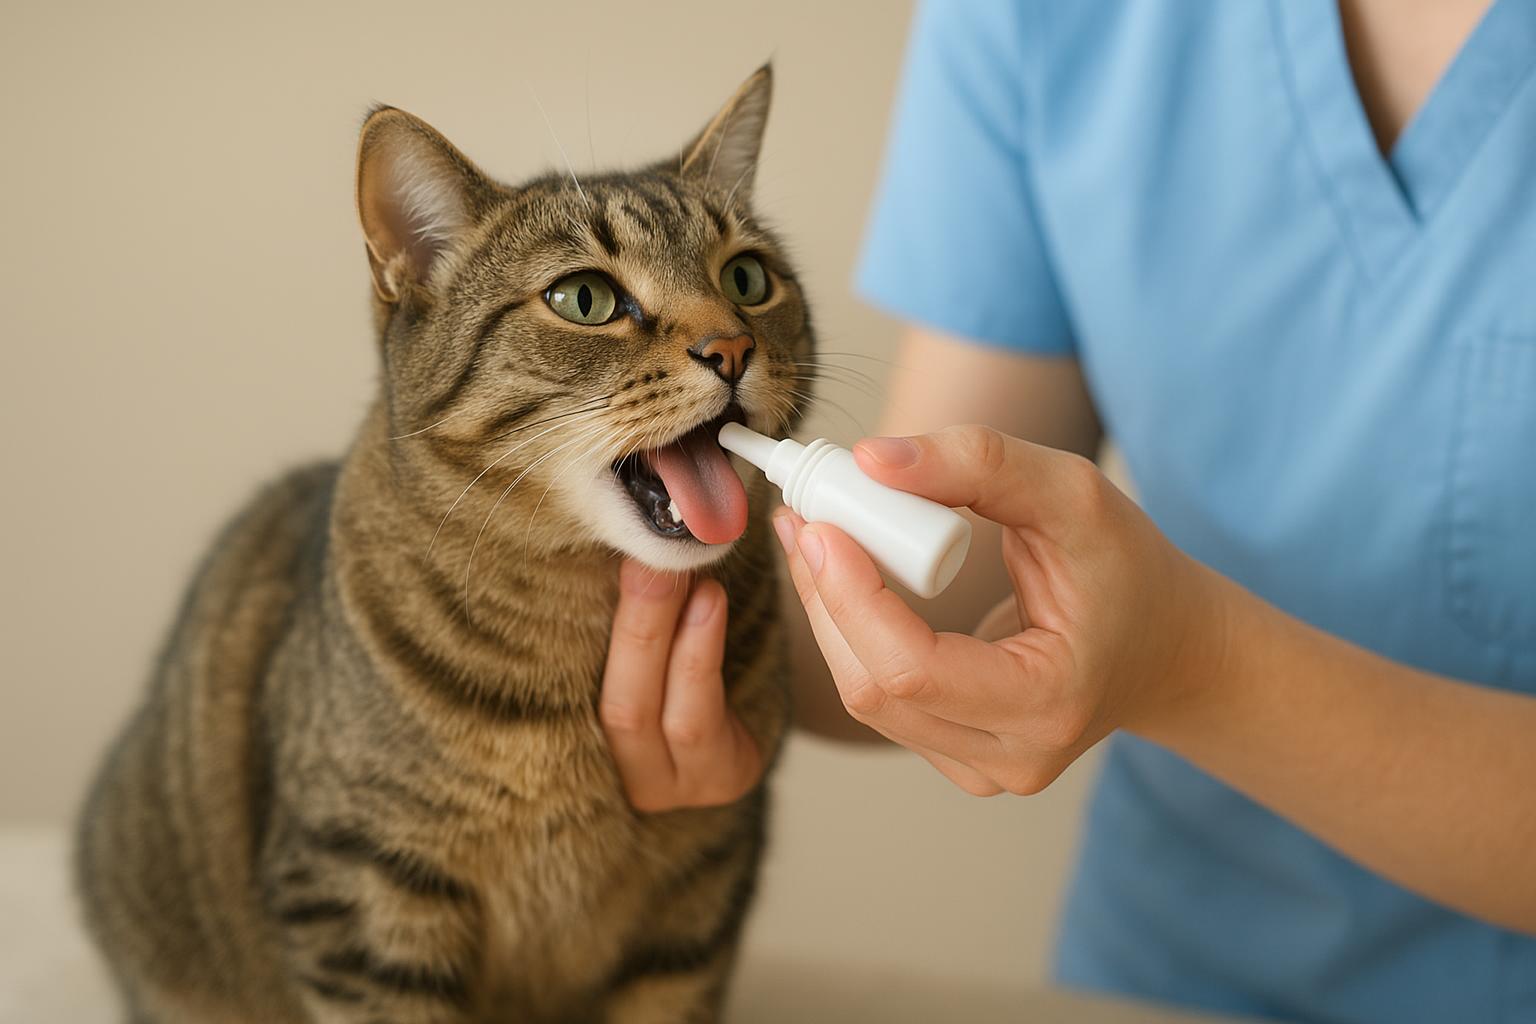
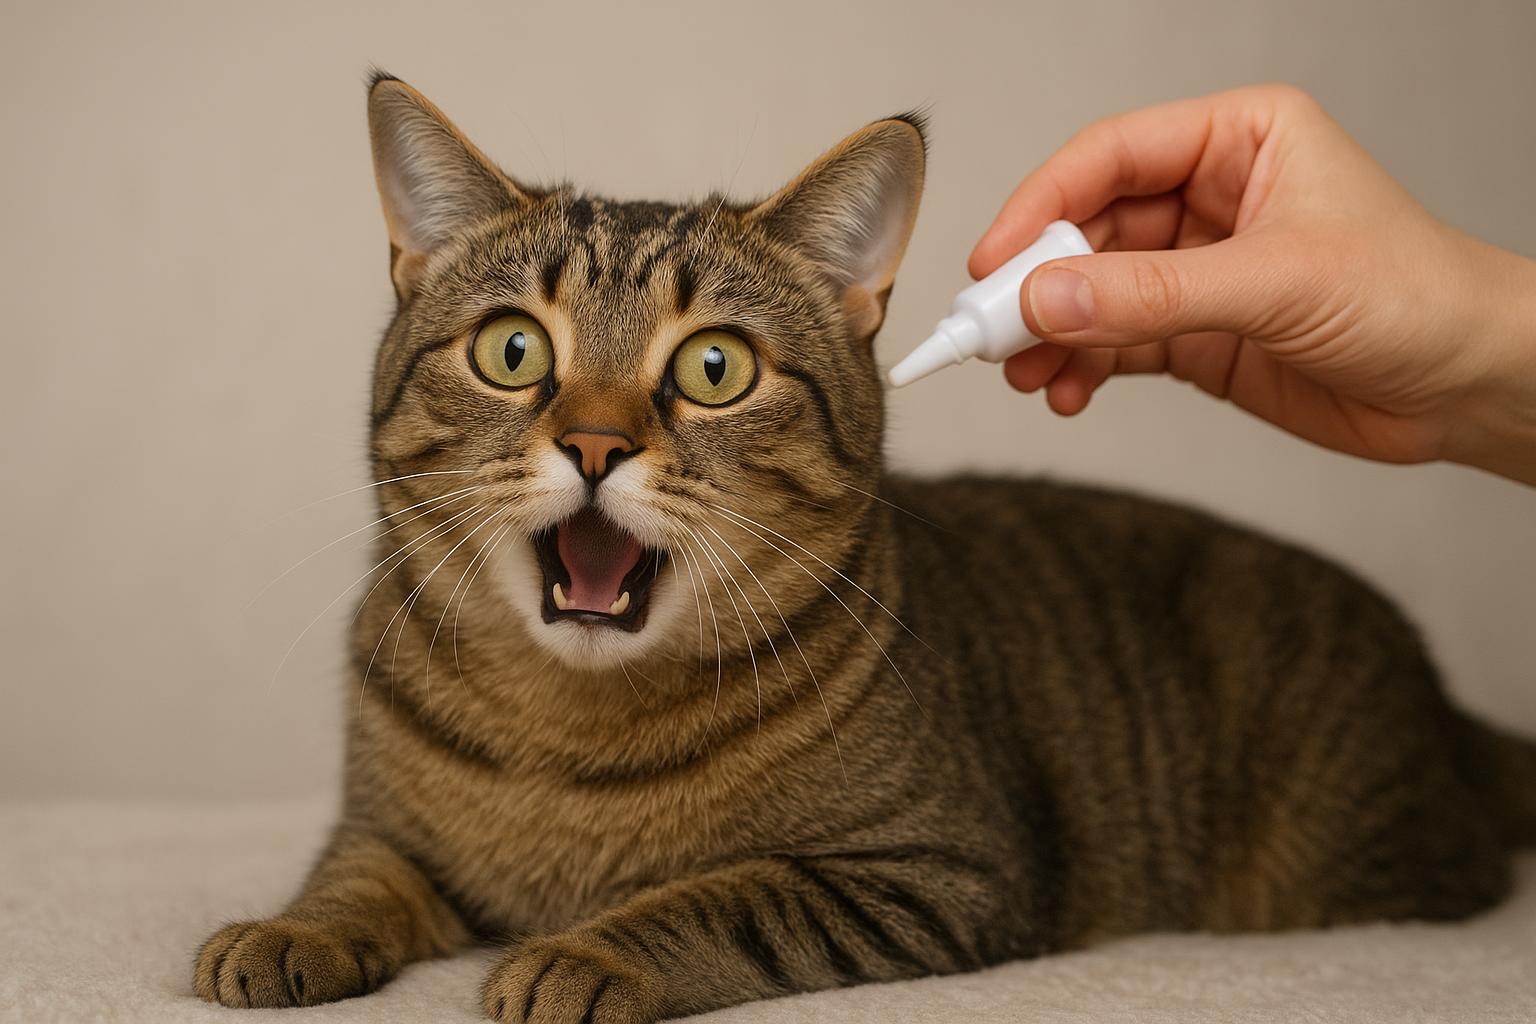
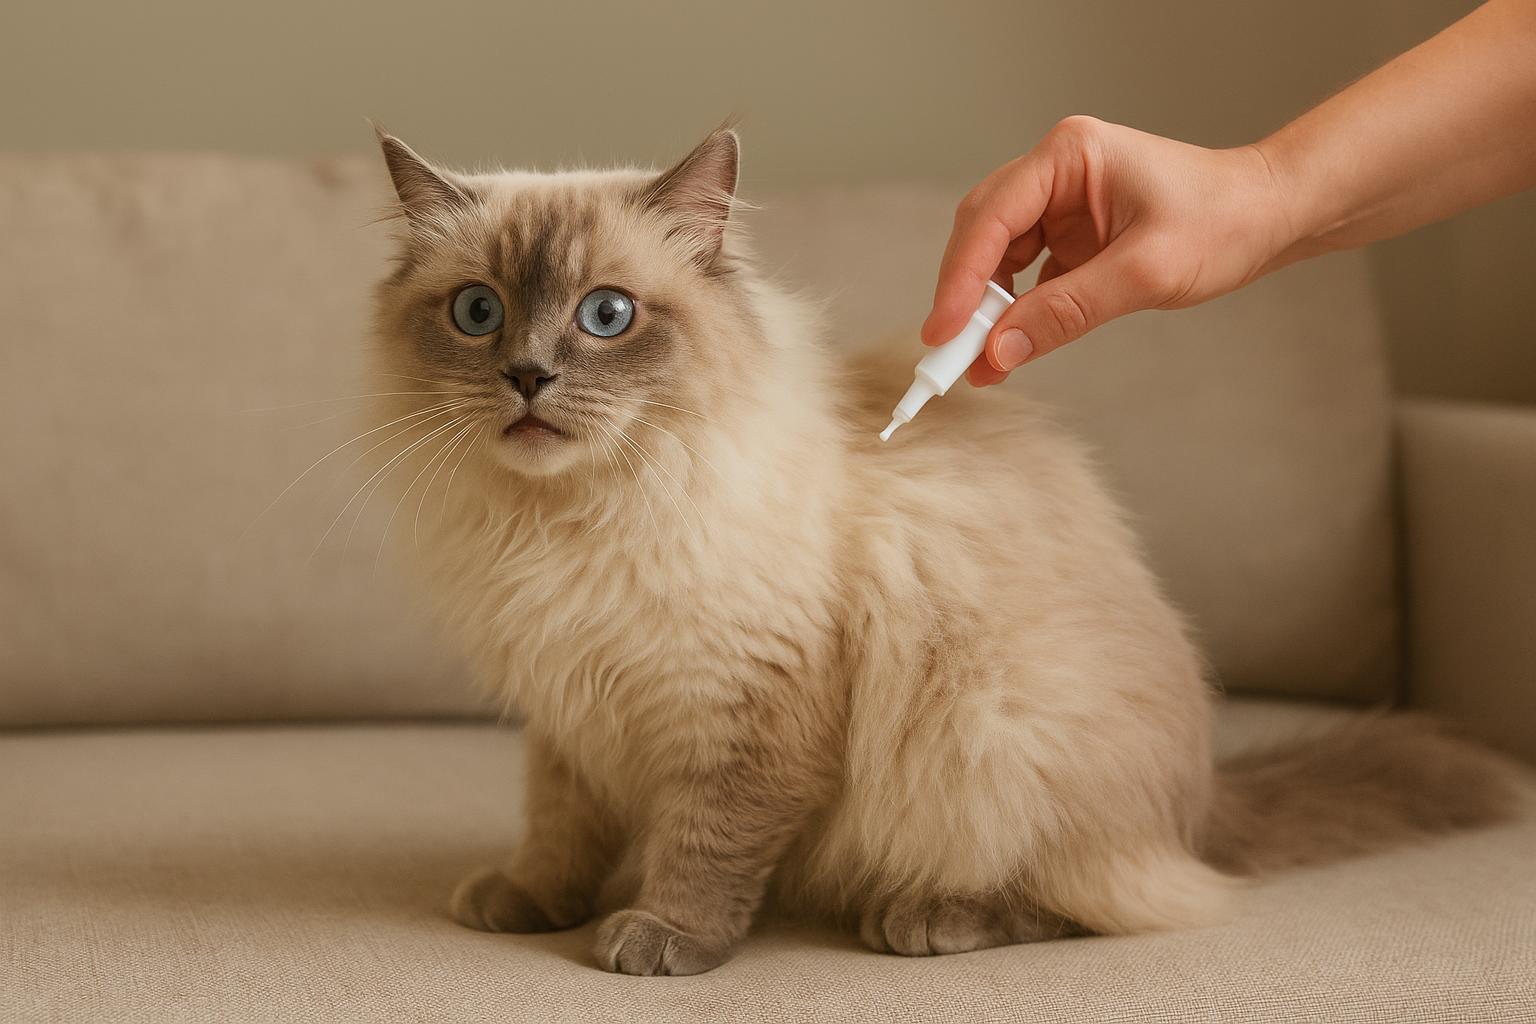
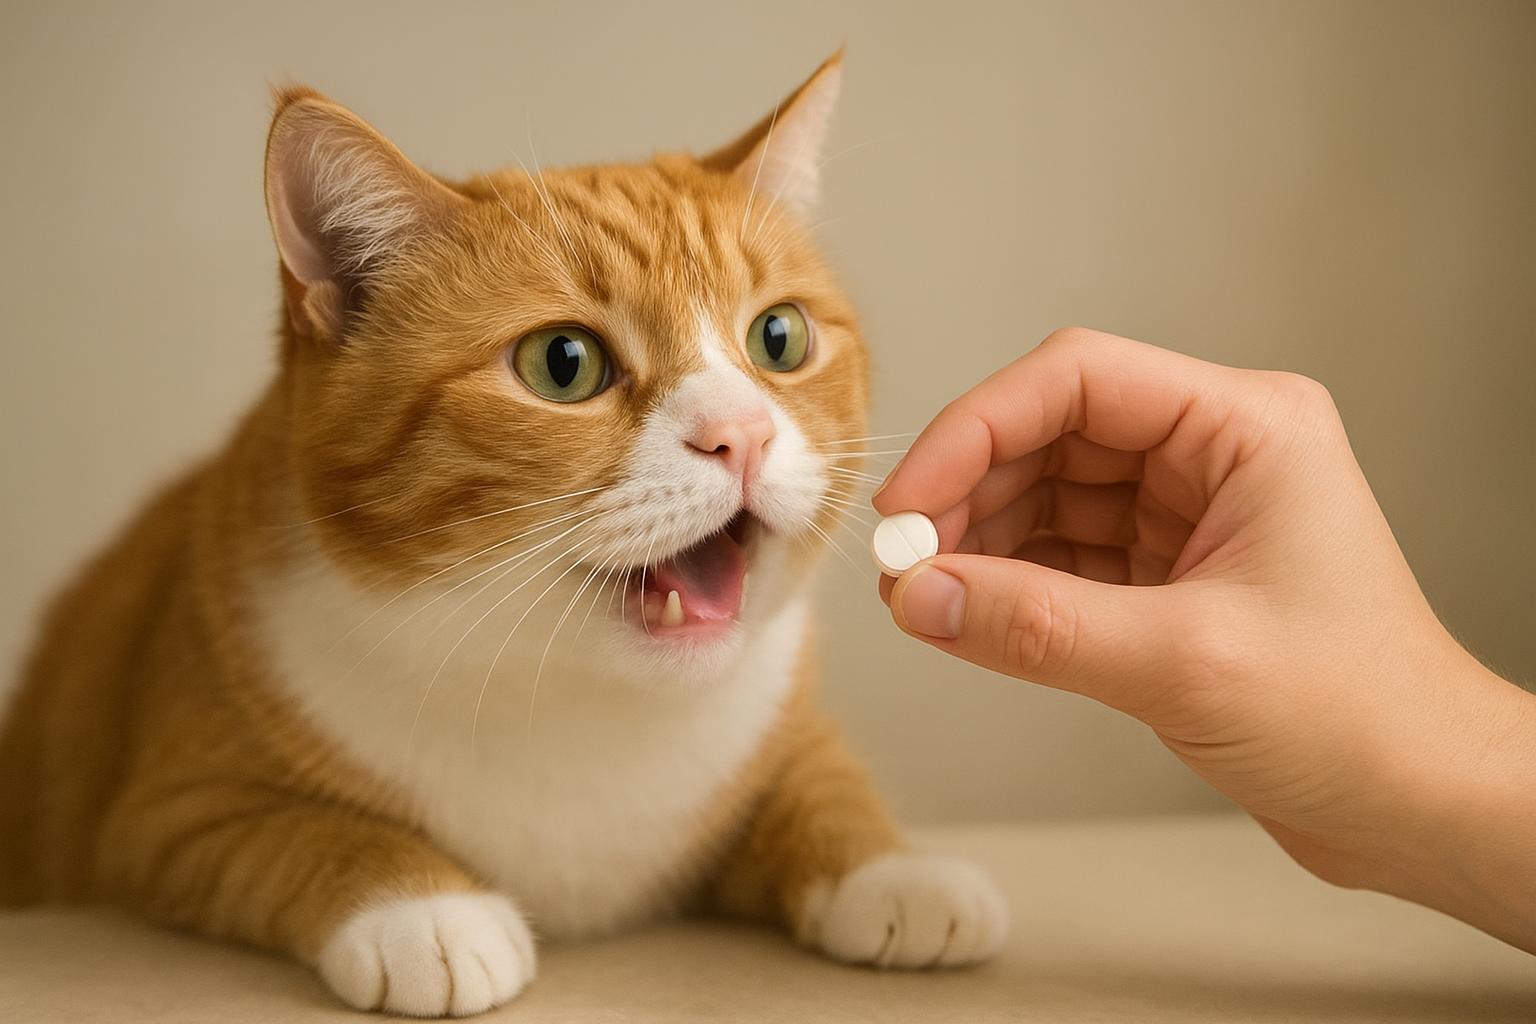
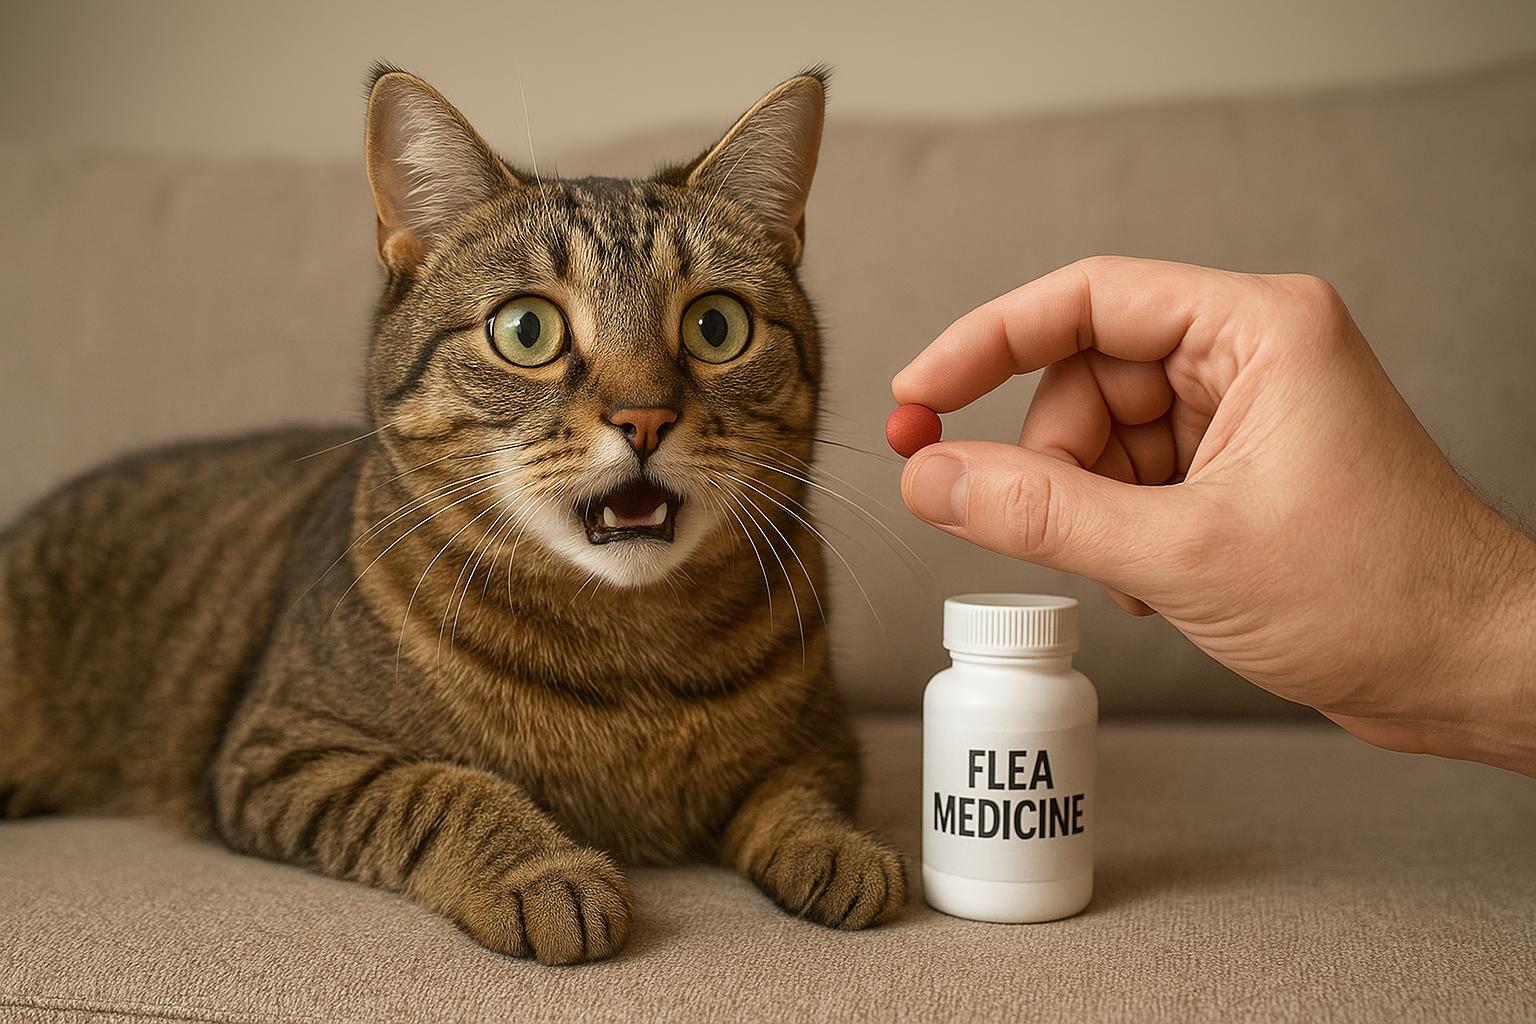
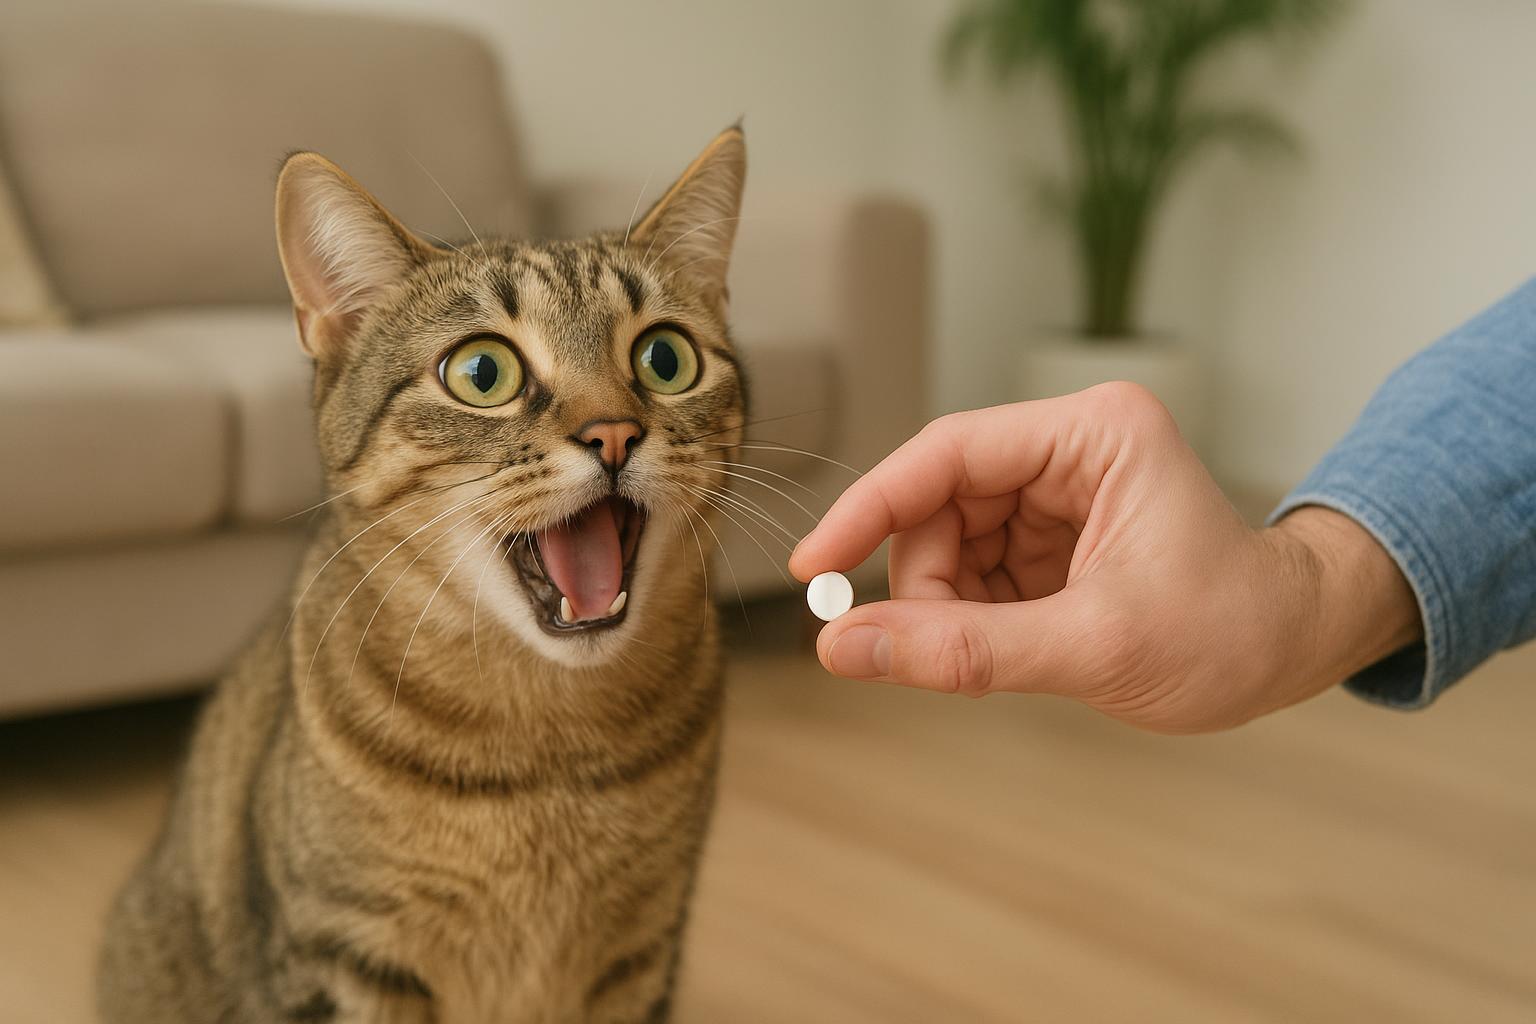
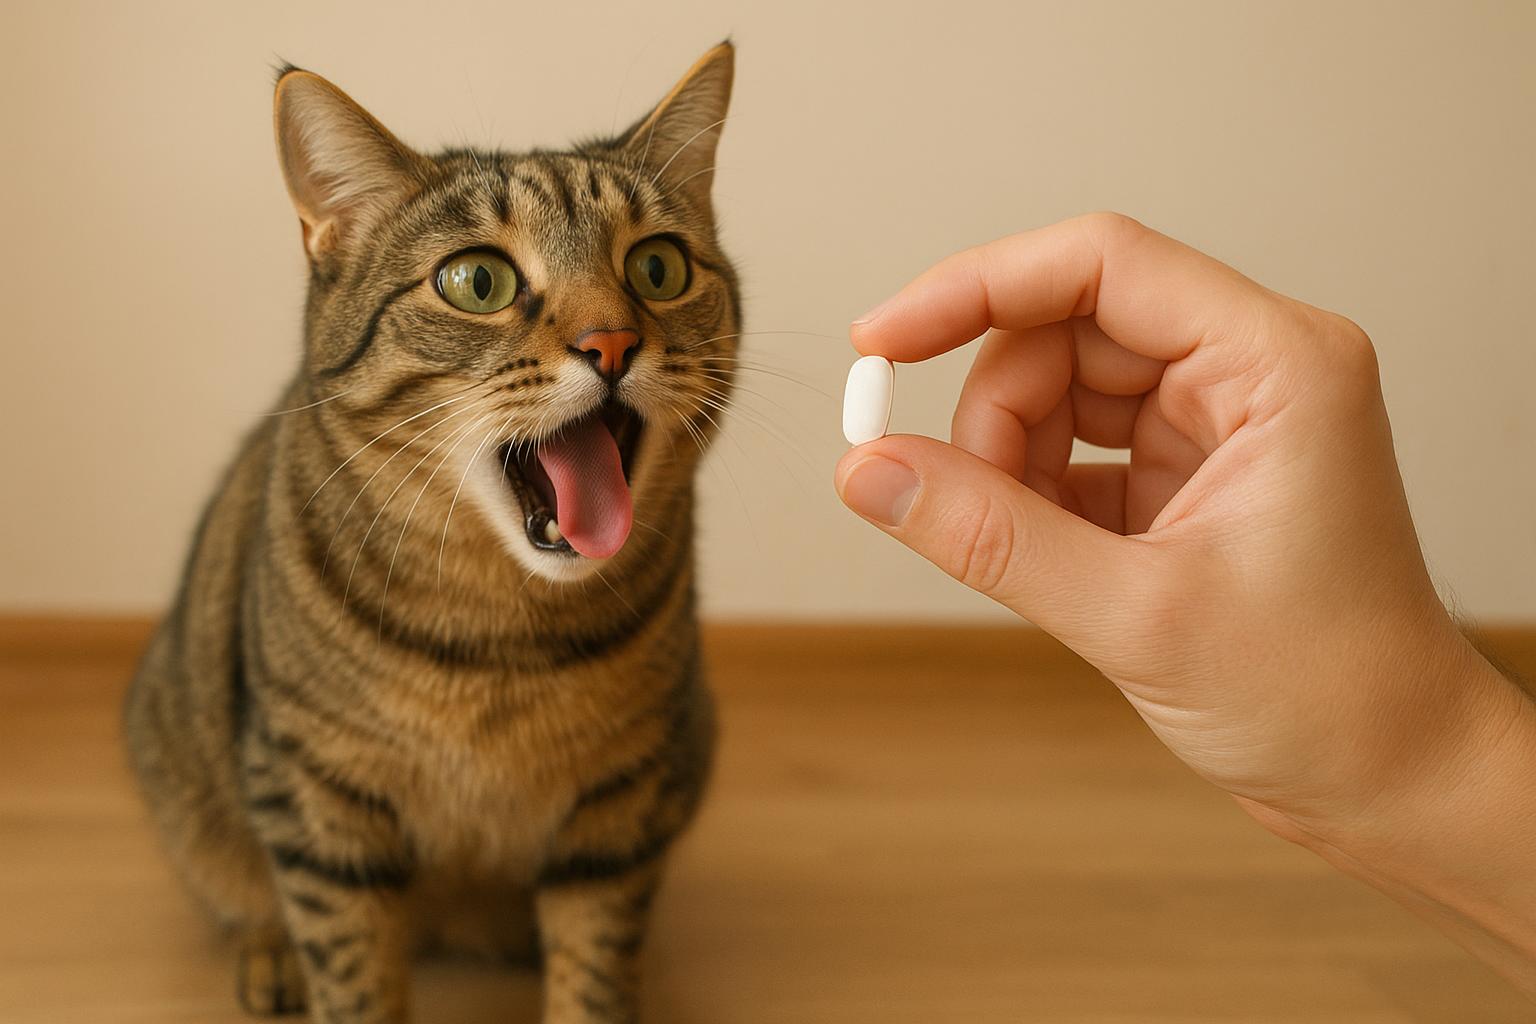
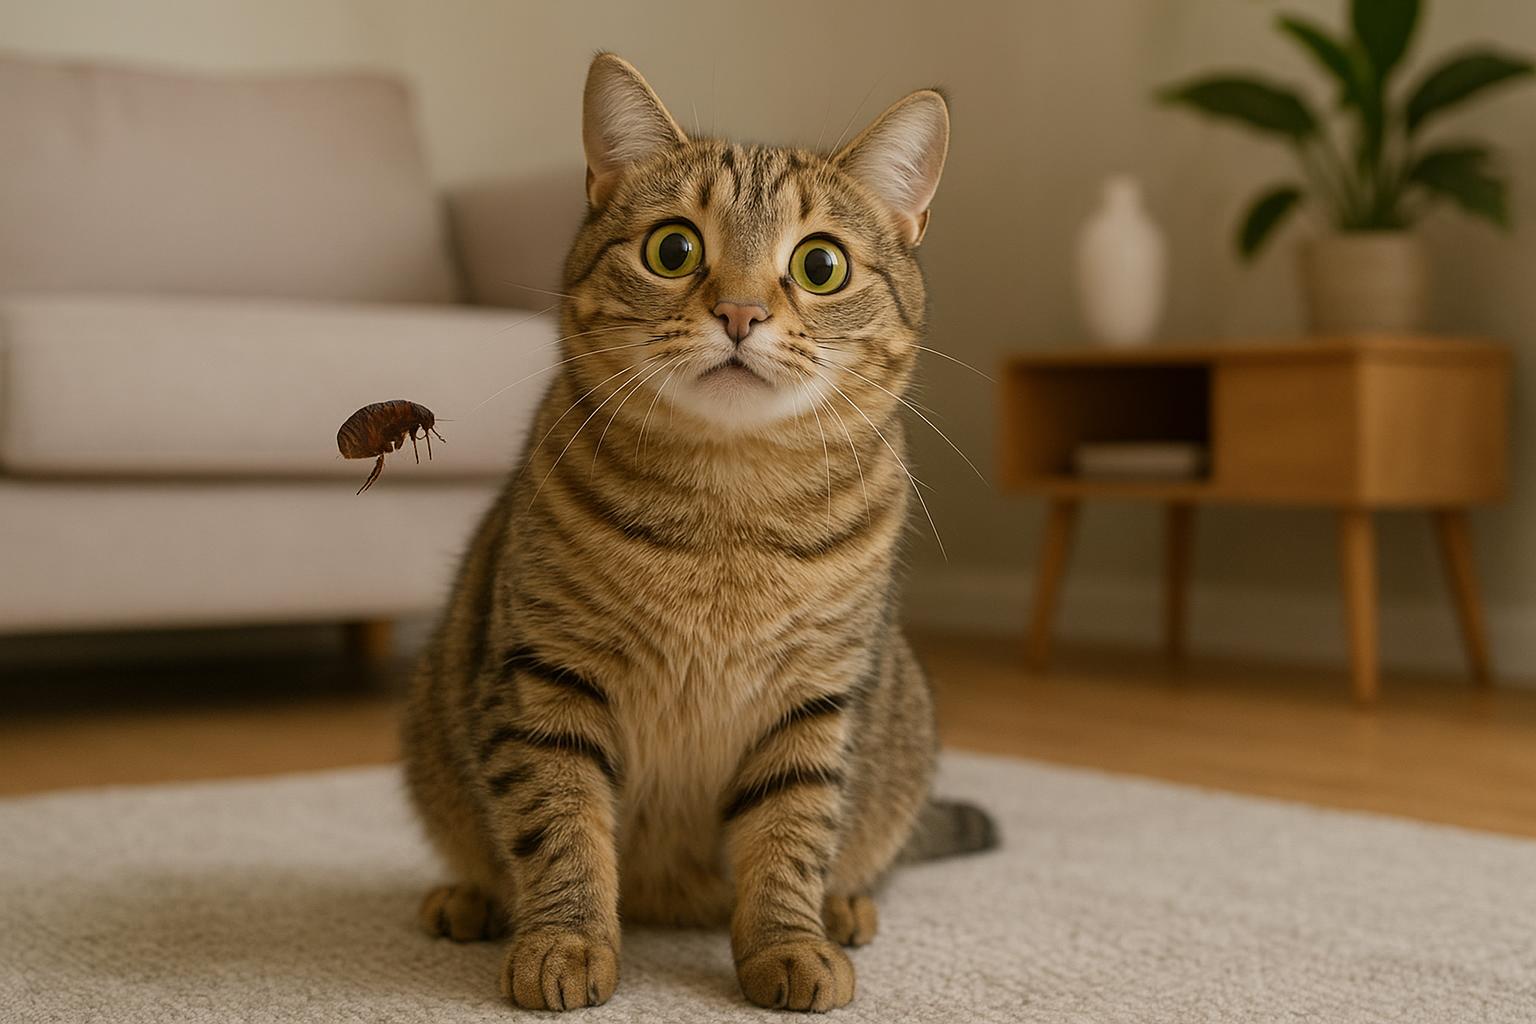
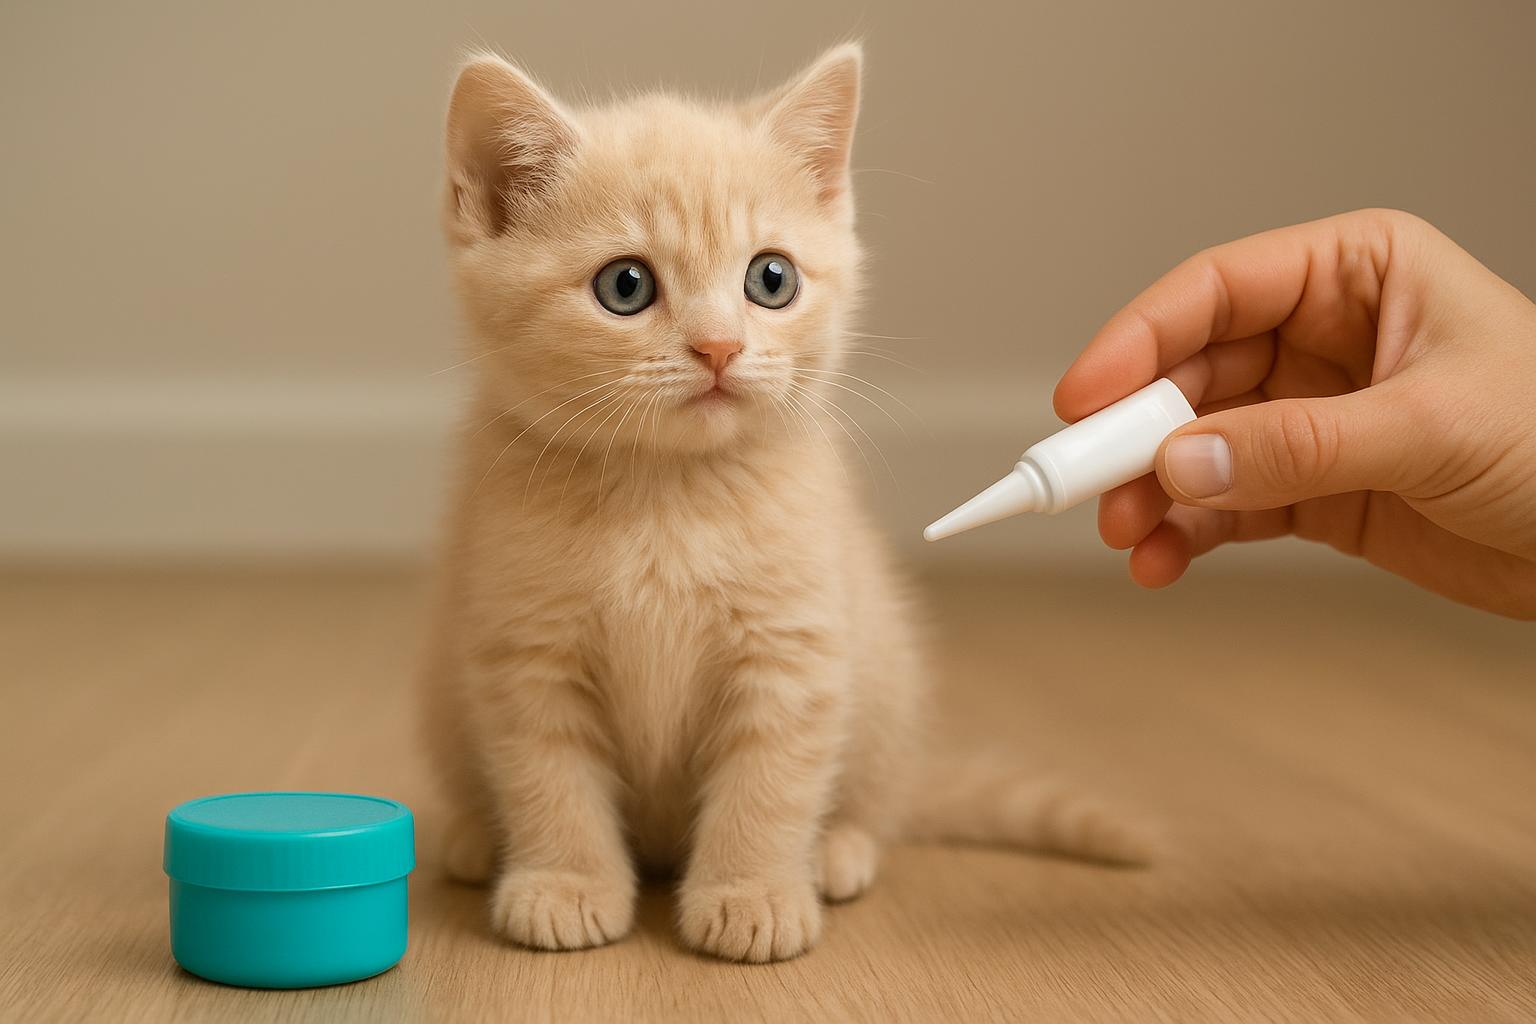
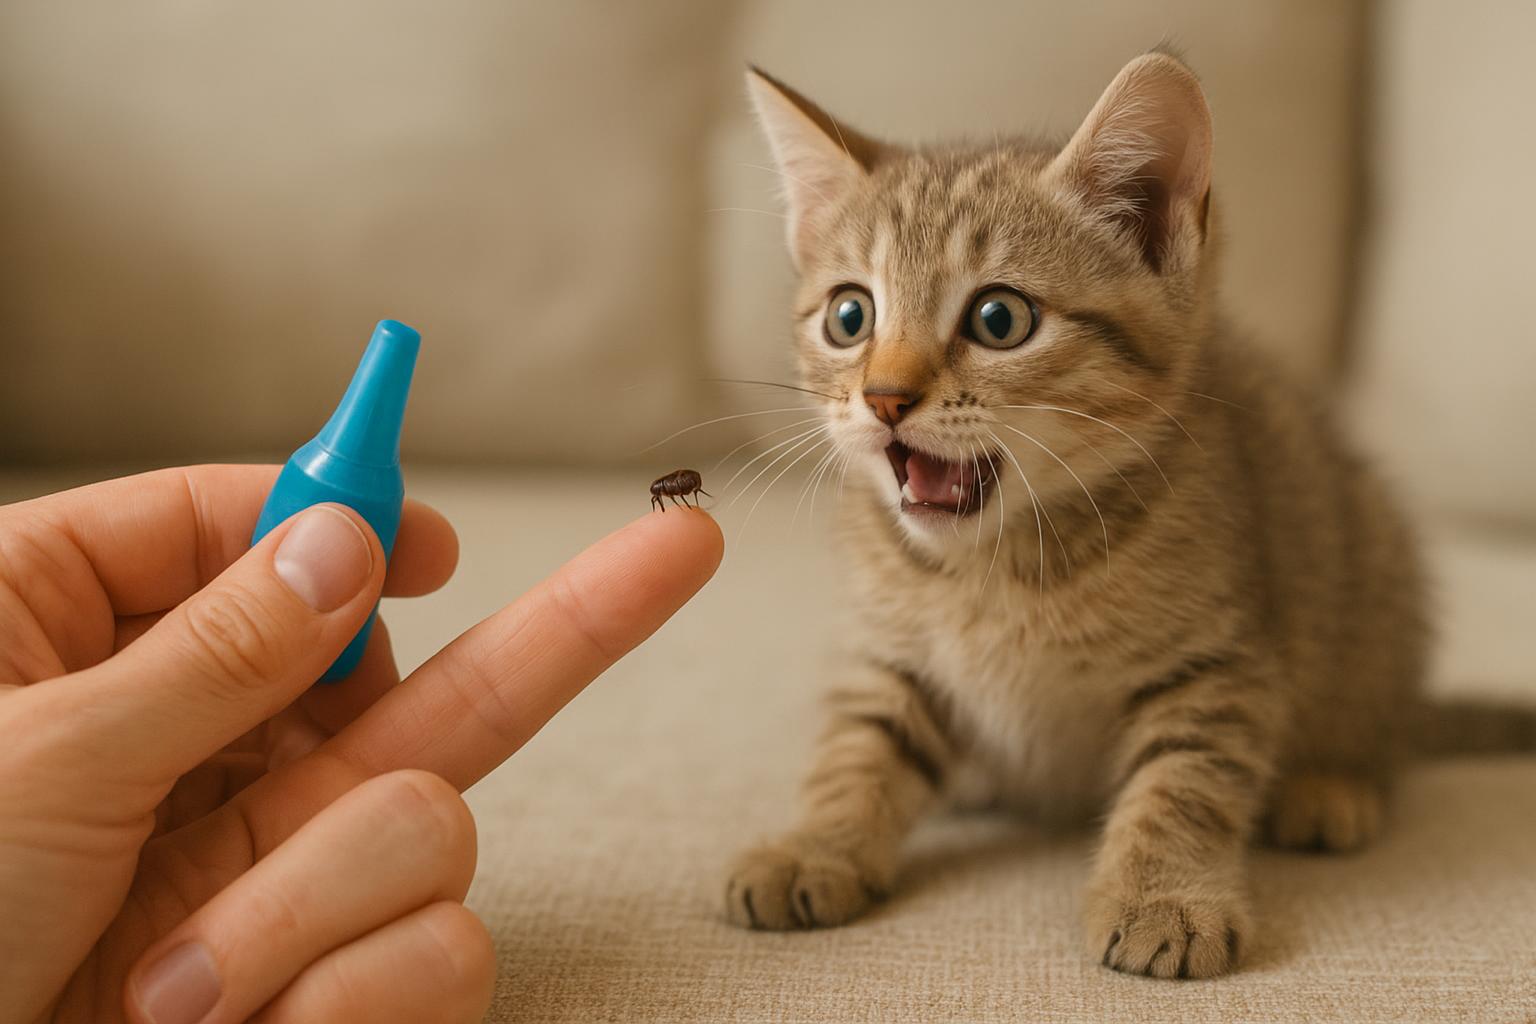
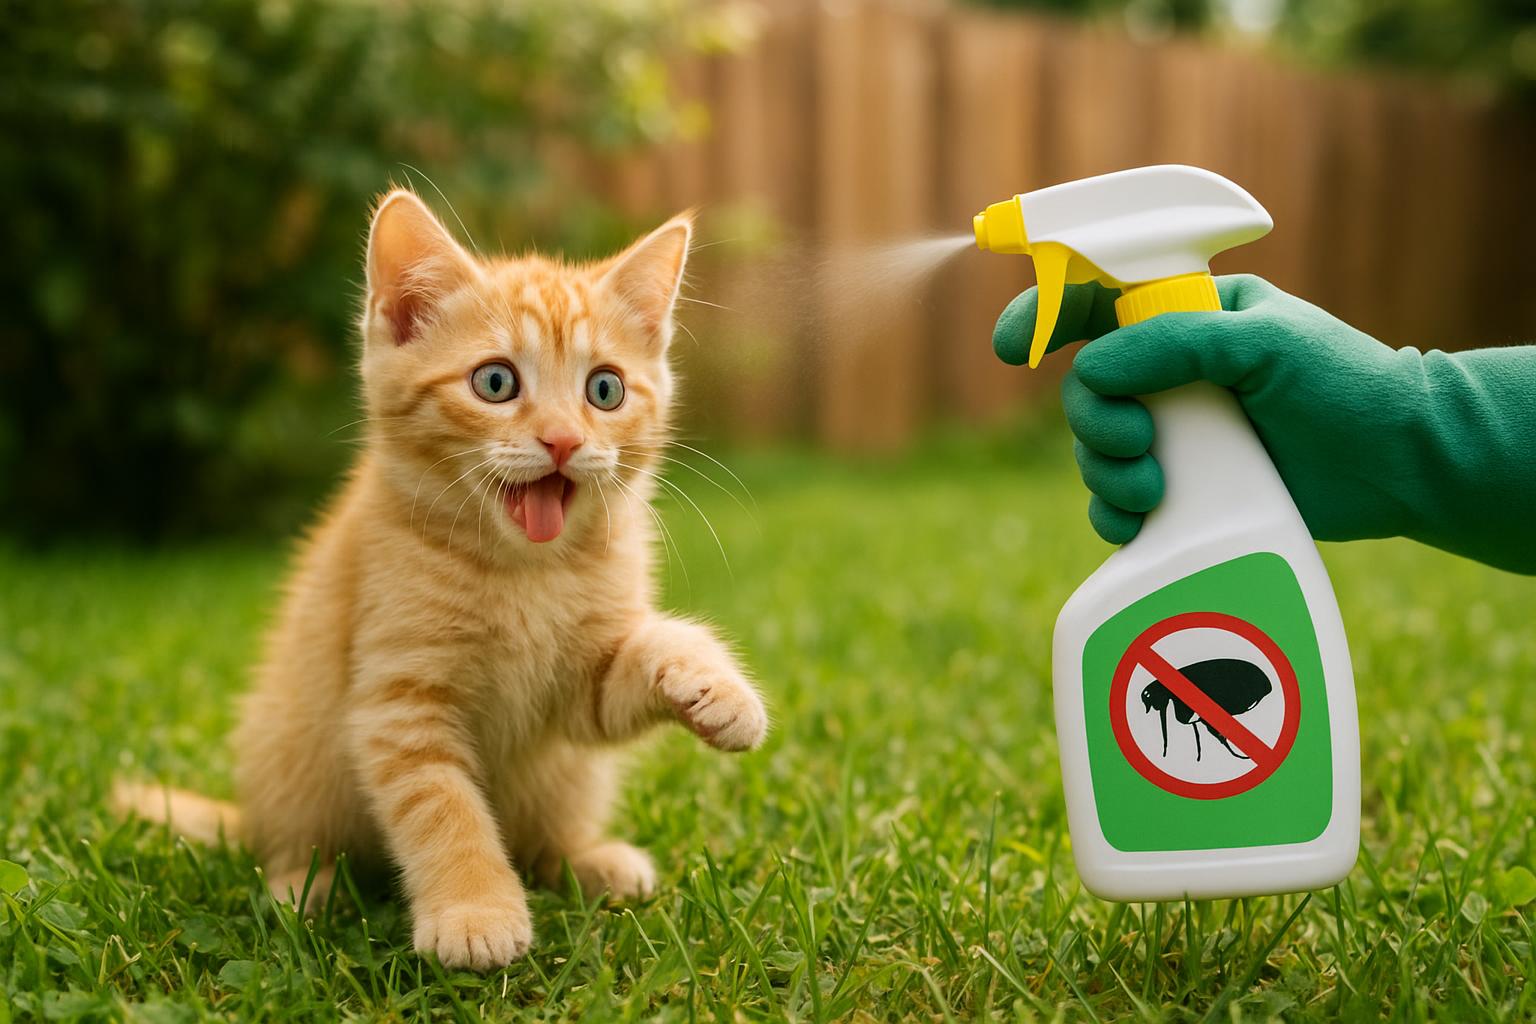
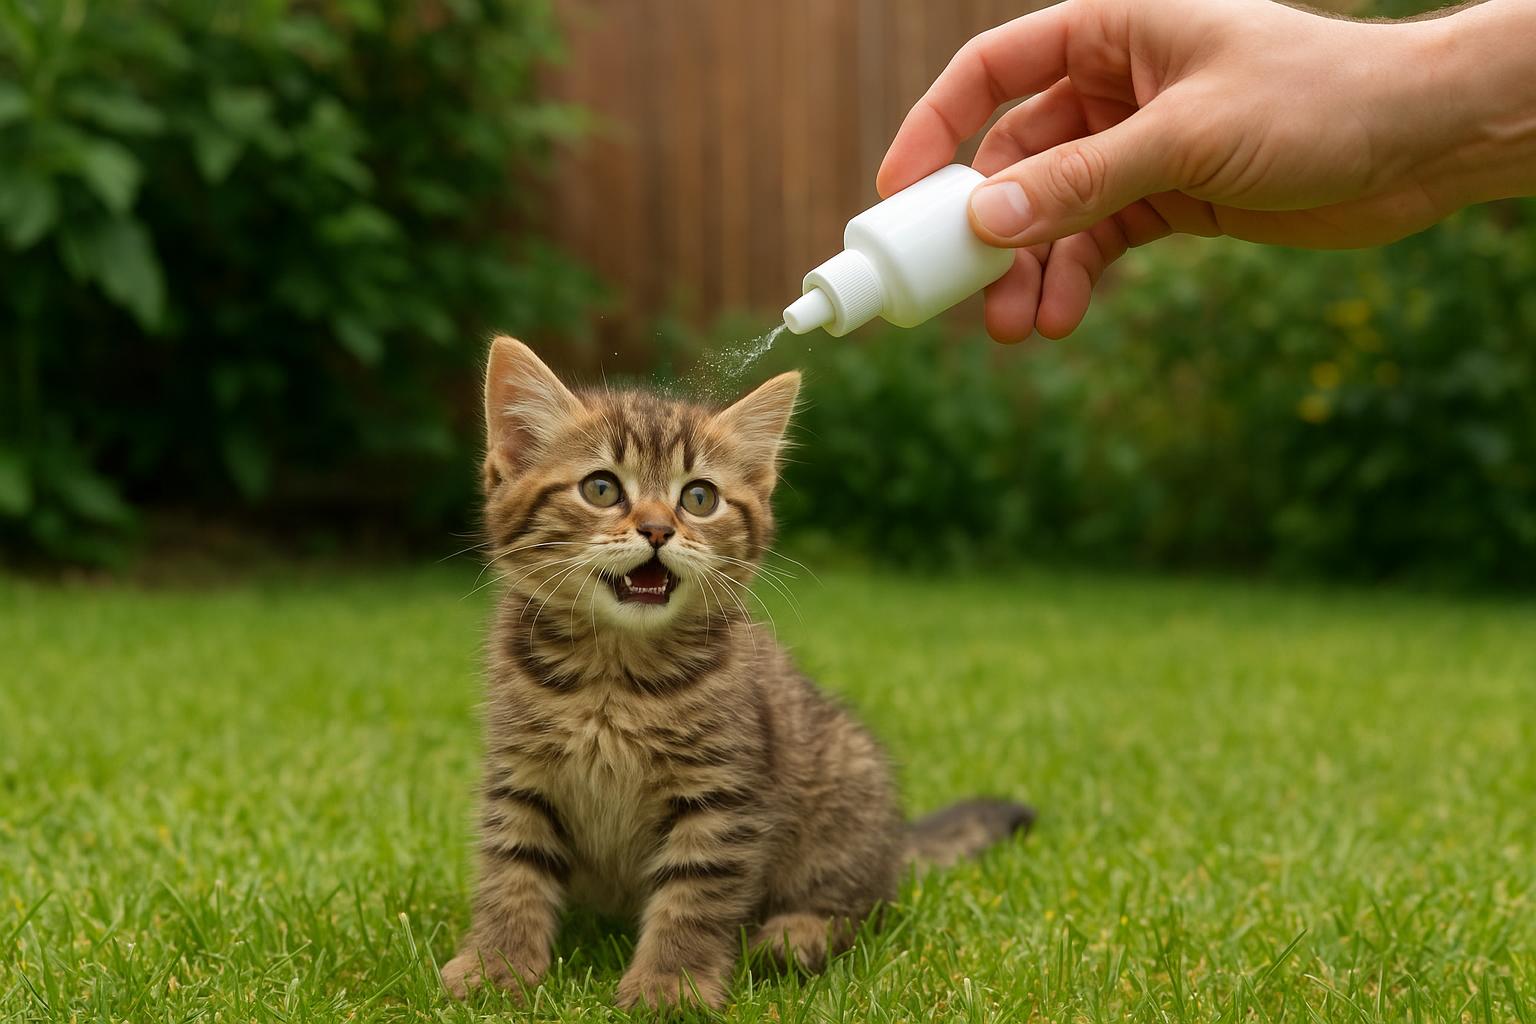
– Use veterinarian-recommended flea preventatives regularly, year-round if you live in warmer climates. Spot-on treatments, oral medications, or monthly collars reduce the chance fleas ever enter your home.
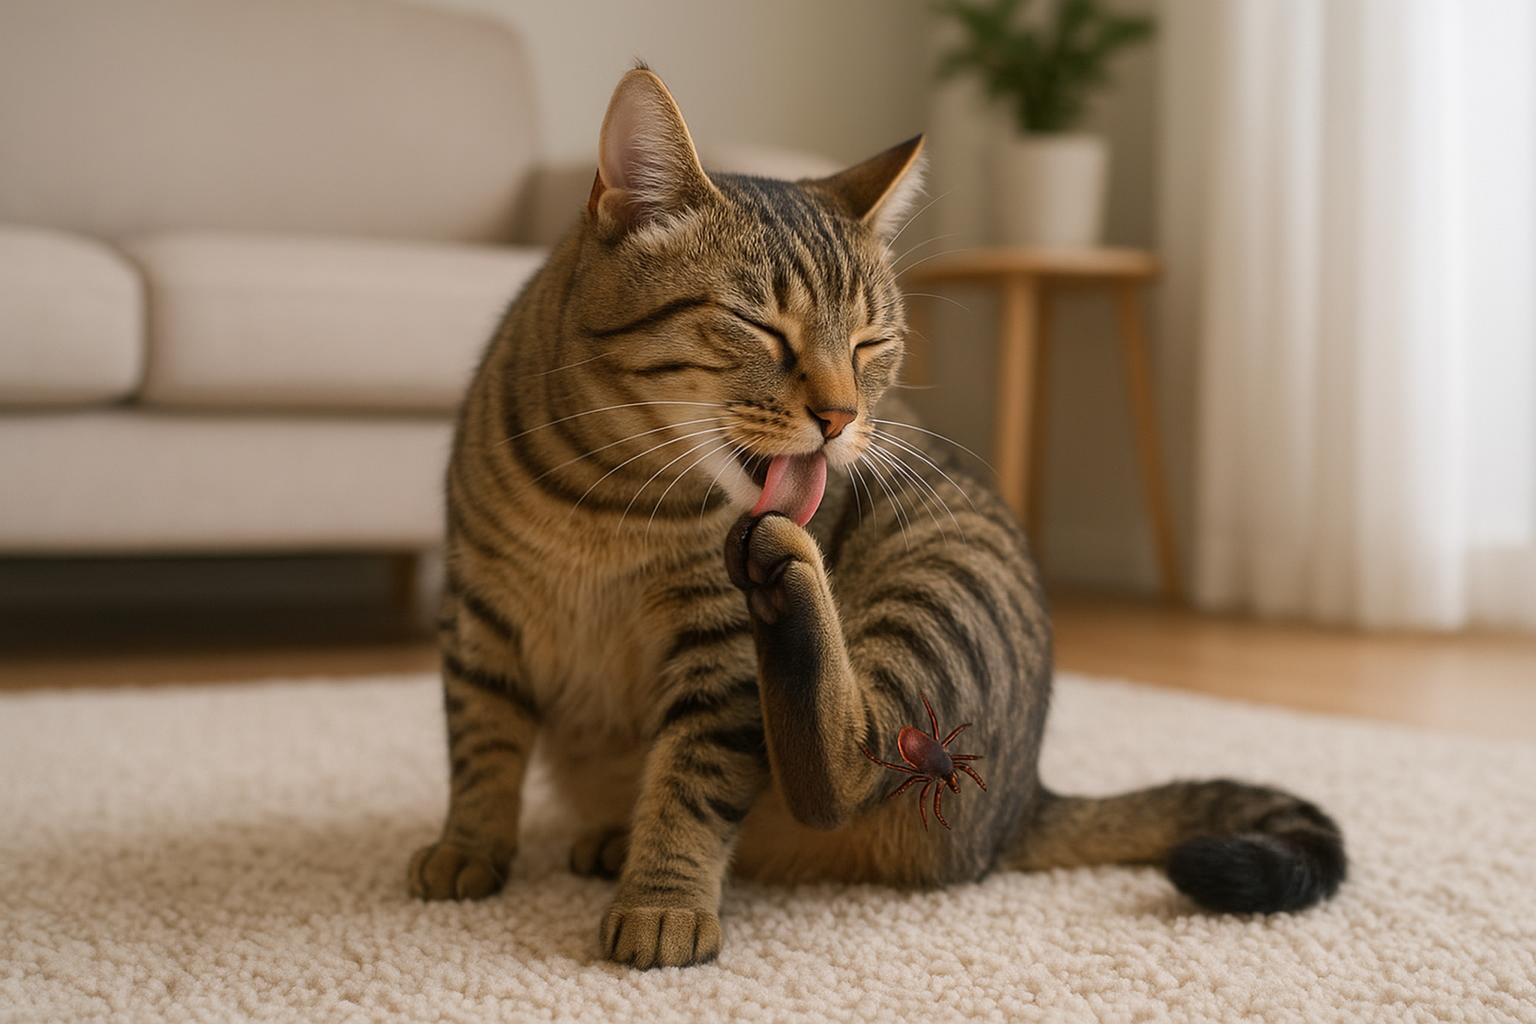
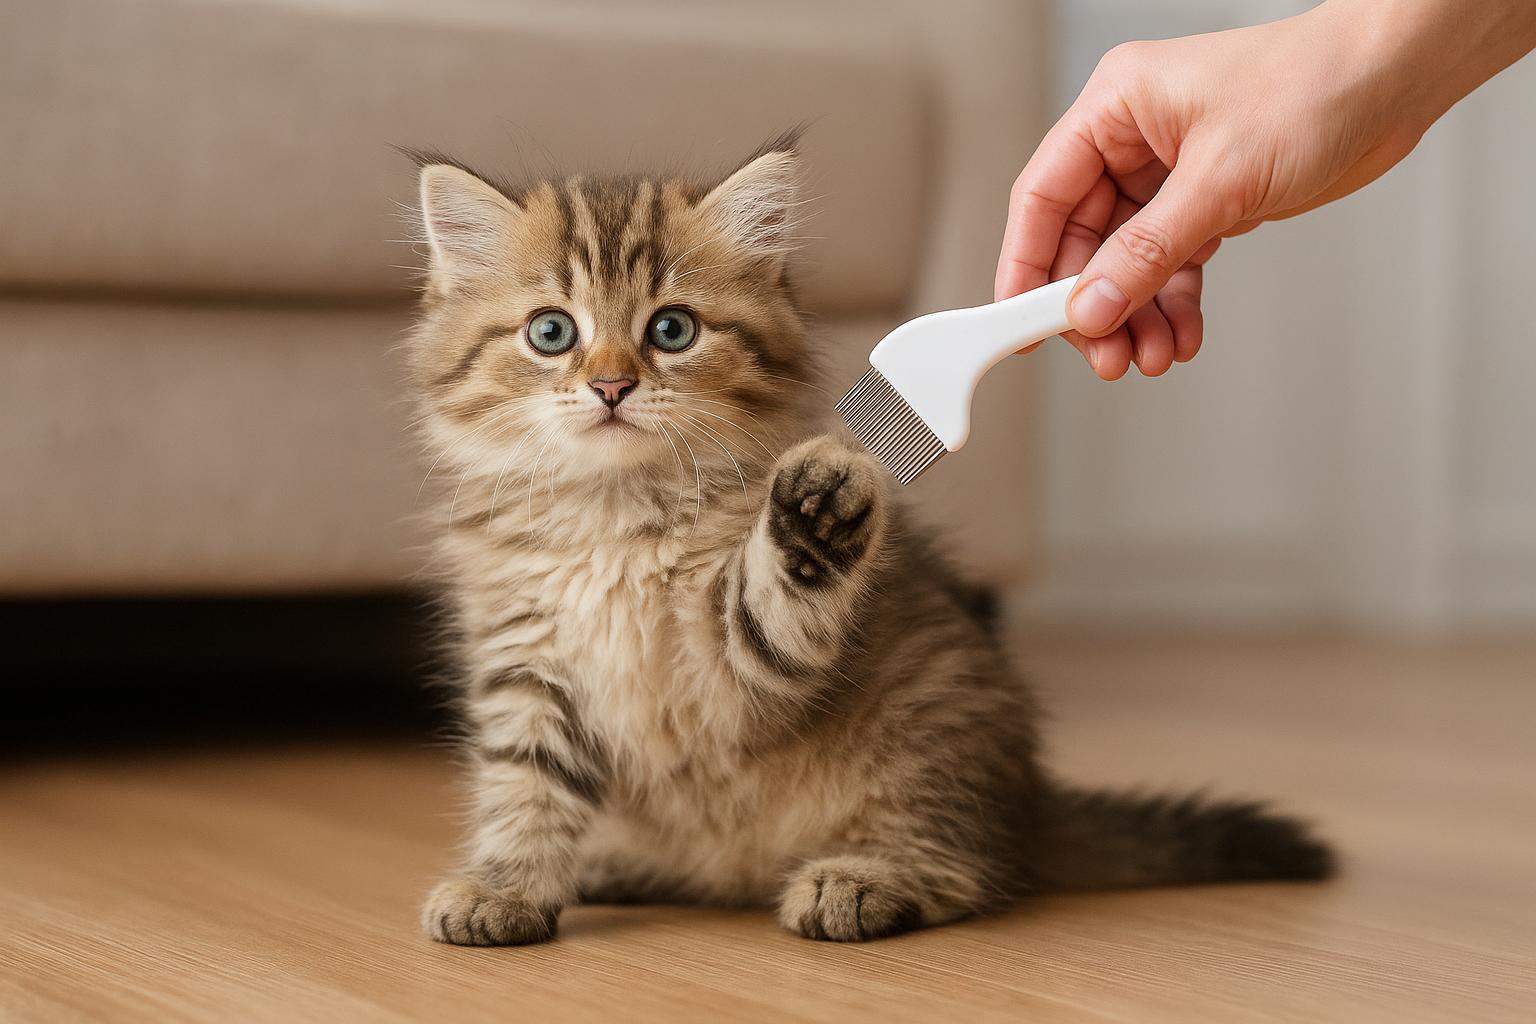
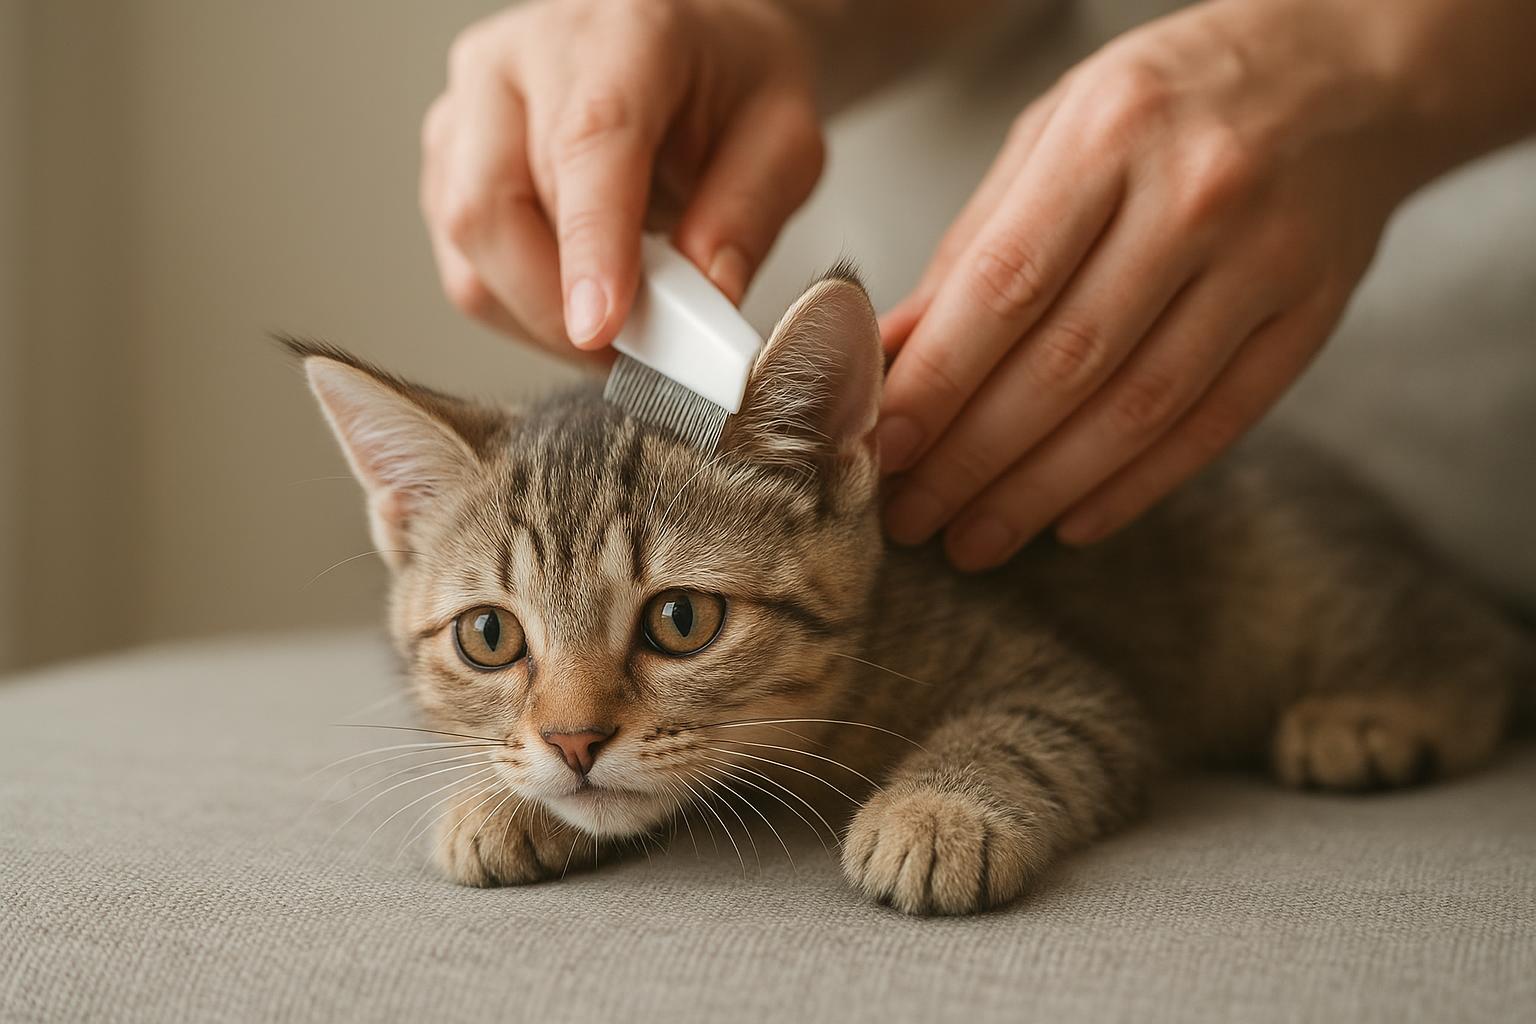
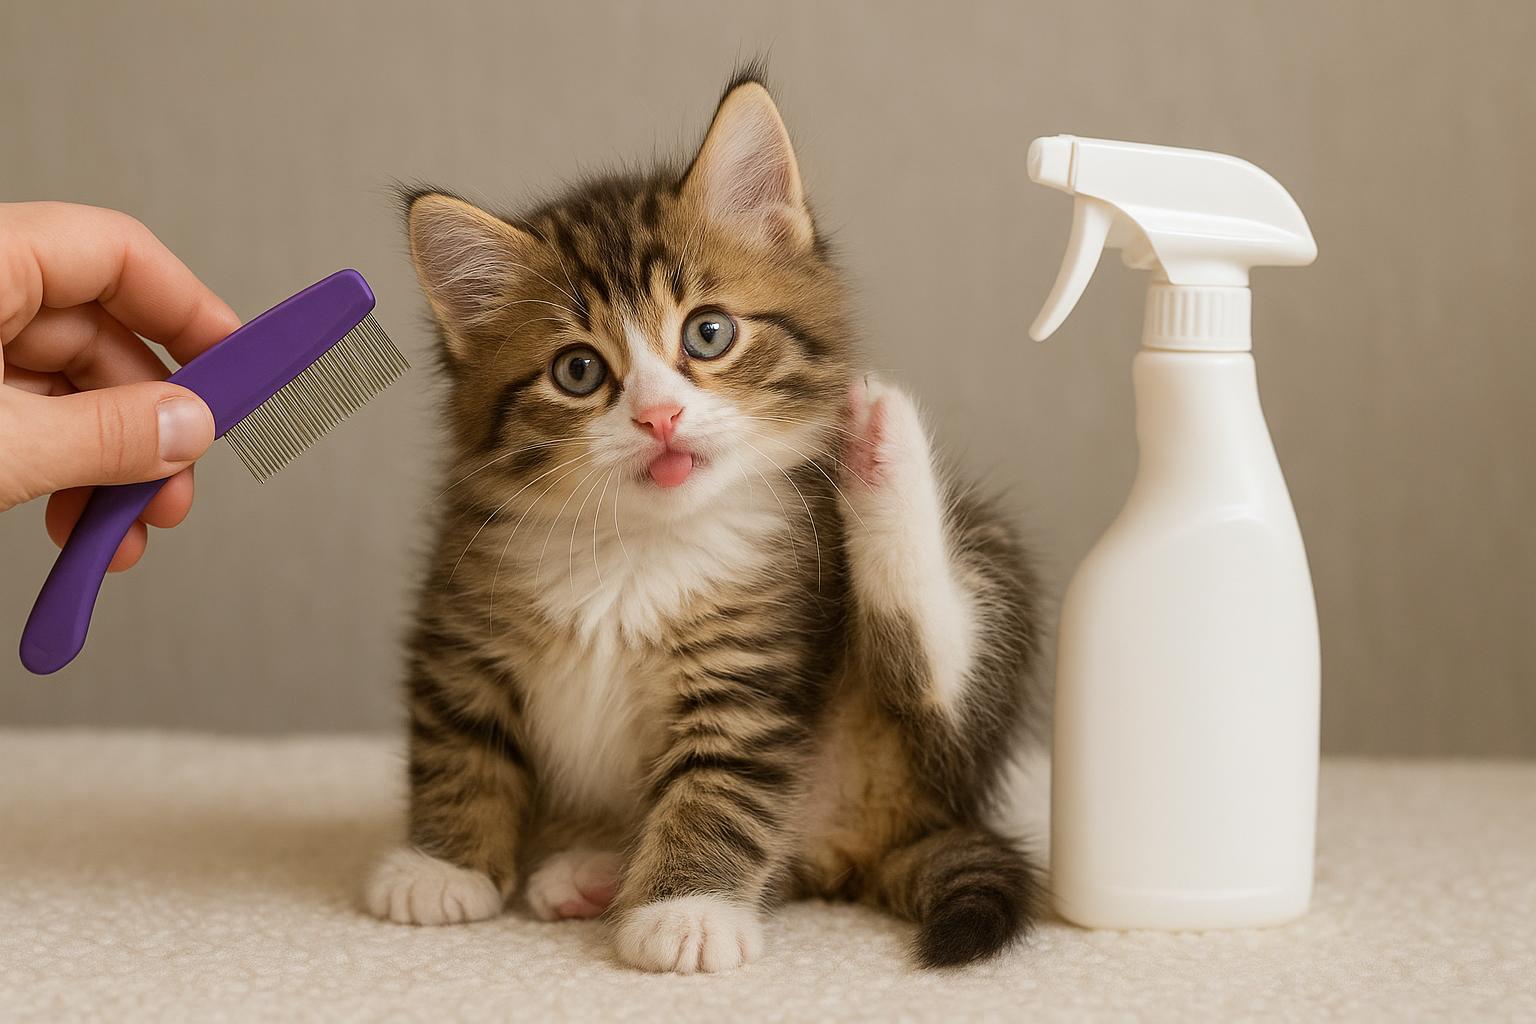
– Check pet fur weekly for flea dirt and adult fleas, especially after outdoor activities.
– Groom pets outdoors and wash bedding regularly.
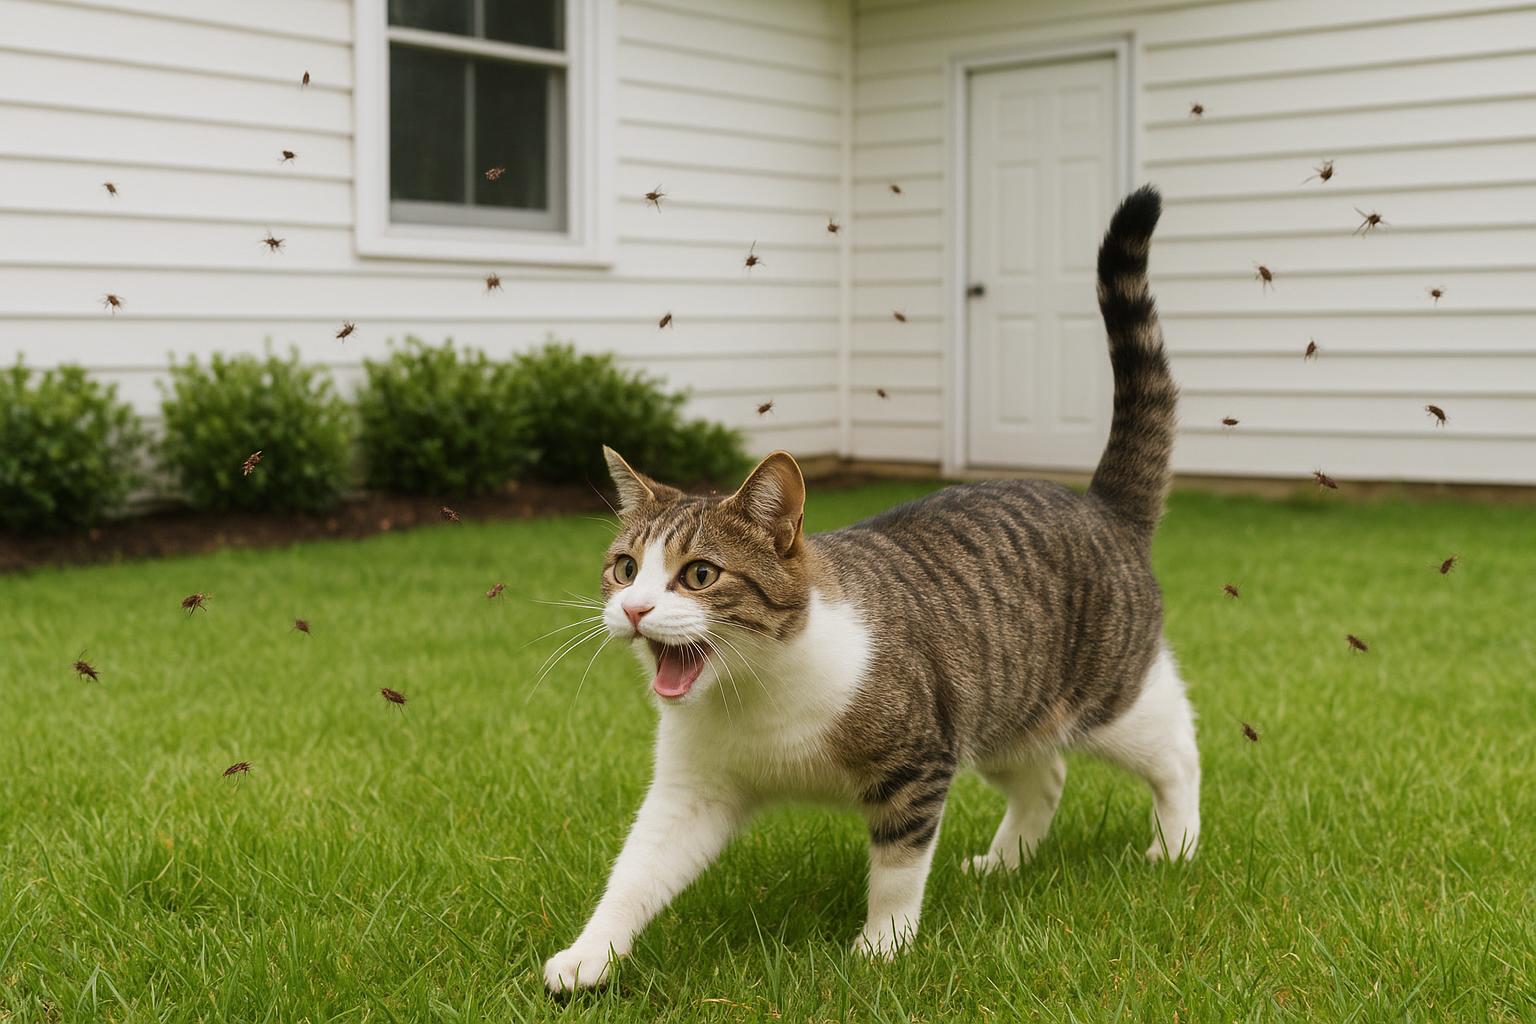
### Outdoor Tips To Reduce Indoor Risk
Reduce the outdoor-to-indoor shuttle for fleas.
– Keep yard grass mowed and remove leaf litter where fleas and their host animals may congregate.
– Create a gravel or paved zone around the house perimeter to reduce humid microhabitats.
– Discourage wildlife from approaching your porch and foundation—secure trash, don’t feed wild animals, and close access points to crawlspaces.
– If you allow pets outside, inspect paws and fur when they return in, and wipe them down if they’ve been in high-risk areas like tall grass.
#### When To Call A Professional
If you detect multiple stages of fleas (adults, larvae, or visible eggs) or cannot control signs with preventive measures, call a licensed pest control professional. They can perform targeted treatments, advise on integrated pest management strategies, and reduce the likelihood of repeated invasions.
### Maintenance Schedule For Ongoing Flea Survival
Consistent habits are the backbone of staying flea-free. Consider this simple schedule:
– Daily: Quick inspection of pets and vacuum high-use spots if shedding or more activity.
– Weekly: Vacuum thoroughly, wash pet bedding, inspect pet preventive treatment status.
– Monthly: Steam clean carpets and upholstery; treat yard hot spots if necessary.
– Quarterly: Apply DE in high-risk indoor areas if desired; review home entry points and repair any animal access areas.
Keeping up with this schedule keeps you in the 99% of homes that never develop full-blown infestations.
## Monitoring And Recordkeeping
A small log or calendar reminder for vacuuming, pet treatment, and steam-cleaning dates is surprisingly effective. Note any bite reports or increased scratching. Early detection is the cheapest, quickest path to maintaining flea survival advantage—meaning your home avoids infestation while remaining comfortable and pet-friendly.
If you want, I can create a printable checklist for the maintenance schedule or walk you through a room-by-room inspection plan tailored to your home layout.


Leave a Reply