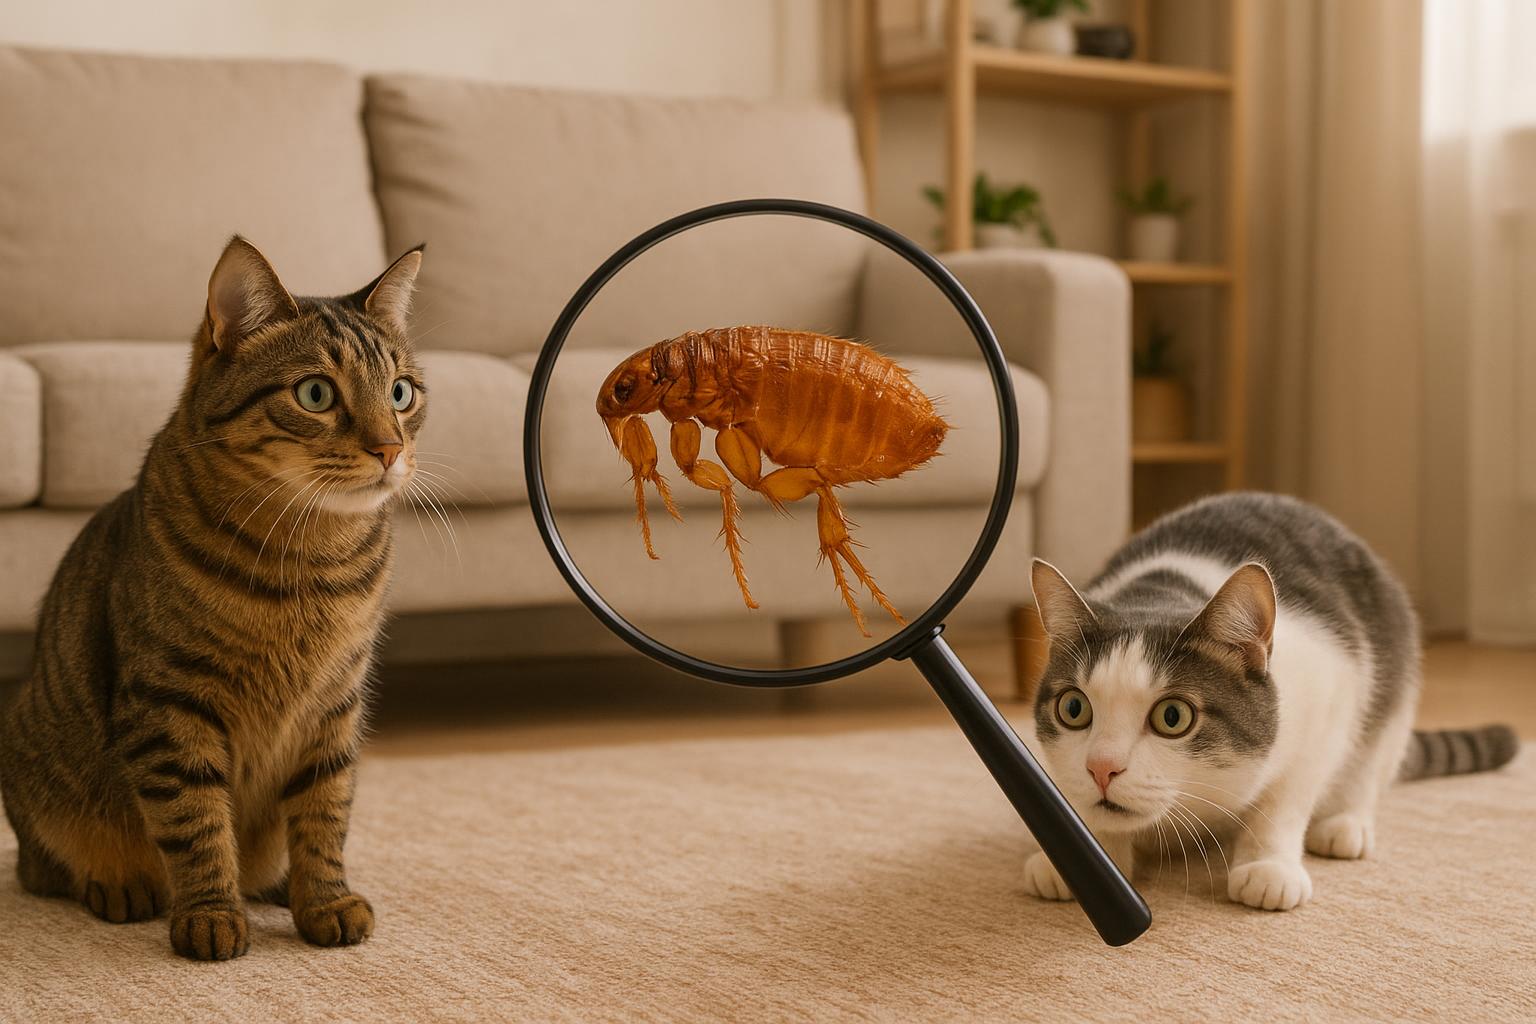
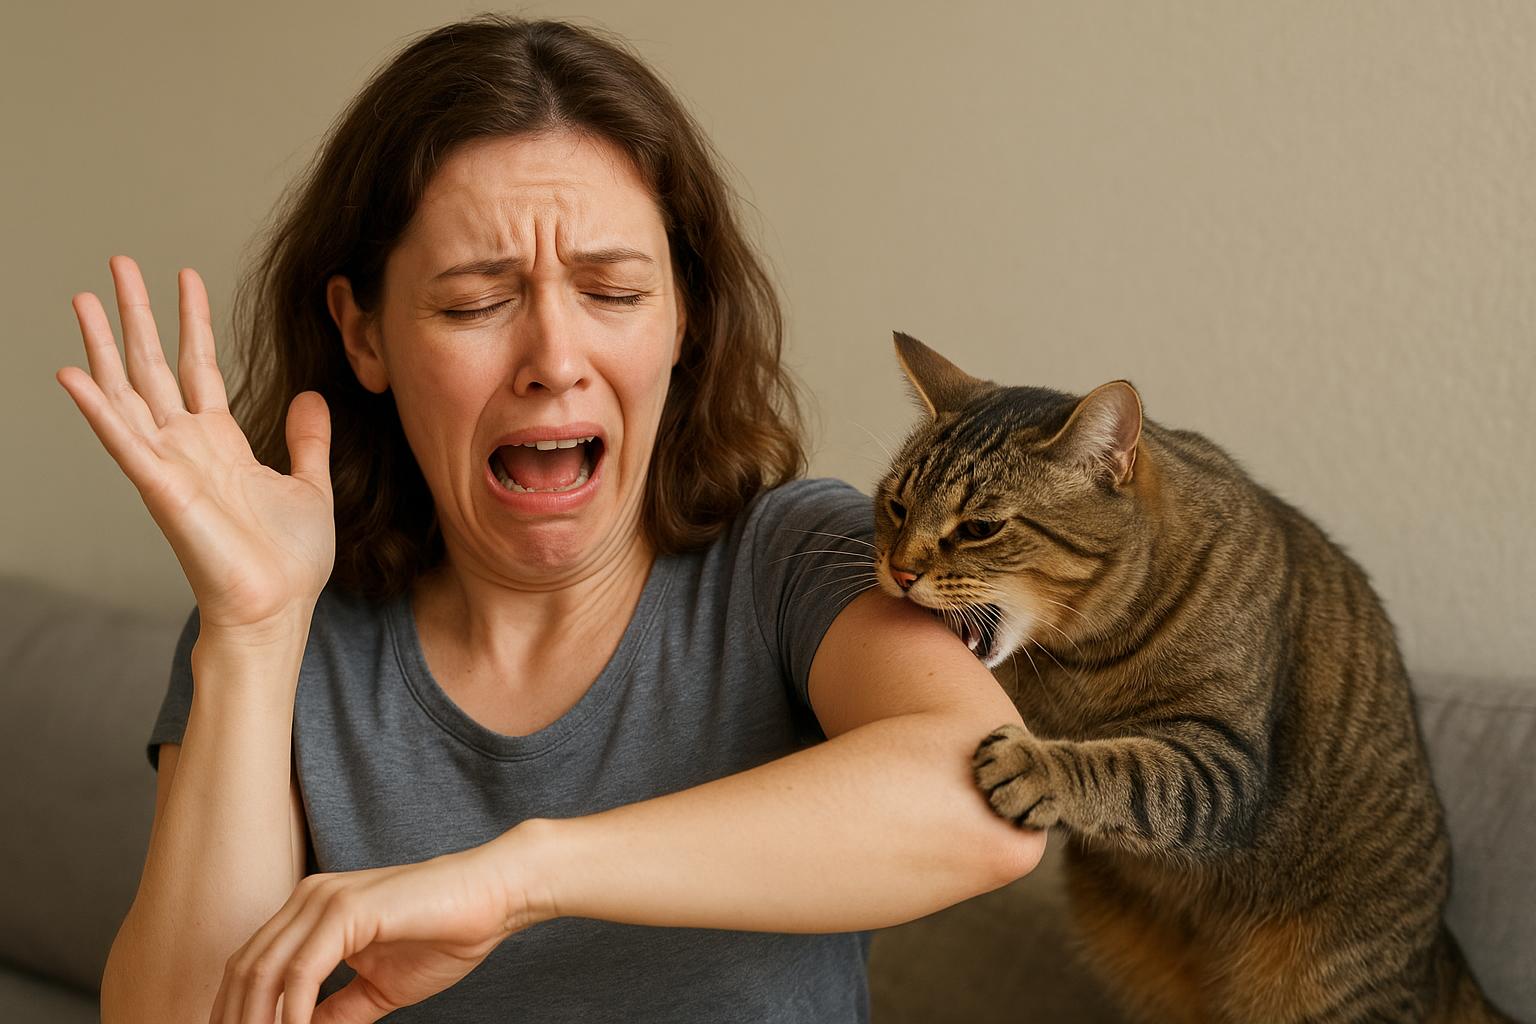
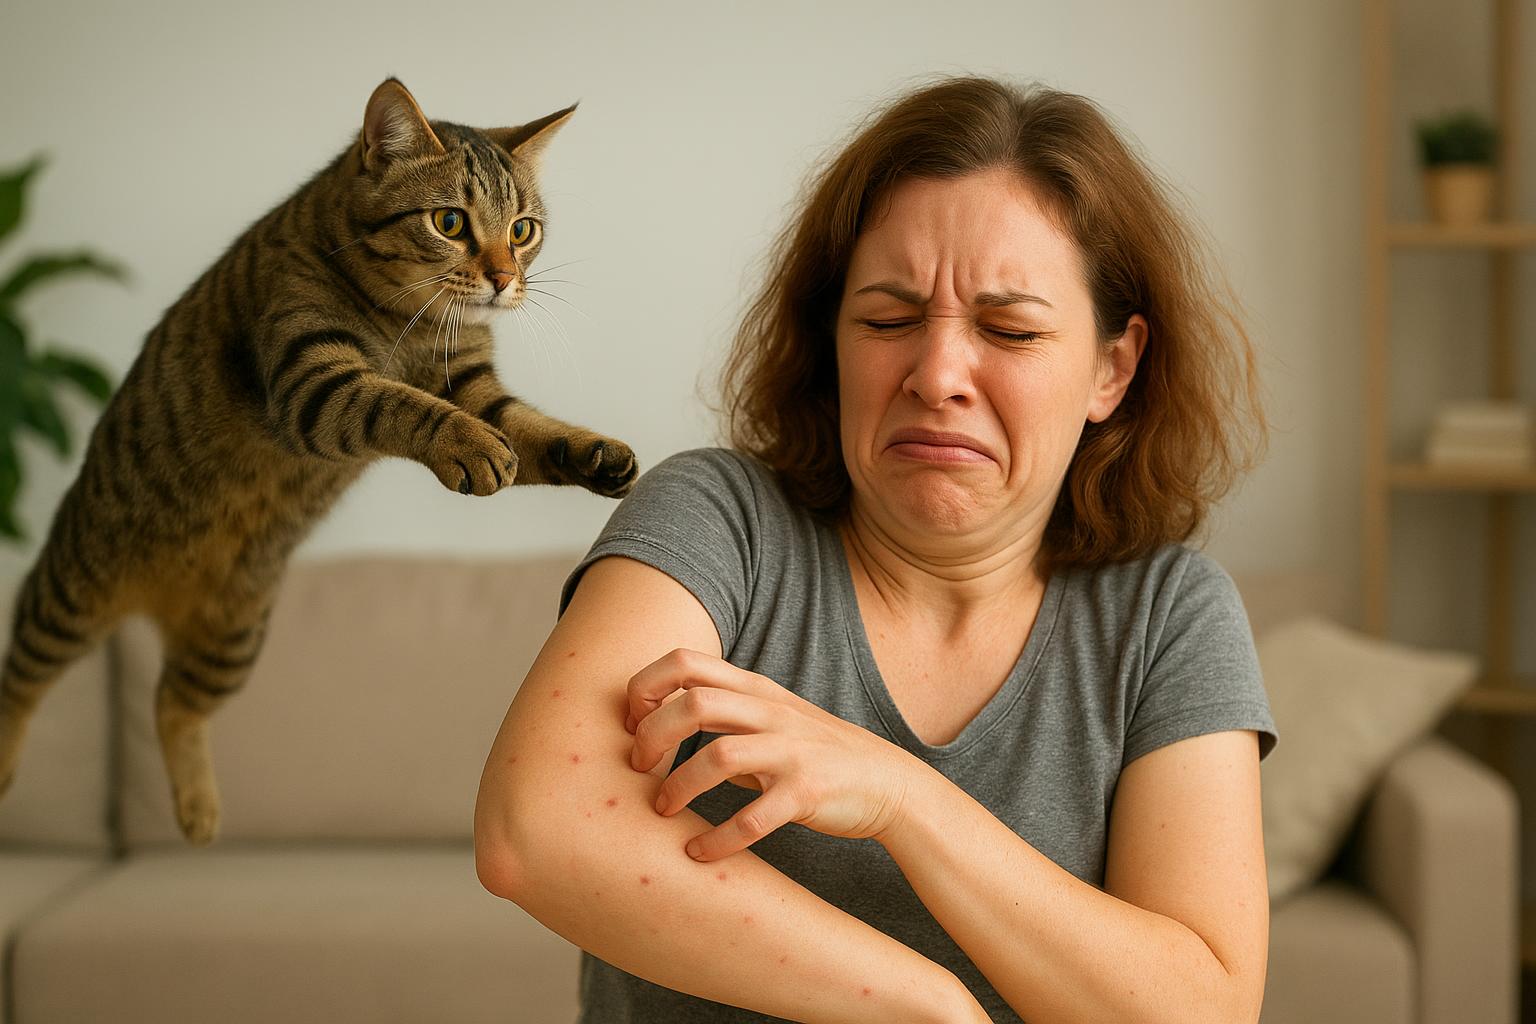
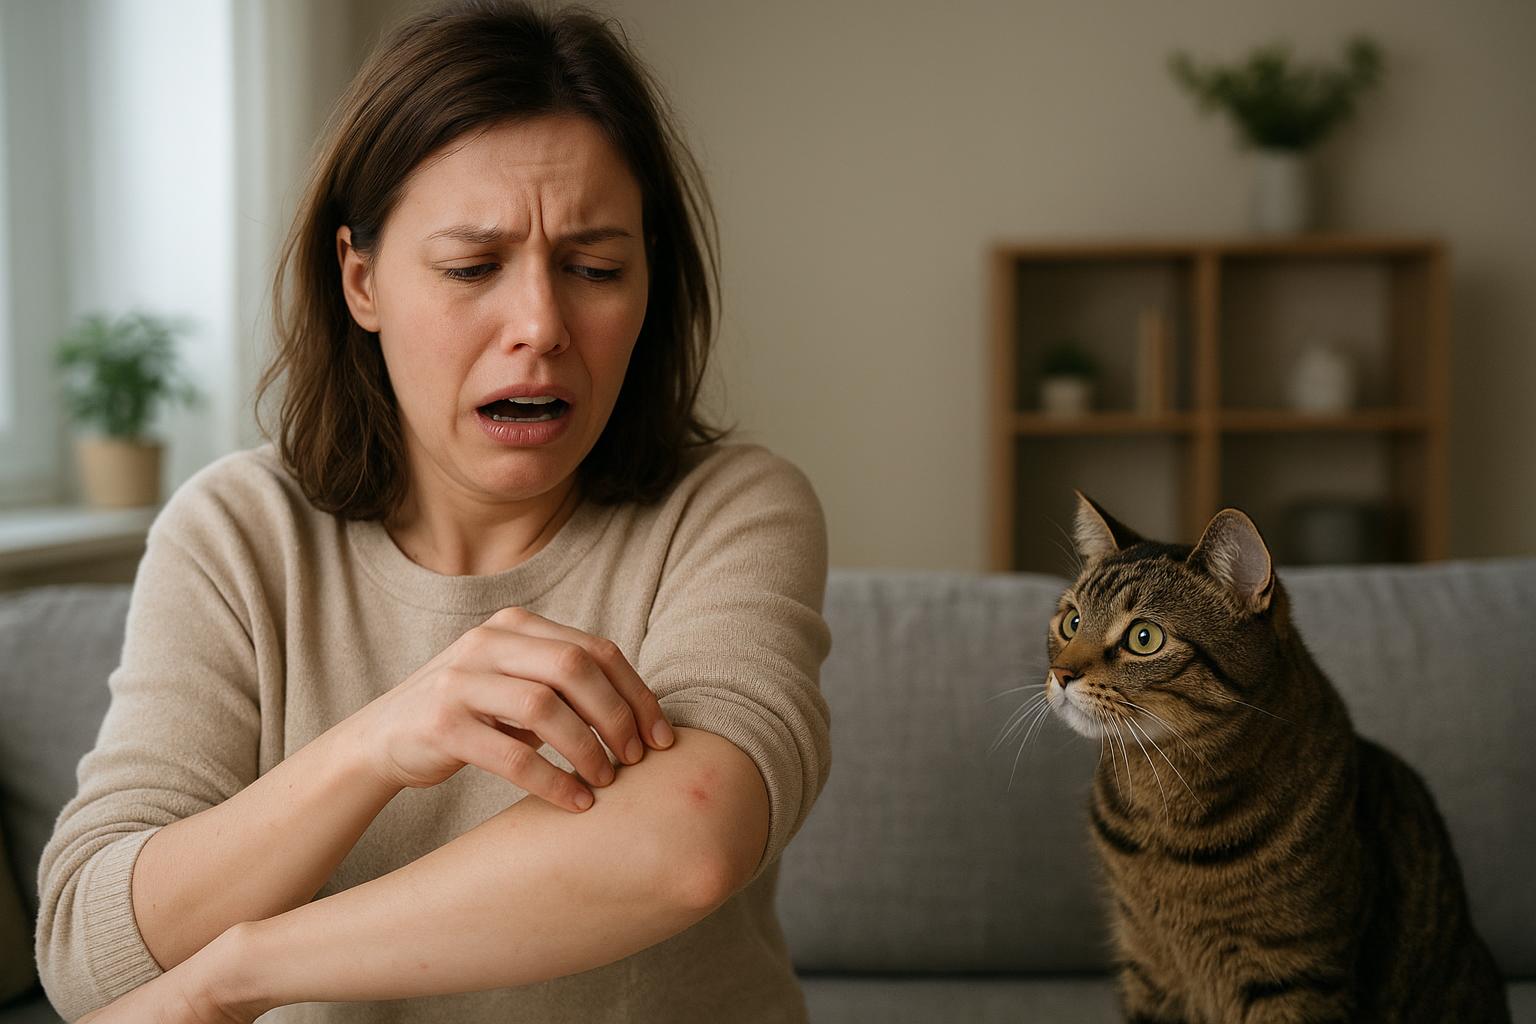
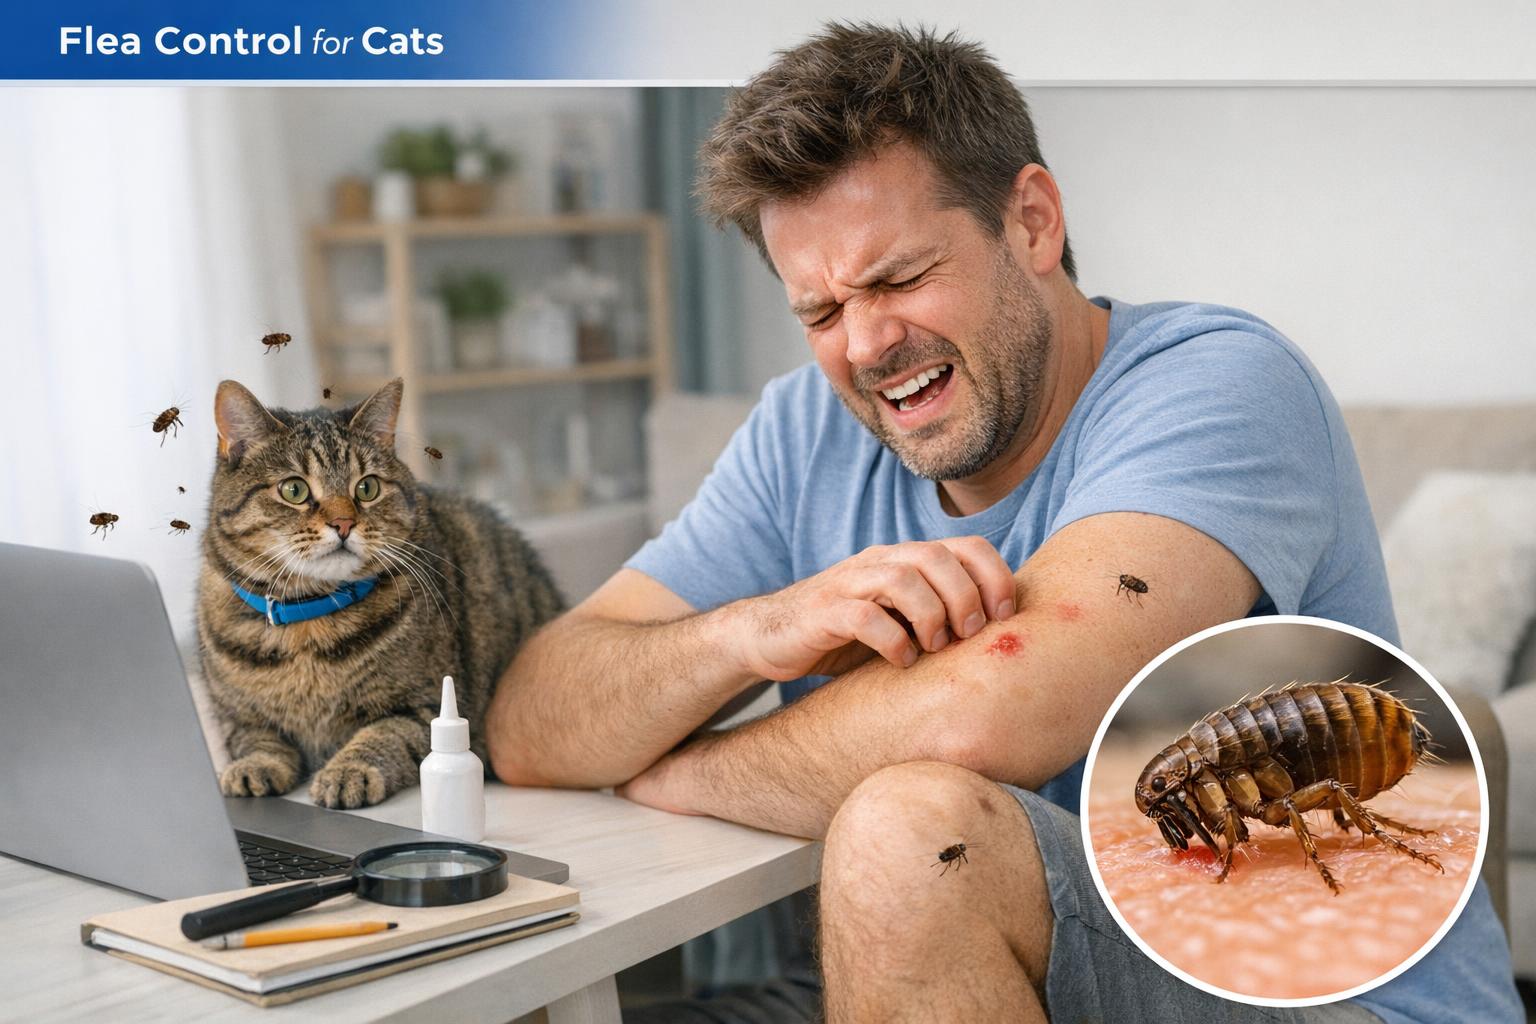
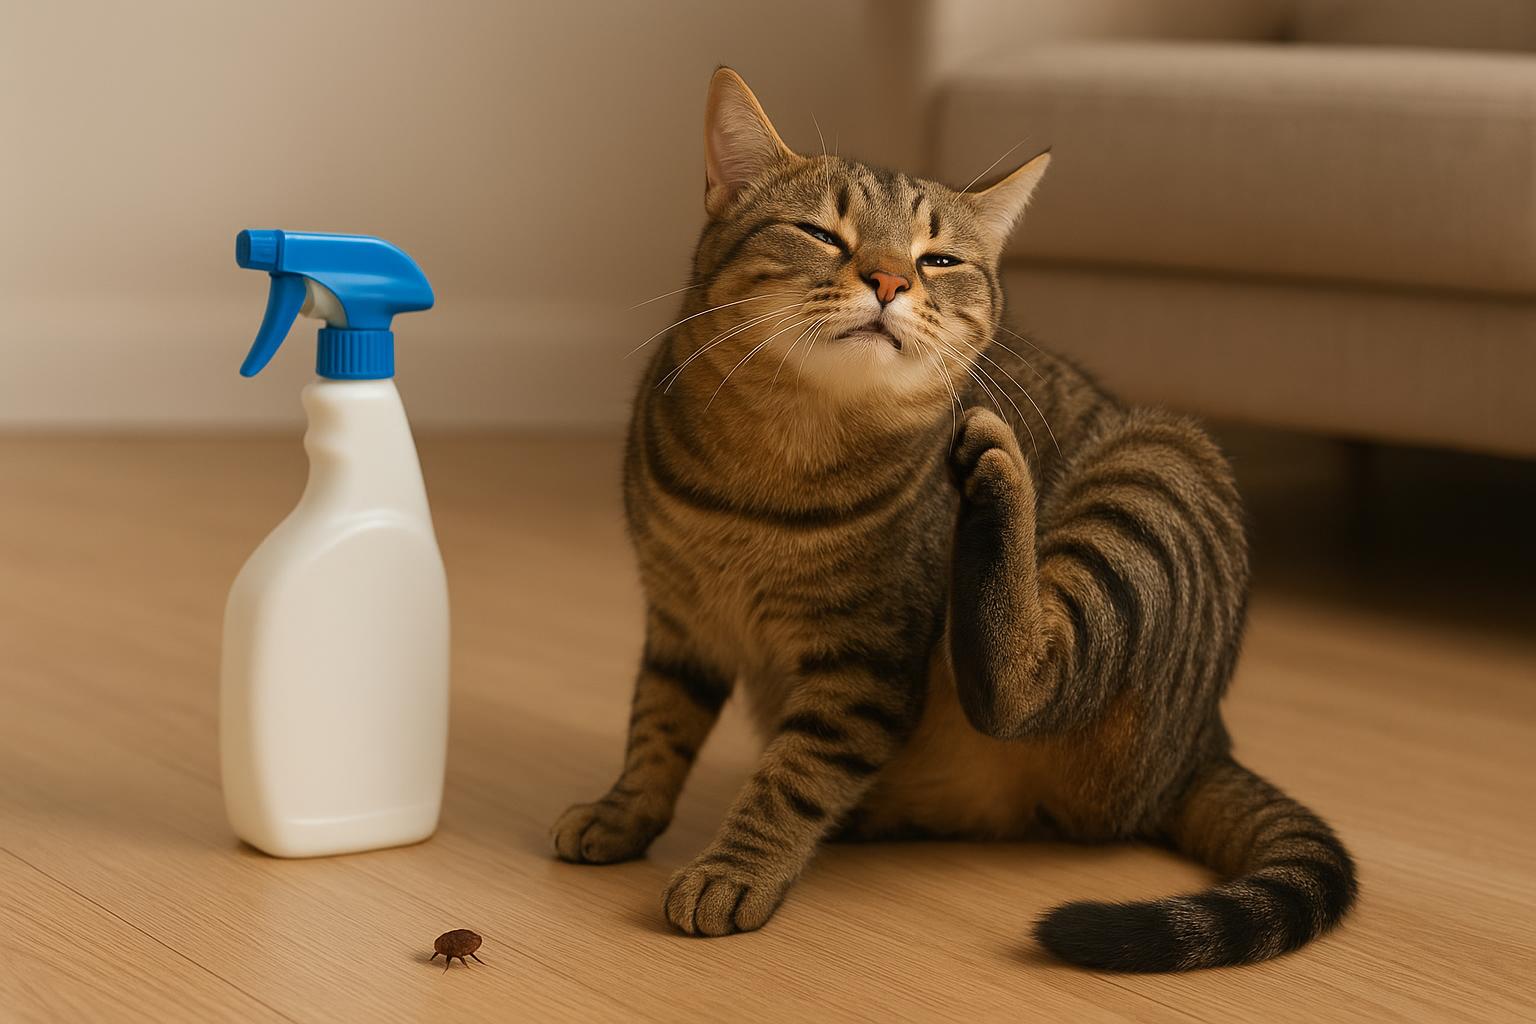
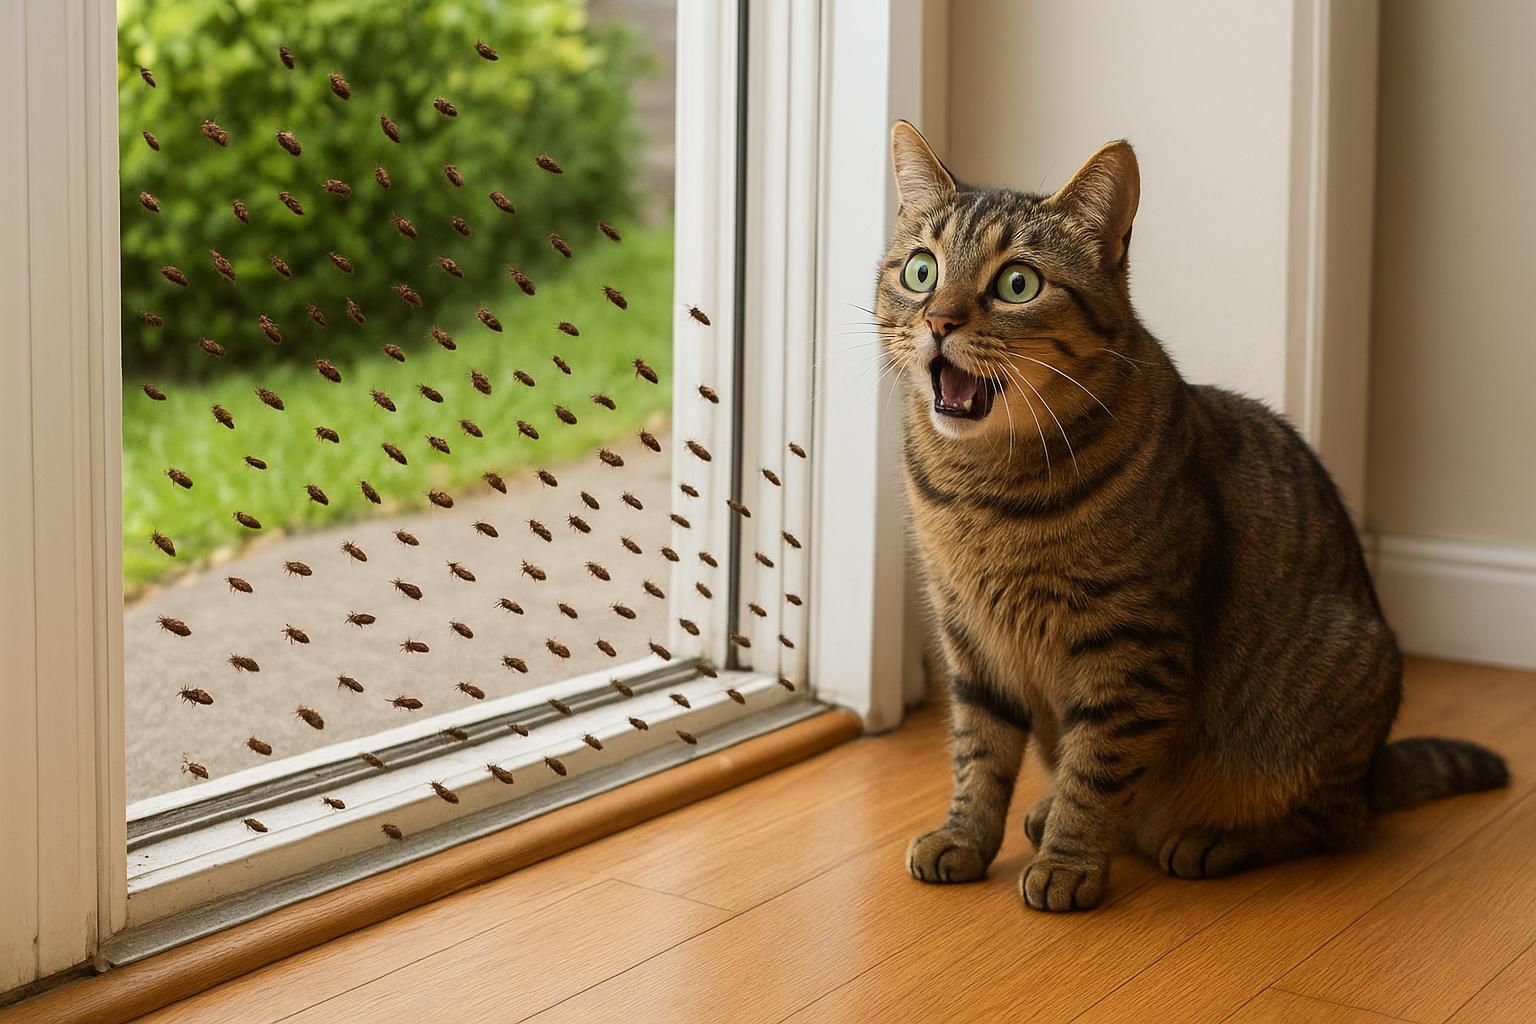
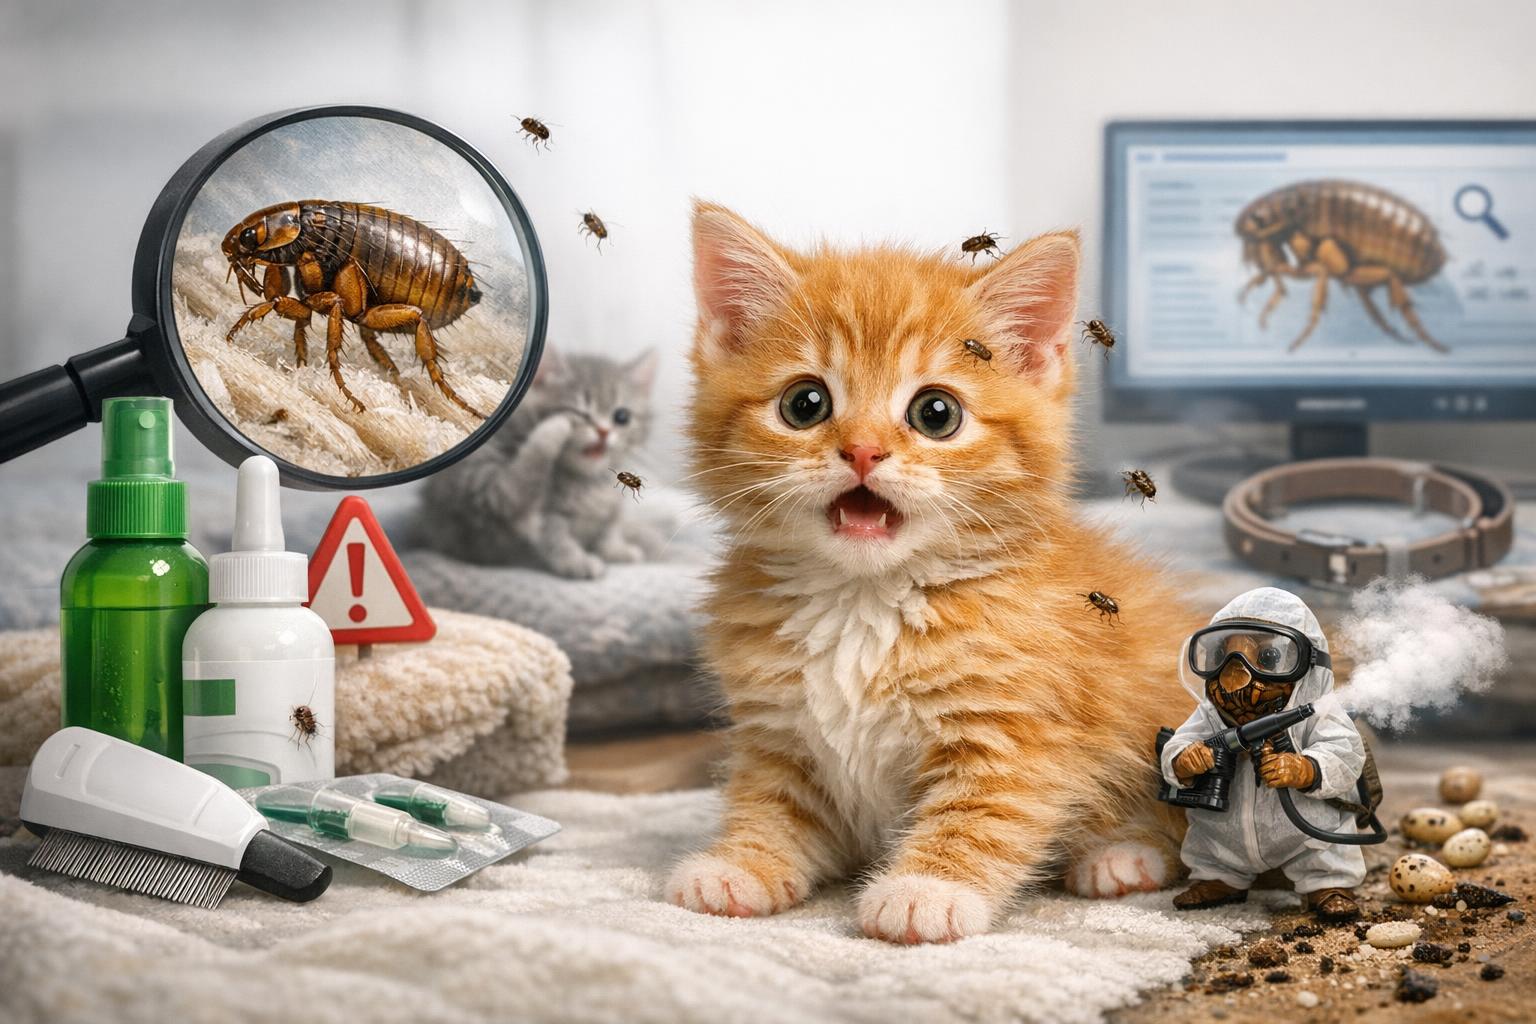
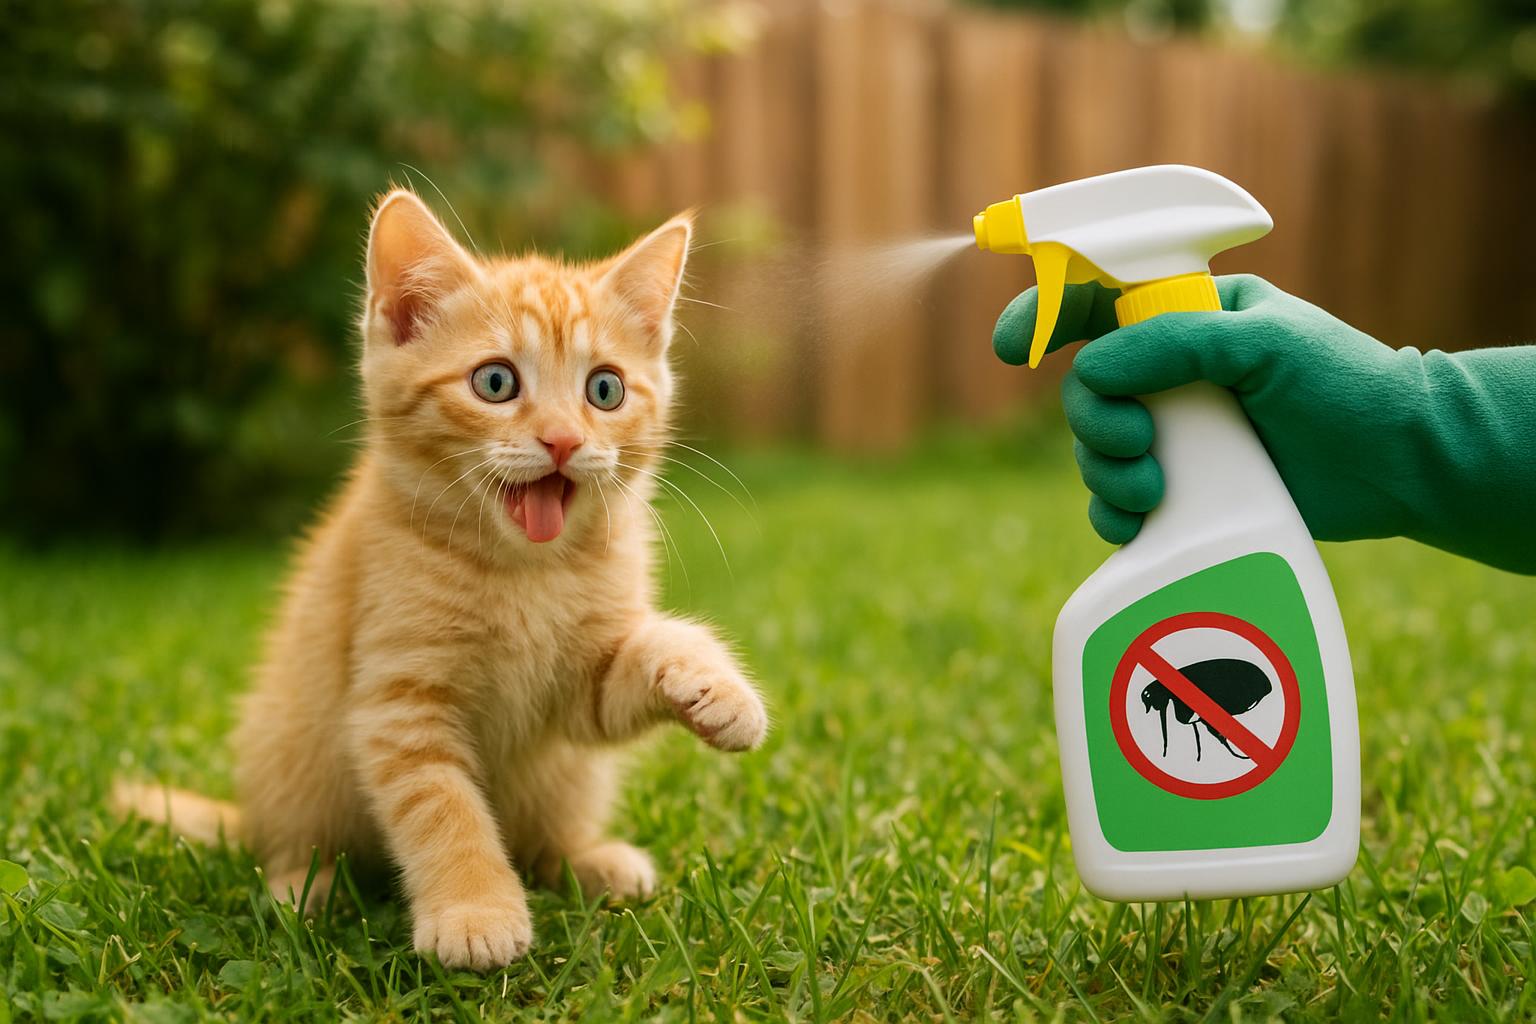
If your cat has been doing an Olympic-level scratch routine, you’re not alone — fleas are tiny but mighty drama queens in the backyard world. Let’s get cozy and make sense of what they’re up to.
## Understanding The Flea Life Cycle For Cat Health At Home
The flea life cycle is deceptively simple on paper and maddening in practice. These little pests go through distinct stages — egg, larva, pupa, adult — and each stage responds differently to control methods. Understanding the flea life cycle helps you break it, rather than just react to the itchy aftermath.
### Where Fleas Begin: Eggs And Their Hiding Spots
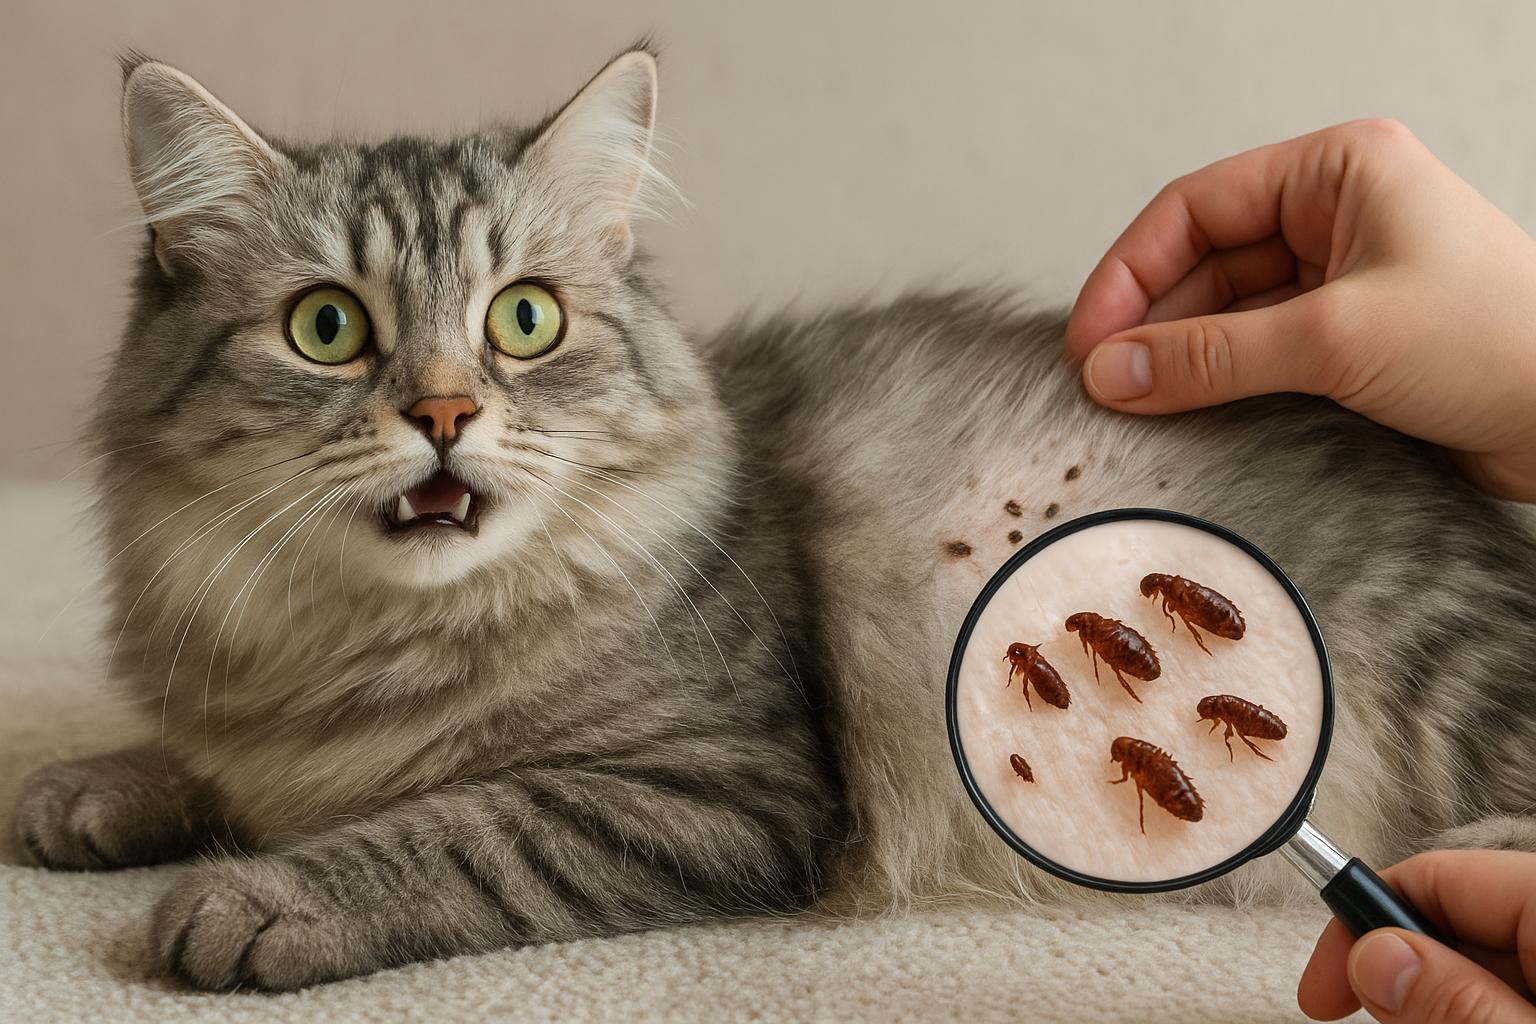
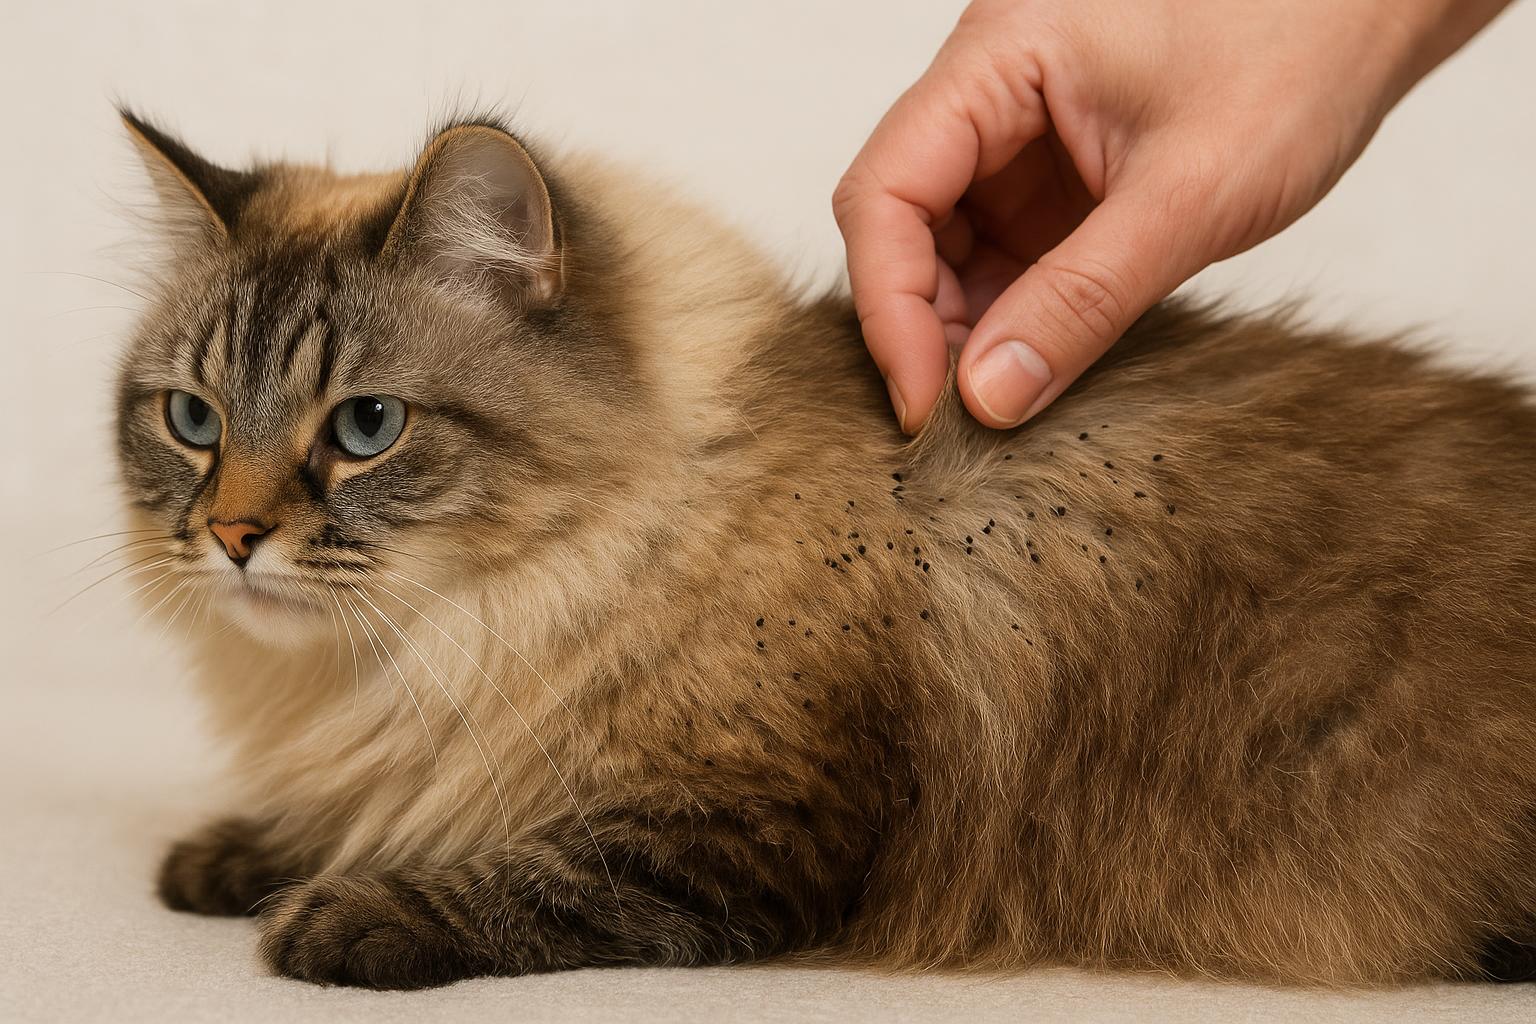
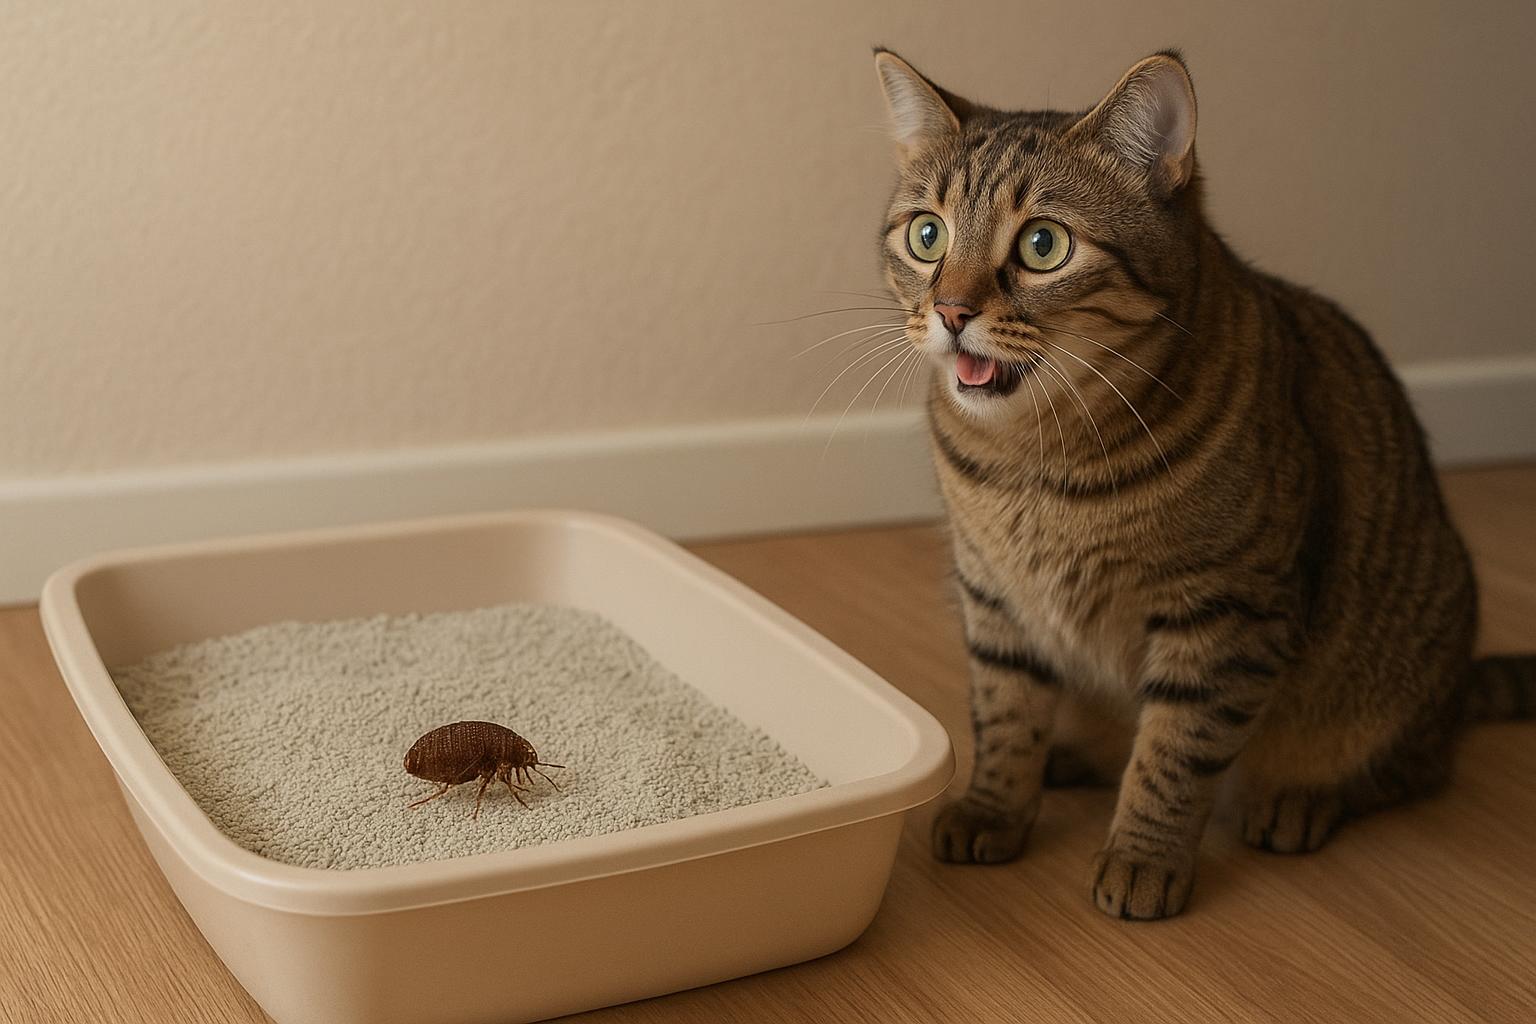
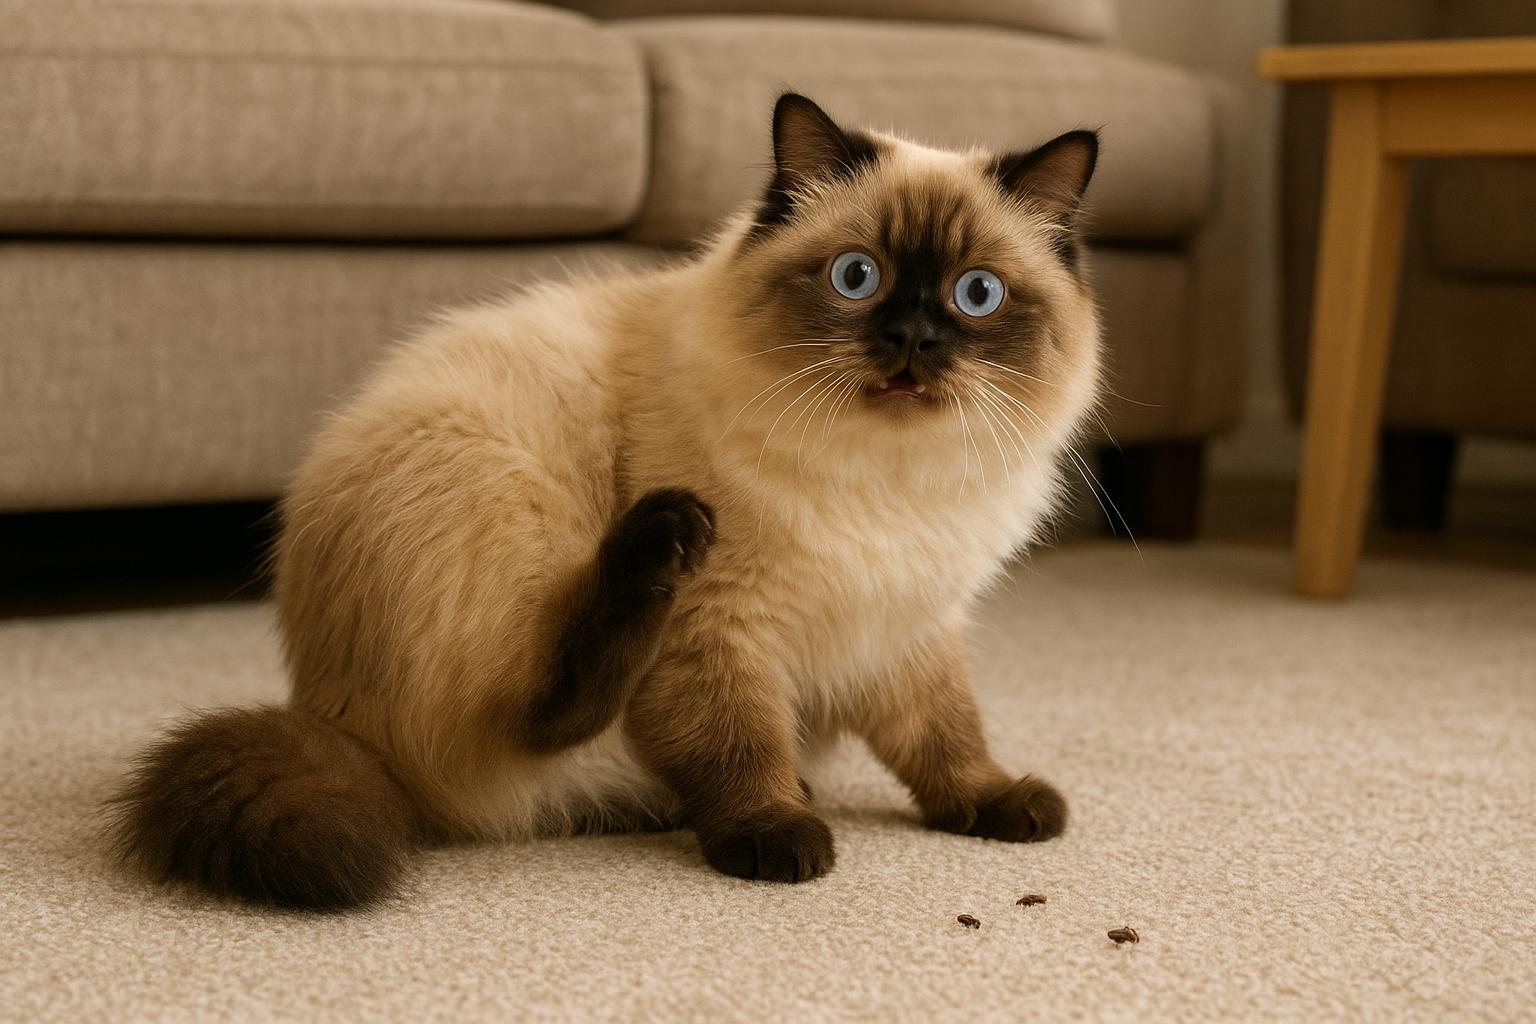
Flea eggs are tiny, white, and slippery little escape artists. A female flea can lay dozens of eggs on a host (your cat) each day, and those eggs are not glued to fur; they fall off into your cat’s bedding, carpets, upholstered furniture, and the cracks in floorboards. In warm, humid, sheltered places, eggs hatch in as little as a couple of days. Note: you’ll often deal with an infestation long after you see adult fleas because eggs and immature stages are hiding in the environment.
### The Mobile Phase: Larvae And What They Eat
Larvae look like tiny, worm-like creatures that avoid light and burrow into fibers where they feed on organic debris — and yes, flea droppings (dried blood) are their preferred snack. They develop through several instars over a week or more, depending on temperature and humidity, then spin a cocoon to become pupae.
### The Tough One: Pupae And Emergence
The pupal stage is the most resilient. The flea life cycle’s pupae can remain dormant in a cocoon for months, waiting for the right signals — warmth, vibrations, carbon dioxide — that indicate a host is nearby. That’s why you can think you’ve beaten fleas and then, months later, adult fleas suddenly appear.
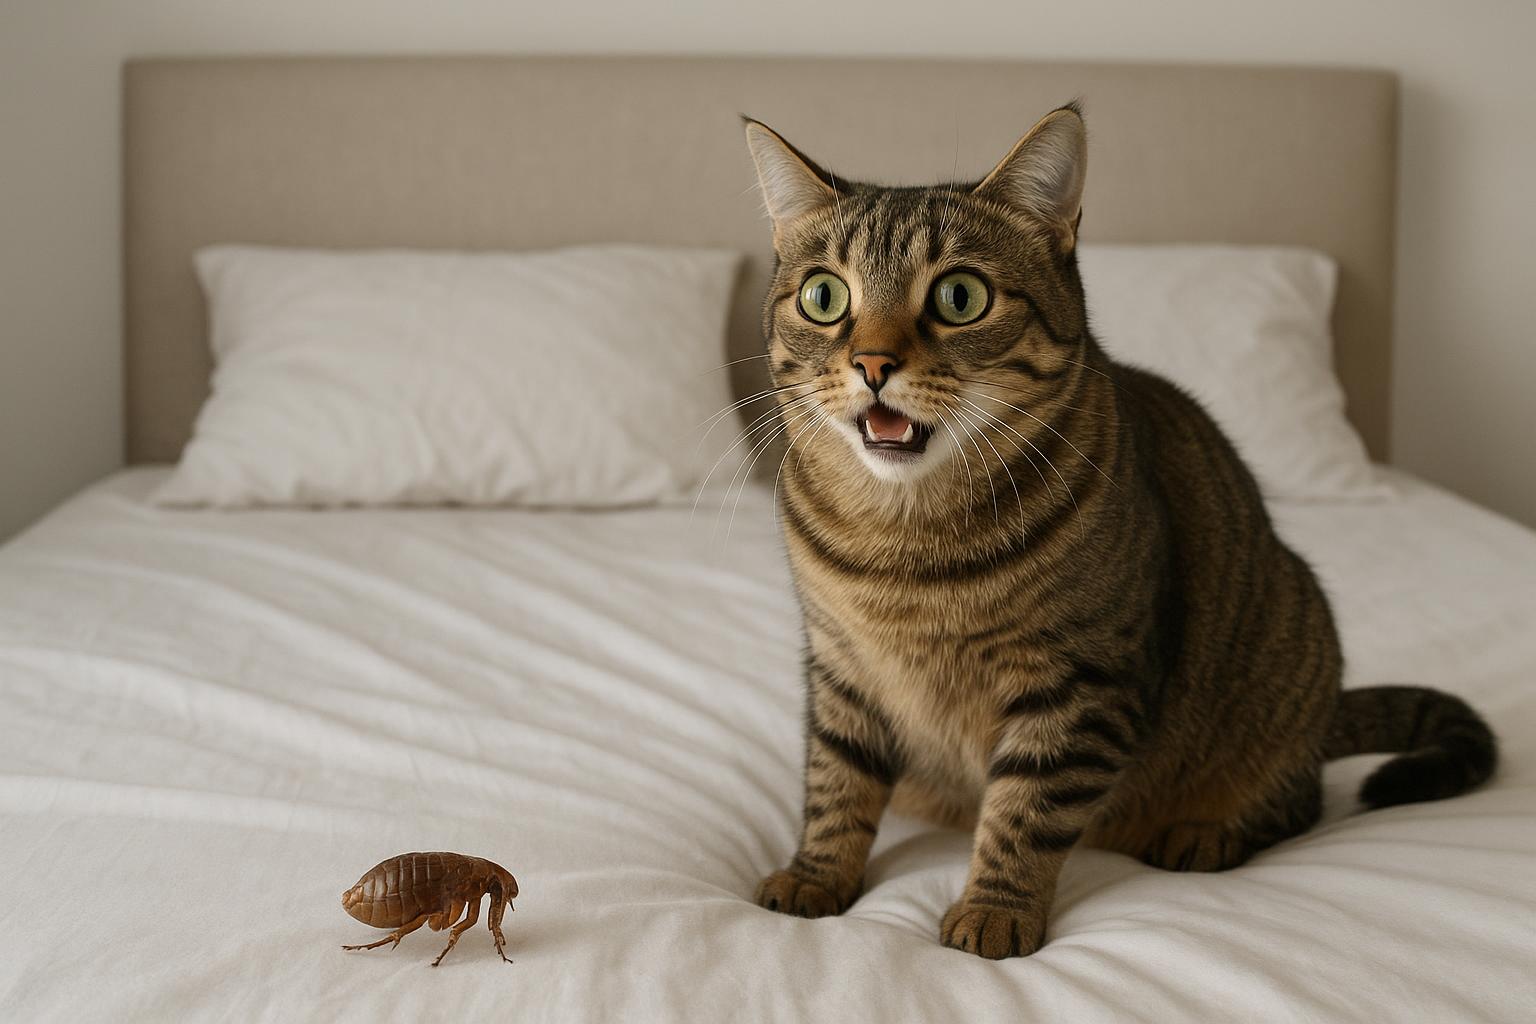
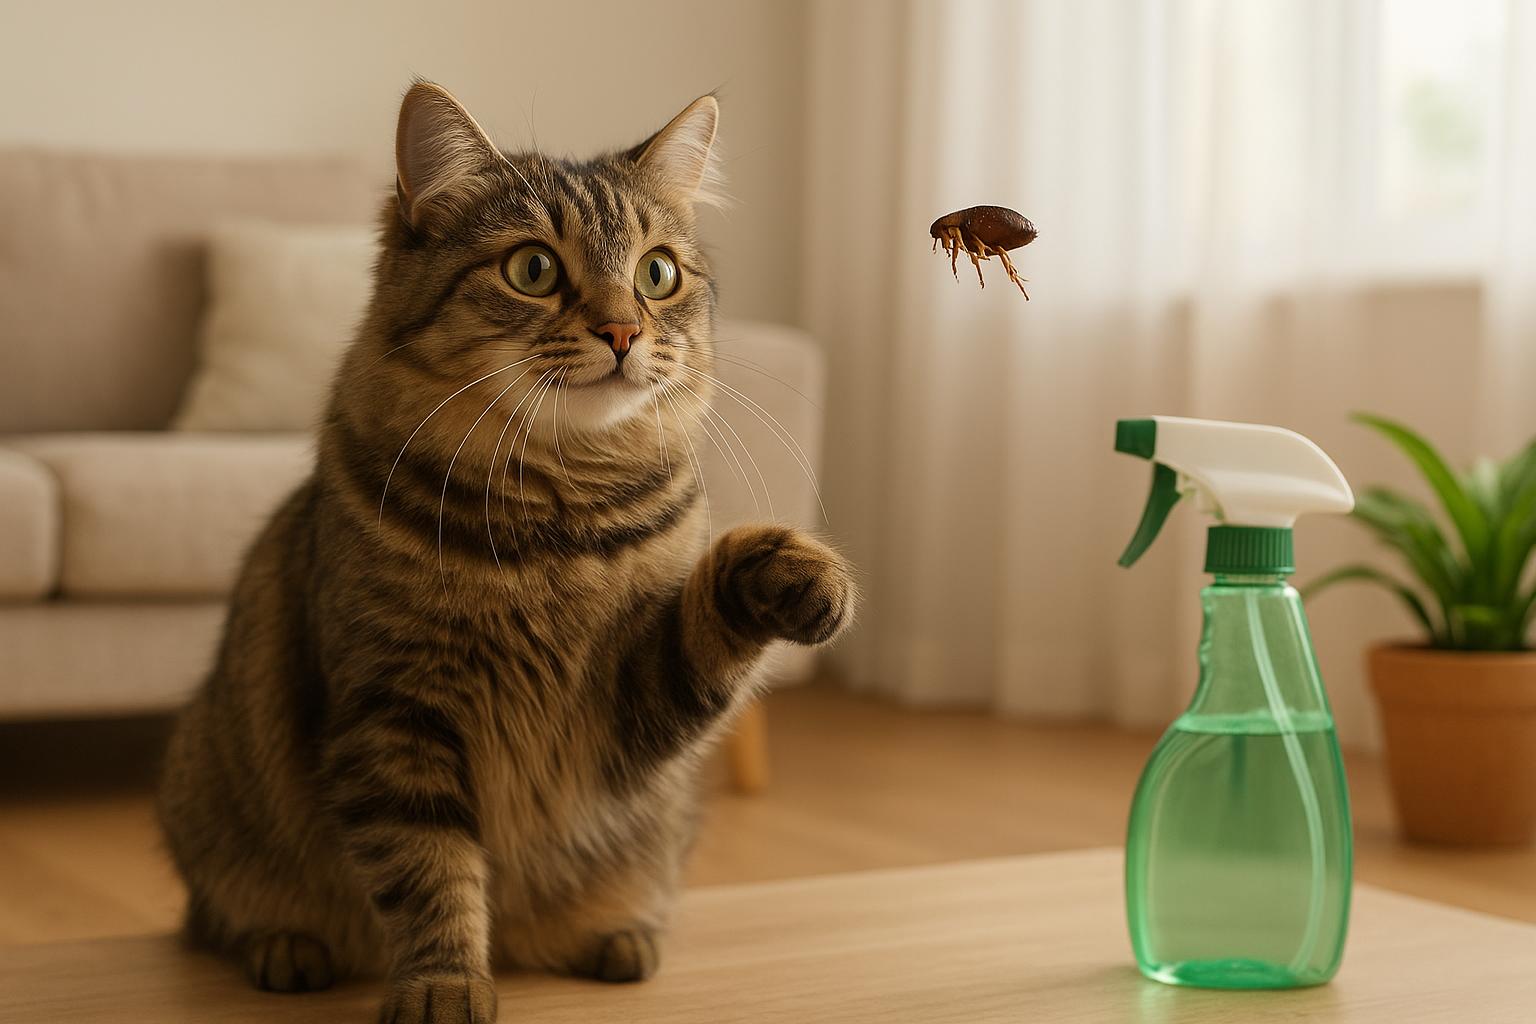
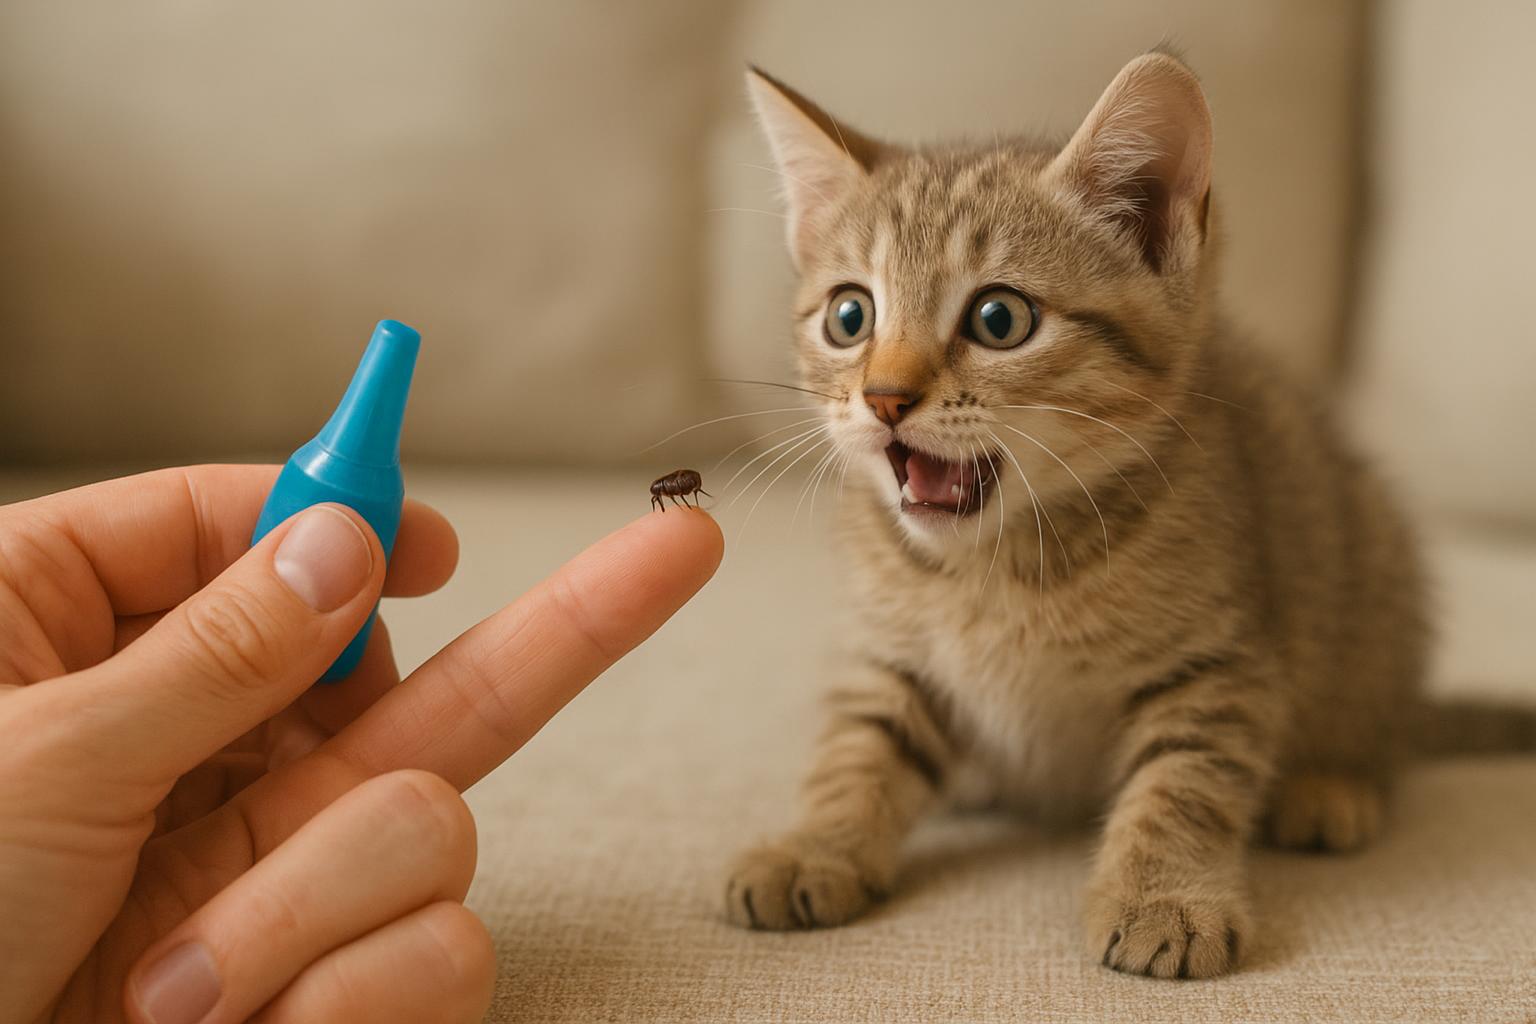
### The Culprit You See: Adult Fleas
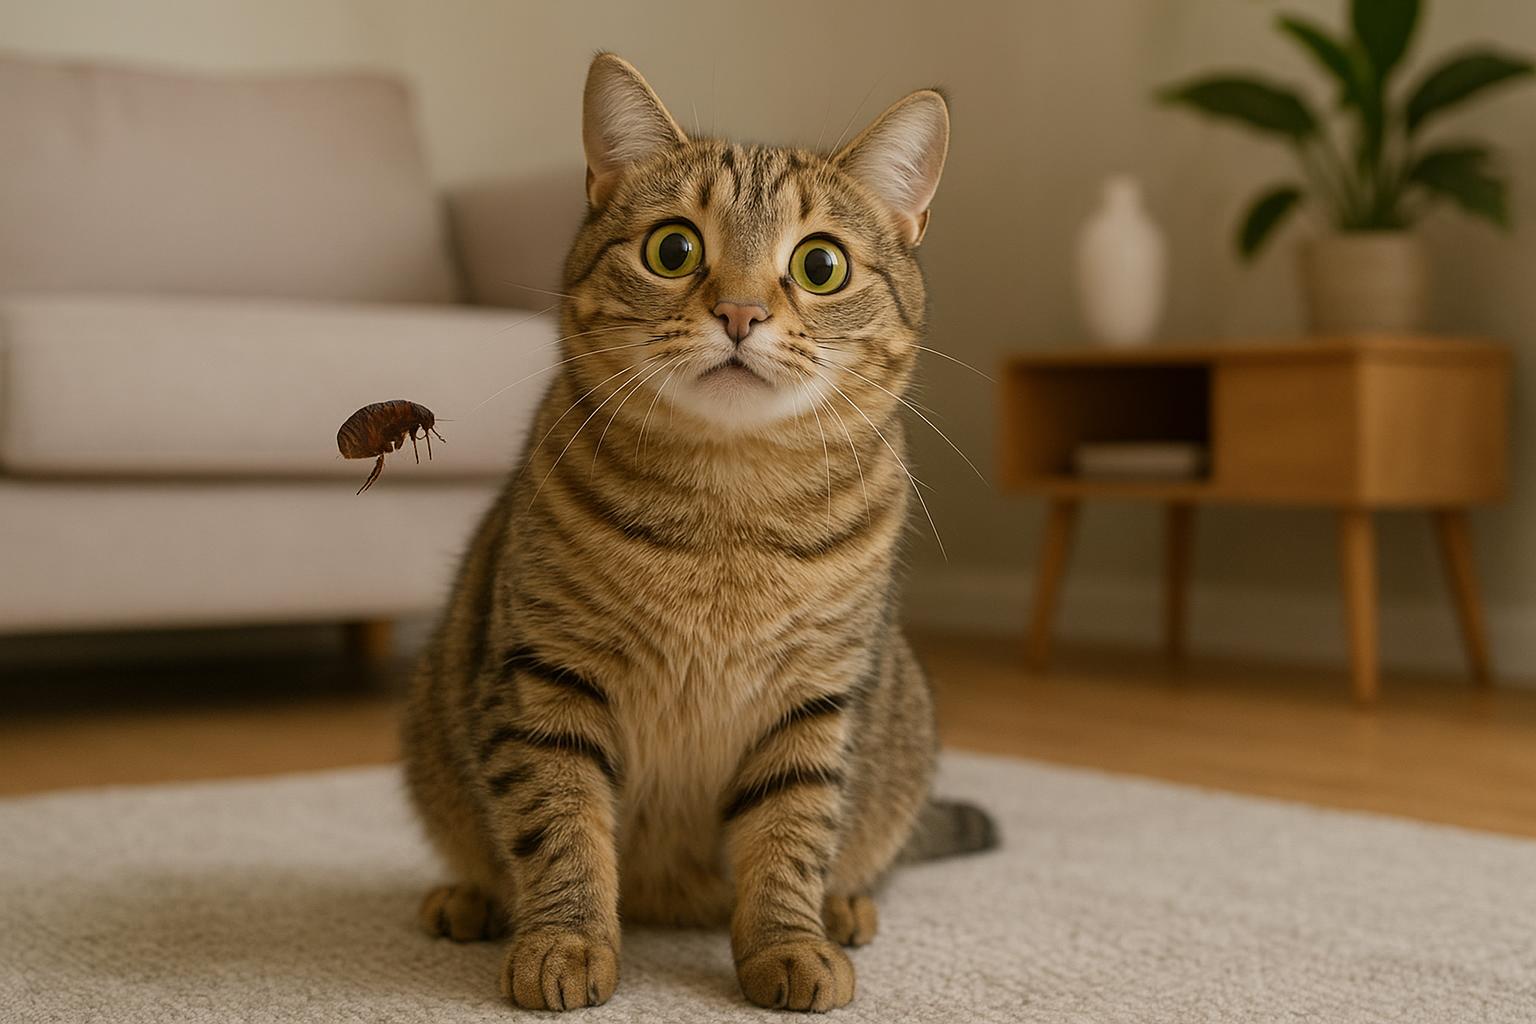
Once they emerge, adult fleas seek a host quickly to feed and reproduce. They can start laying eggs within 24–48 hours of their first blood meal, turning the flea life cycle into a revolving door if unchecked.
### Why The Flea Life Cycle Matters For Your Cat’s Health
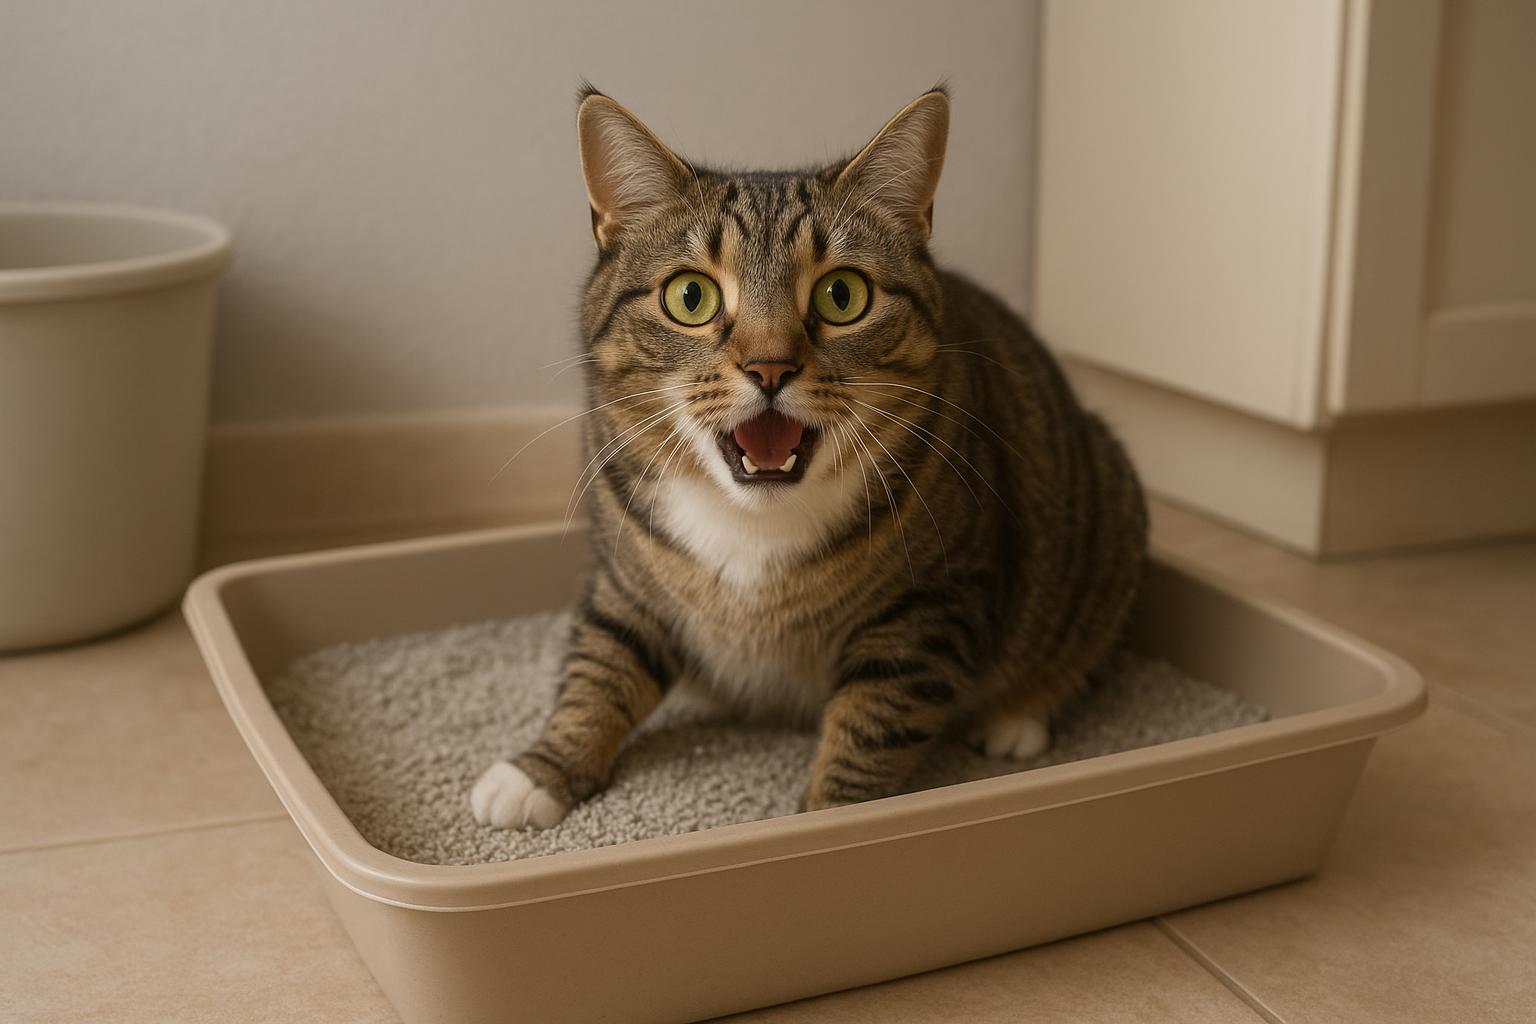
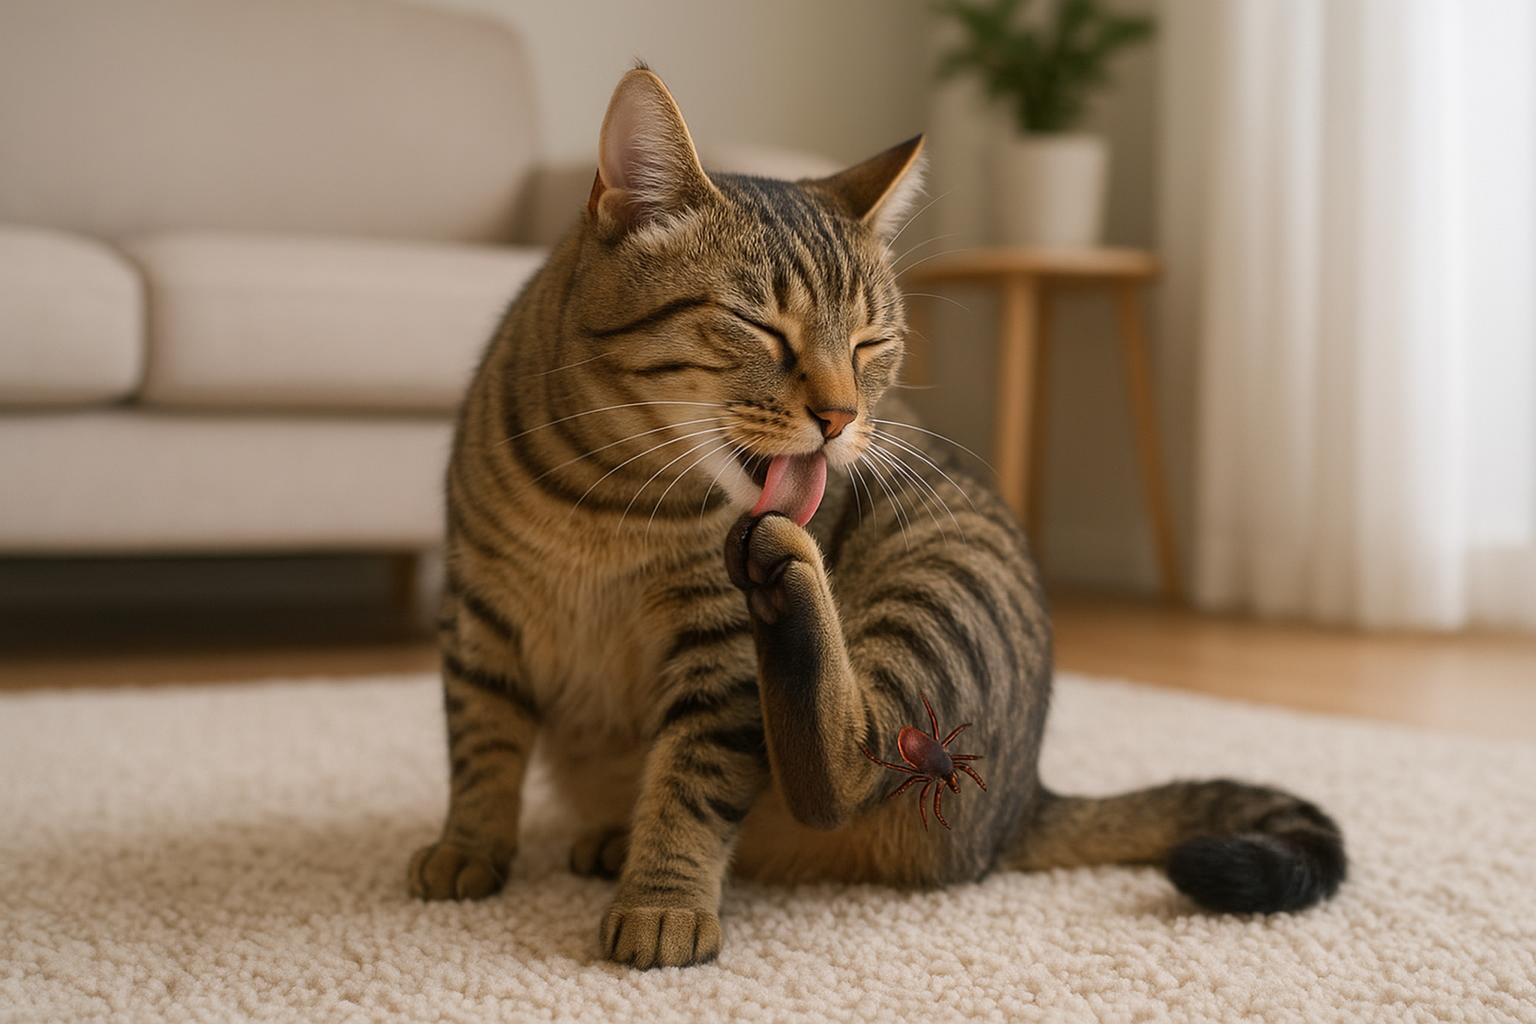
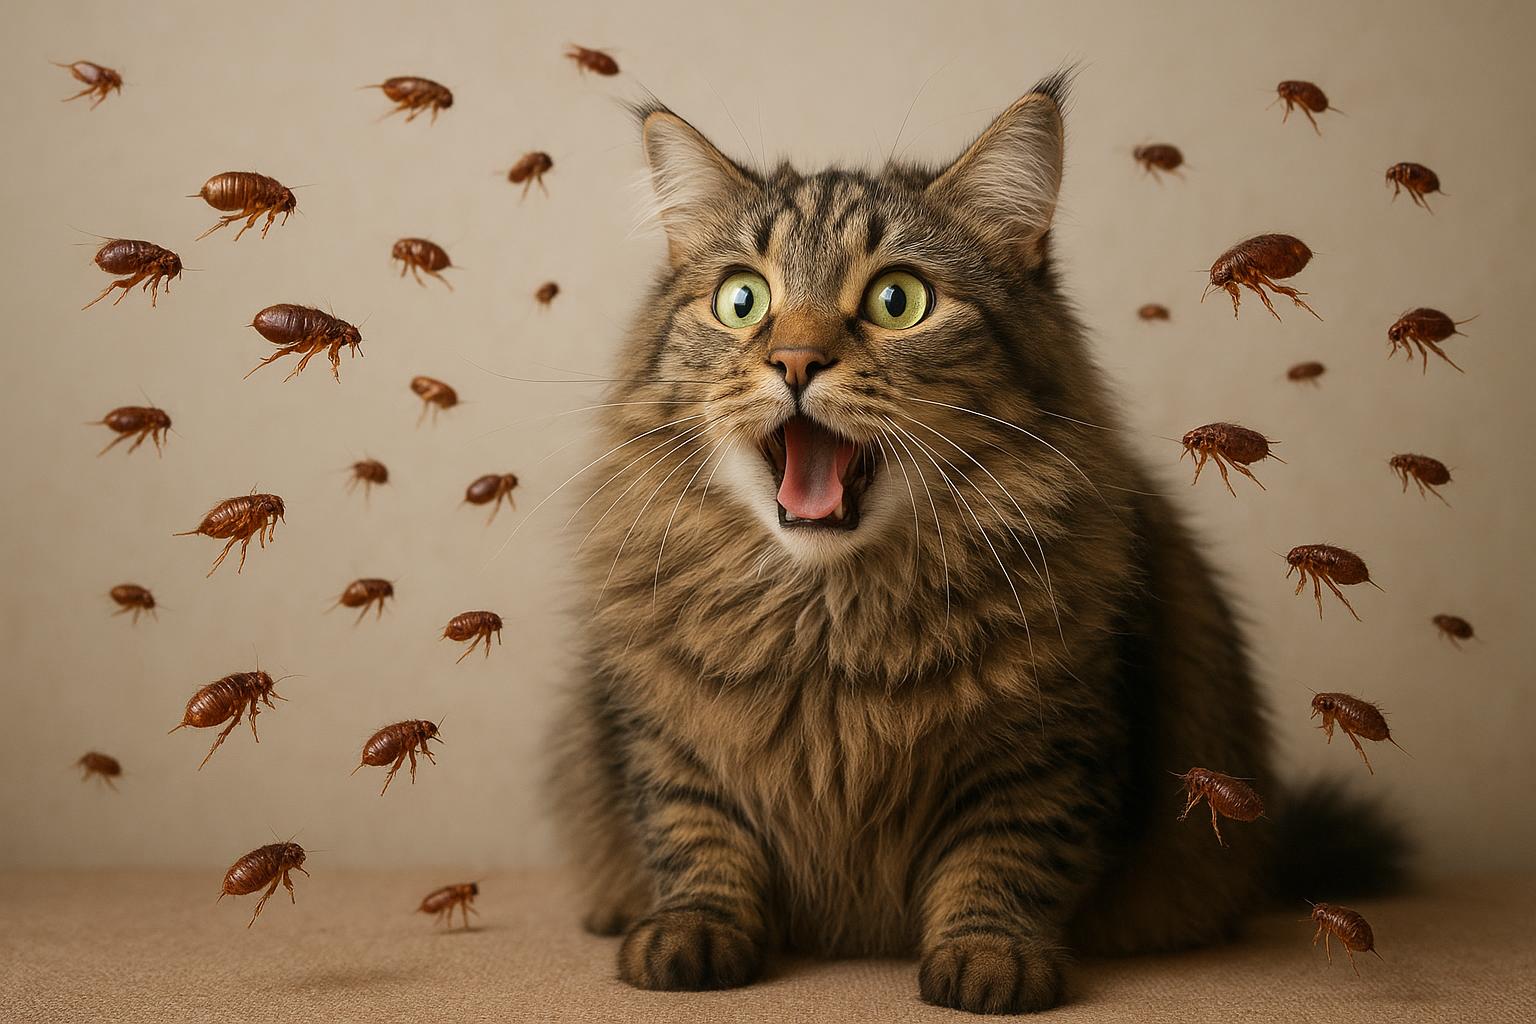
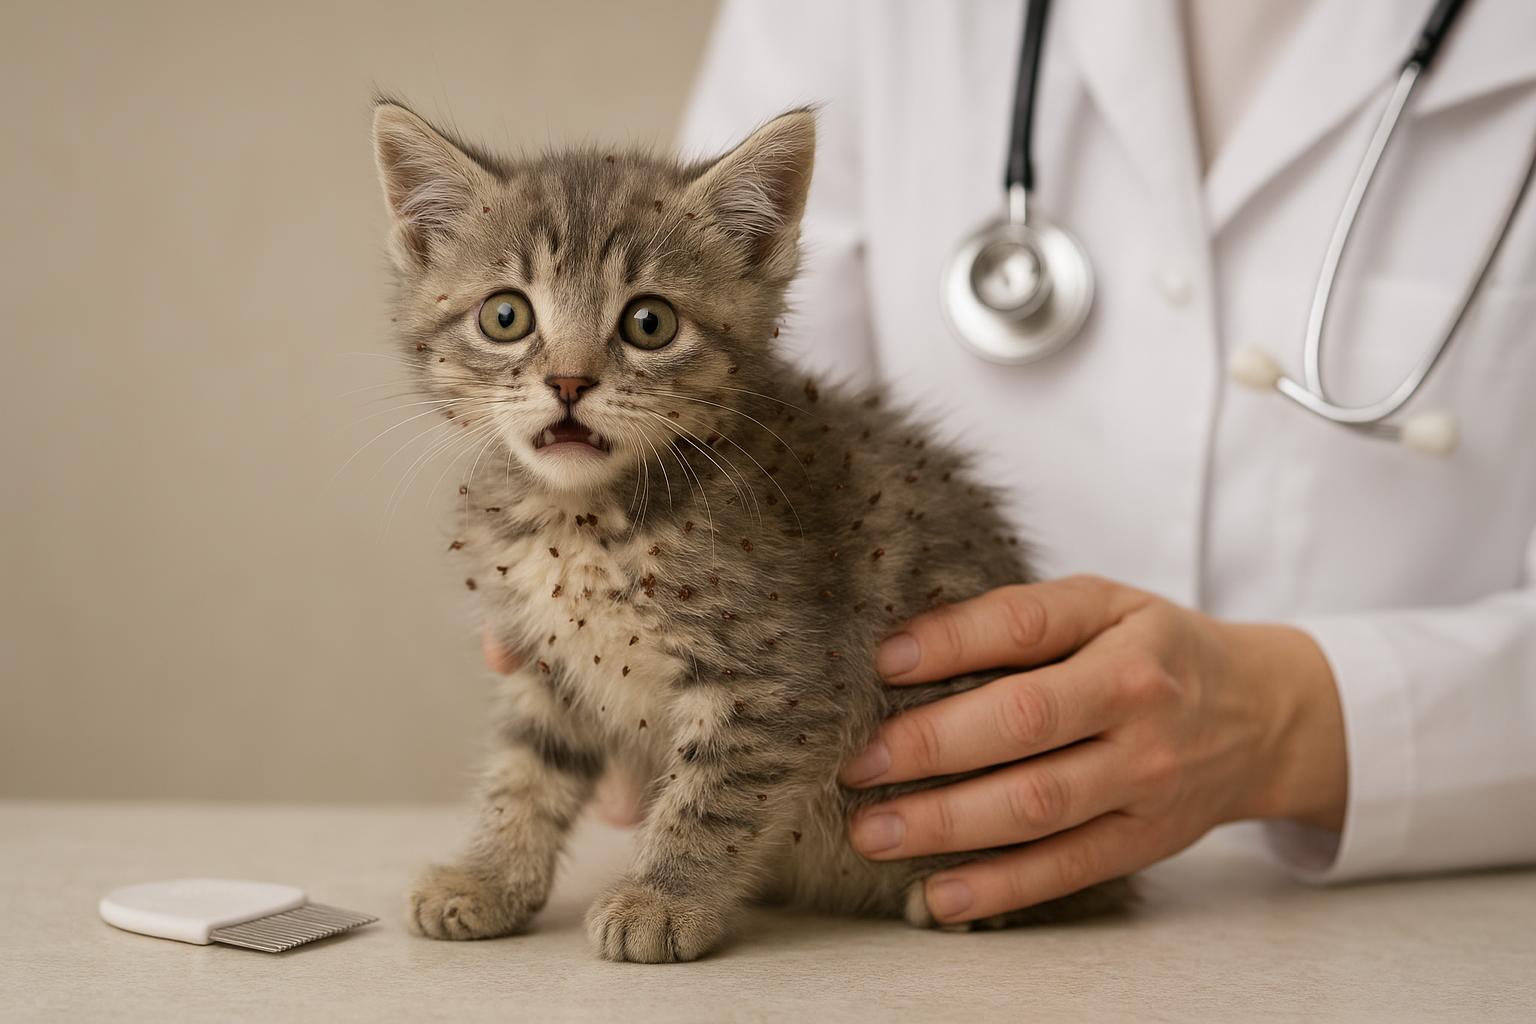
Flea bites cause itching and secondary skin infections, and in severe cases, fleas can transmit tapeworms (if your cat ingests an infected flea while grooming) or cause anemia in kittens. Repeated exposure can lead to flea allergy dermatitis, where even a single bite triggers intense itching. Knowing the flea life cycle helps you treat not just the adults on your cat but the eggs and pupae in your home — the stages that keep the infestation coming back.
#### Seasonal Patterns And Home Conditions
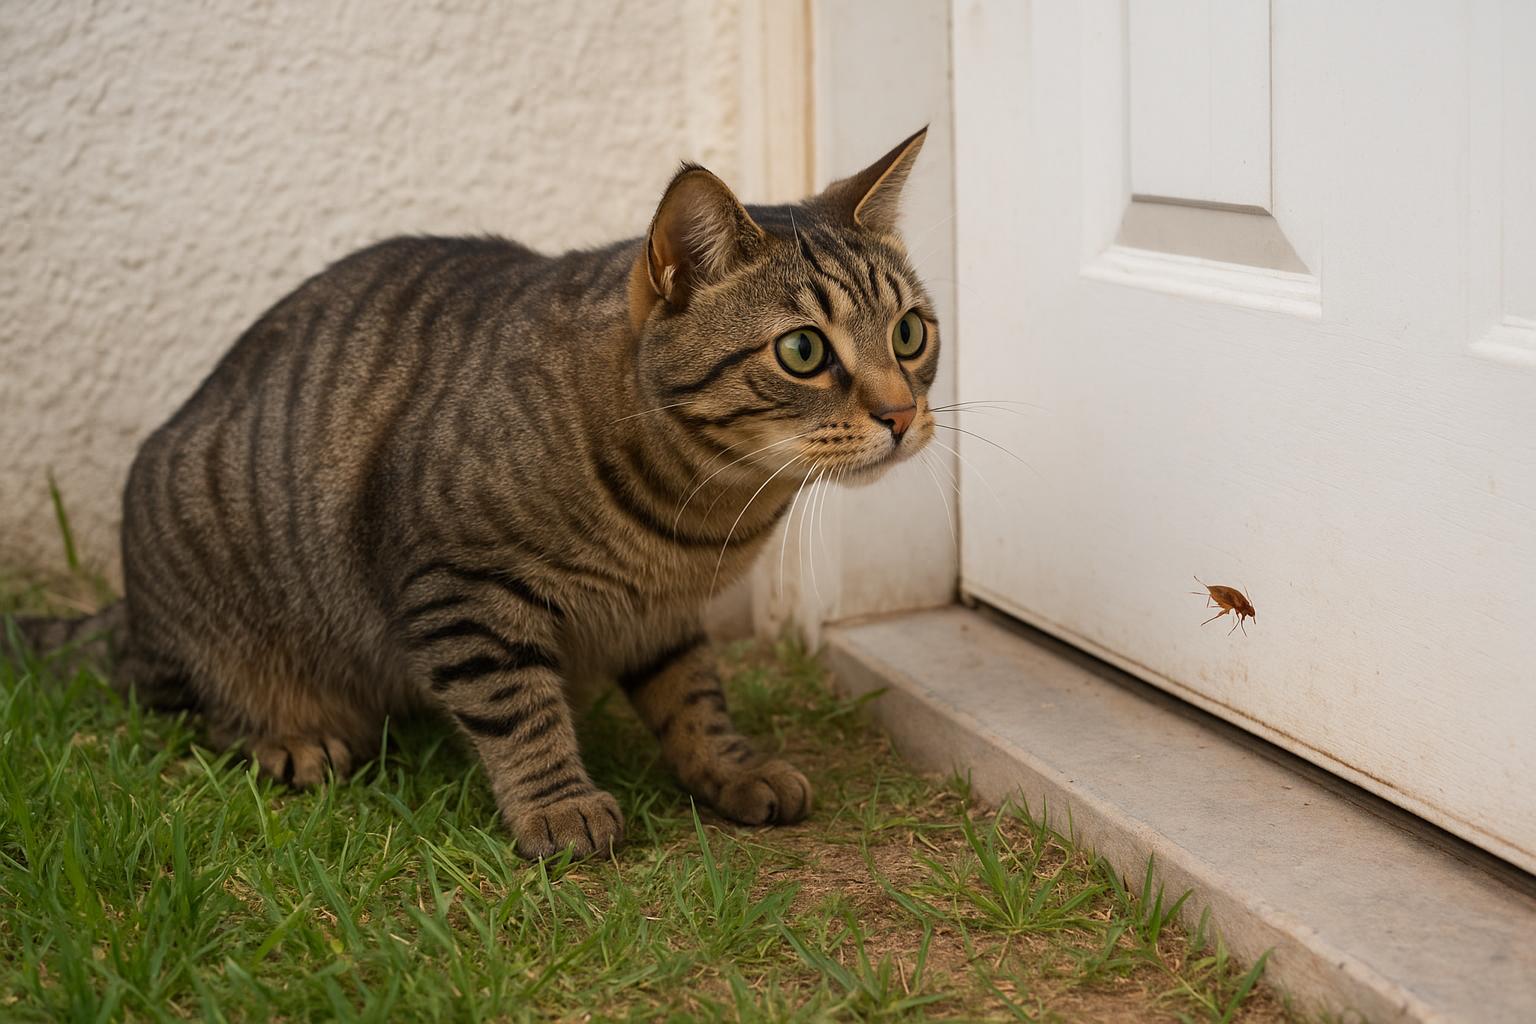
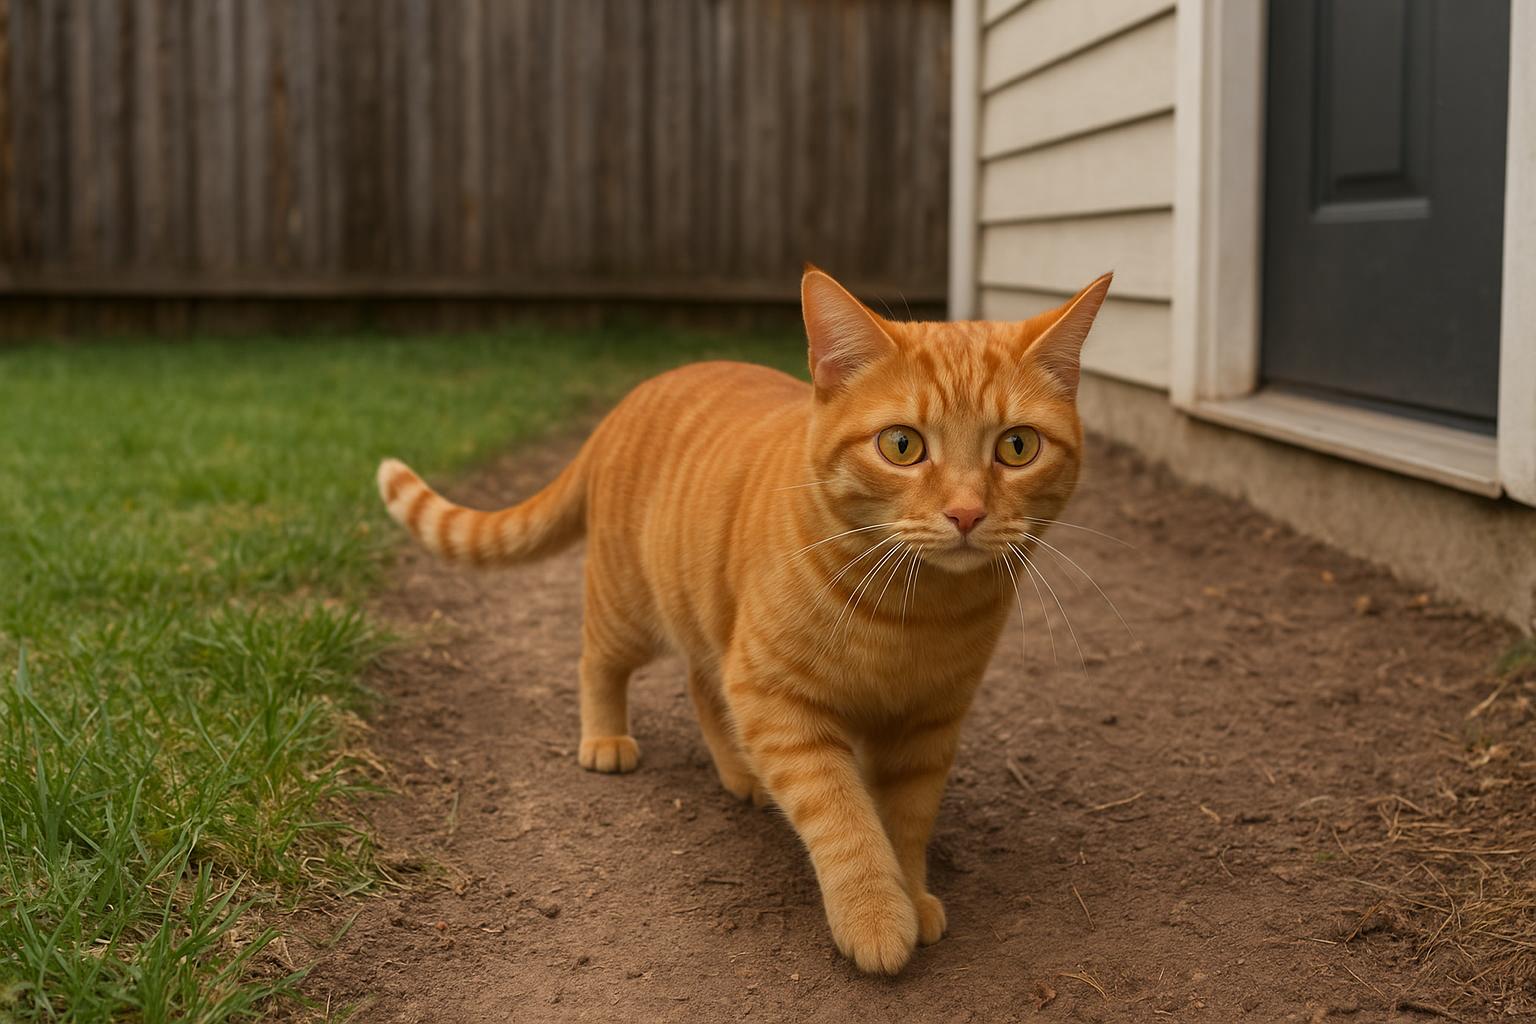
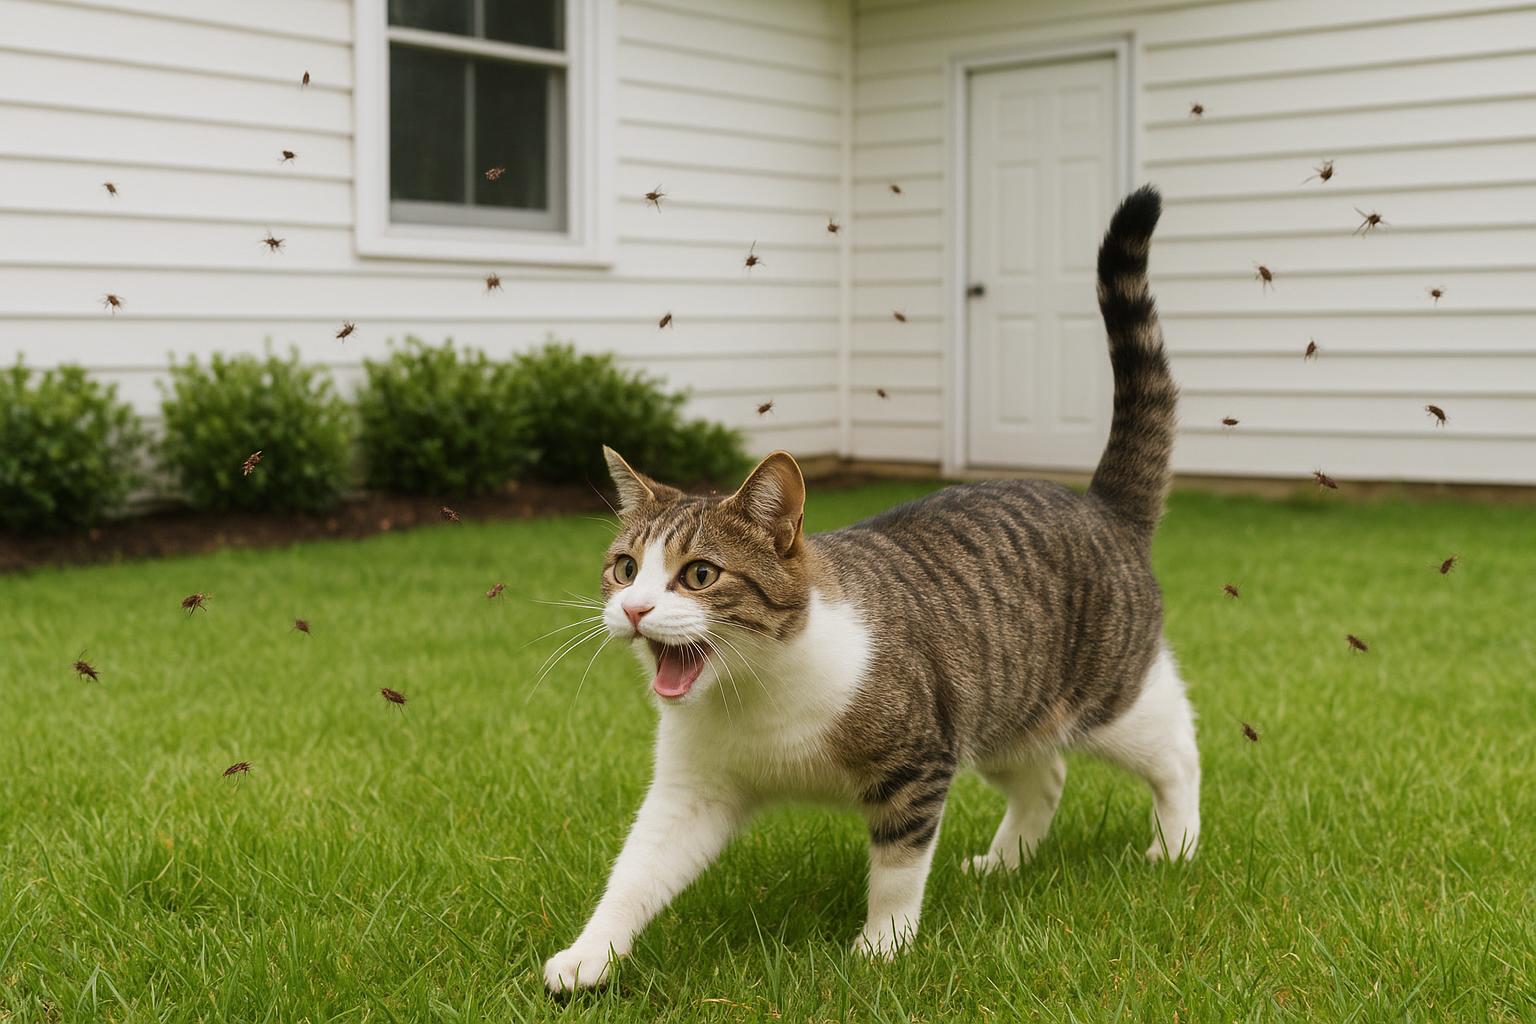
While fleas can persist year-round indoors, they flourish in warm, humid weather. Basements, sunlit rugs, and pet beds create ideal microclimates where flea eggs and larvae thrive. If you’ve got outdoor access, your yard (especially shaded areas and leaf litter) can also act as an ongoing reservoir.
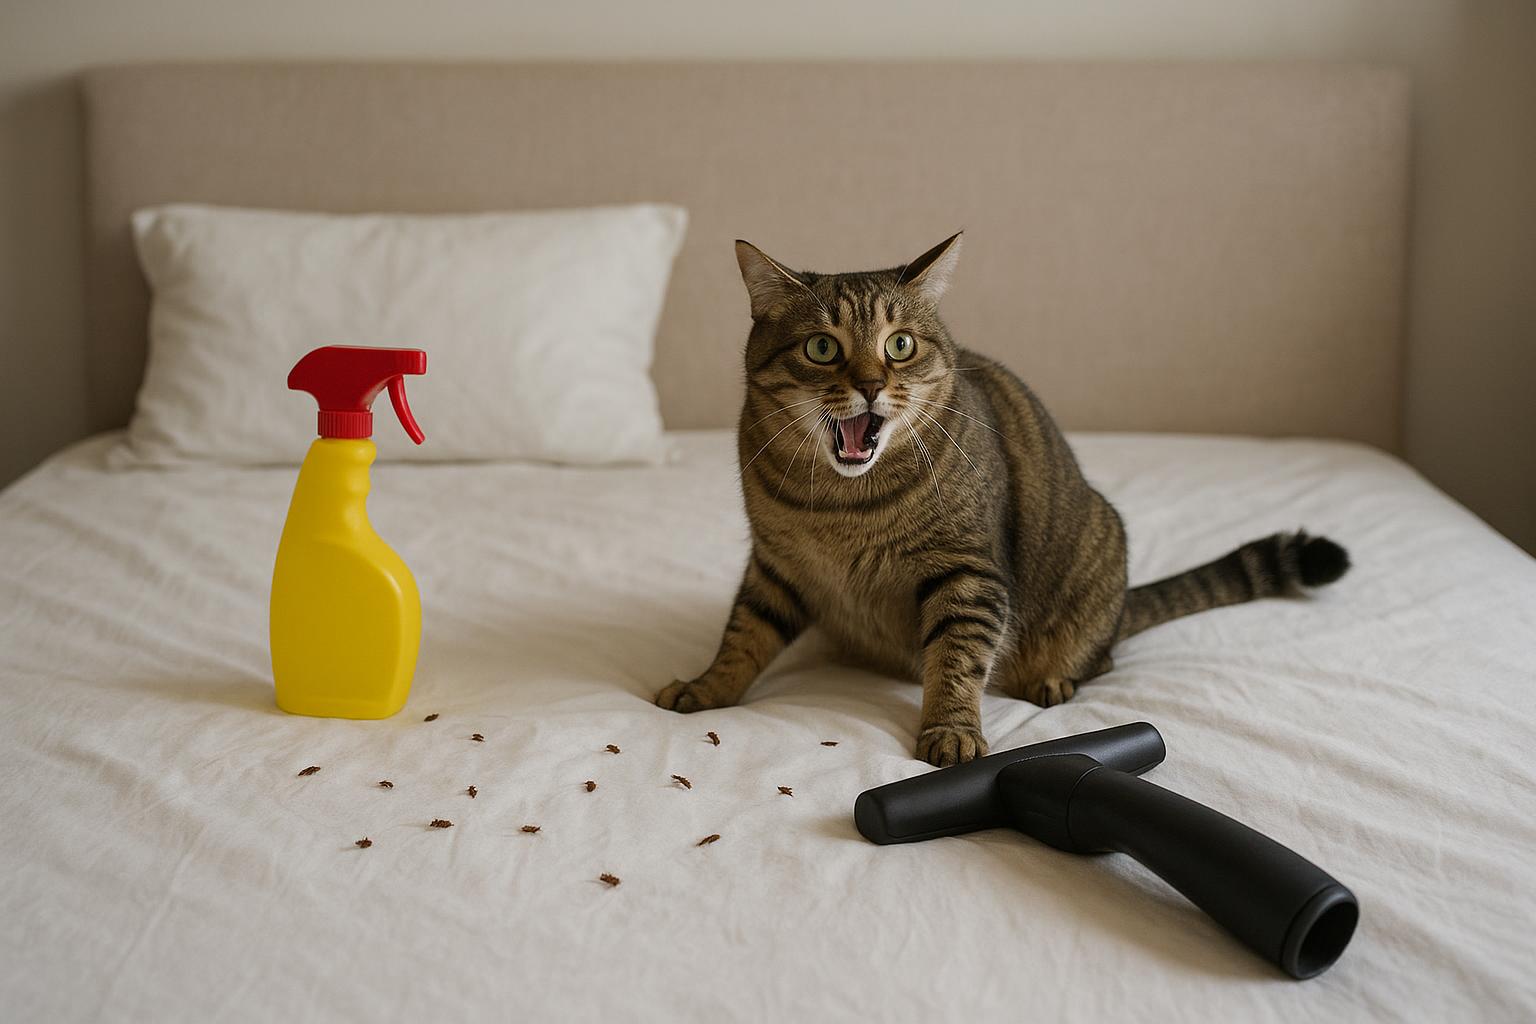
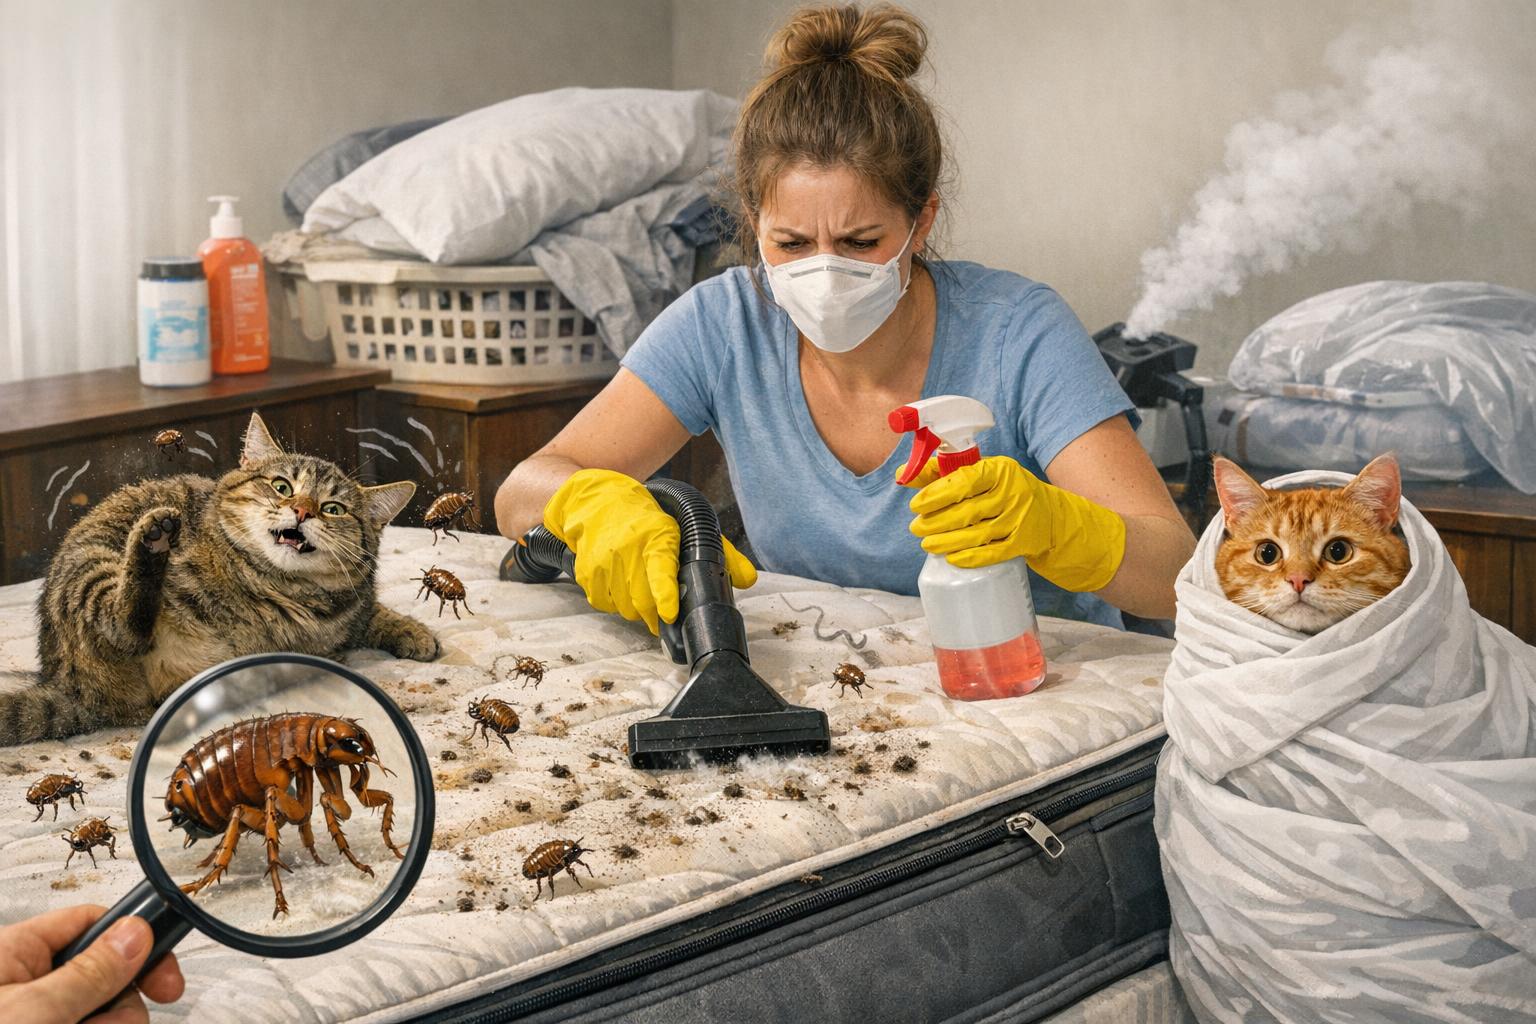
## 1. Home Deep Cleaning And Vacuuming Method
This non-chemical approach targets the environmental stages of the flea life cycle and reduces the number of eggs, larvae, and pupae in your home. It’s a required foundation for any effective control plan.
Materials
– High-powered vacuum with attachments and a canister bag (or bagless container you can empty outside)
– Hot water for washing
– Laundry detergent
– Stiff brush (optional for rugs)
– Trash bags
– Steam cleaner (optional but effective)
Step-By-Step Creation And Application
1. Prepare The Space: Remove clutter, pick up small items, and move furniture where possible to access baseboards and under-furniture areas.
2. Wash Soft Items: Gather all pet bedding, blankets, removable cushion covers, and any washable rugs. Wash on the hottest setting the fabric allows, and dry on high heat. Heat kills eggs, larvae, and newly emerged adults.
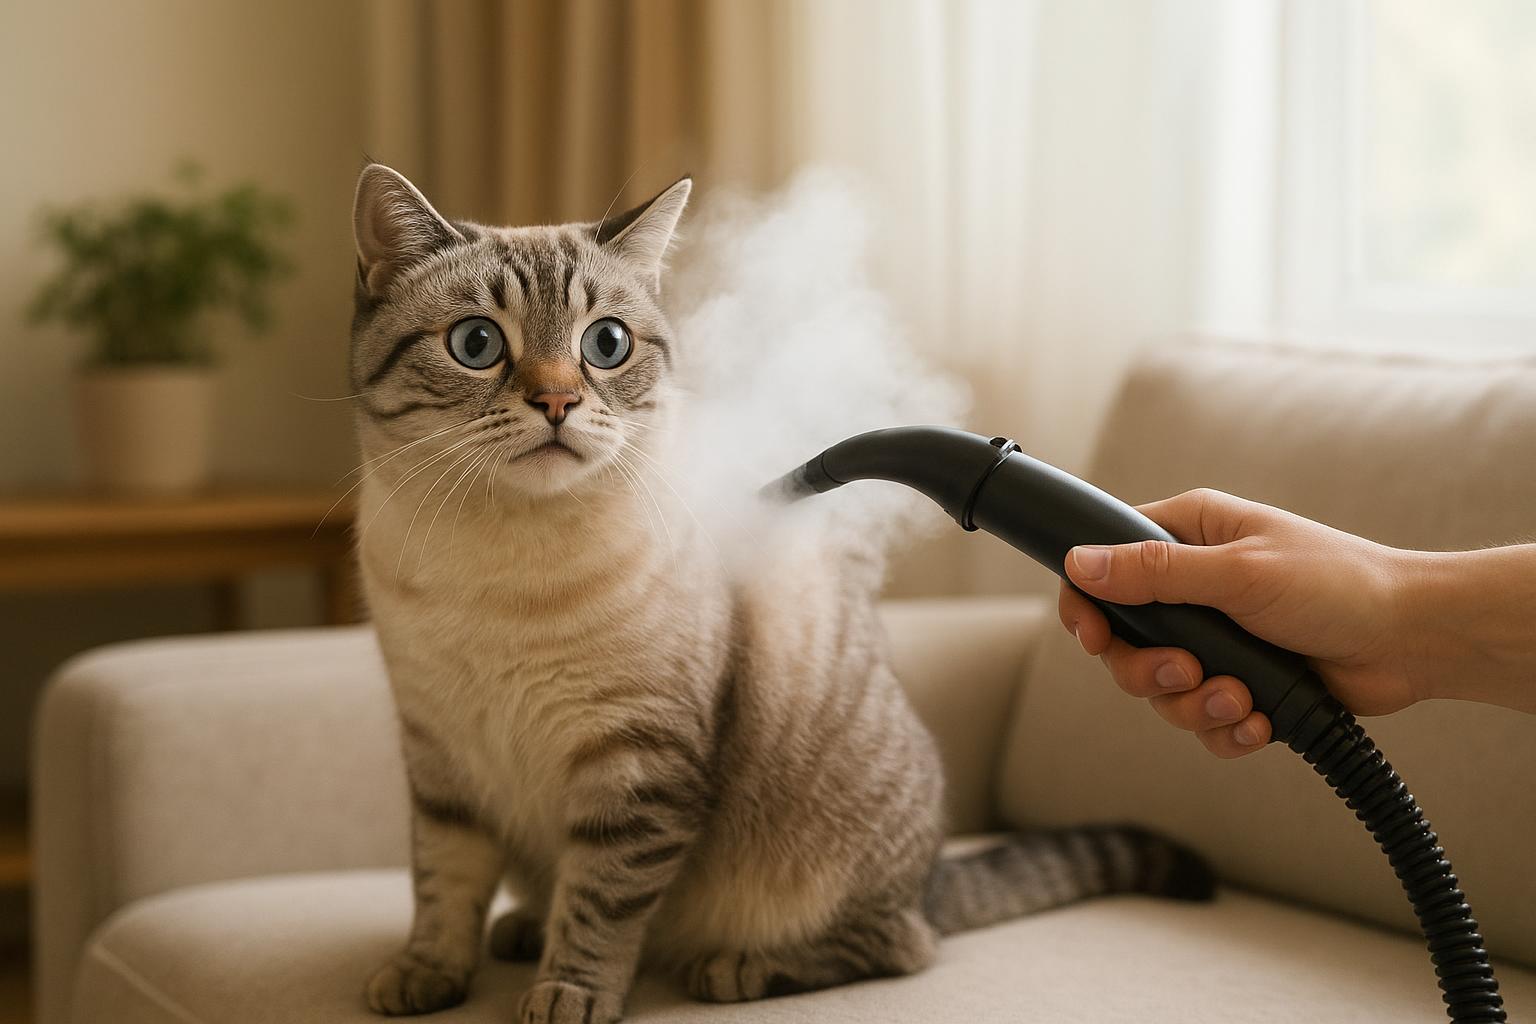
3. Vacuum Thoroughly: Vacuum all carpets, rugs, upholstery, and along baseboards. Use crevice and upholstery tools to get into folds and under cushions. Pay special attention to areas your cat frequents. Vacuum slowly to maximize egg and larva pickup.
4. Empty Vacuum Immediately: If you use a bagged vacuum, seal and dispose of the bag in an outdoor trash bin. If bagless, empty the canister into a sealed trash bag and take it outside to minimize reinfestation risk.
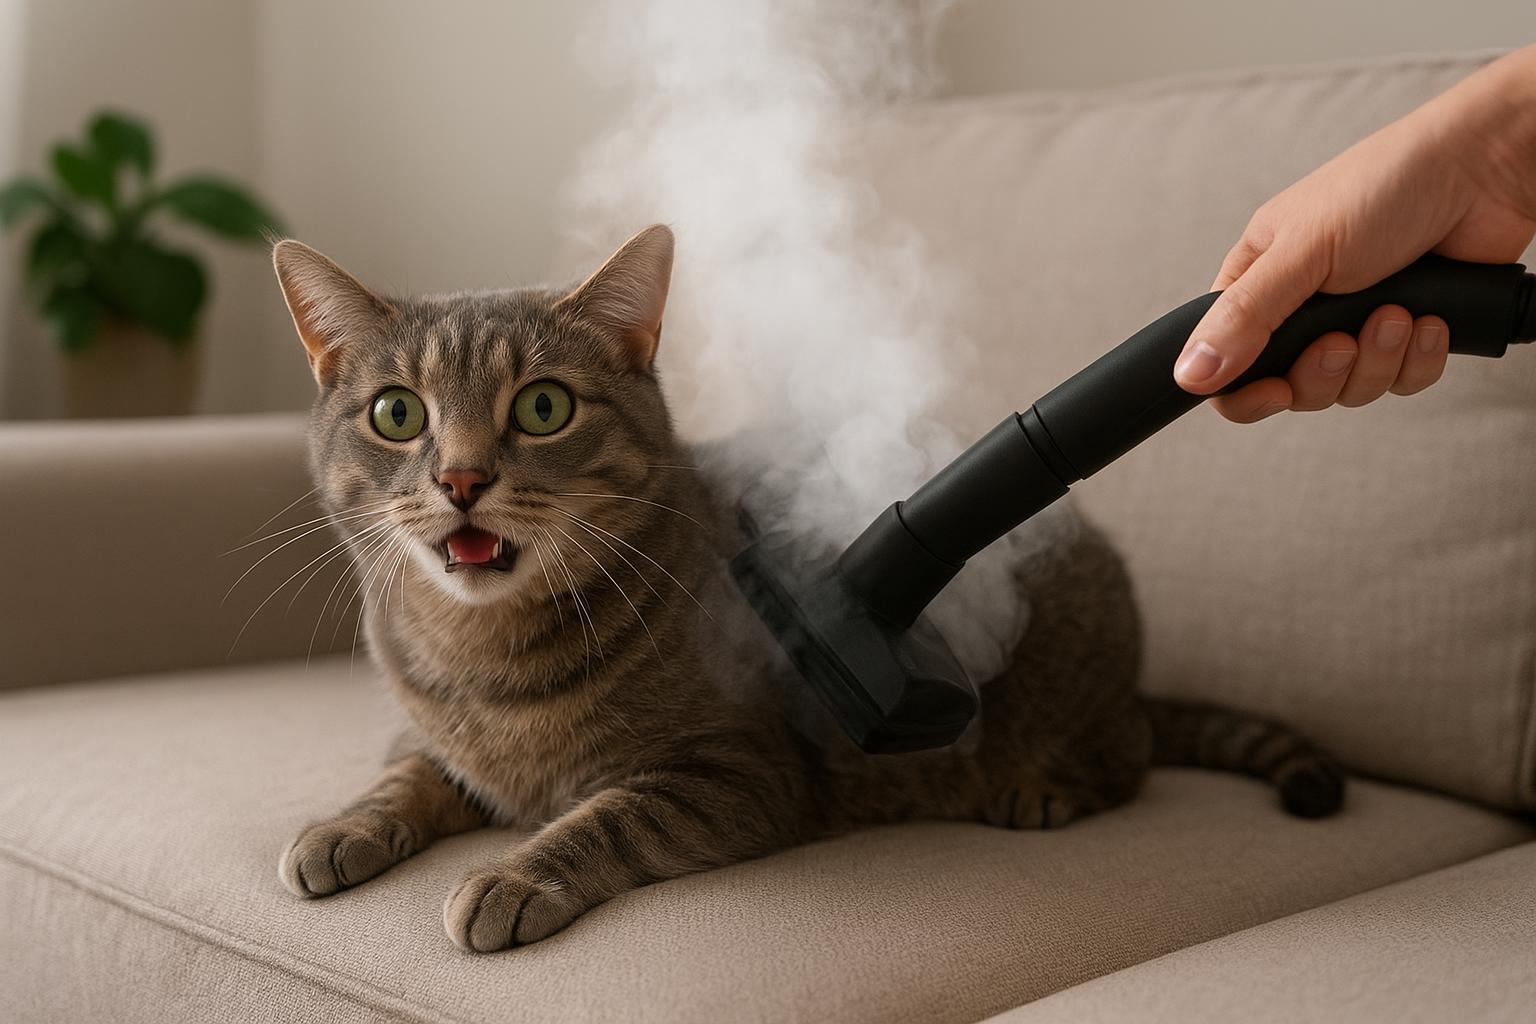
5. Steam Clean: If available, use a steam cleaner on carpets and upholstery — the combination of heat and moisture further disrupts the flea life cycle by killing eggs and larvae embedded in fibers.
6. Repeat Schedule: Vacuum daily for two weeks, then at least three times weekly for six weeks. This frequency tackles eggs hatching and larvae maturing before they can pupate or become adults.
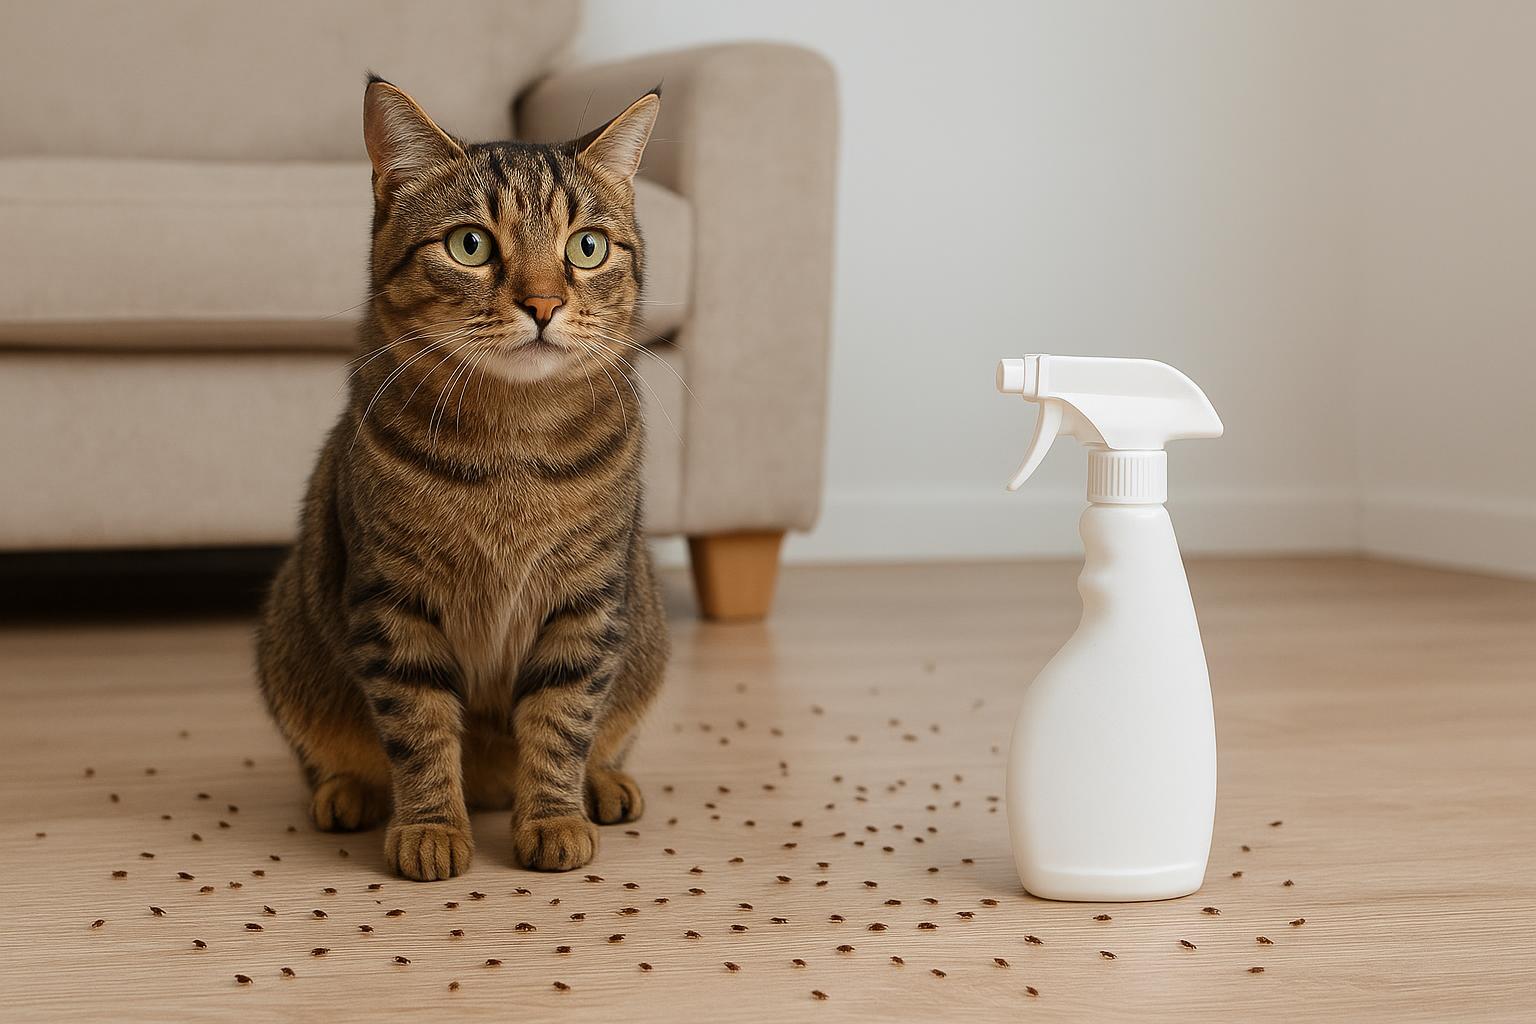
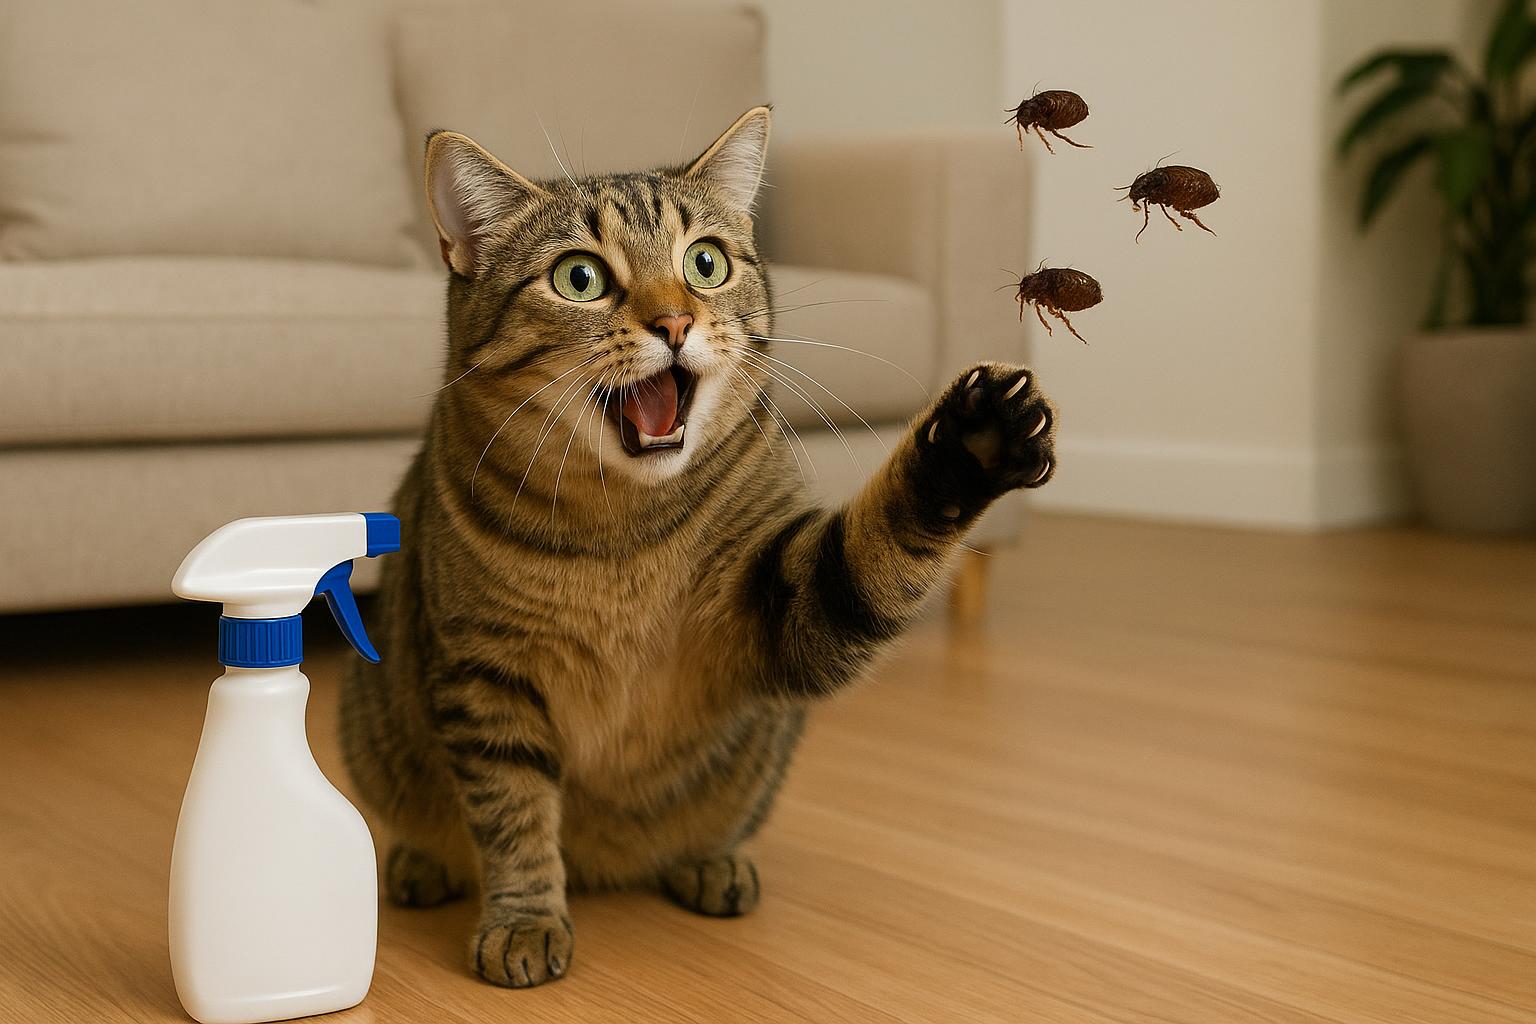
7. Treat Outdoor Areas: Rake leaves, trim shaded foliage, and move pet resting spots away from damp, shaded ground. If you use outdoor treatments, choose pet-safe products and follow the label.
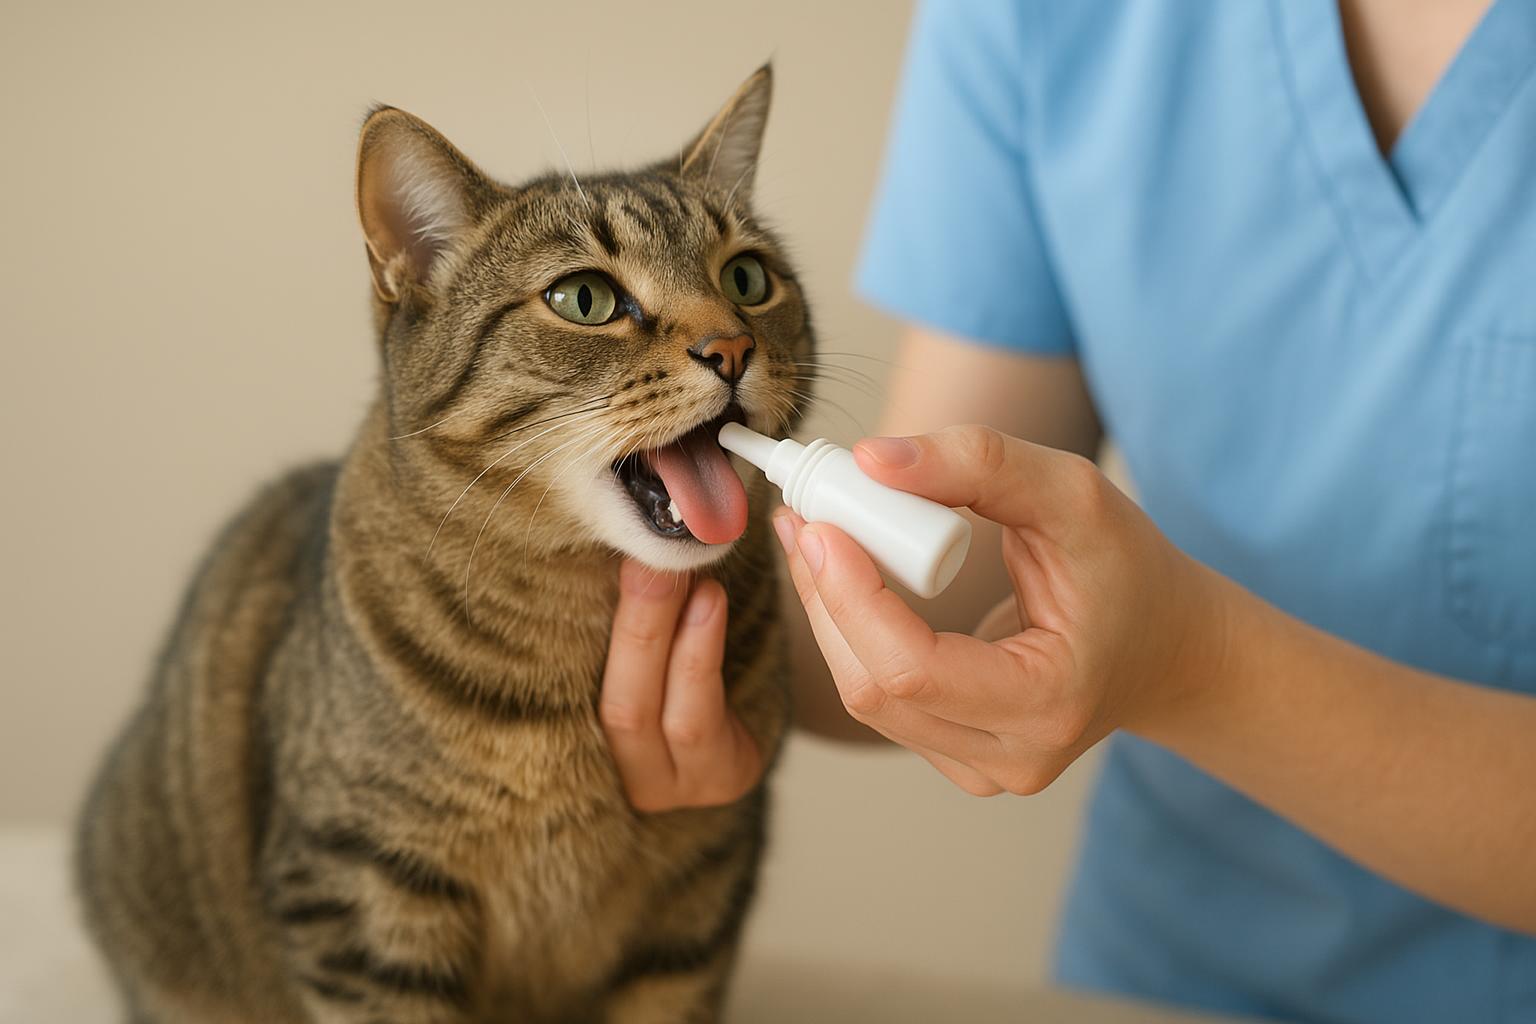
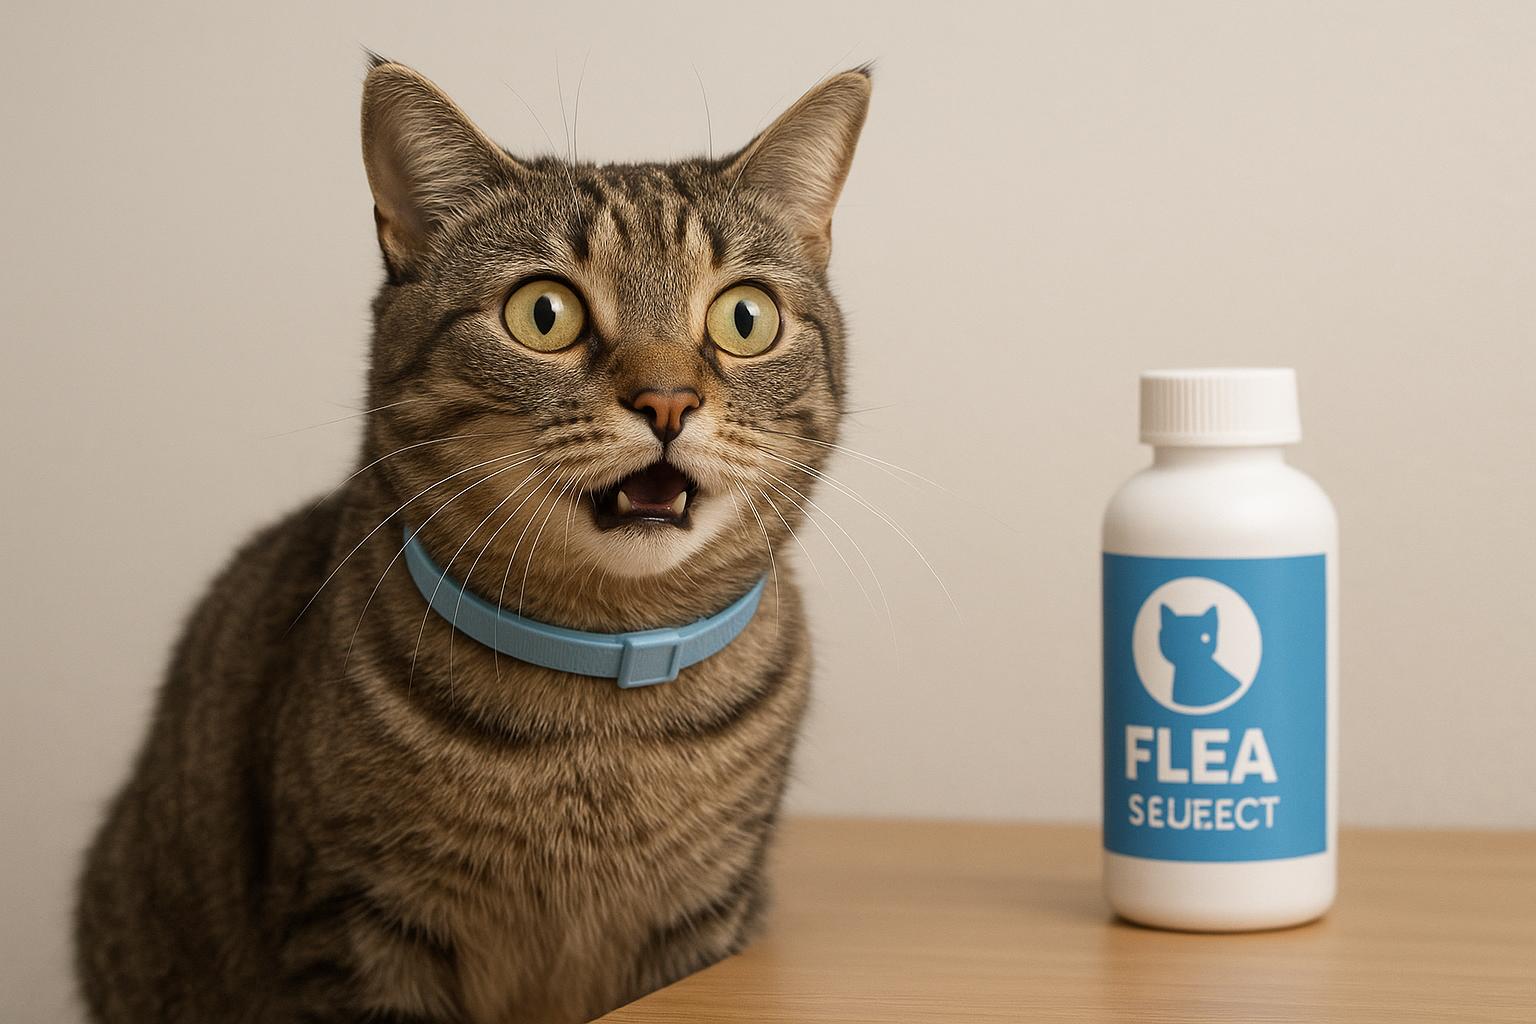
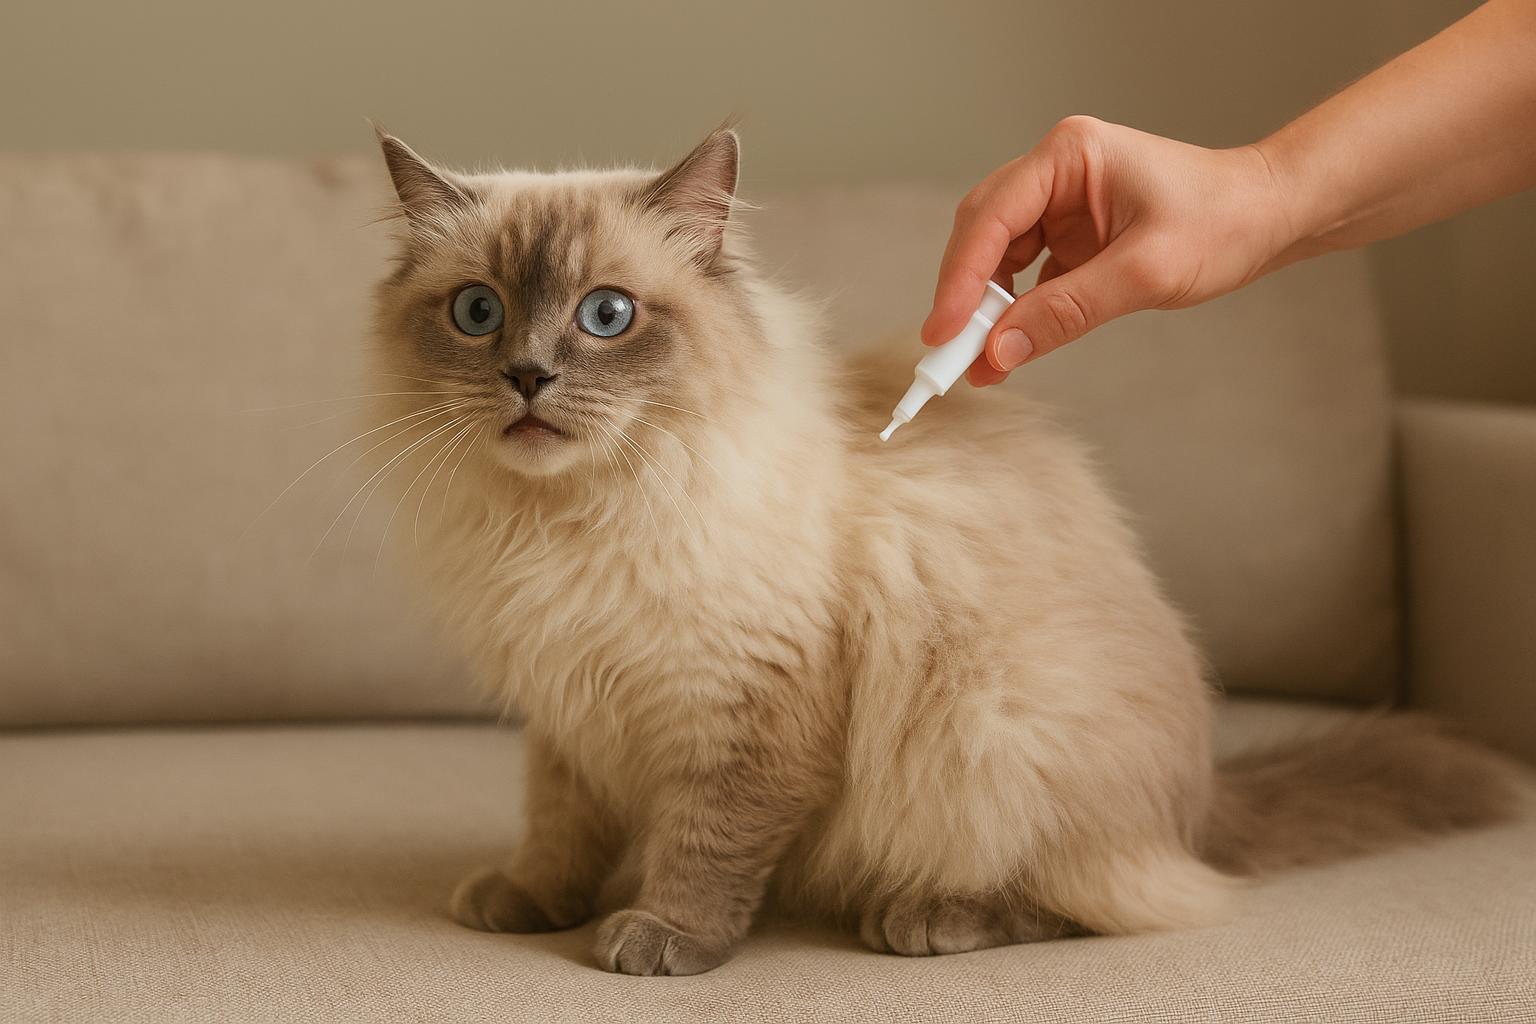
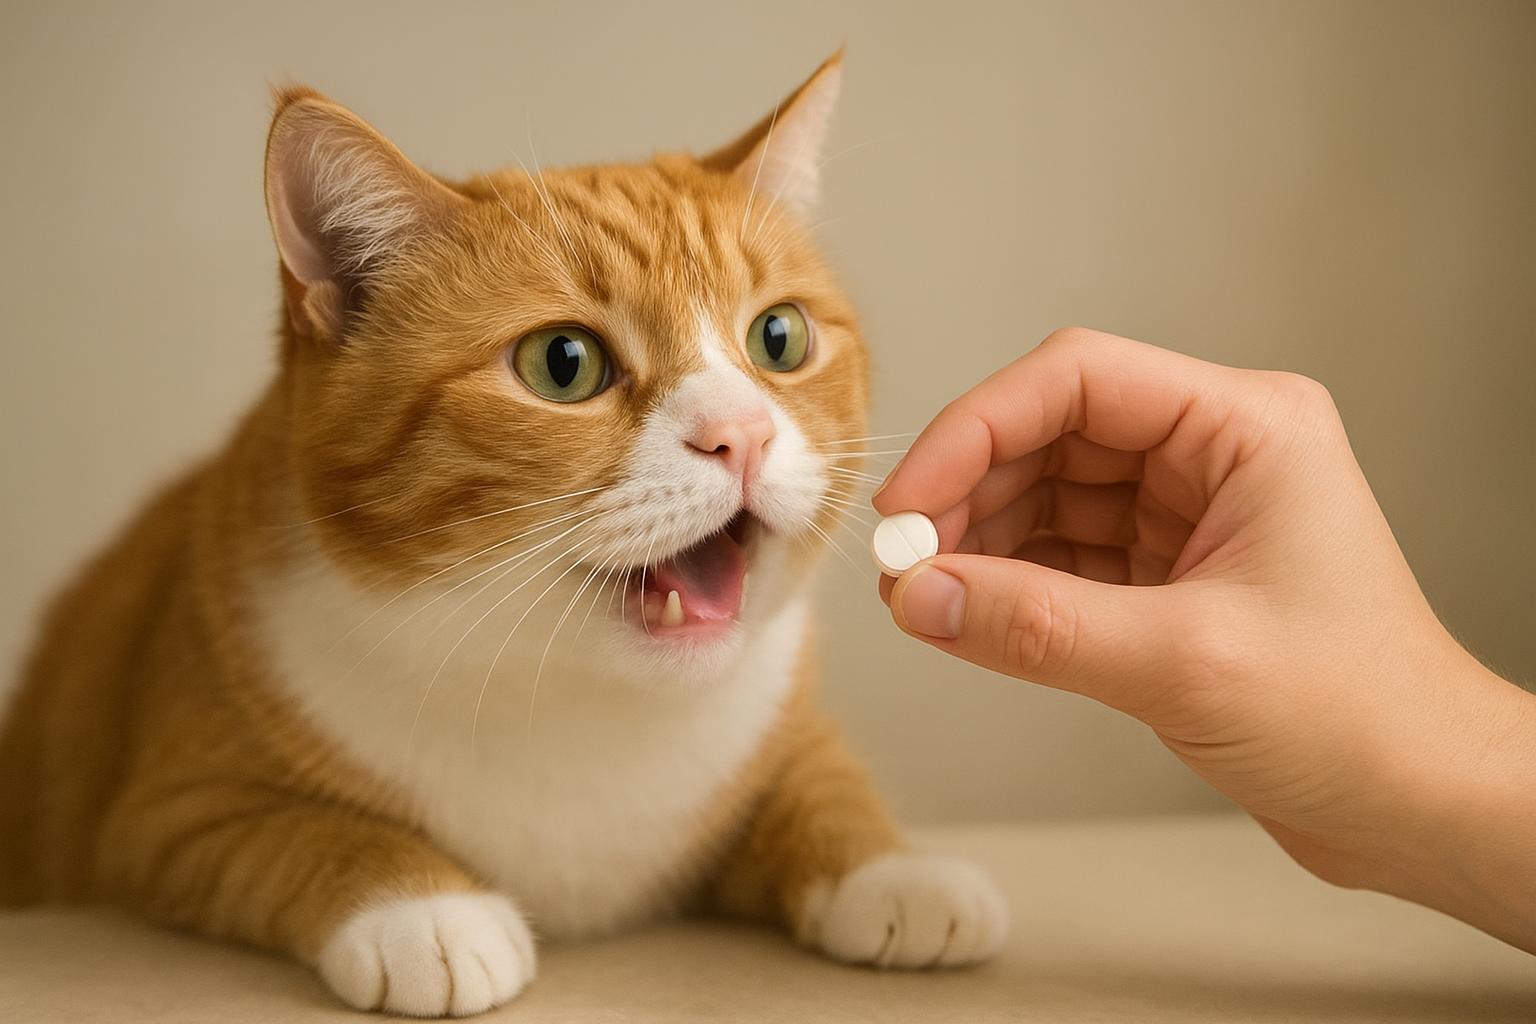
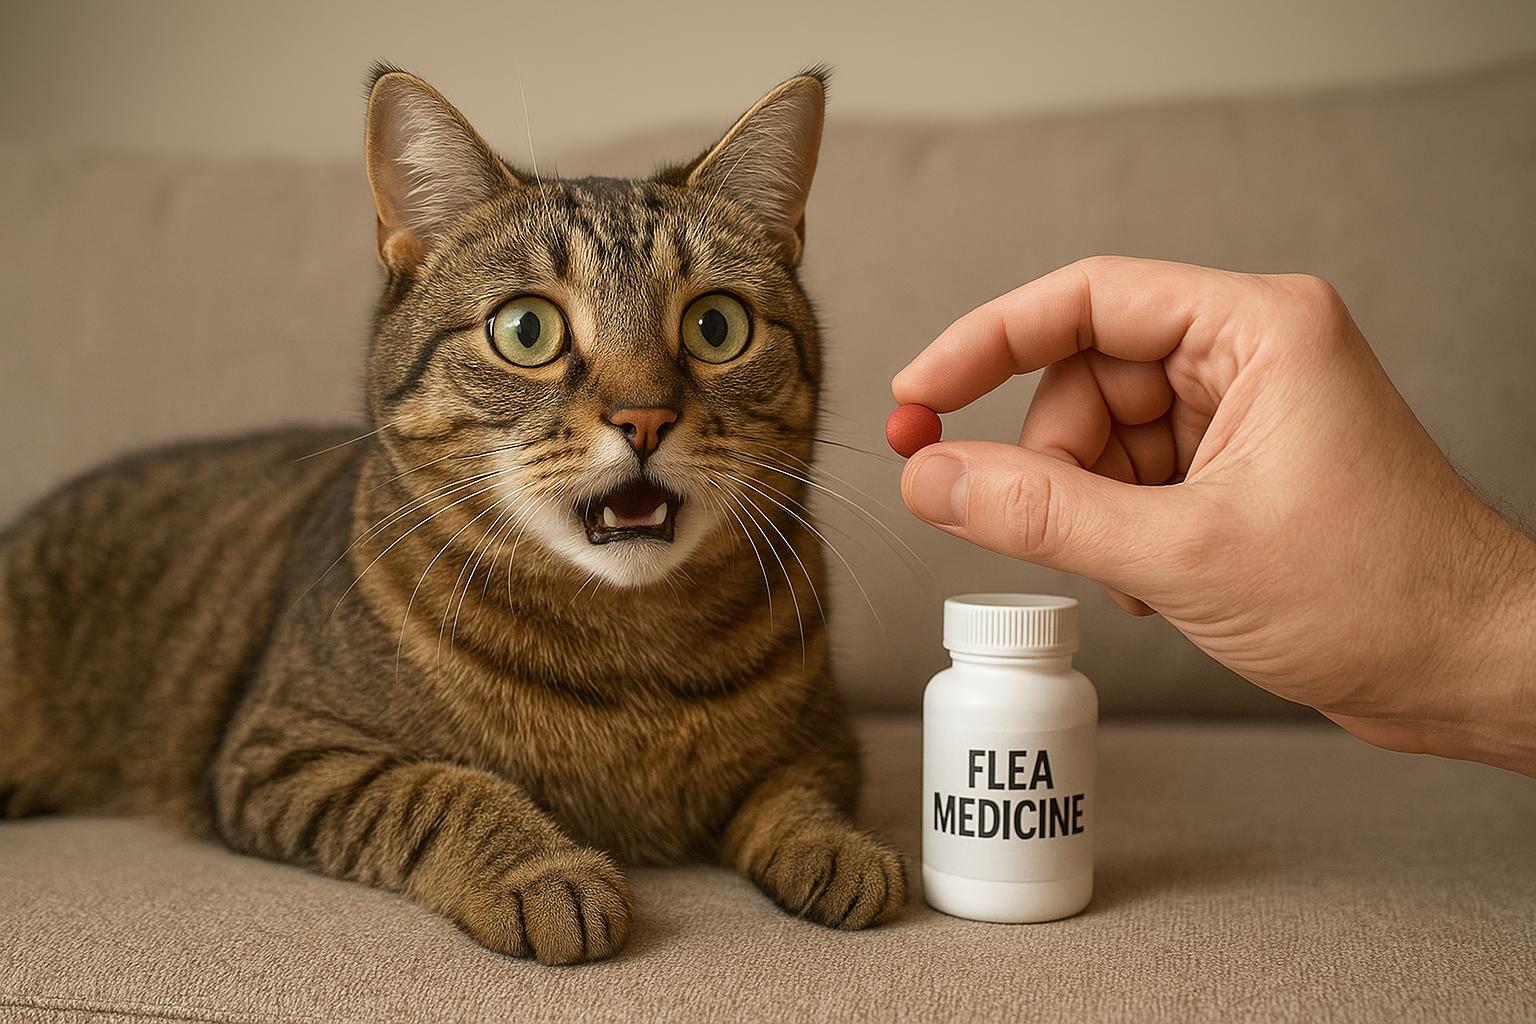
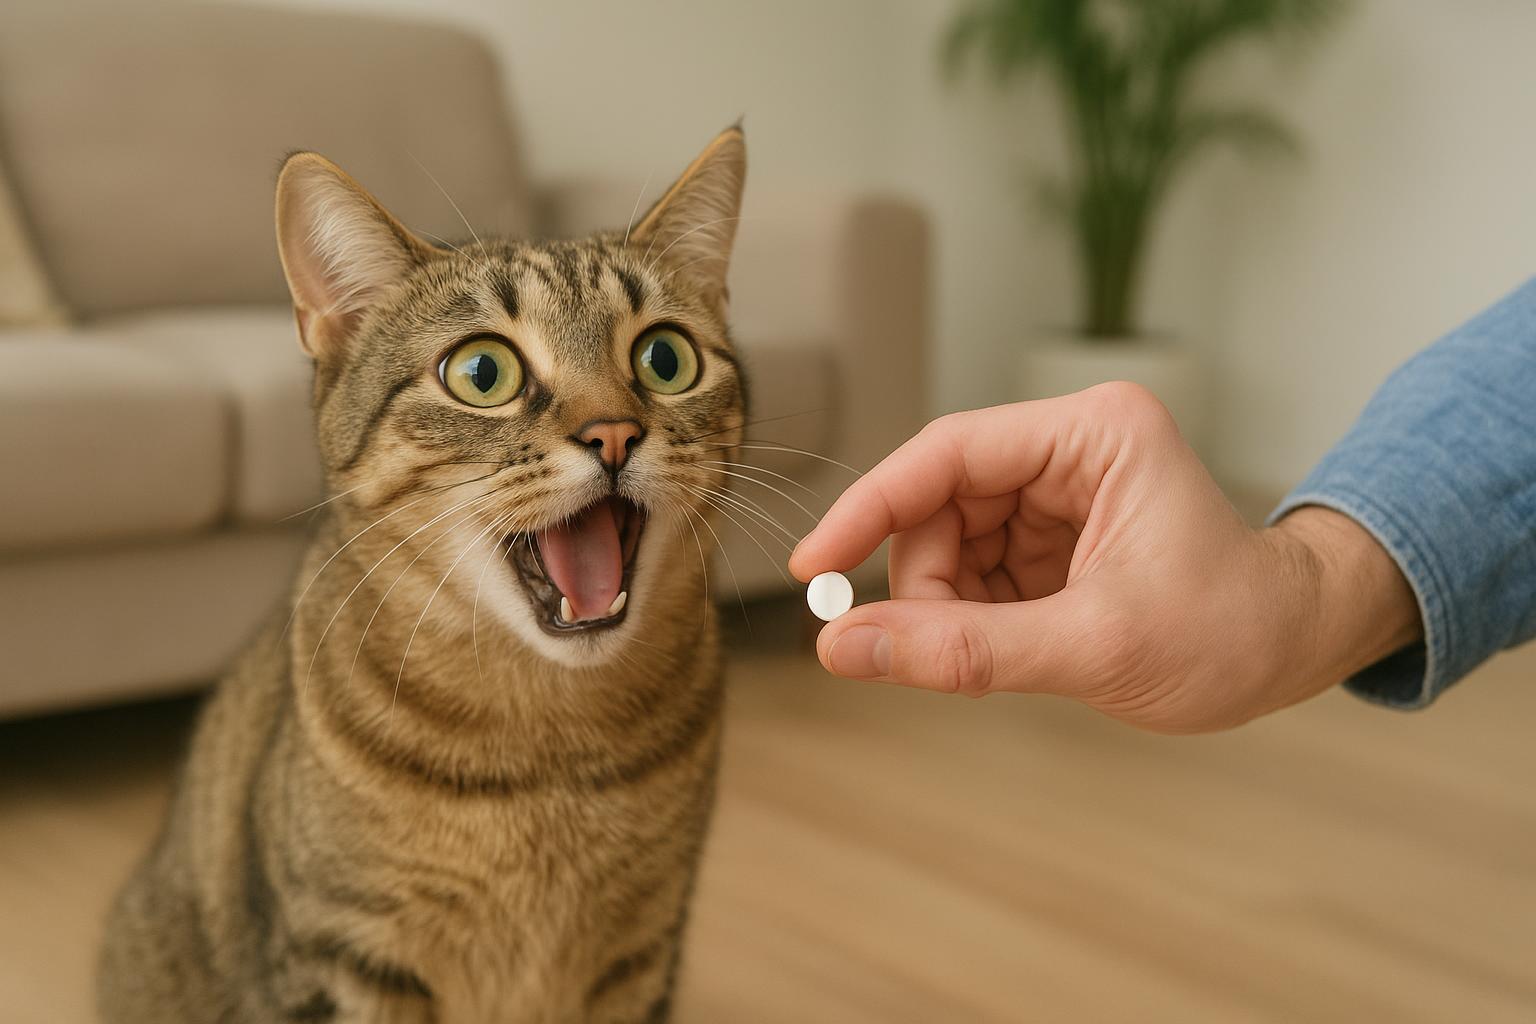
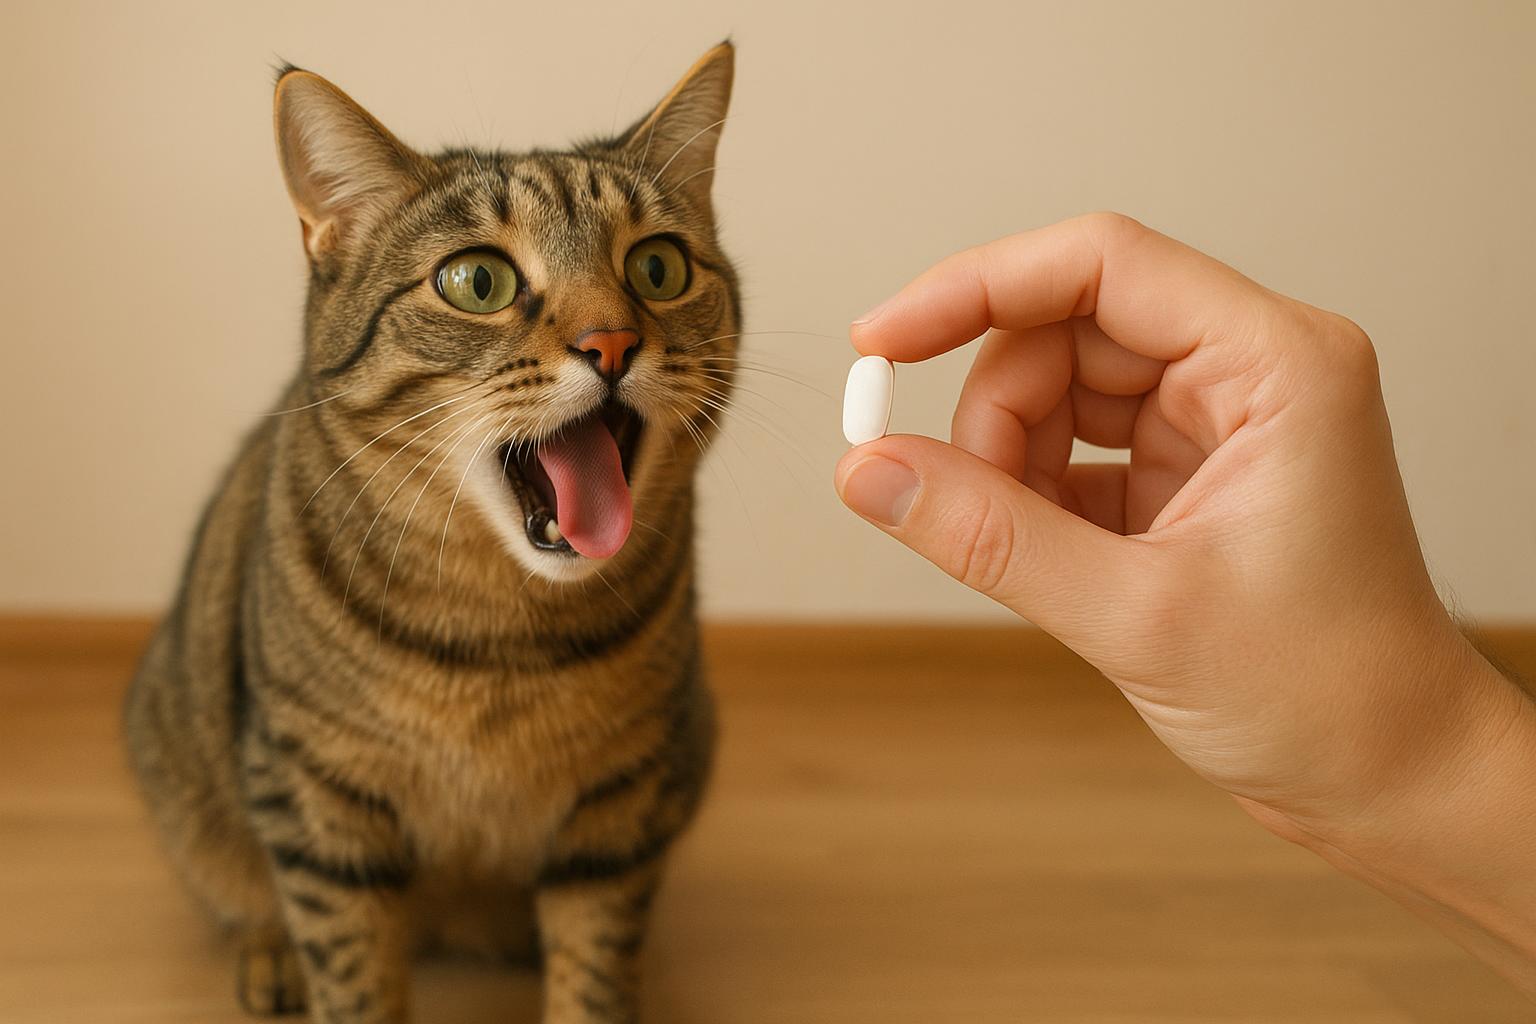
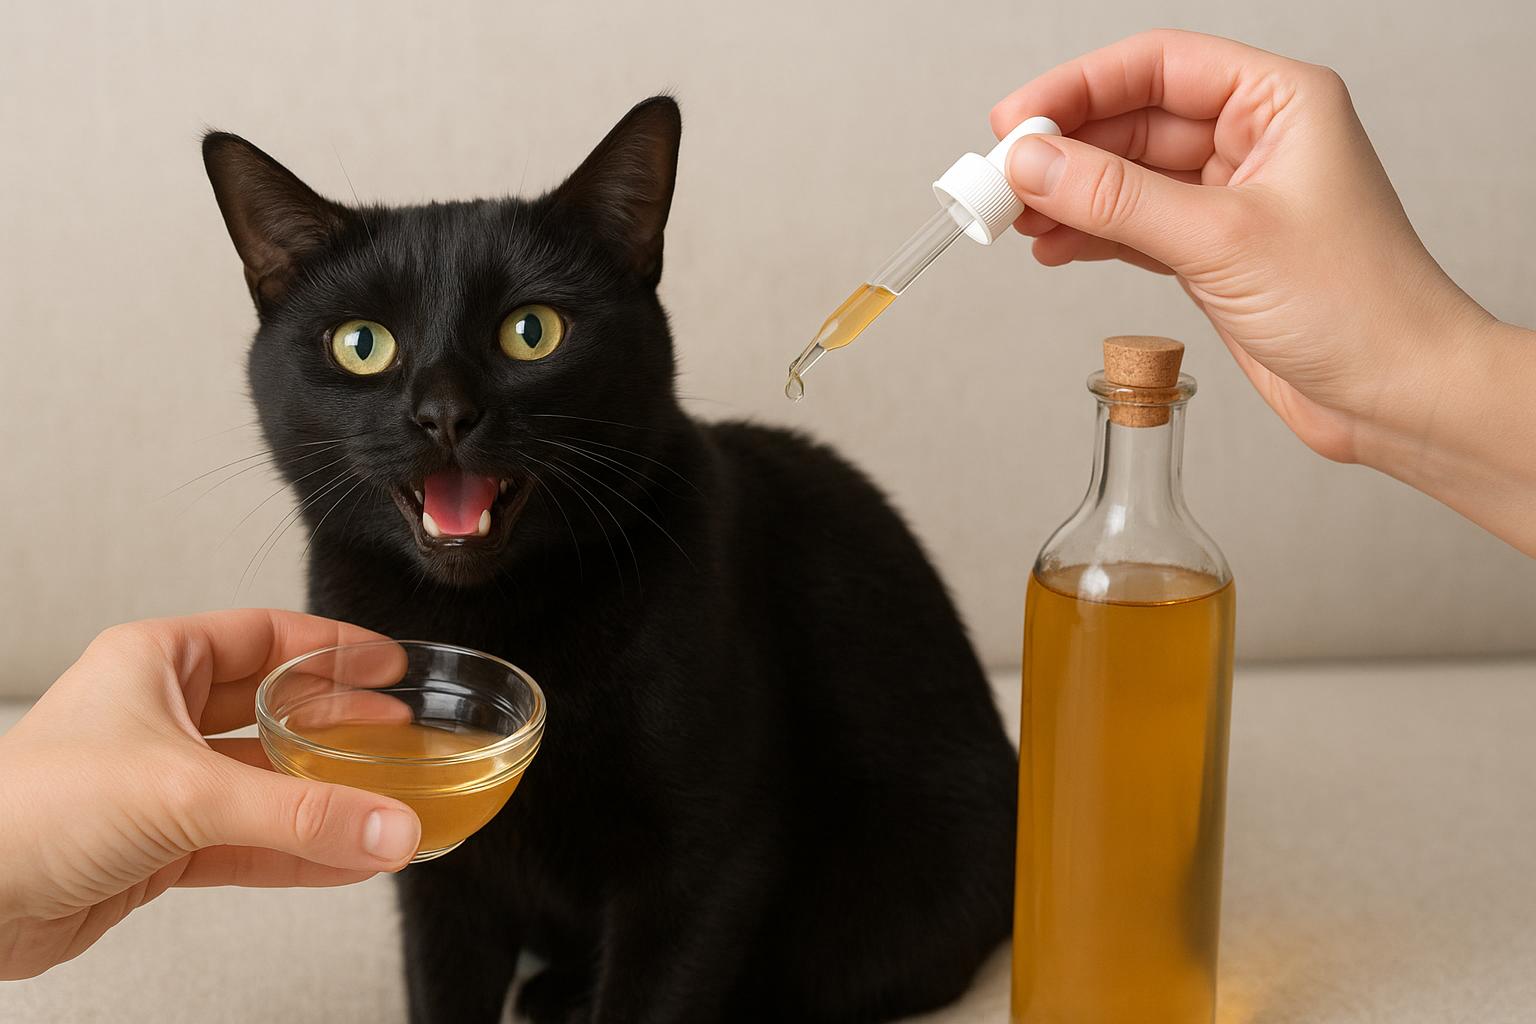
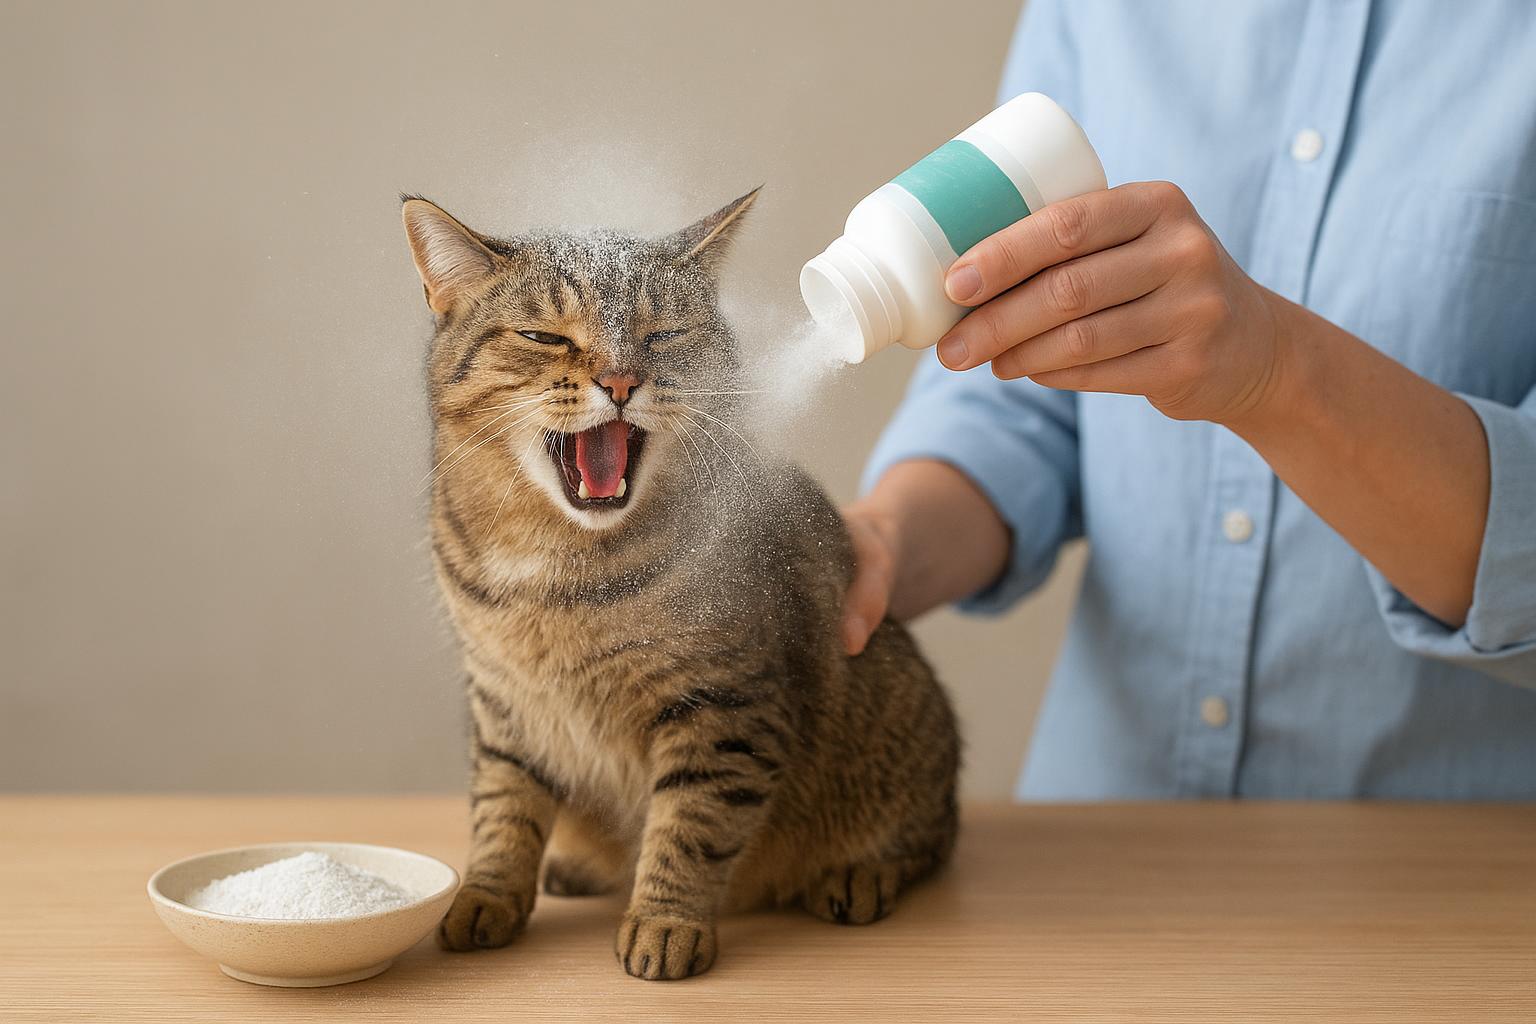
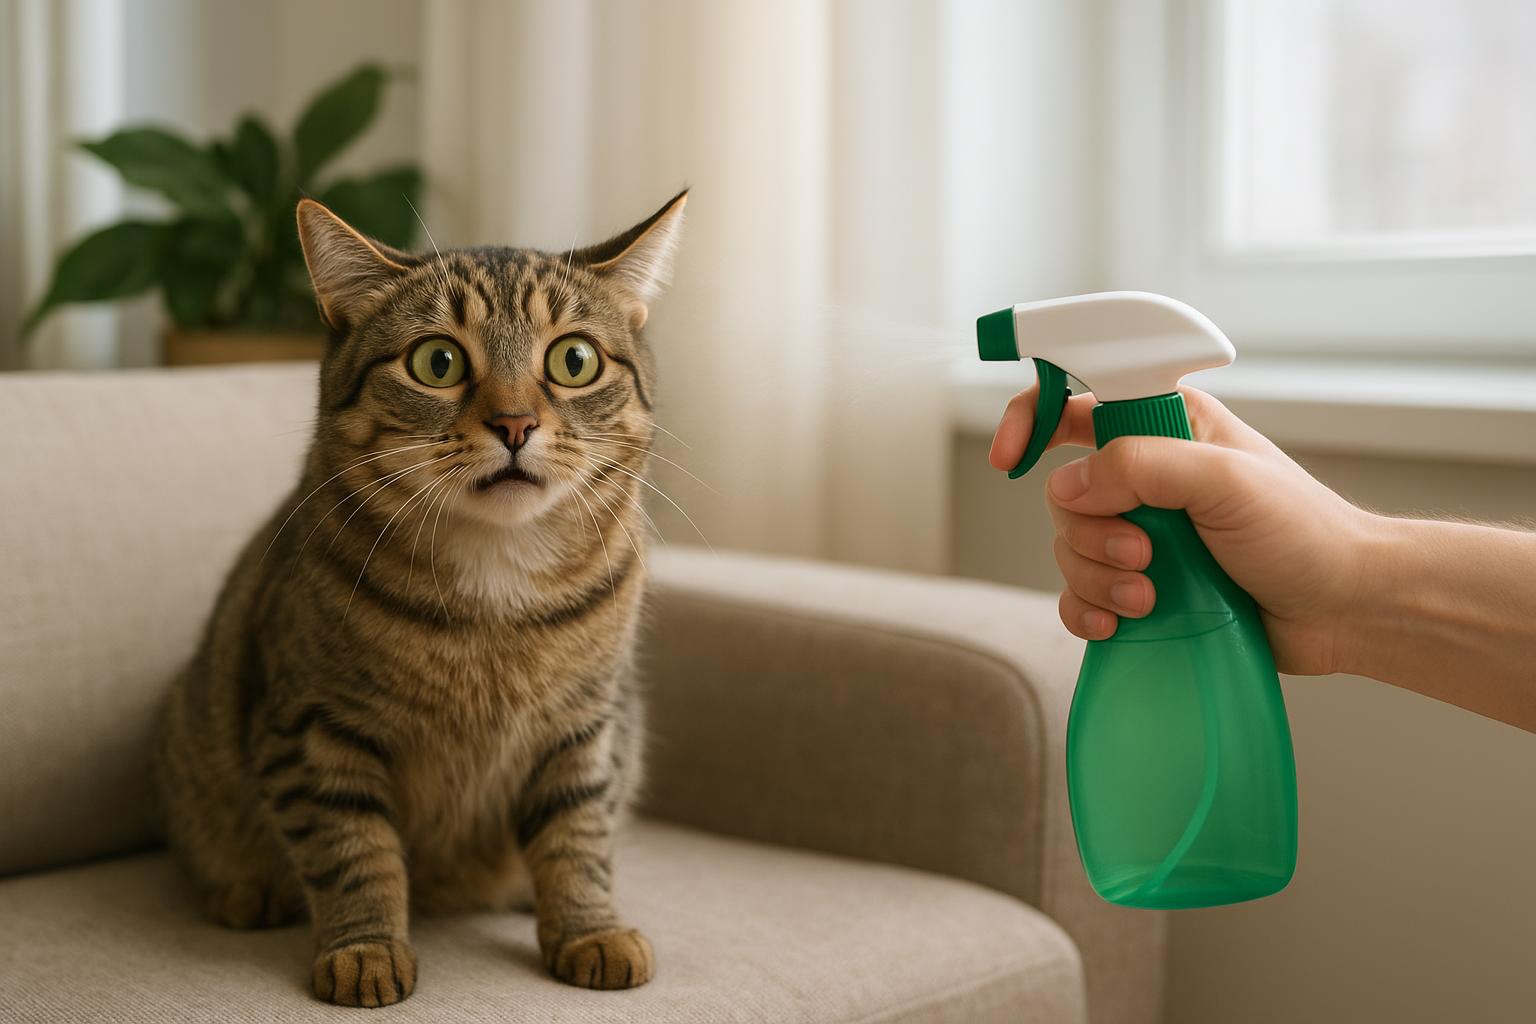
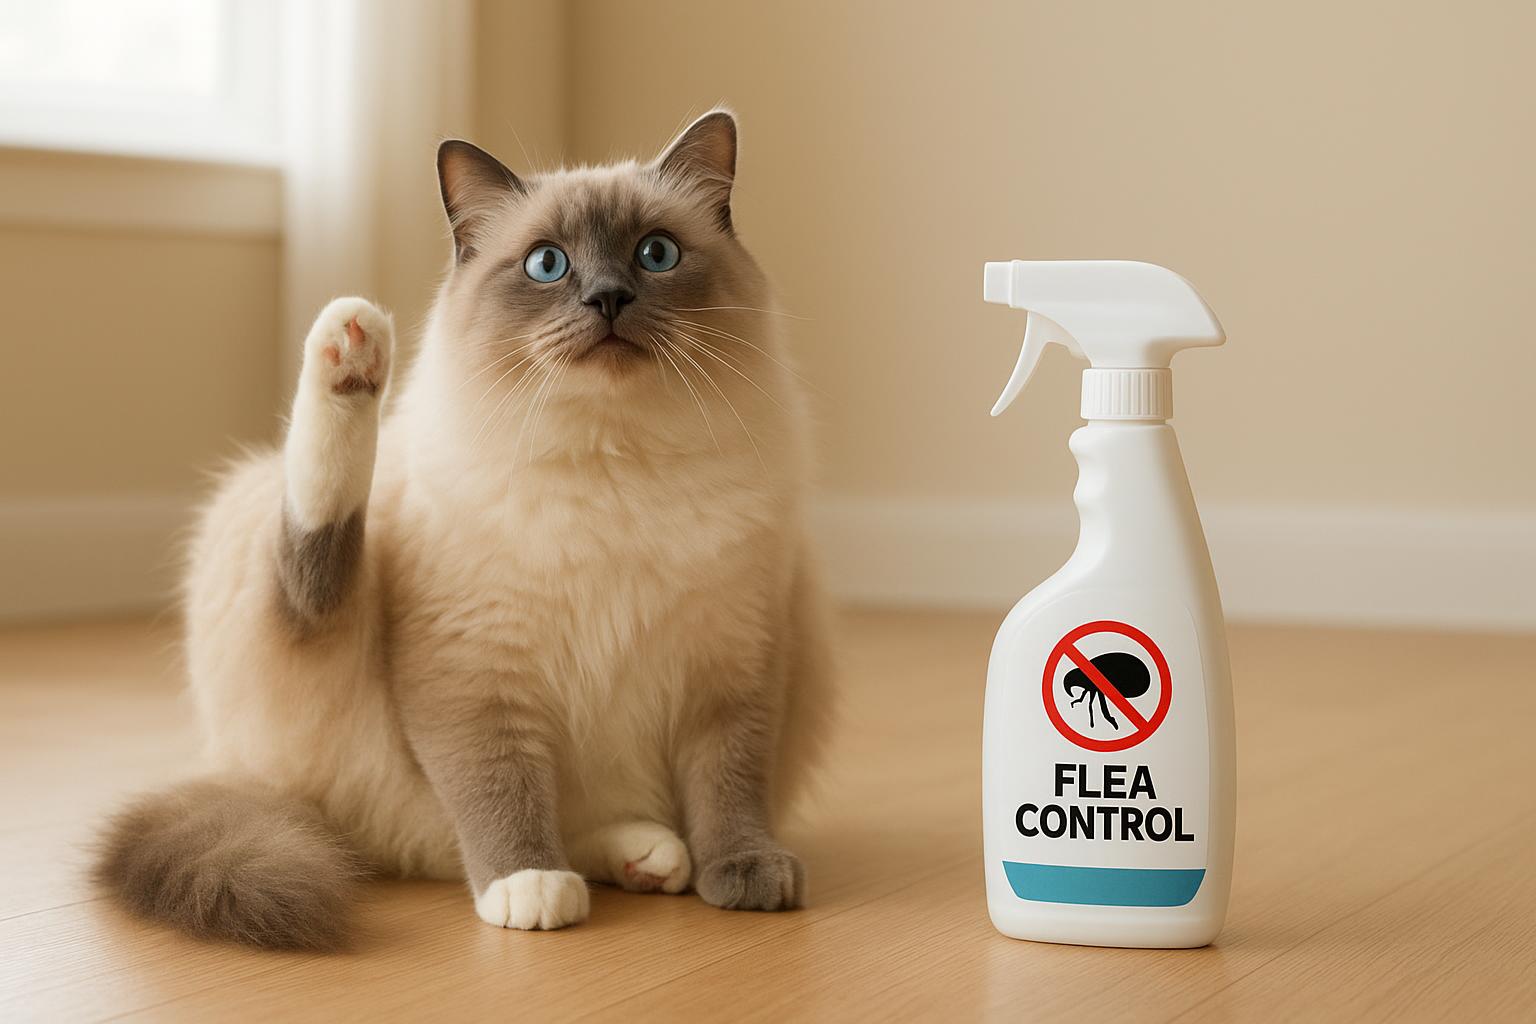
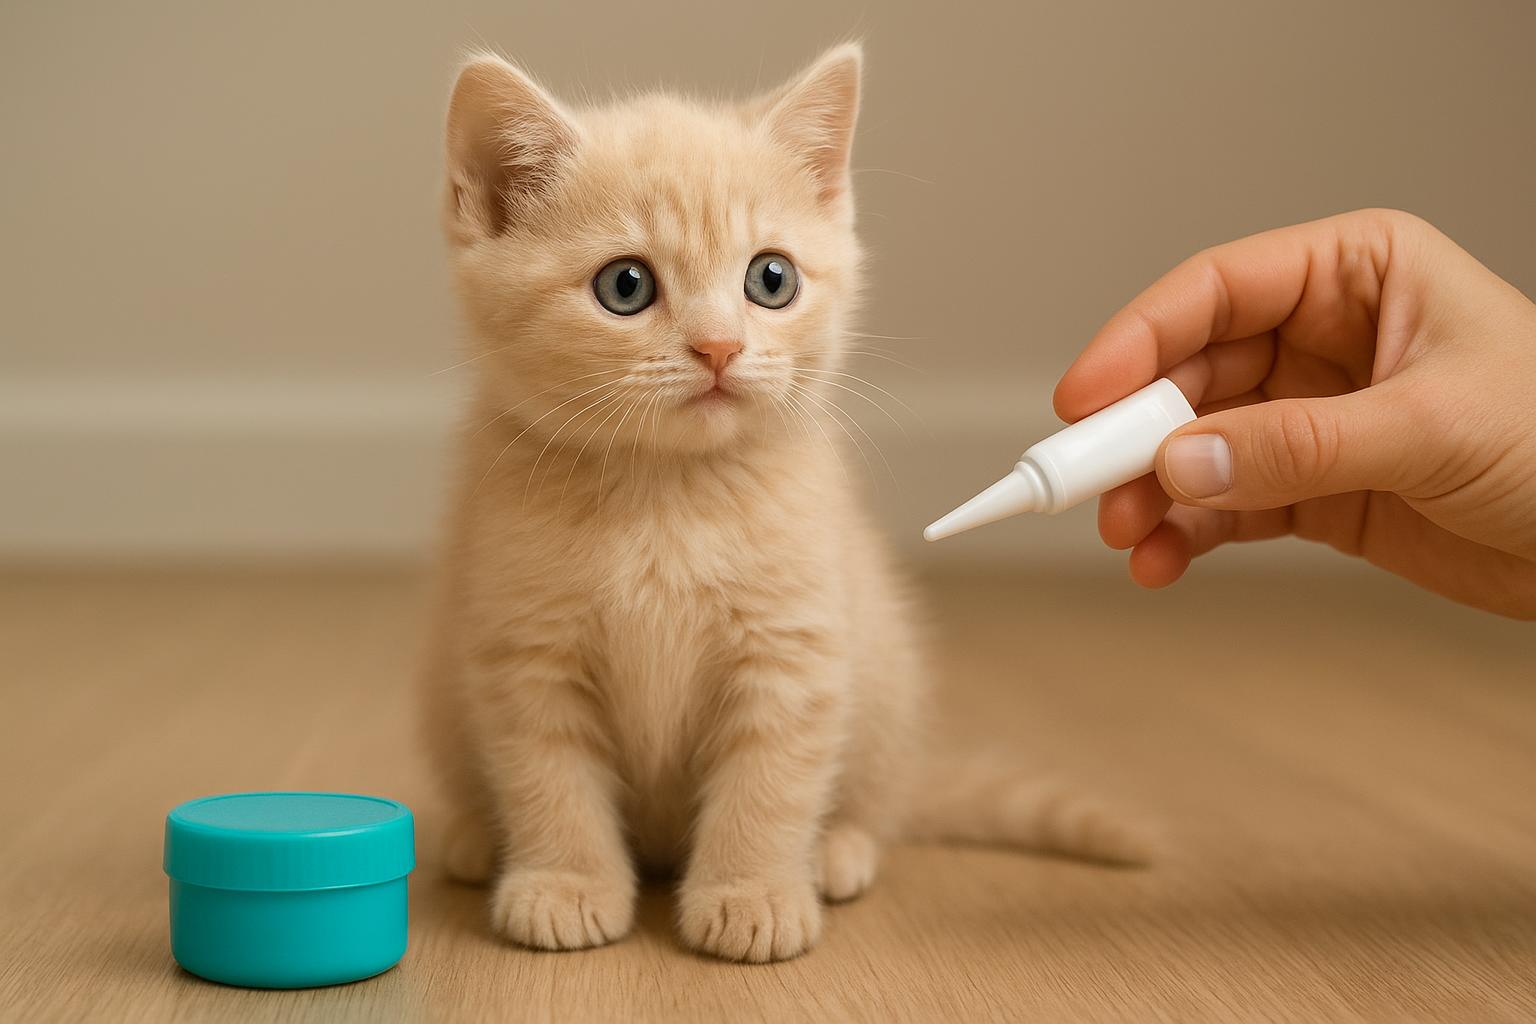
## 2. Vet-Approved Flea Treatment And Home Application
This remedy focuses on eliminating adult fleas on your cat and preventing new eggs from being laid — a clinically effective complement to environmental control. Consult your veterinarian before starting any medication; they’ll choose products based on your cat’s age, weight, health status, and lifestyle.
Materials
– Vet-prescribed topical or oral flea medication (e.g., monthly spot-on, oral chewable)
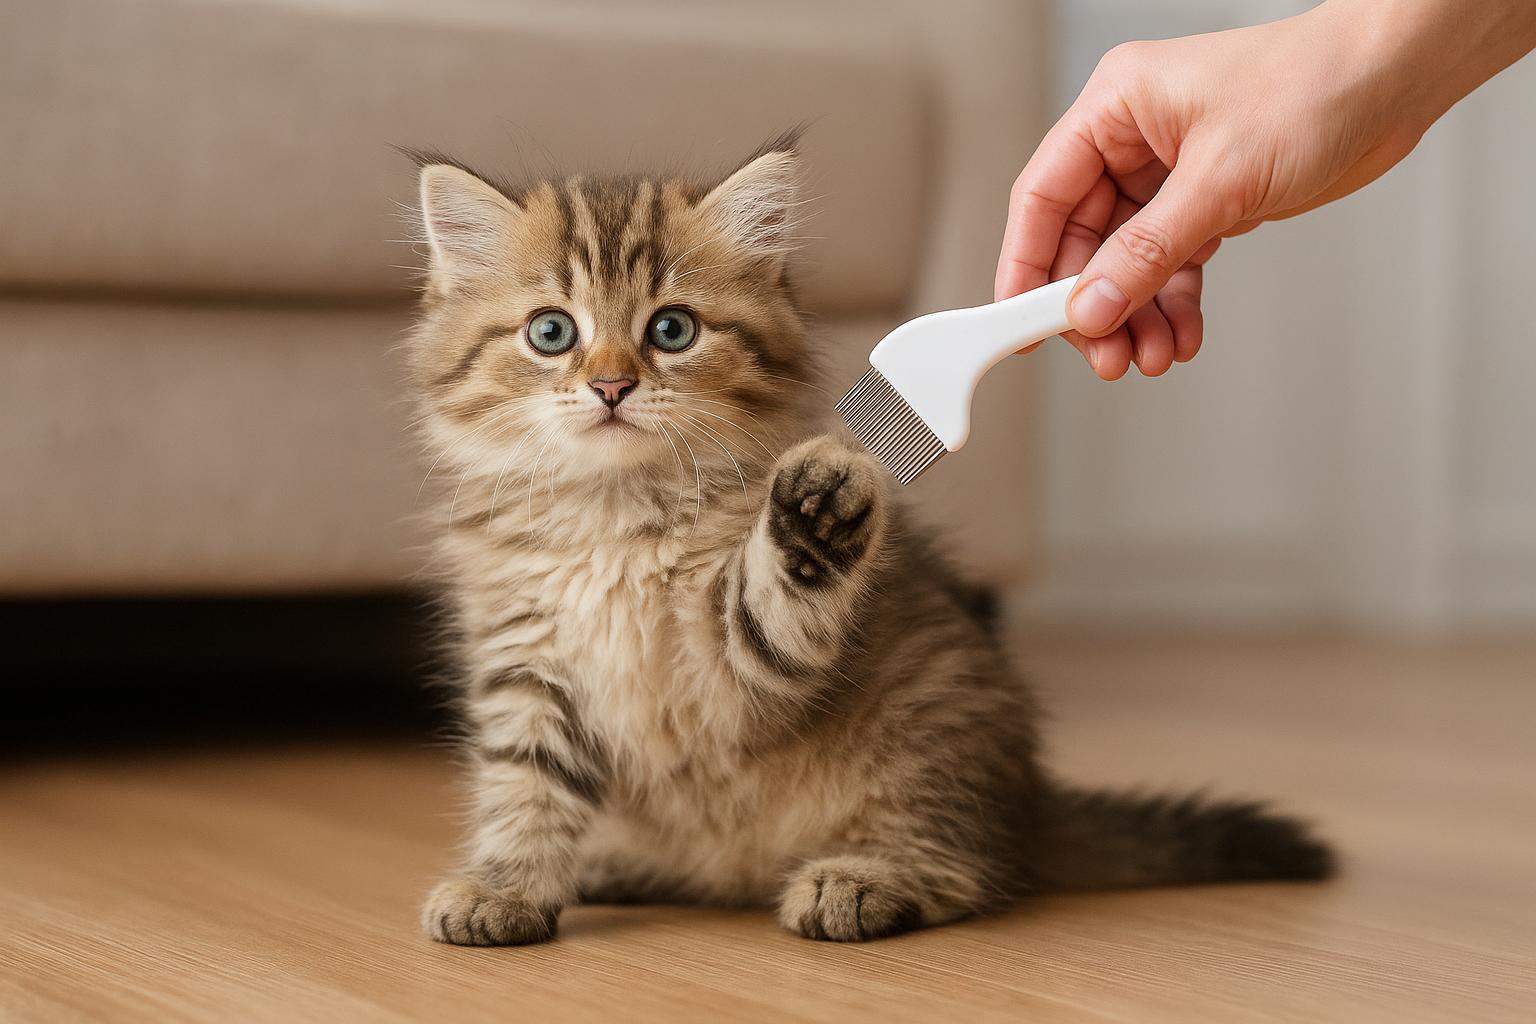
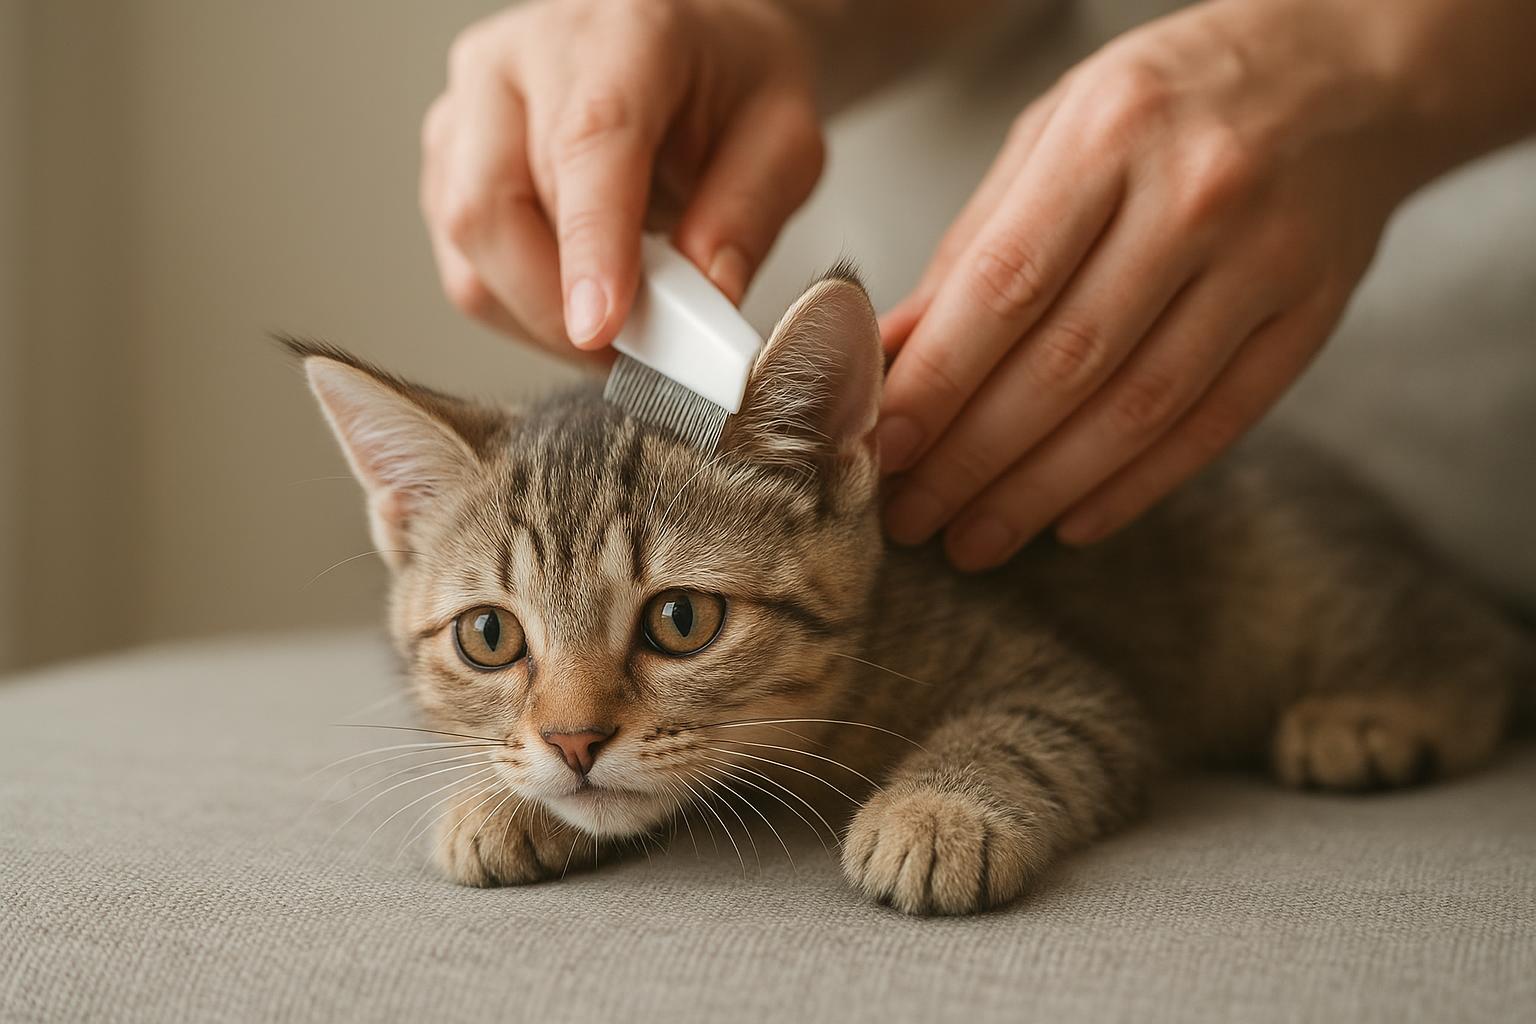
– Flea comb
– Mild cat-friendly shampoo (if bathing is necessary)
– Disposable gloves (for topical application, if recommended by product)
– Calendar or reminder app
Step-By-Step Creation And Application
1. Veterinary Consultation: Schedule a vet visit or telemedicine consult. Provide full health history, weight, and any current medications to avoid drug interactions. The vet will recommend an approved product and dosage.
2. Obtain The Medication: Purchase only vet-recommended flea medications from reputable sources. Counterfeit or off-label products can harm your cat.
3. Read The Label: Carefully read dosage instructions, frequency, contraindications (e.g., use in kittens or pregnant cats), and storage recommendations.
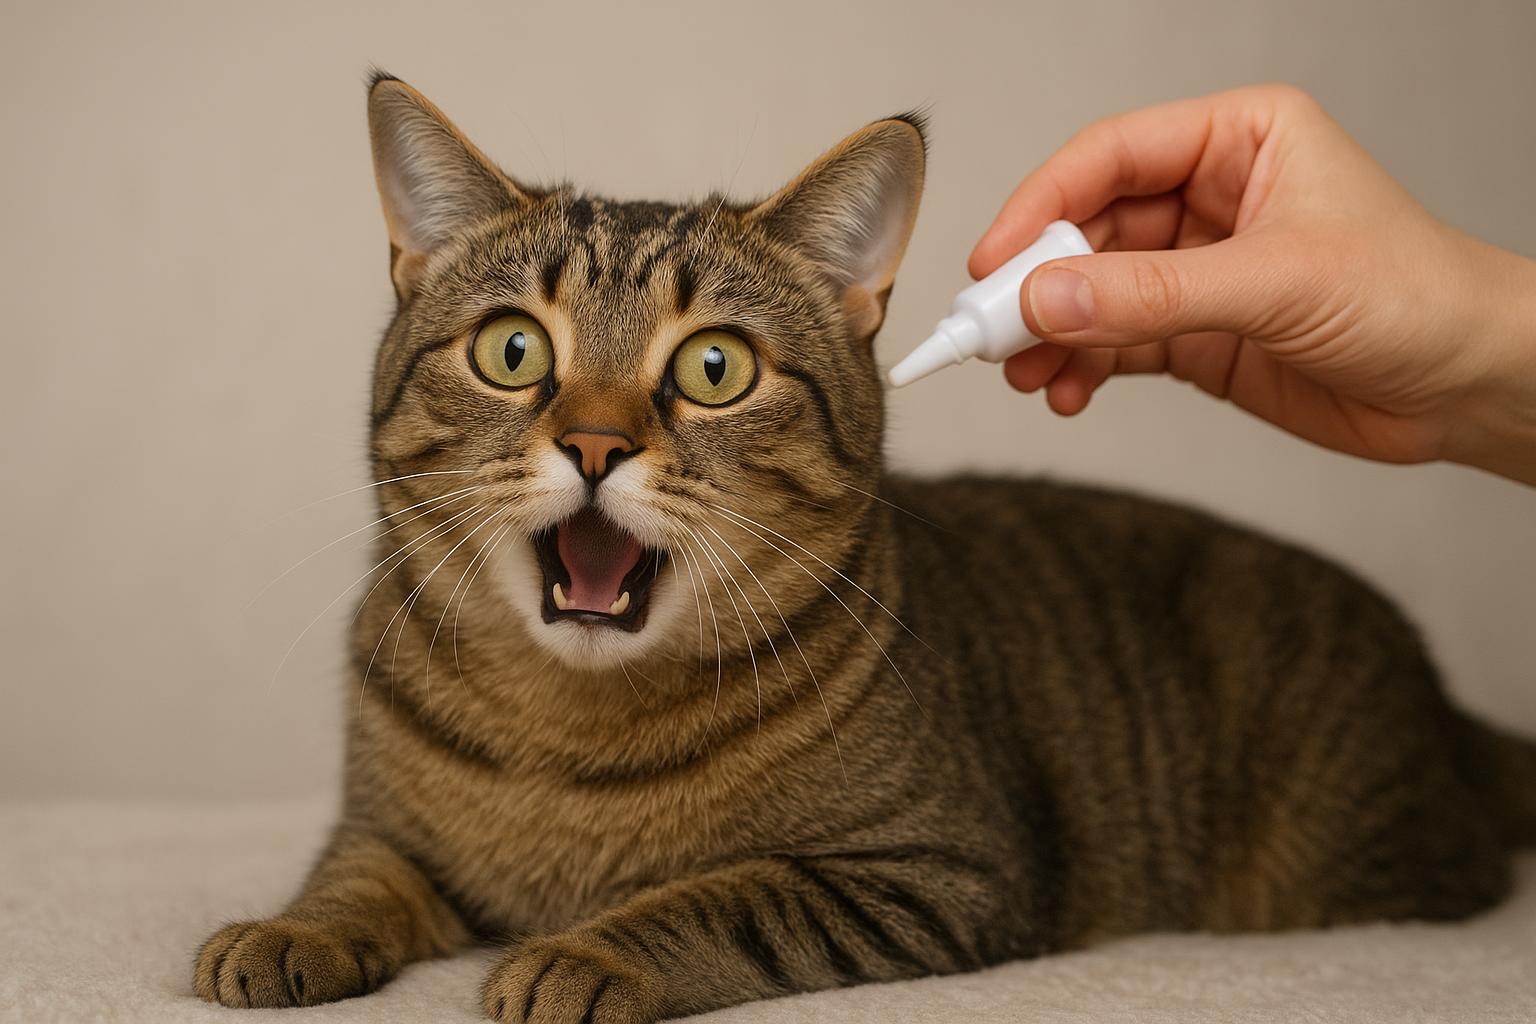
4. Prepare The Cat: If applying a topical treatment, part the fur at the application site to expose skin (usually between the shoulder blades). Ensure the cat is dry and not recently bathed unless the product instructions allow it.
5. Apply Topical Medication Correctly: With gloves on, squeeze the full dose onto the skin as instructed, avoiding fur. Do not apply additional product to other body parts. Do not let other pets groom the application site until it dries.
6. Administer Oral Medication Properly: For chewables, offer the tablet as a treat if palatable, or hide it in a small amount of food. Ensure the full dose is swallowed. If your cat vomits within a short window after administration, consult your vet about re-dosing.
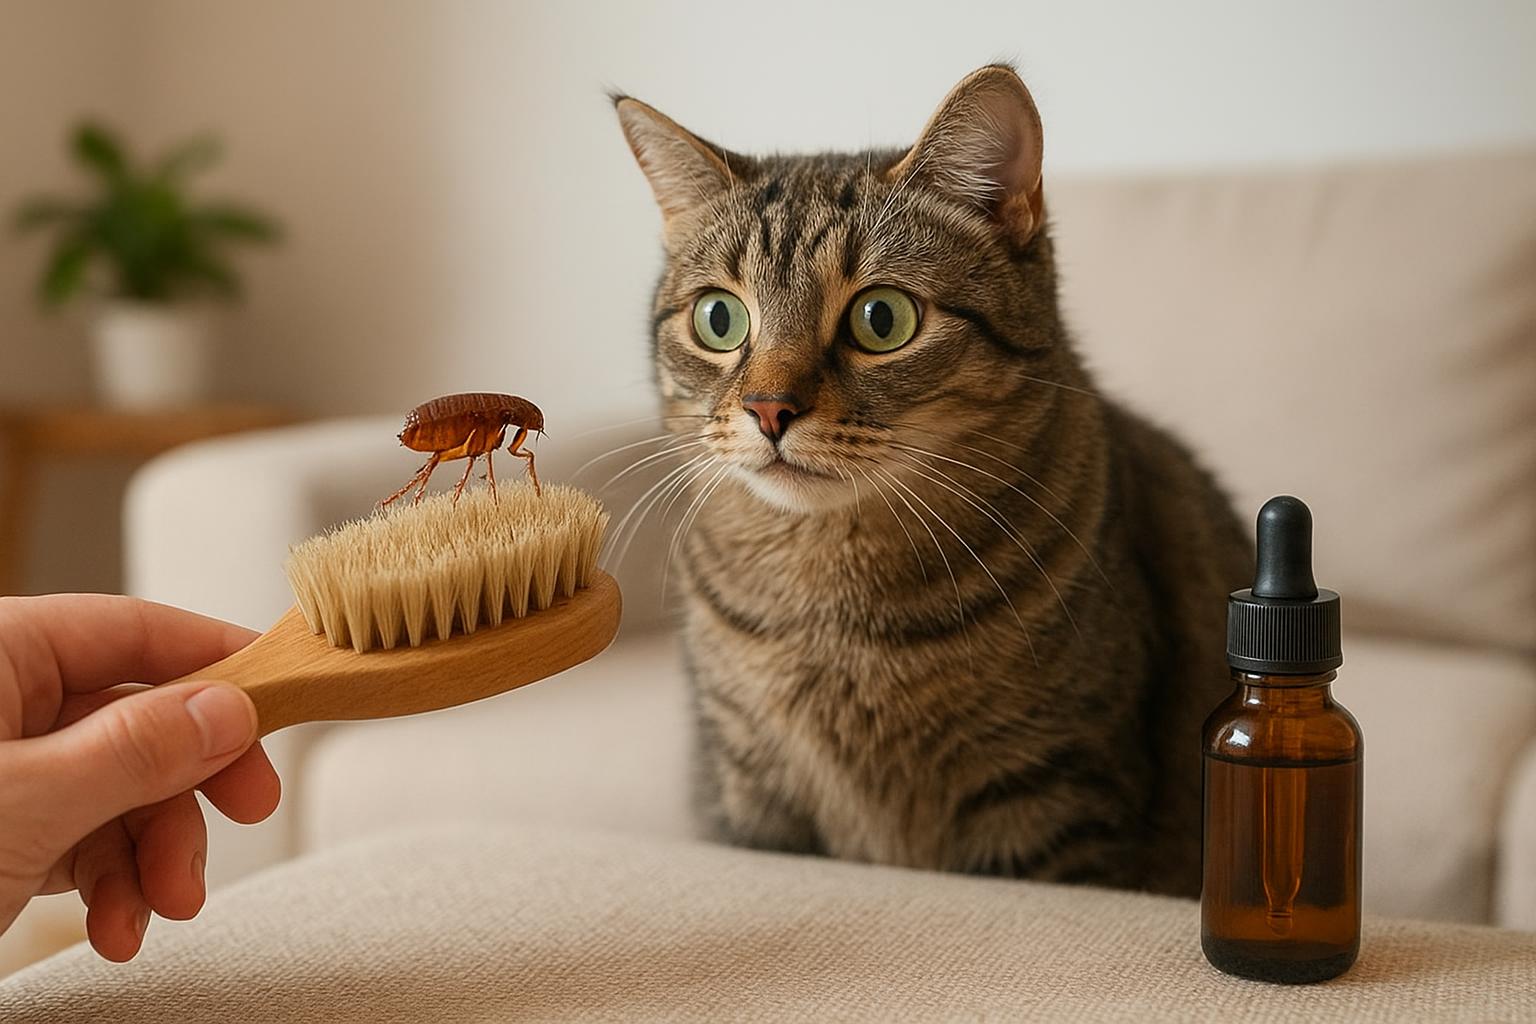
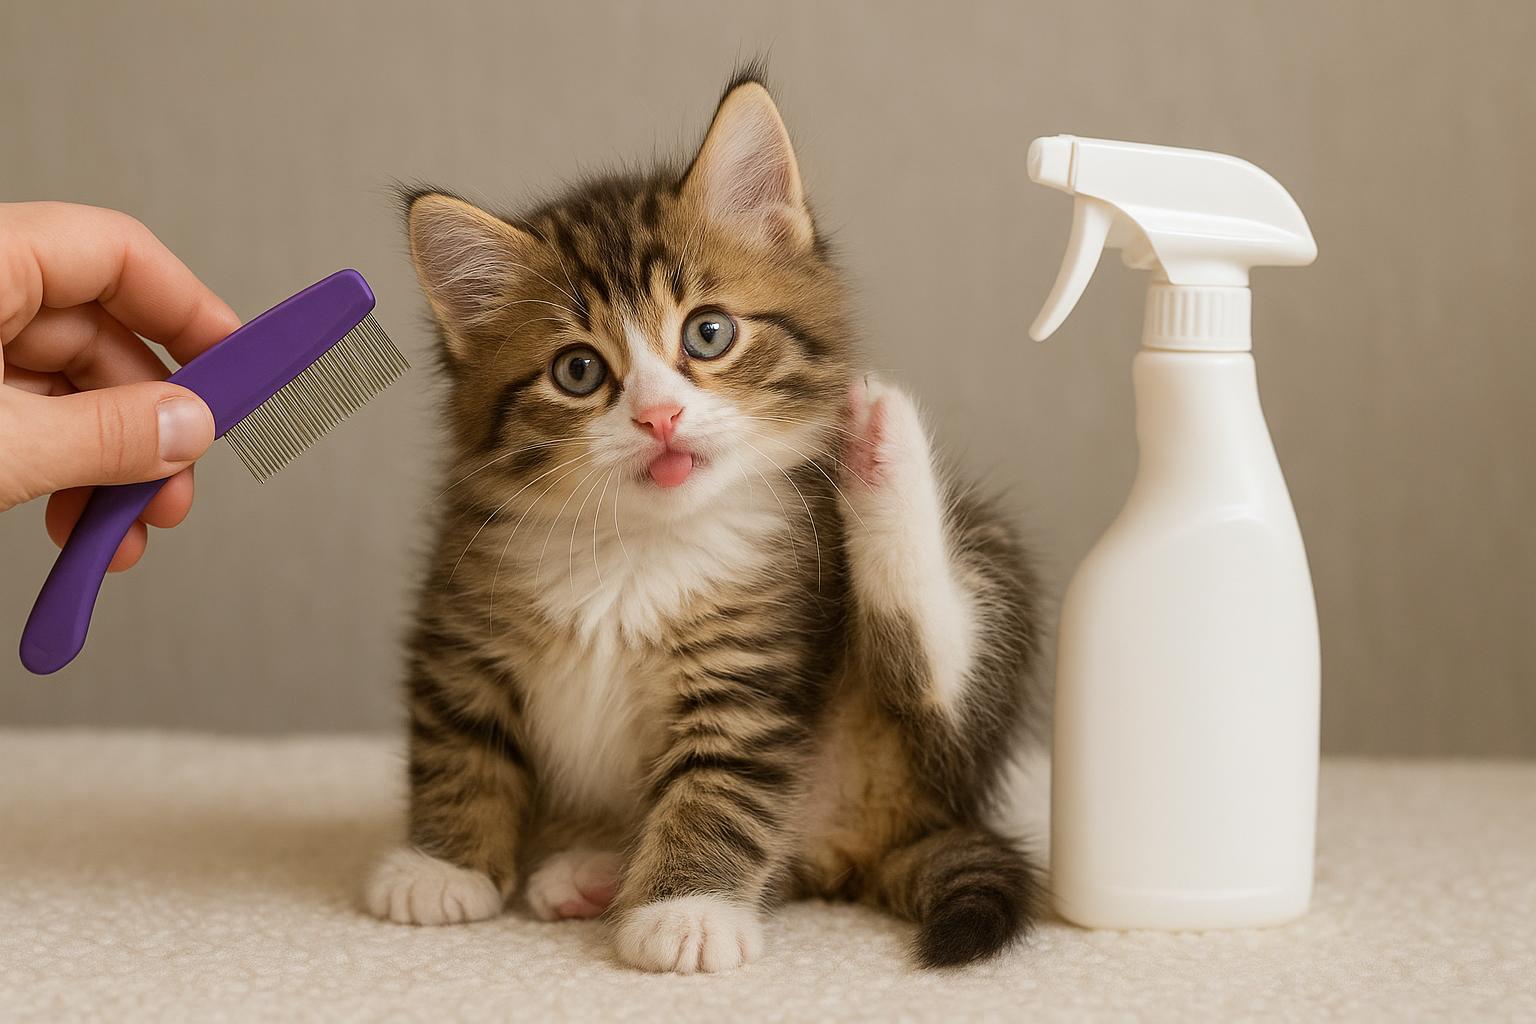
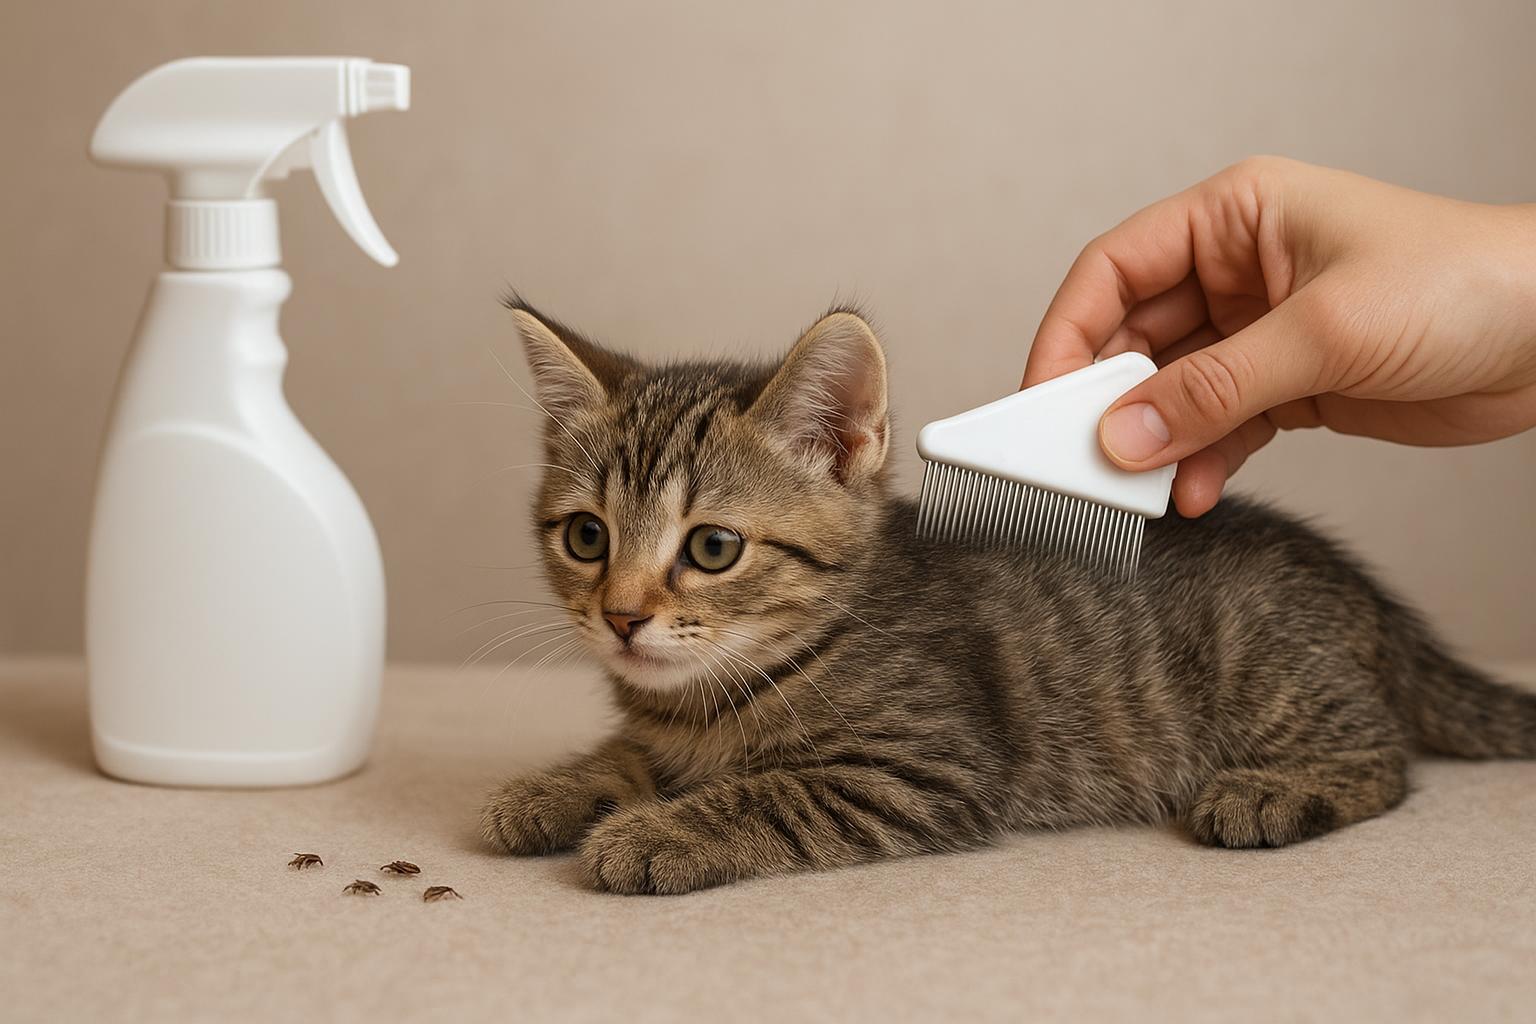
7. Use Flea Combs For Monitoring: Comb your cat regularly with a fine-toothed flea comb to remove any remaining adults and to monitor effectiveness. Drown combed fleas in soapy water to prevent escape.
8. Maintain Treatment Schedule: Adherence to monthly or prescribed intervals is crucial to interrupt the flea life cycle. Mark treatment dates on a calendar and set reminders.
9. Monitor For Reactions: Watch for signs of adverse reactions (excessive drooling, vomiting, lethargy, skin irritation). If you suspect a reaction, contact your vet immediately.
10. Continue Environmental Controls: Medication treats the host; combined with the cleaning regimen, it provides the best chance to break the flea life cycle.
### When To Call The Vet And What To Expect
If your cat is a kitten, pregnant, nursing, ill, or shows severe anemia or skin infections, you should contact your vet promptly. They may recommend fast-acting treatments, supportive care (fluids, nutritional support), and medications for secondary infections or tapeworms. A professional assessment ensures the flea life cycle is interrupted safely and effectively for vulnerable animals.
### Keeping Fleas From Coming Back
Think of flea control as an ongoing maintenance program rather than a one-and-done project. Regular monthly treatments (as recommended by your vet), consistent cleaning routines, yard management, and monitoring will keep the flea life cycle from looping back into a full infestation. Reward your cat for cooperation during grooming and treatment — maybe not with fleas, but definitely with treats.
A little patience and a combined approach (environmental + vet-approved treatments) will put you back in the driver’s seat — and your cat back to relaxing, itch-free, on the sunny windowsill.


Leave a Reply