## Understanding Fleas In Litter: Why It Happens
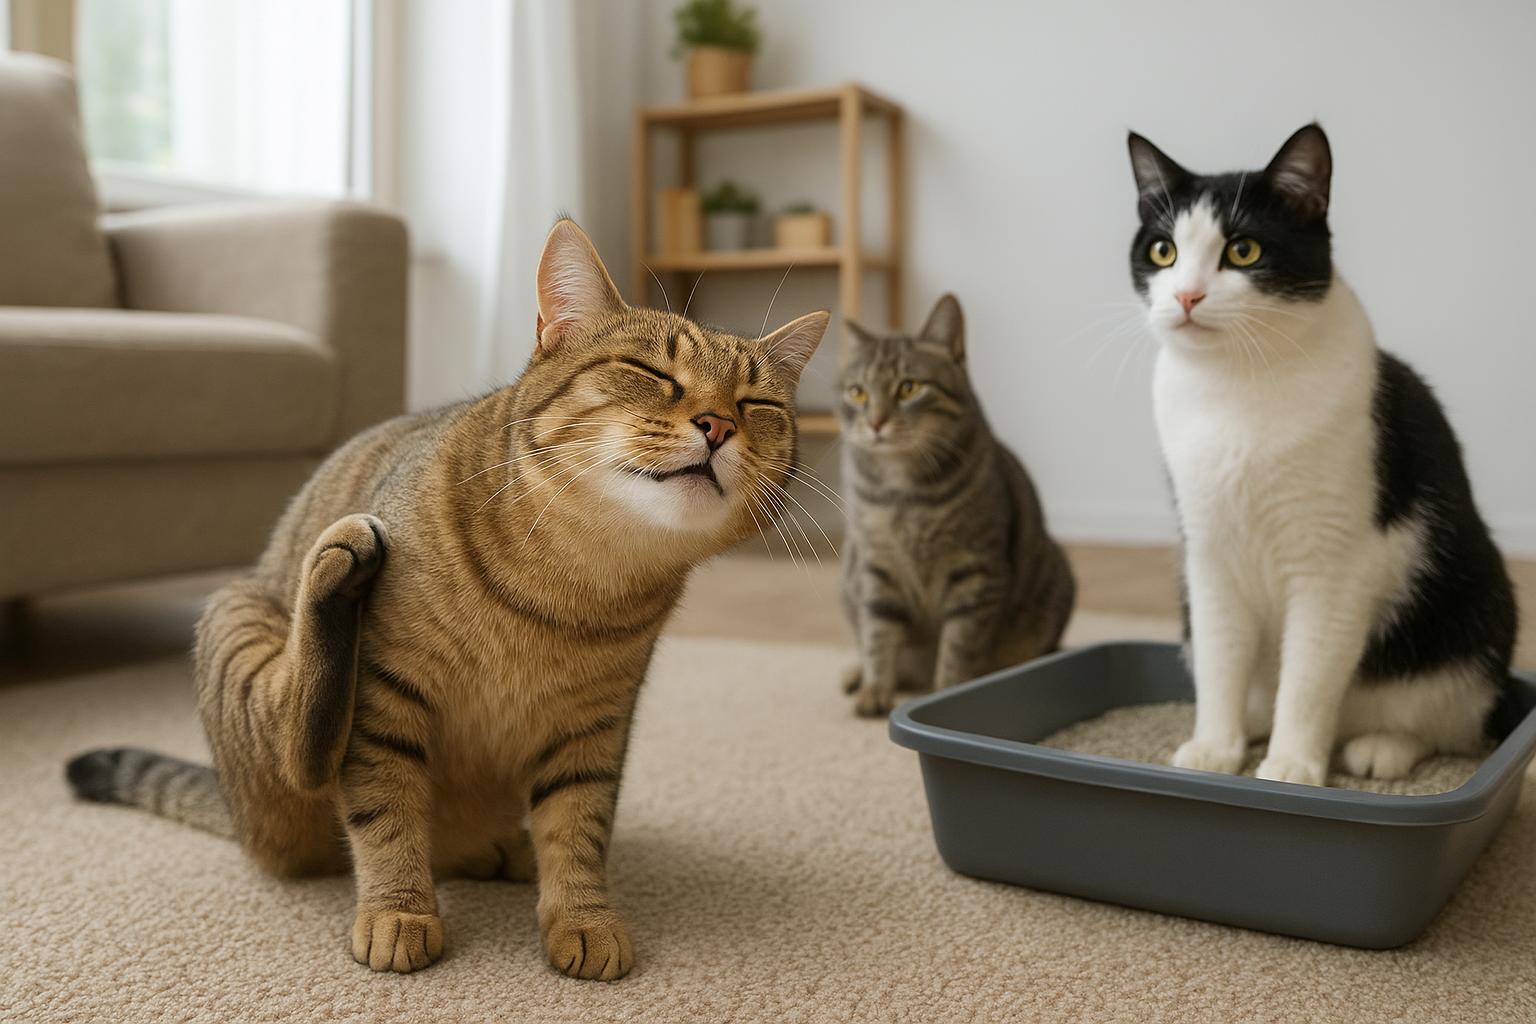
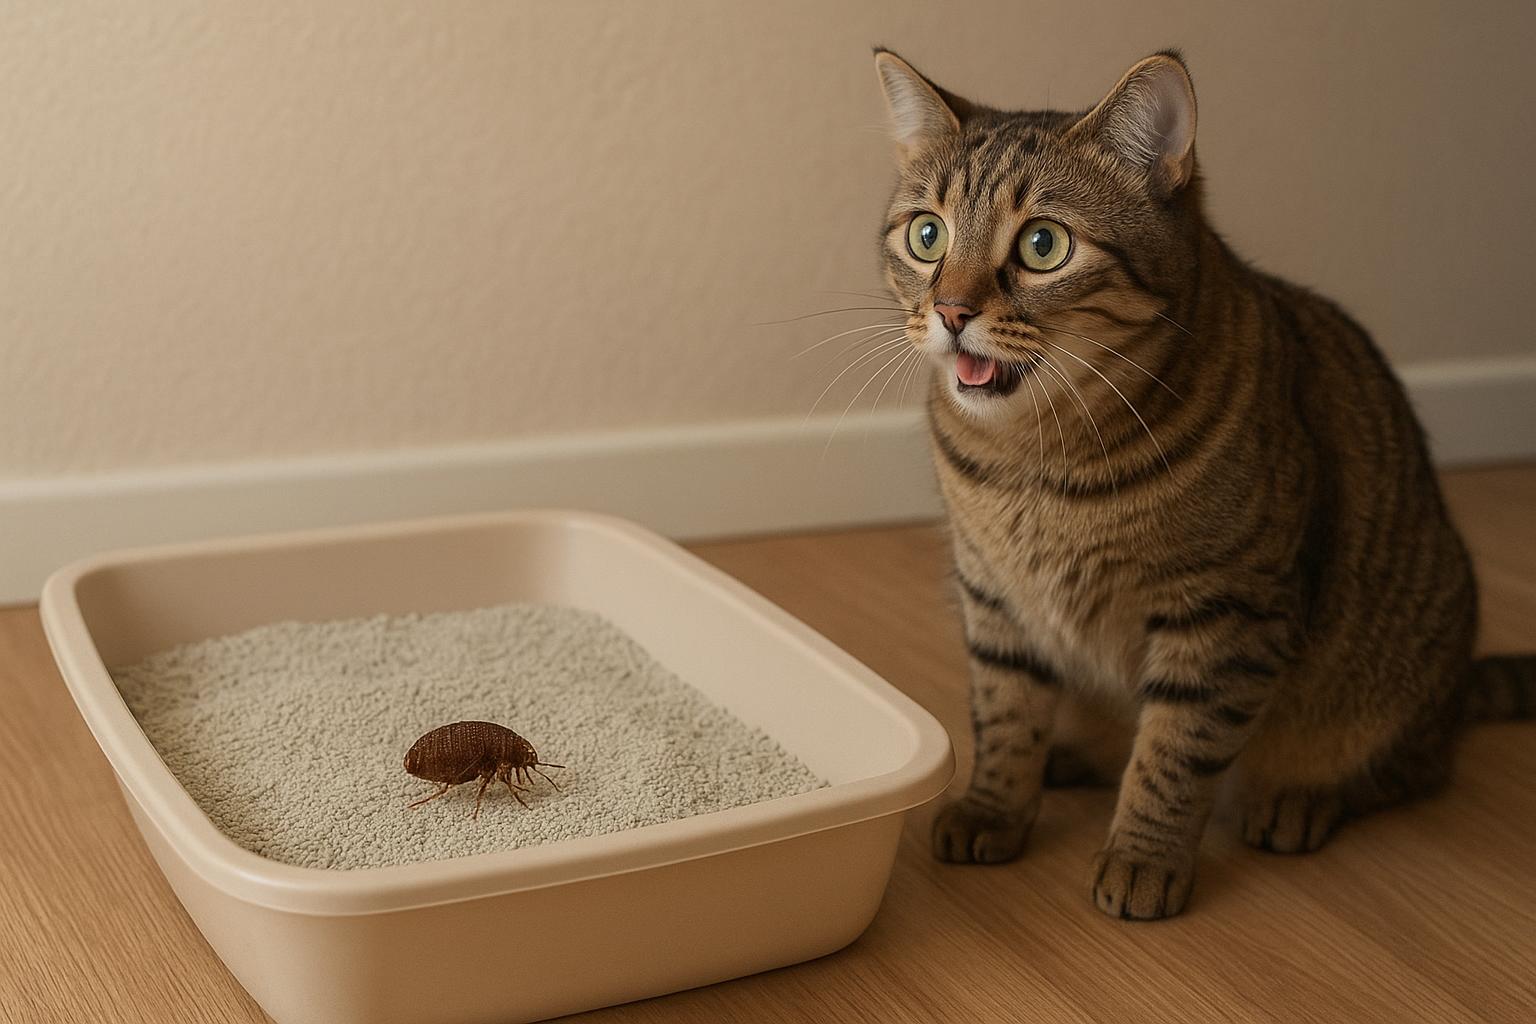
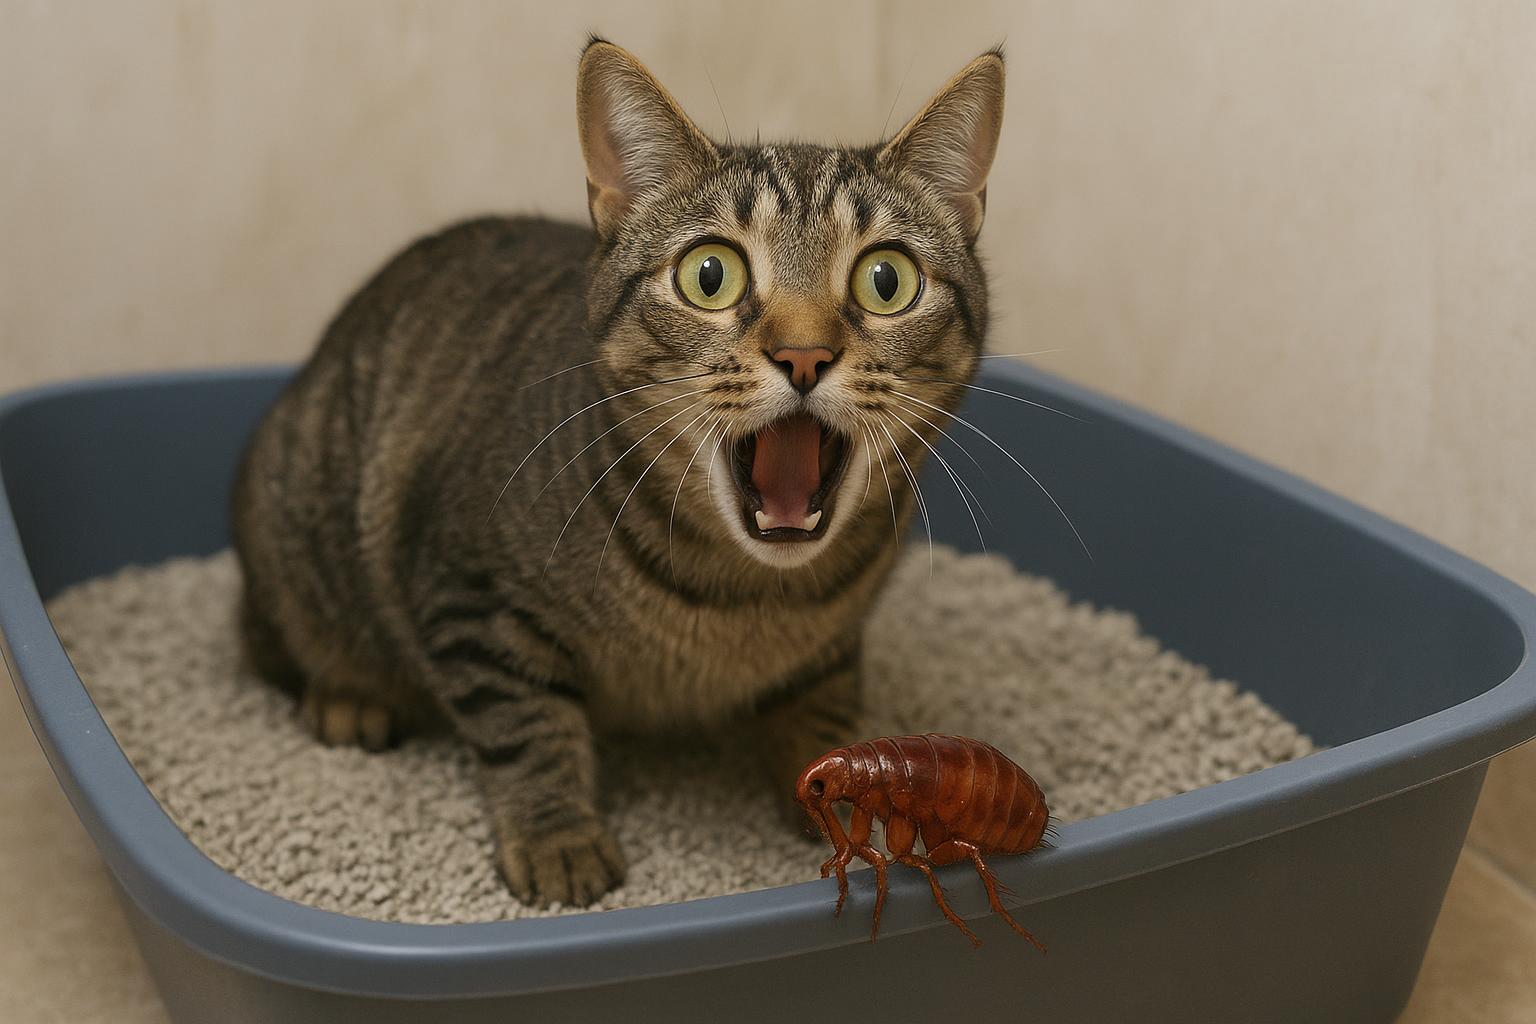
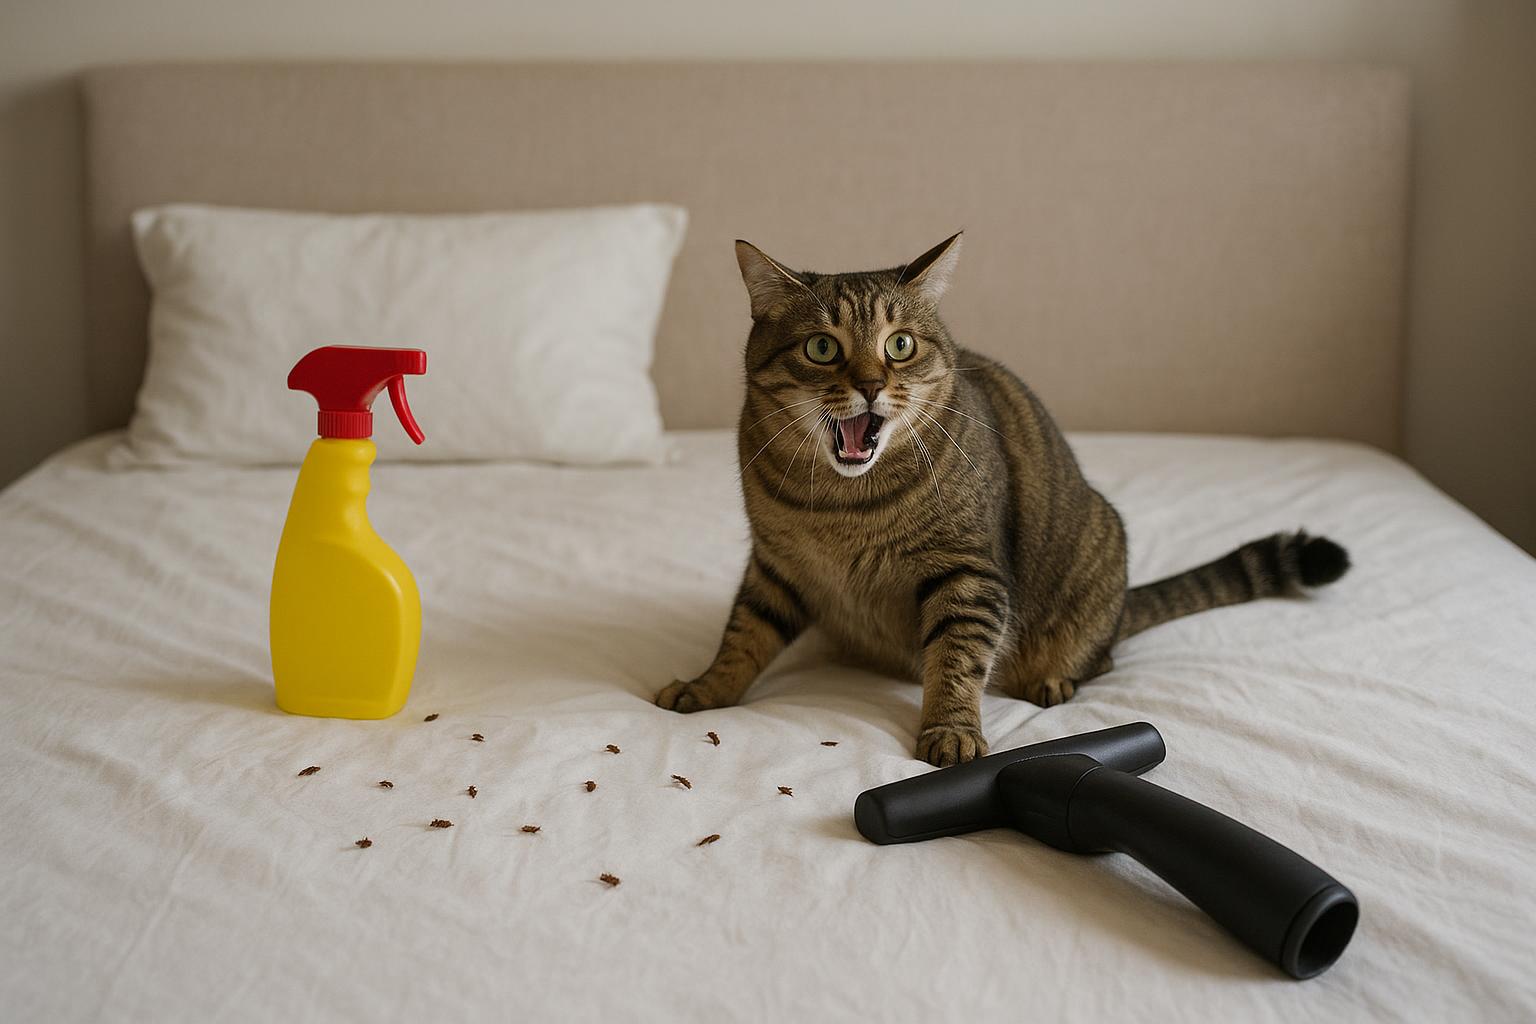
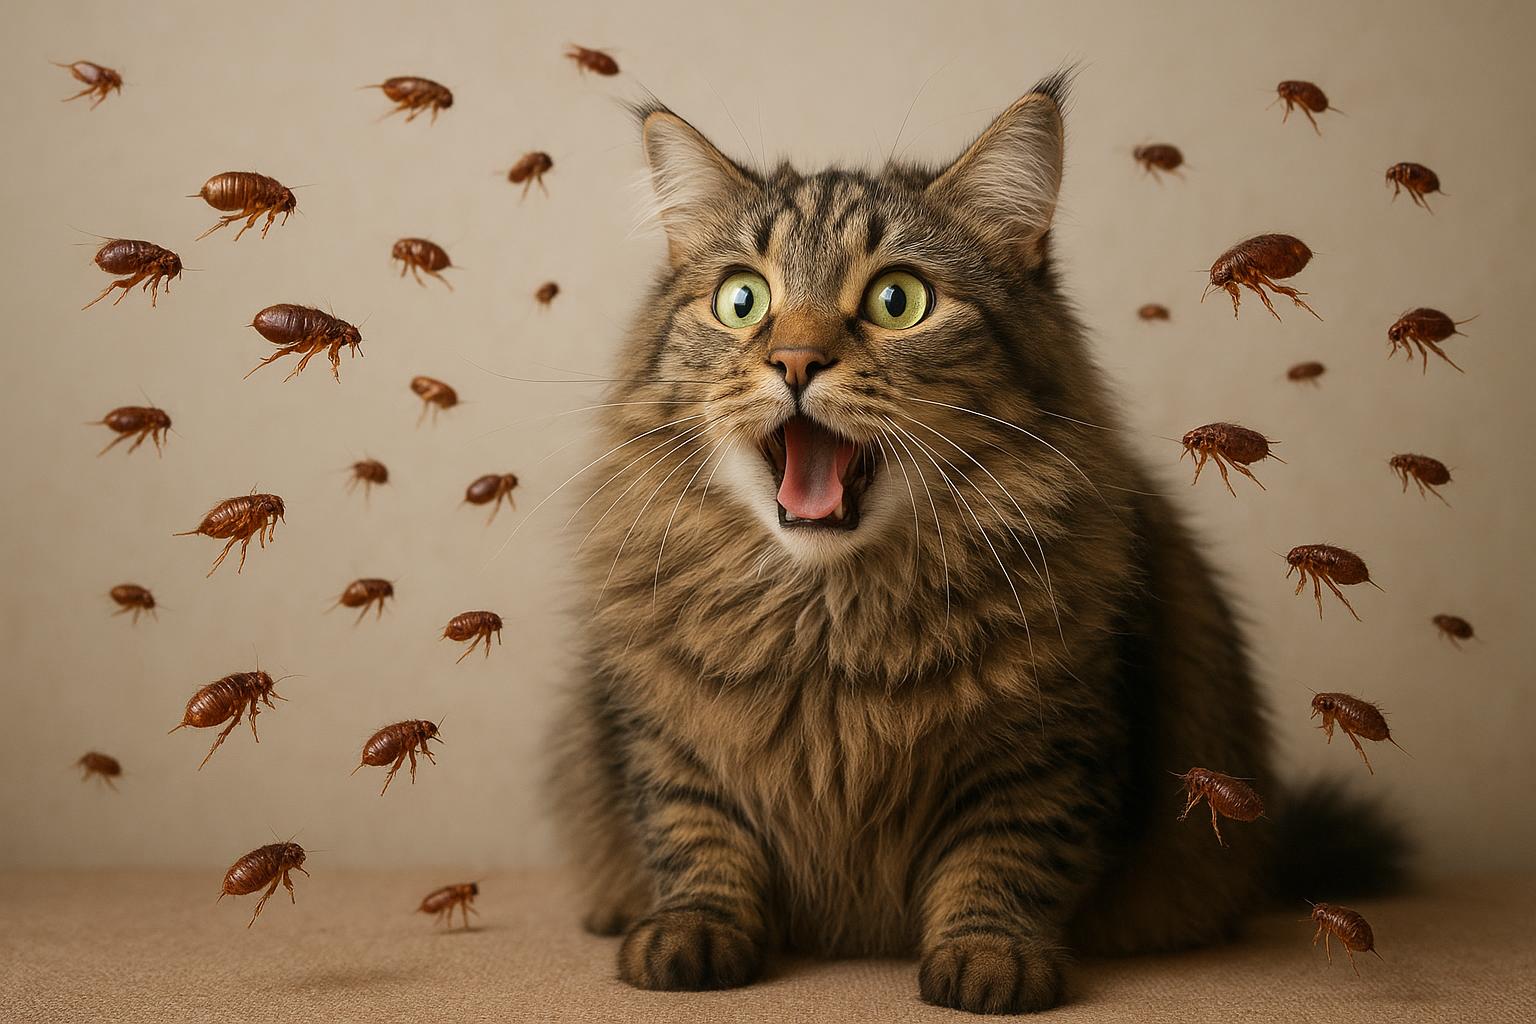
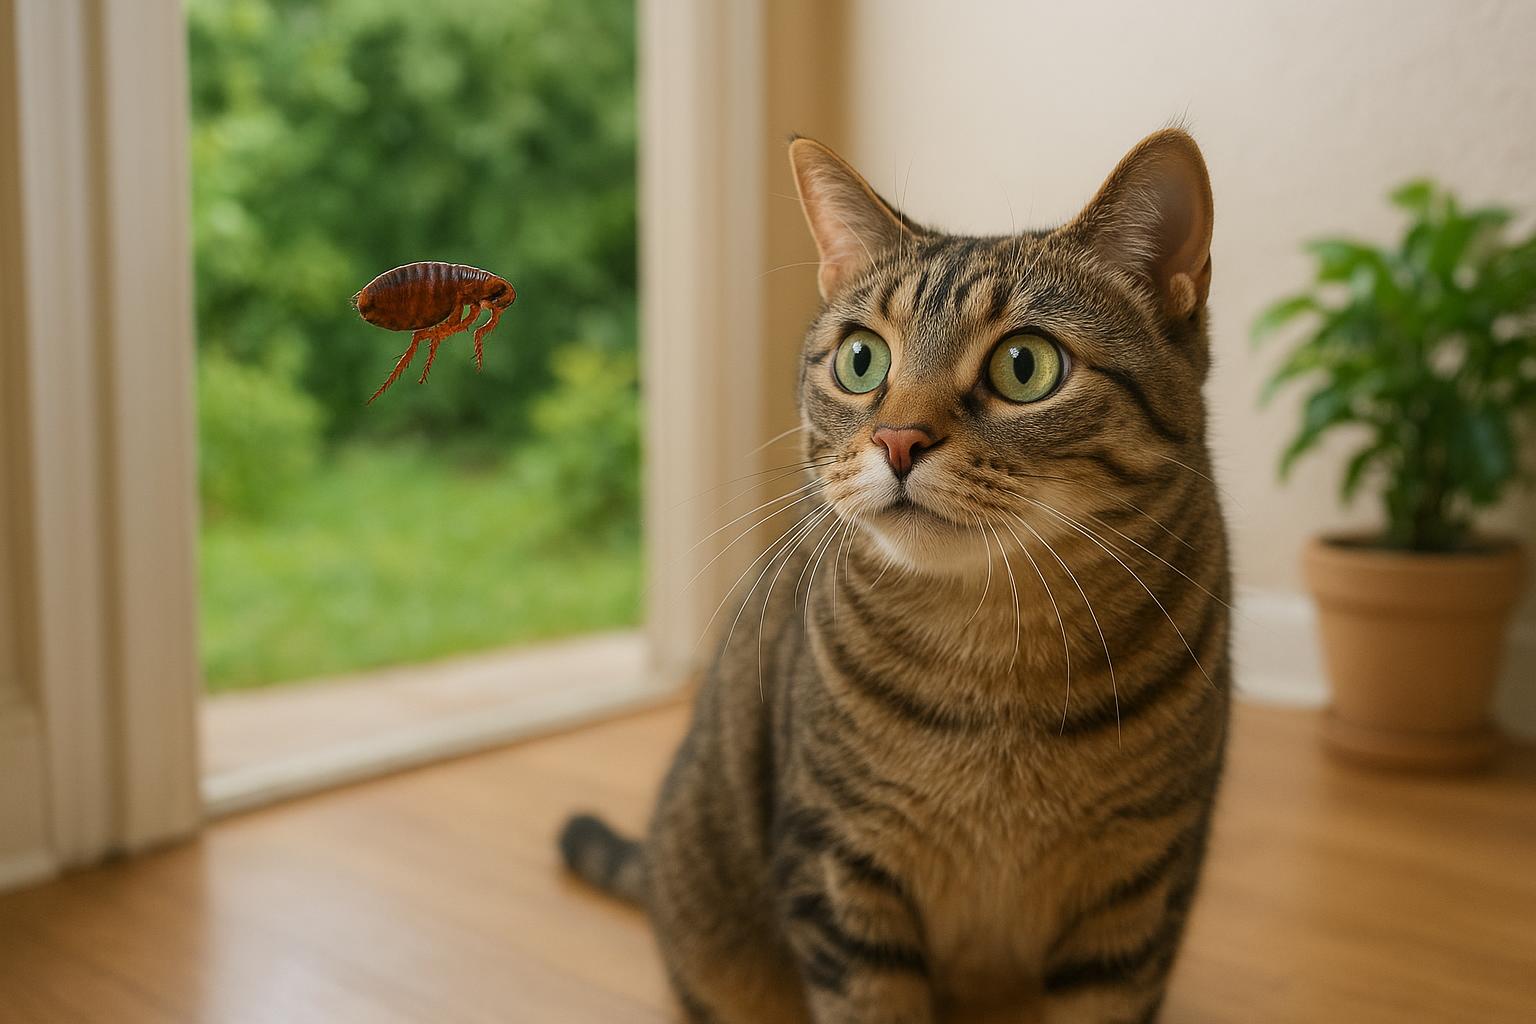
If you’ve ever found your cat scratching more than usual and then noticed tiny black specks or even little hopping demons around the litter area, you’re not alone. Fleas in litter are a surprisingly common problem for indoor cats. These tiny parasites are experts at exploiting cozy, warm spots—like a cat’s litter box or nearby bedding—to complete their life cycle. Let’s unpack why that happens so you can stop saying “ugh” and start solving.
### How Fleas End Up Near The Litter
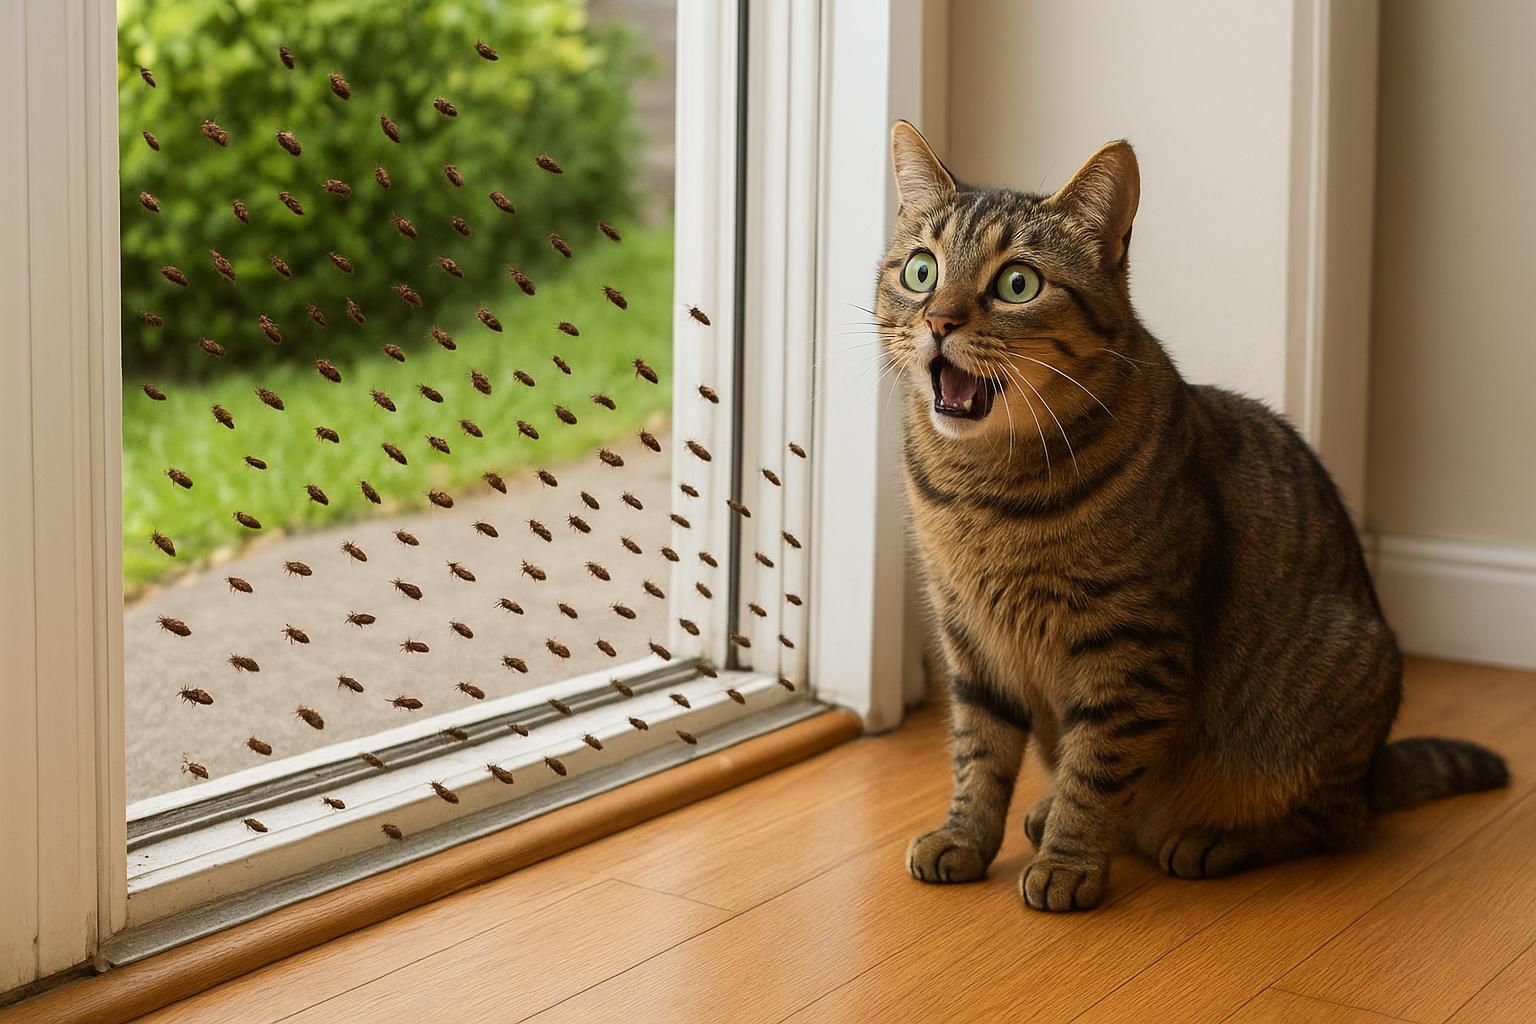
Fleas don’t always come from the great outdoors. A single hitchhiking flea can lay dozens of eggs, many of which fall off the host and into the environment. The litter box is often warm, sheltered, and frequently used, so it becomes an accidental flea nursery. If your cat picked up fleas outside or from another pet, those adults can drop eggs that end up in the litter, where eggs and larvae hide until they mature.
### The Flea Life Cycle And Why Litter Matters
#### Eggs, Larvae, Pupae, Adults
Flea eggs are tiny and fall off onto surfaces. Larvae thrive in organic material—like dust, skin flakes, and the micro-debris that collects around a litter box. Pupae are tough and can wait weeks or months for the right vibration (hello, a passing cat) to emerge as adults. Because litter corners can shelter eggs and larvae, a seemingly clean box can still harbor future fleas.
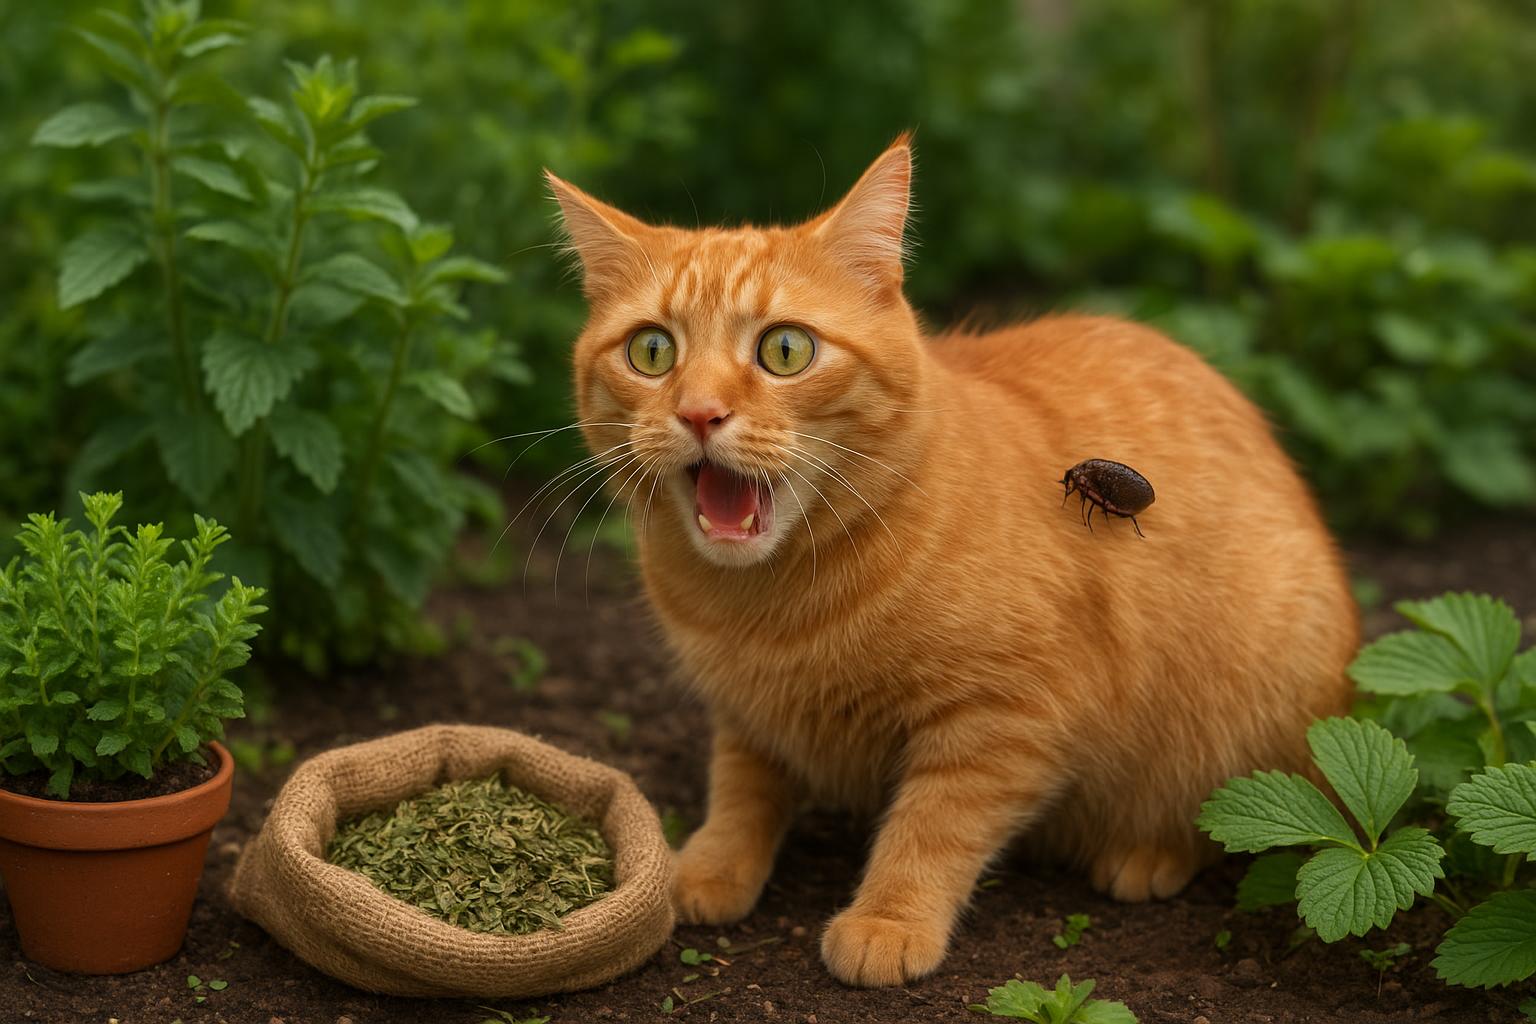
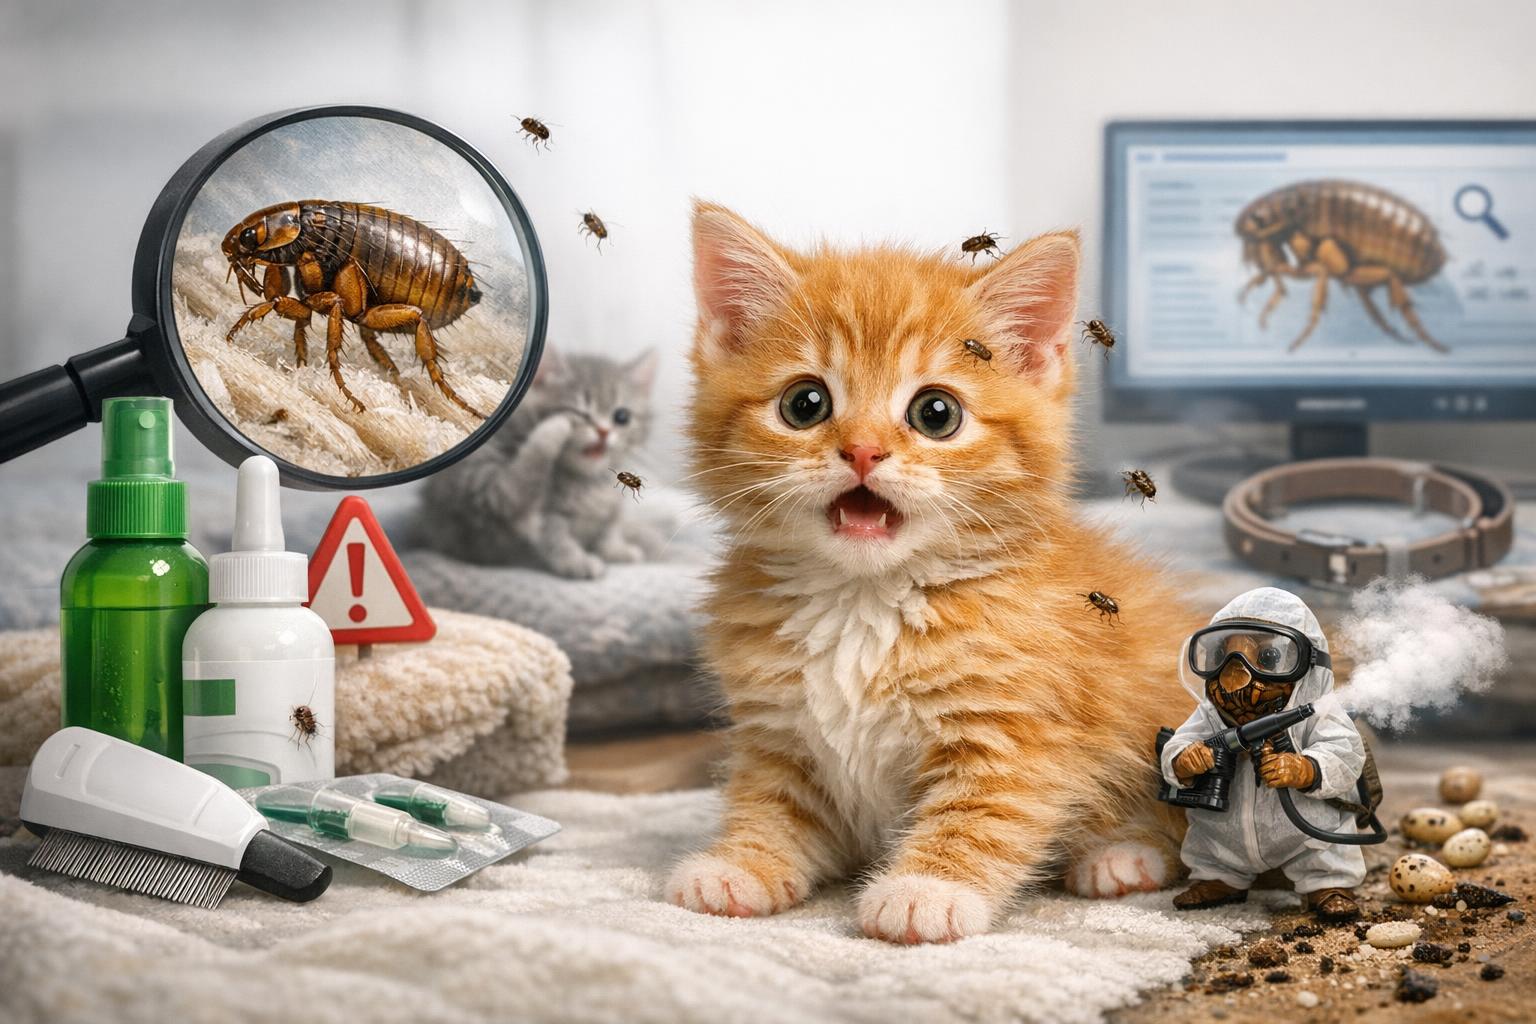
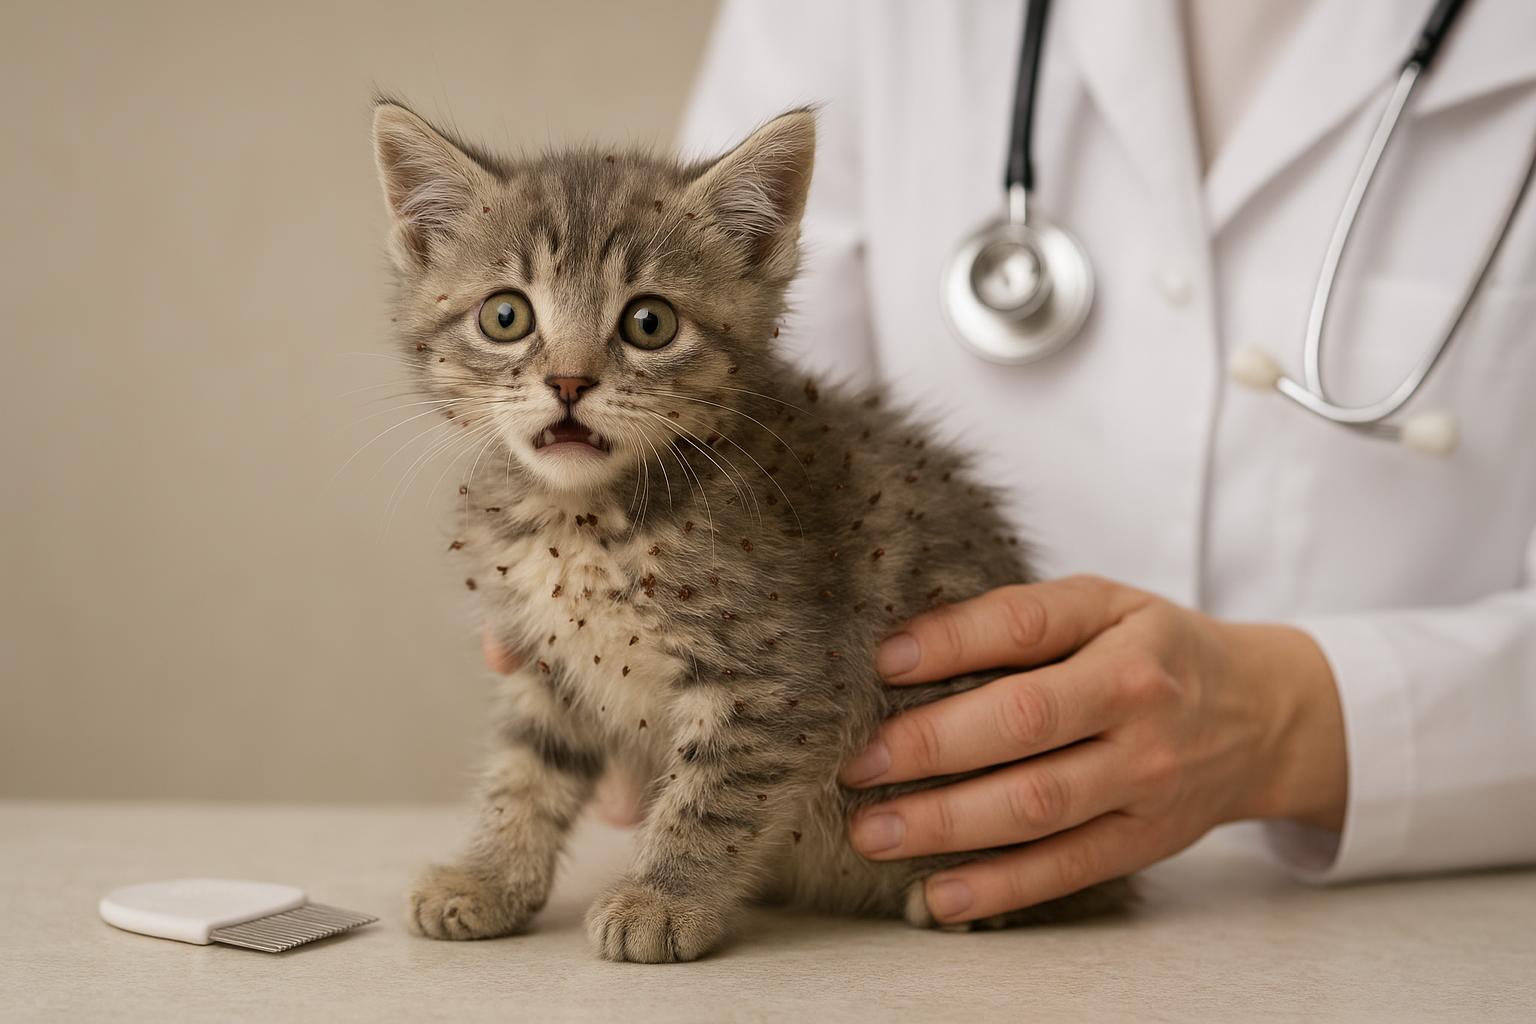
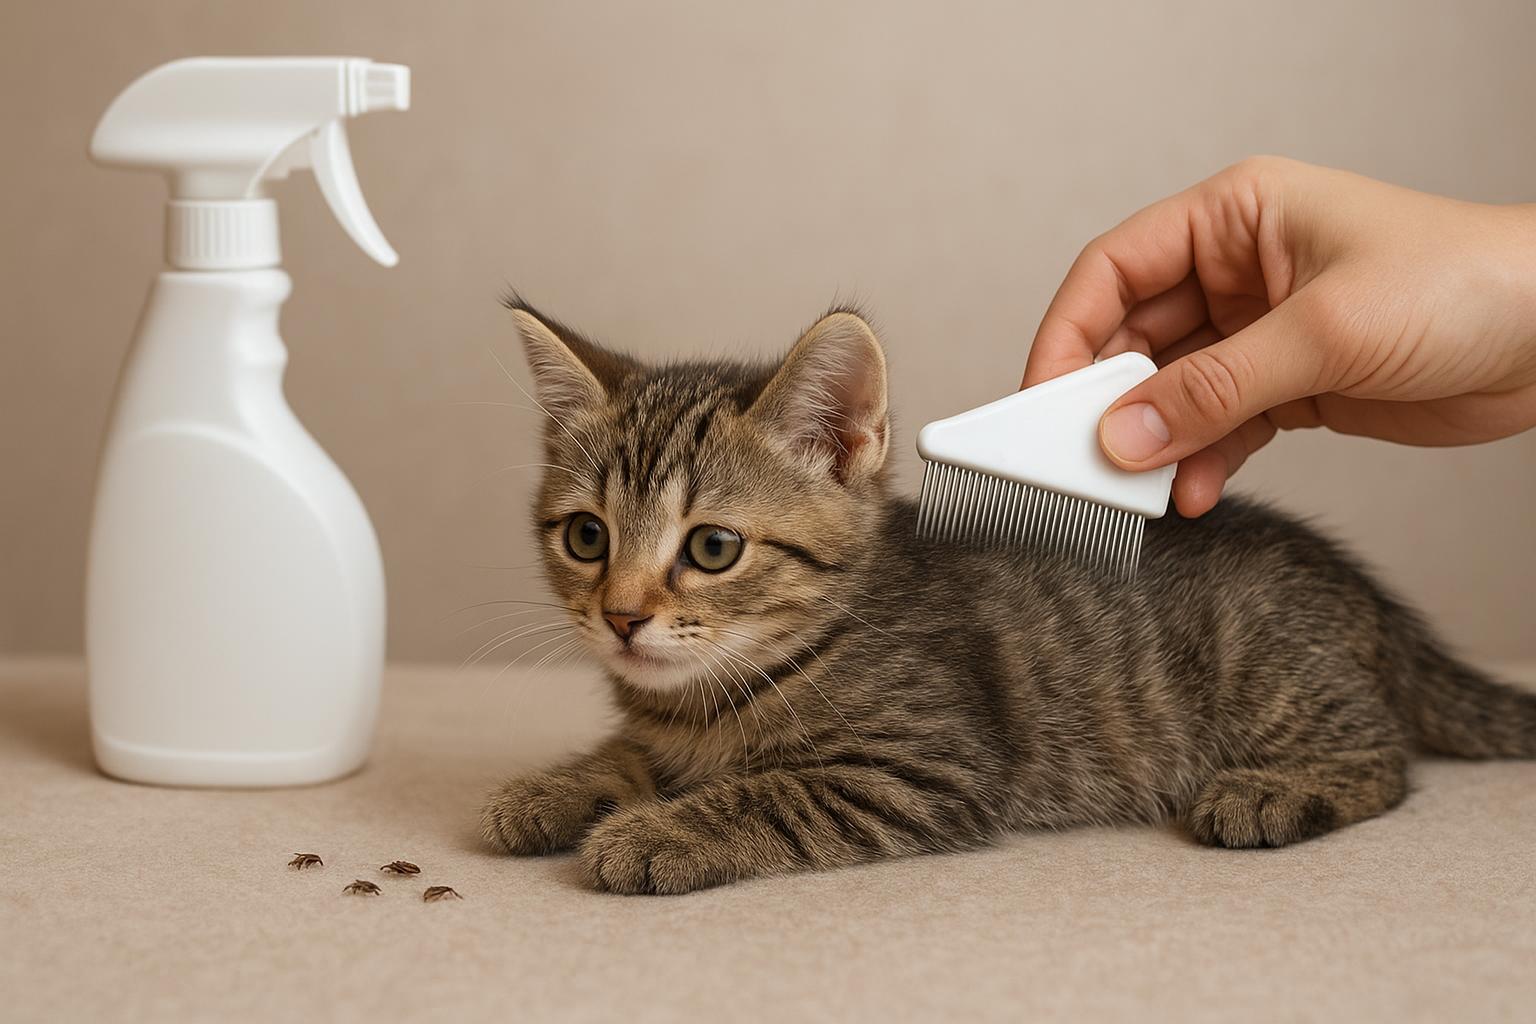
## Recognizing Risks To Cats And People
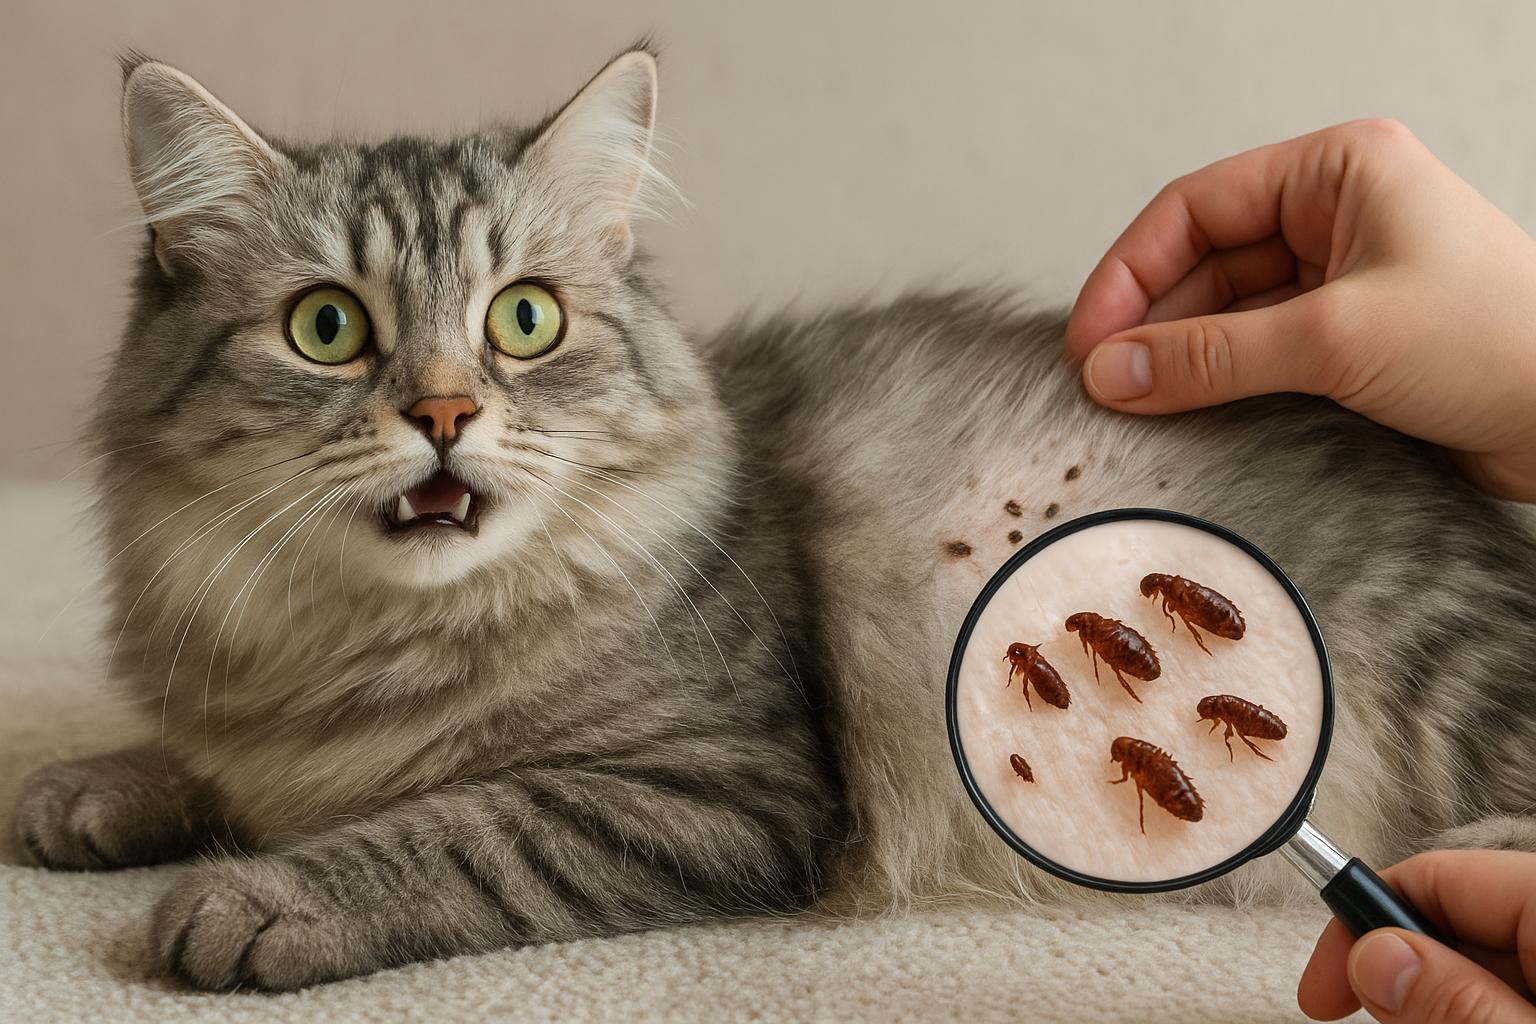
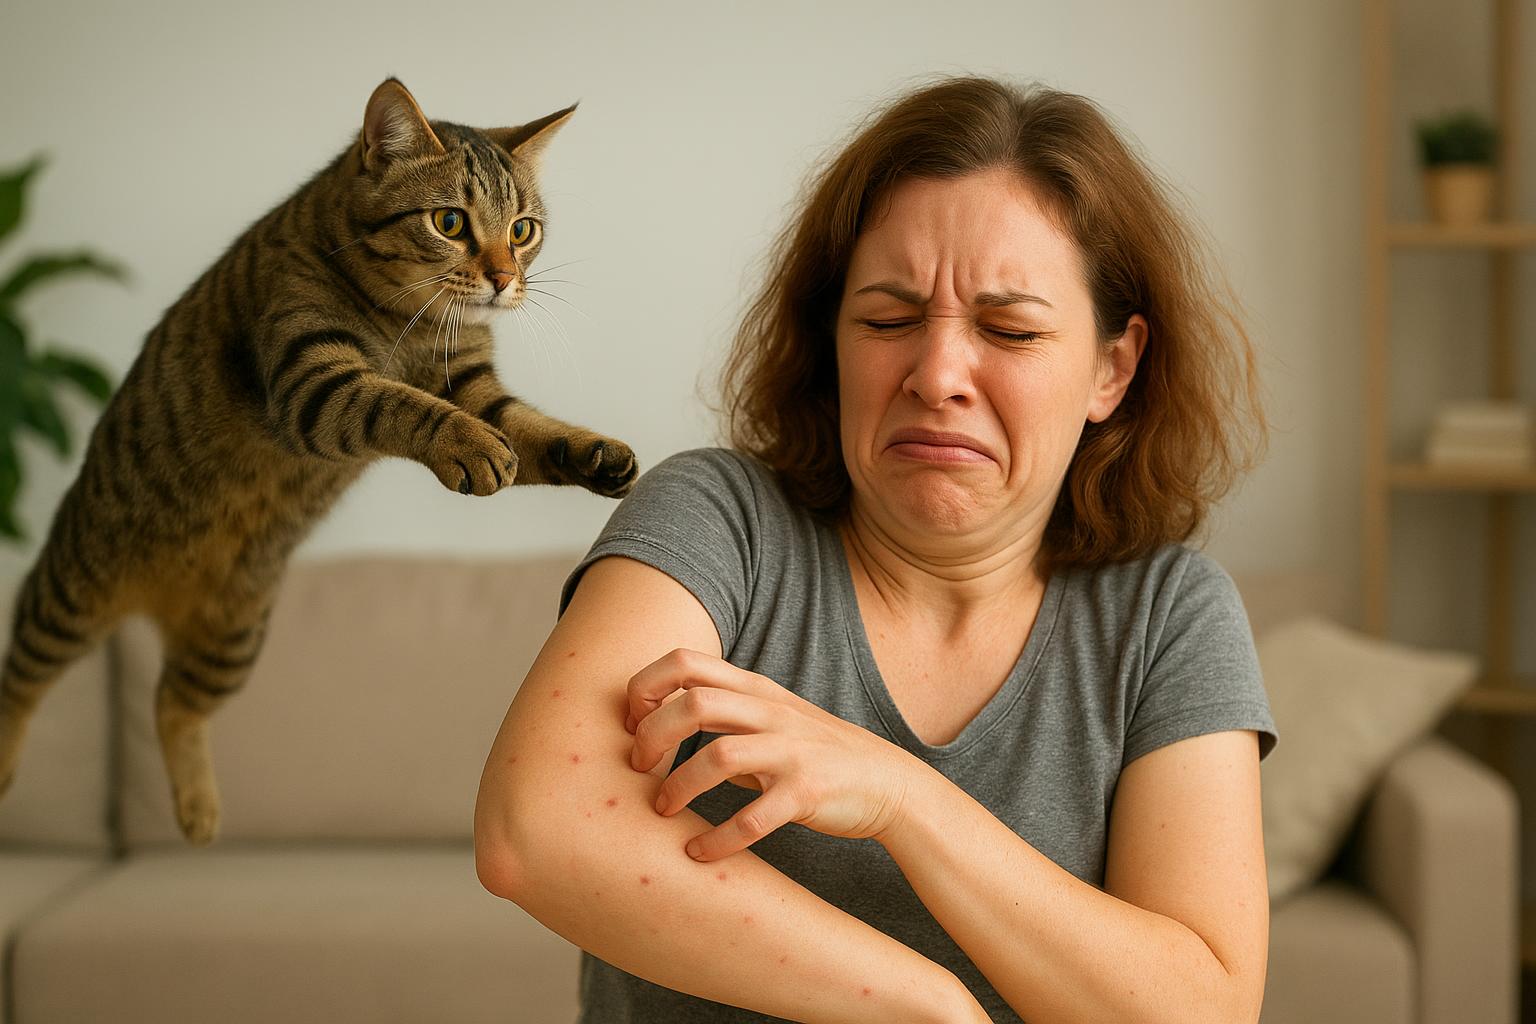
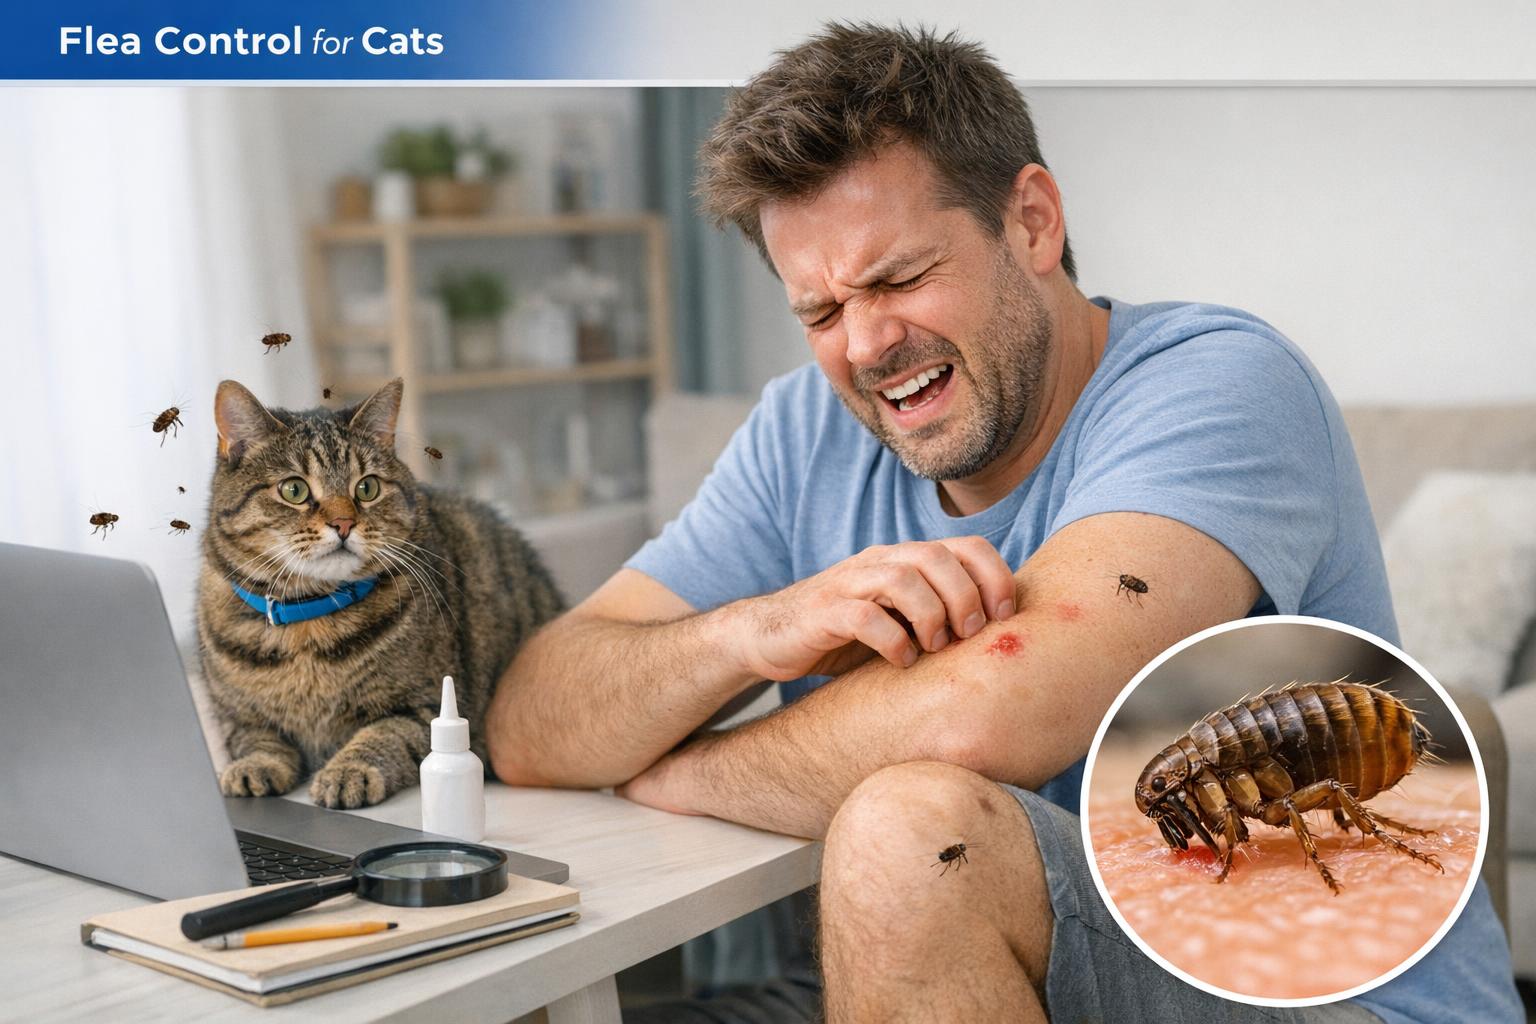
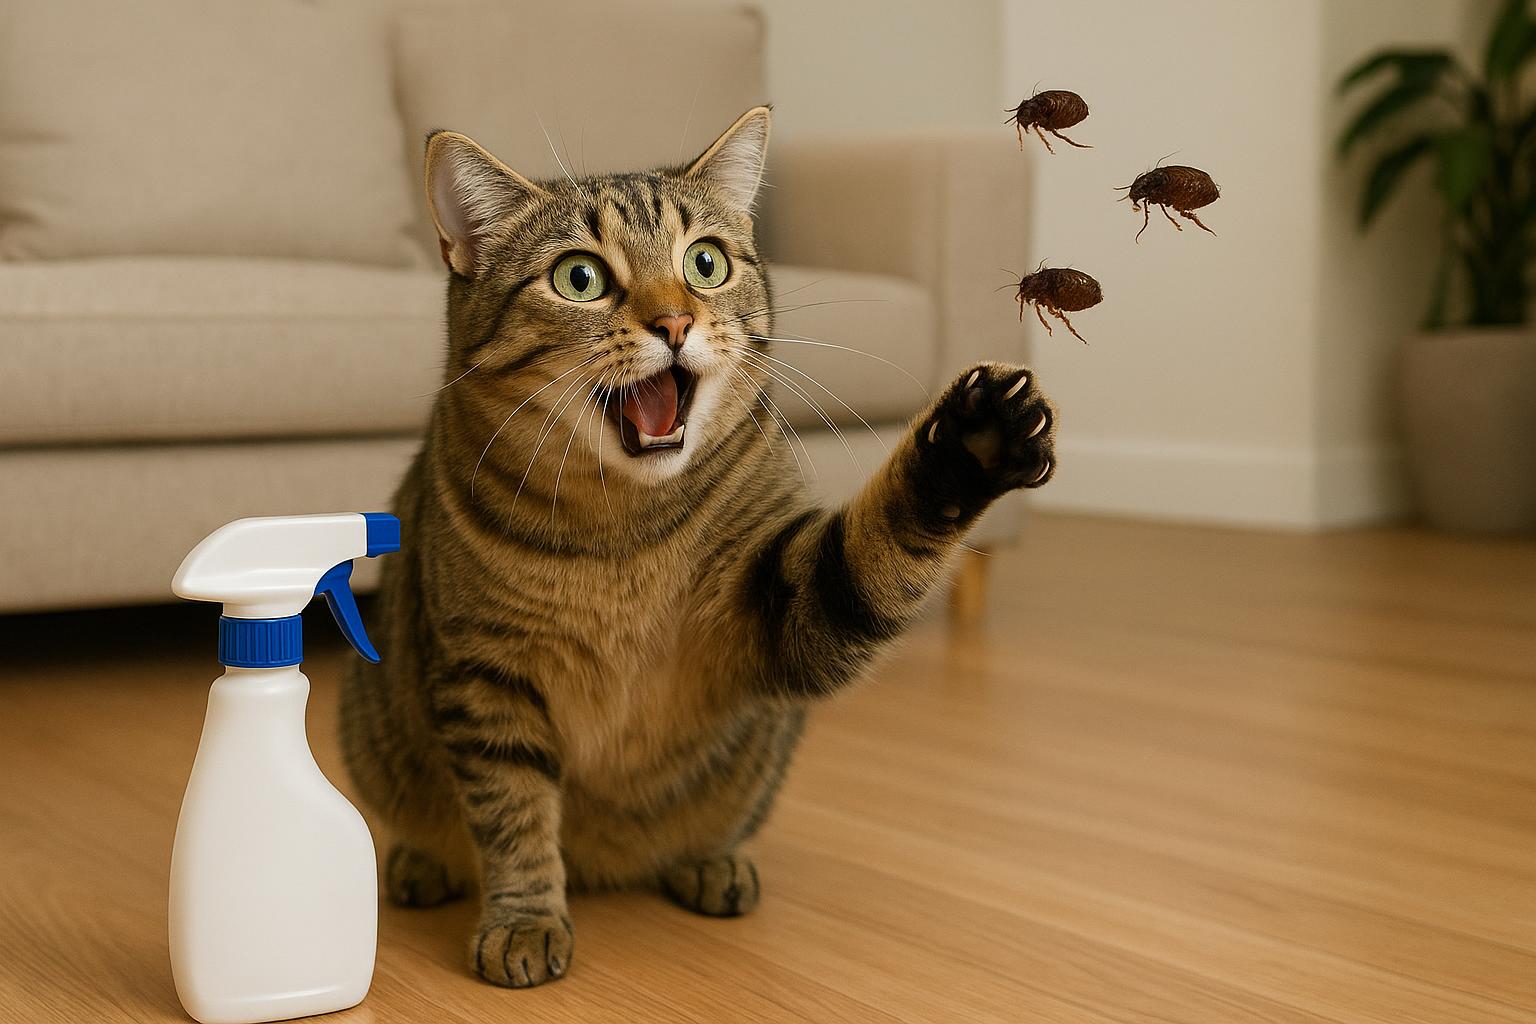
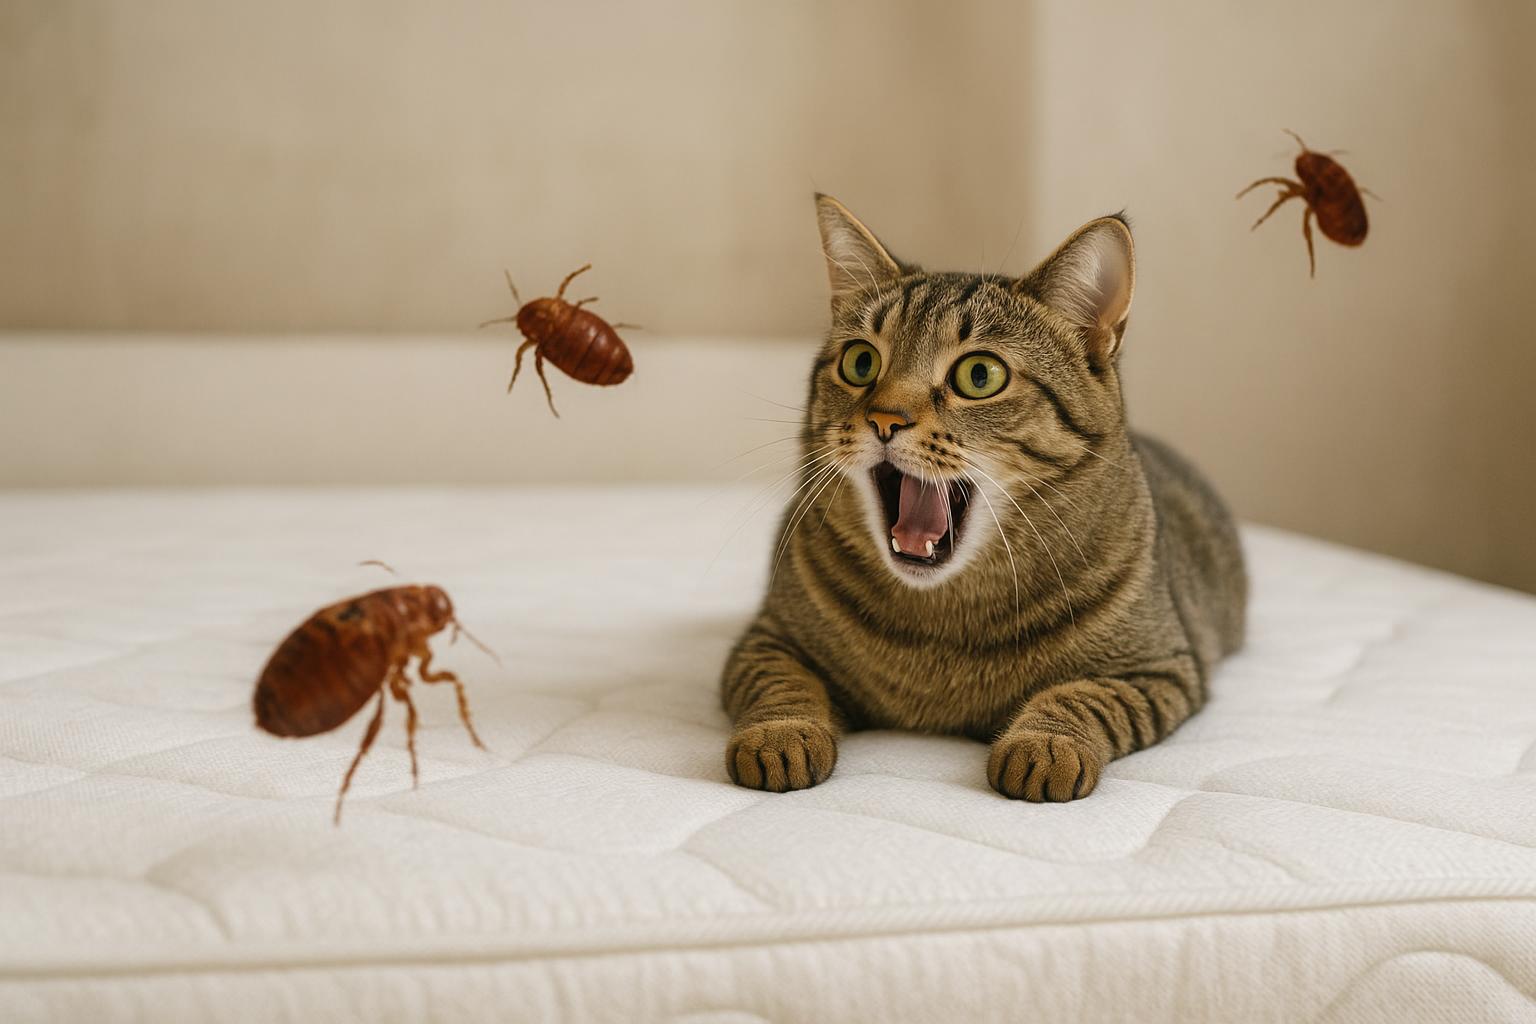
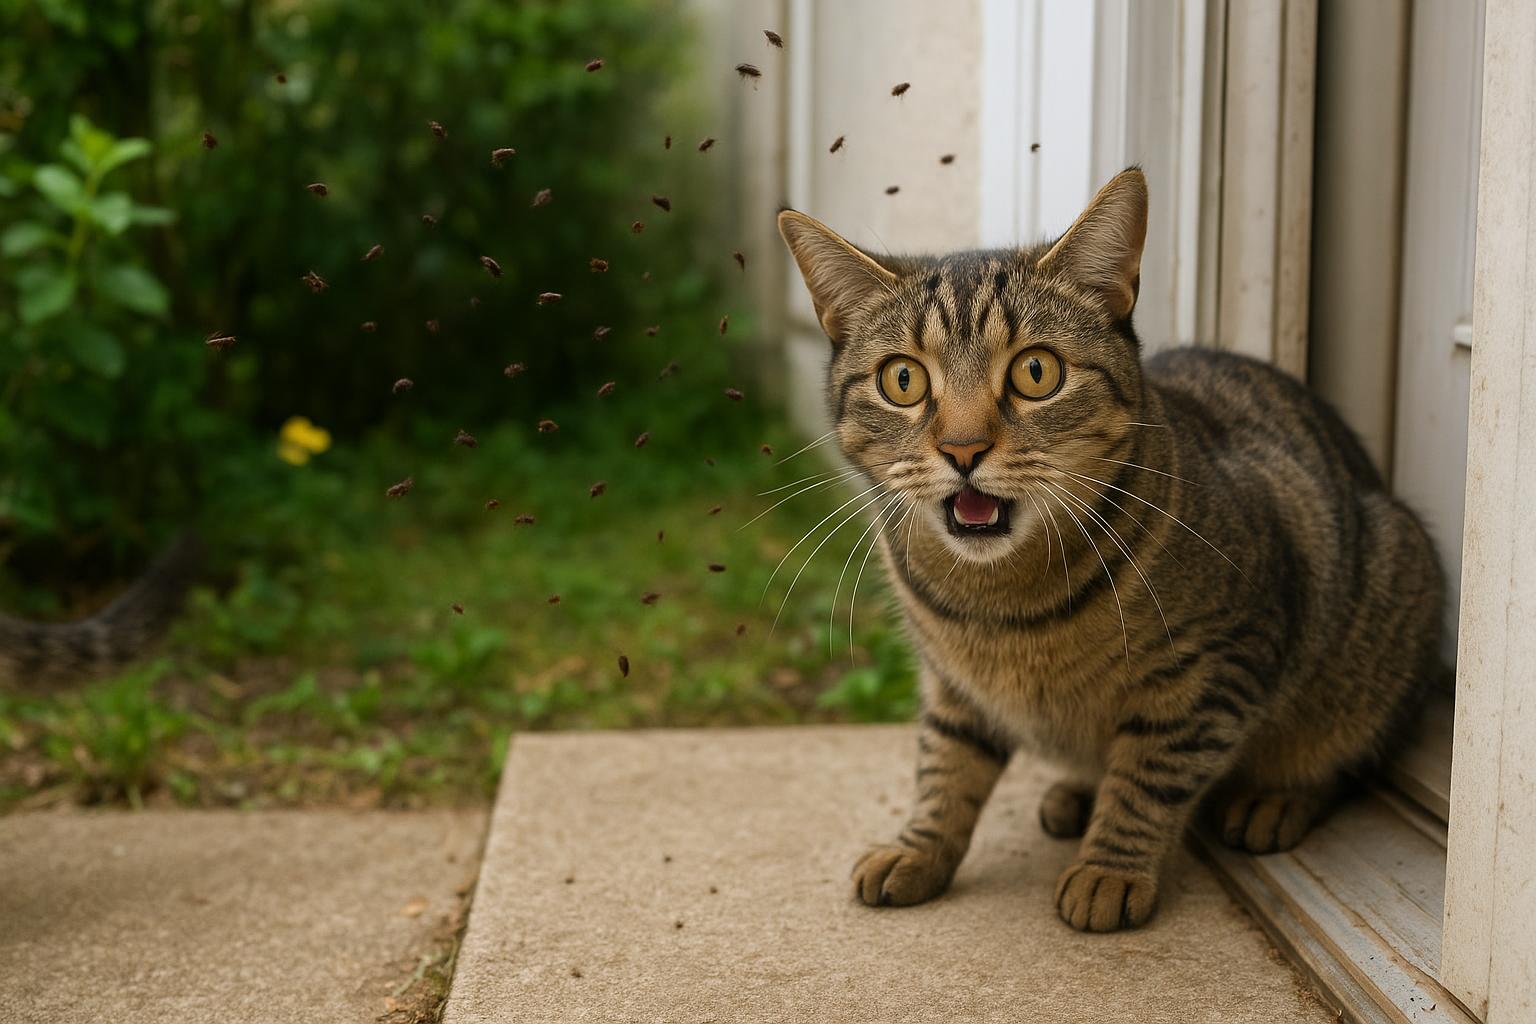
Fleas in litter create several health and comfort issues. Your cat can develop persistent scratching, hair loss, skin infections from scratching, and in severe cases, anemia from blood loss—especially in kittens or very small cats. Fleas can also transmit tapeworms if your cat grooms and ingests infected fleas. People aren’t immune: fleas can bite humans, causing itchy spots and, for sensitive people, allergic reactions.
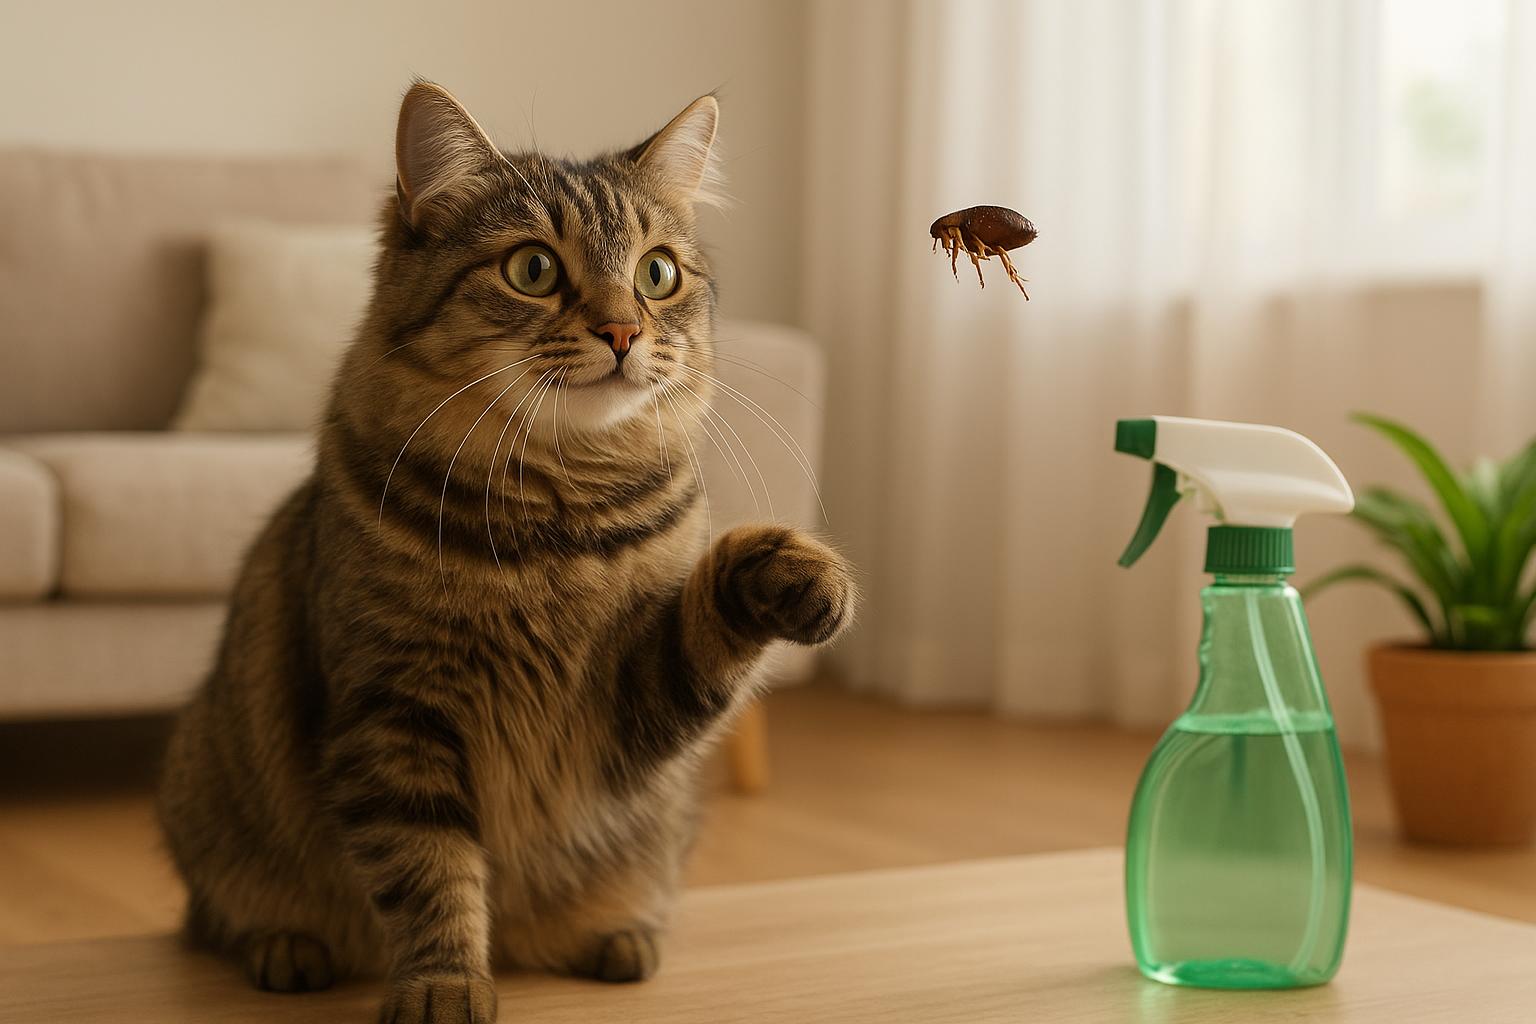
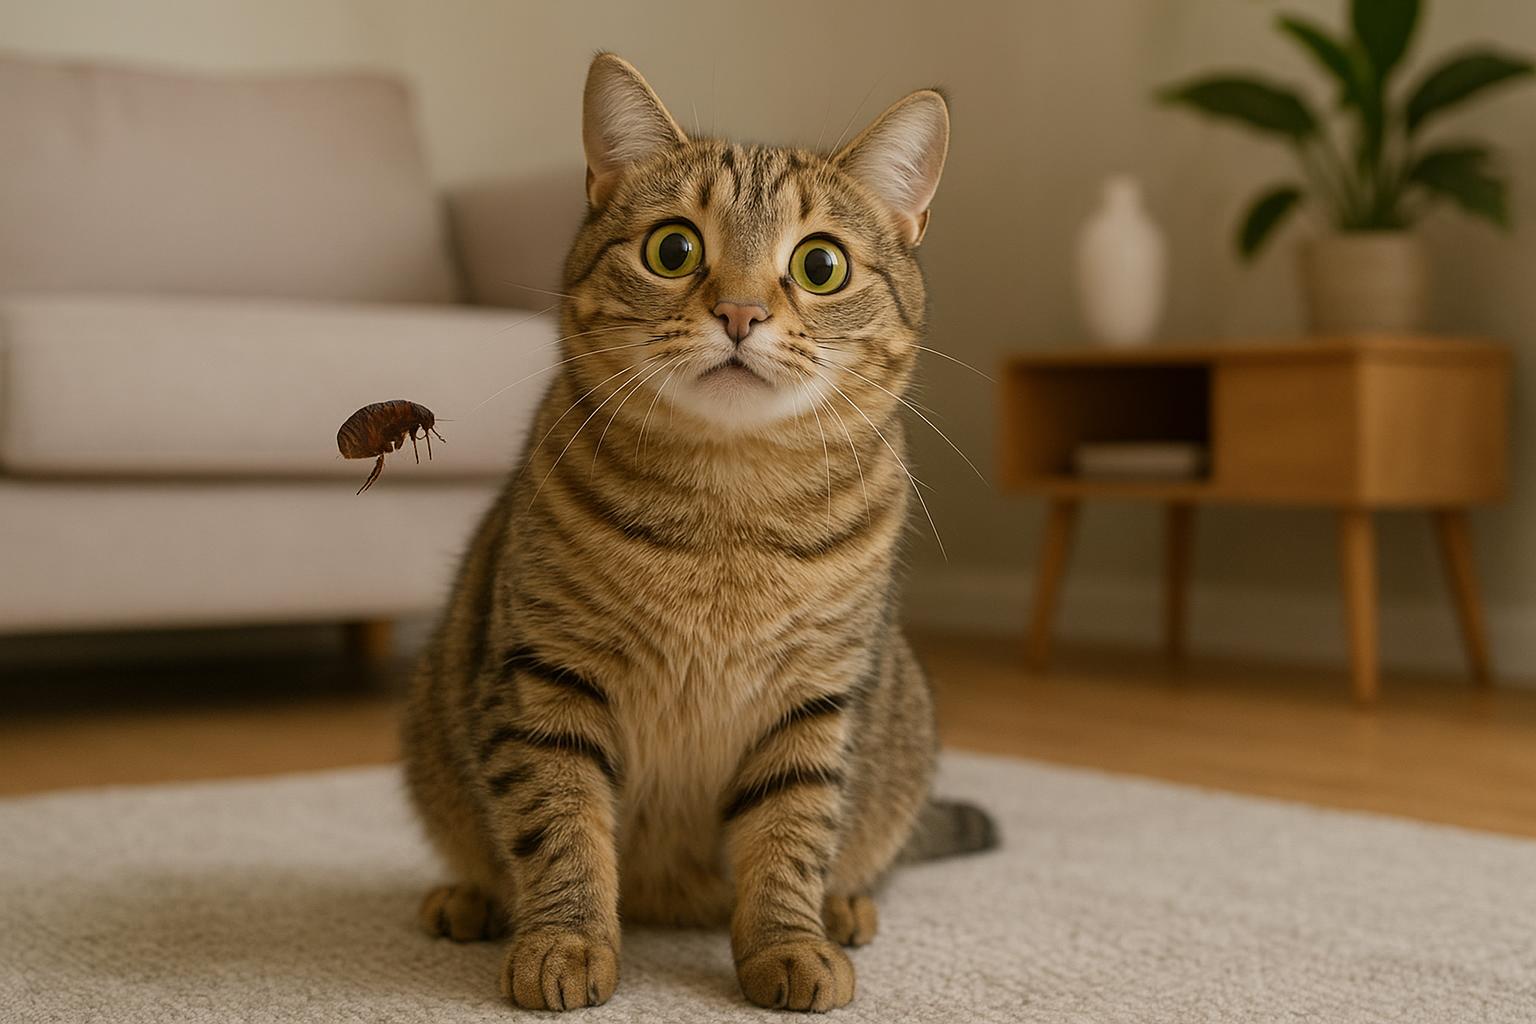
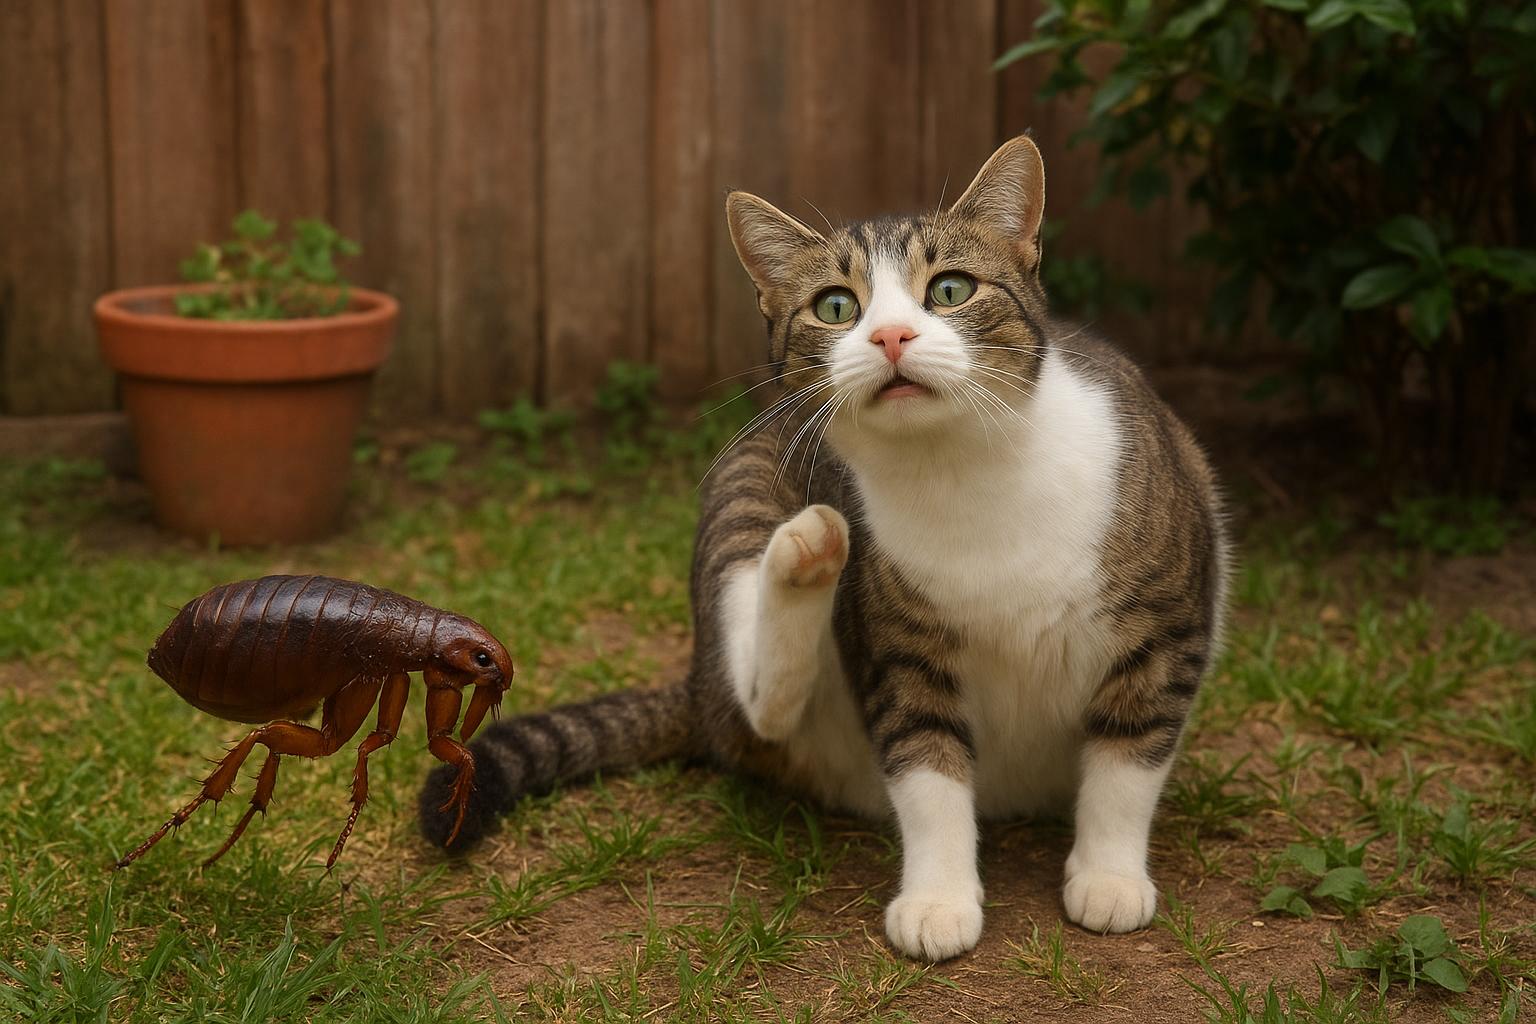
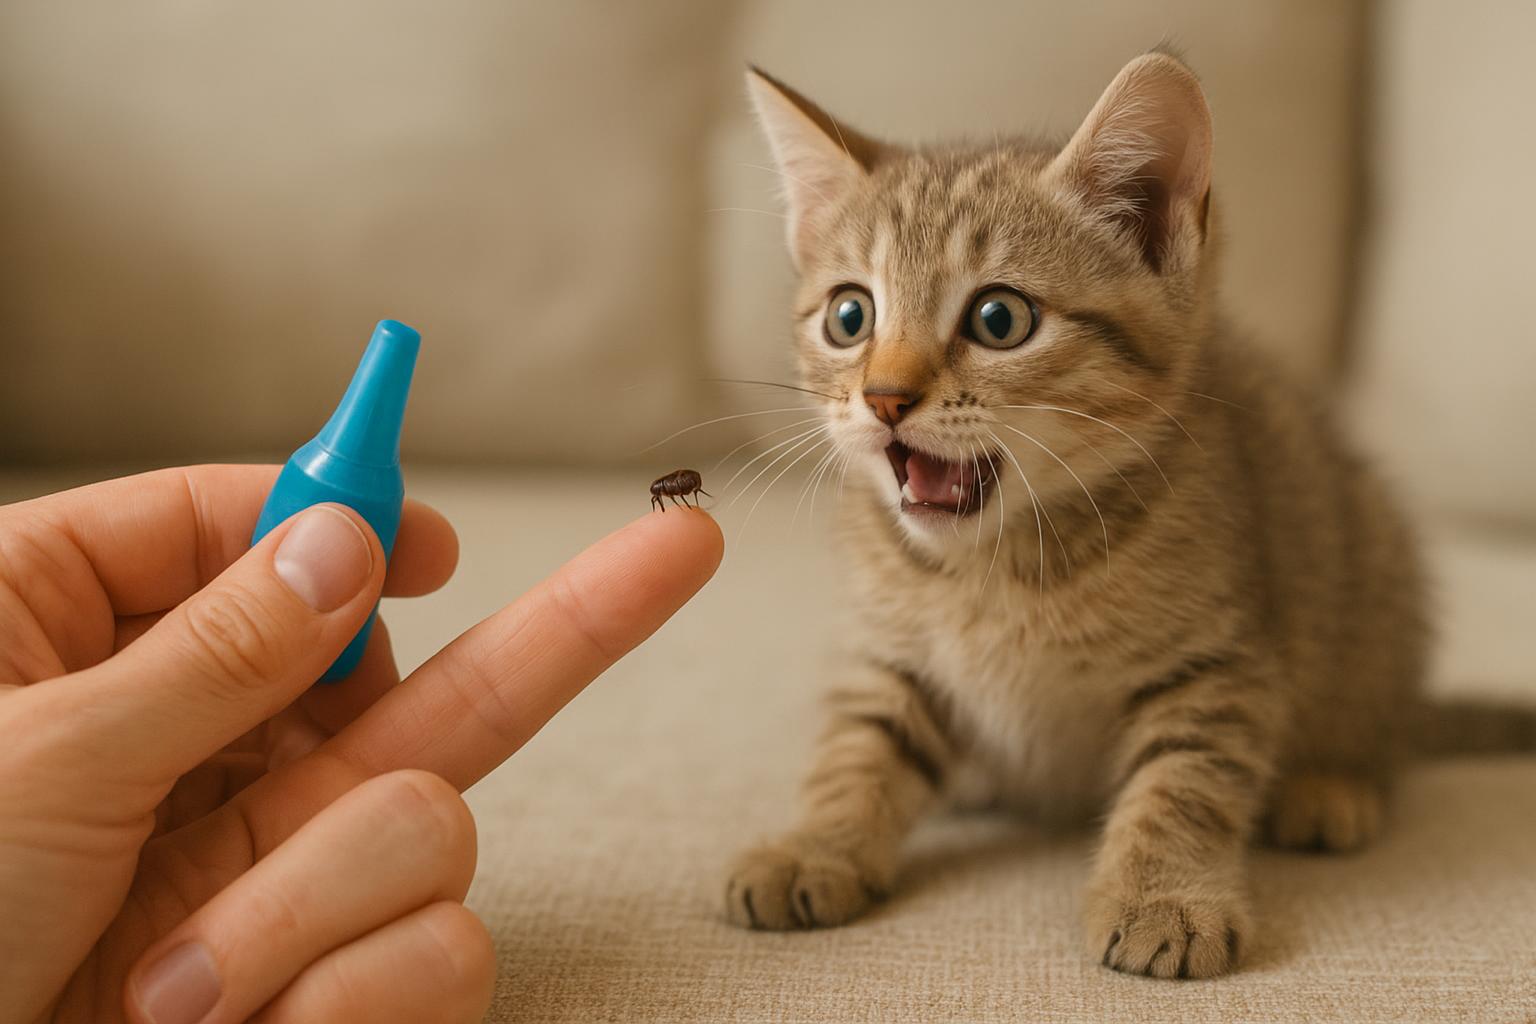
### Signs You Might Have Fleas In Litter
#### What To Look For
– Increased scratching or grooming by your cat.
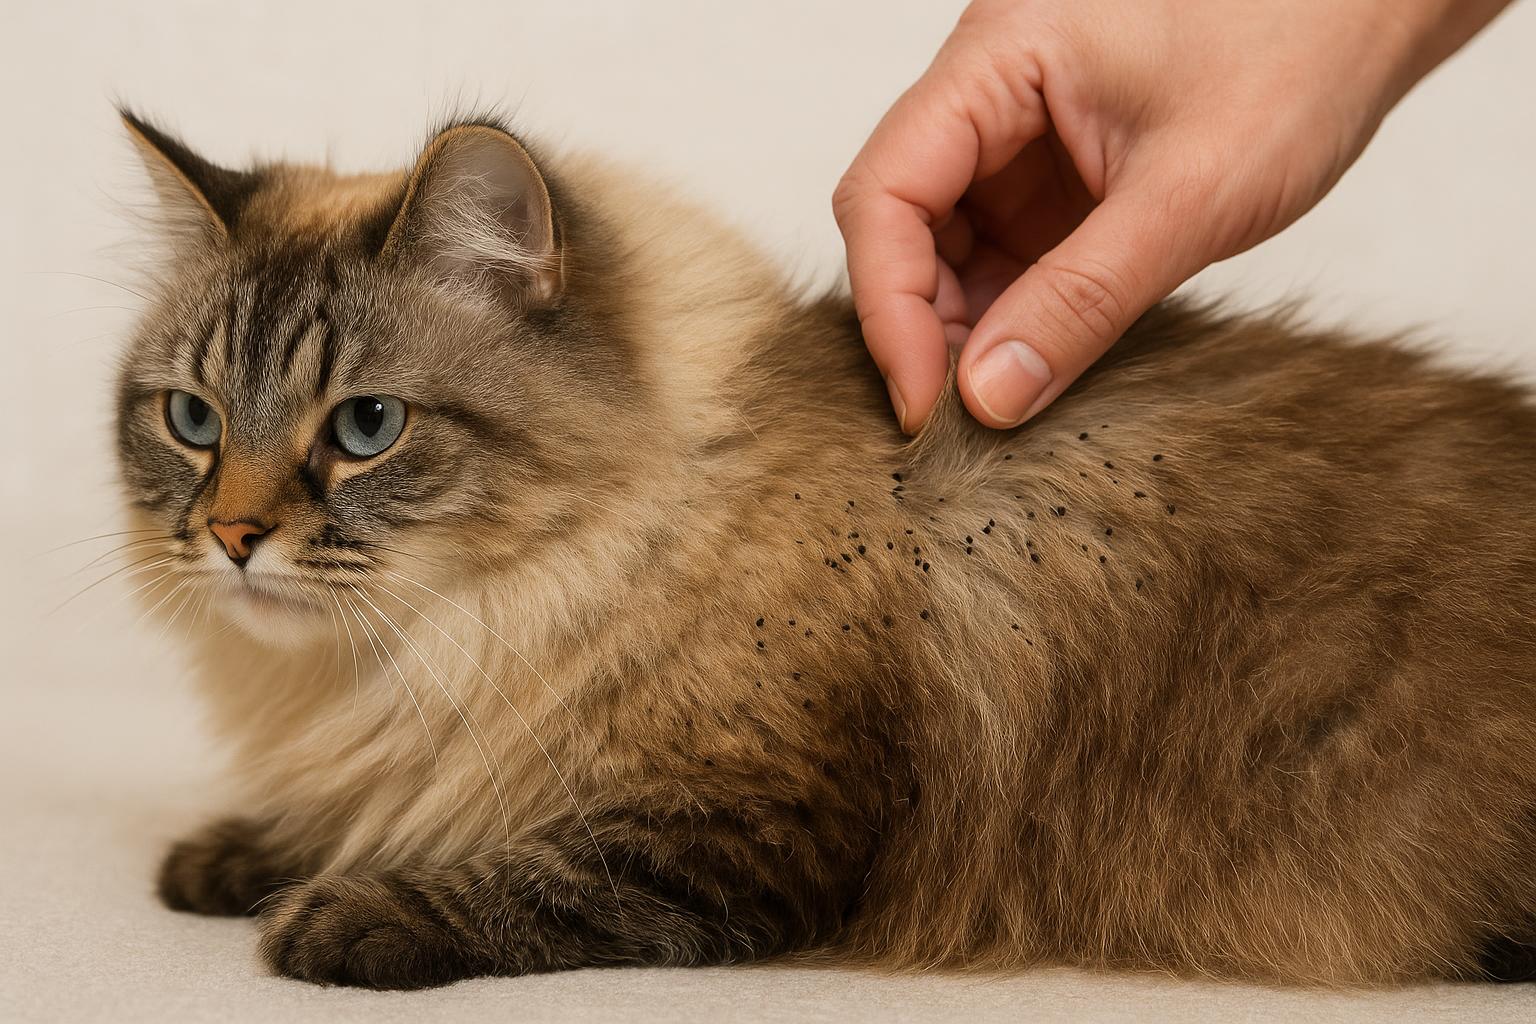
– Small dark specks (flea dirt) in the litter or on bedding; wetting a speck on paper will turn it reddish-brown.
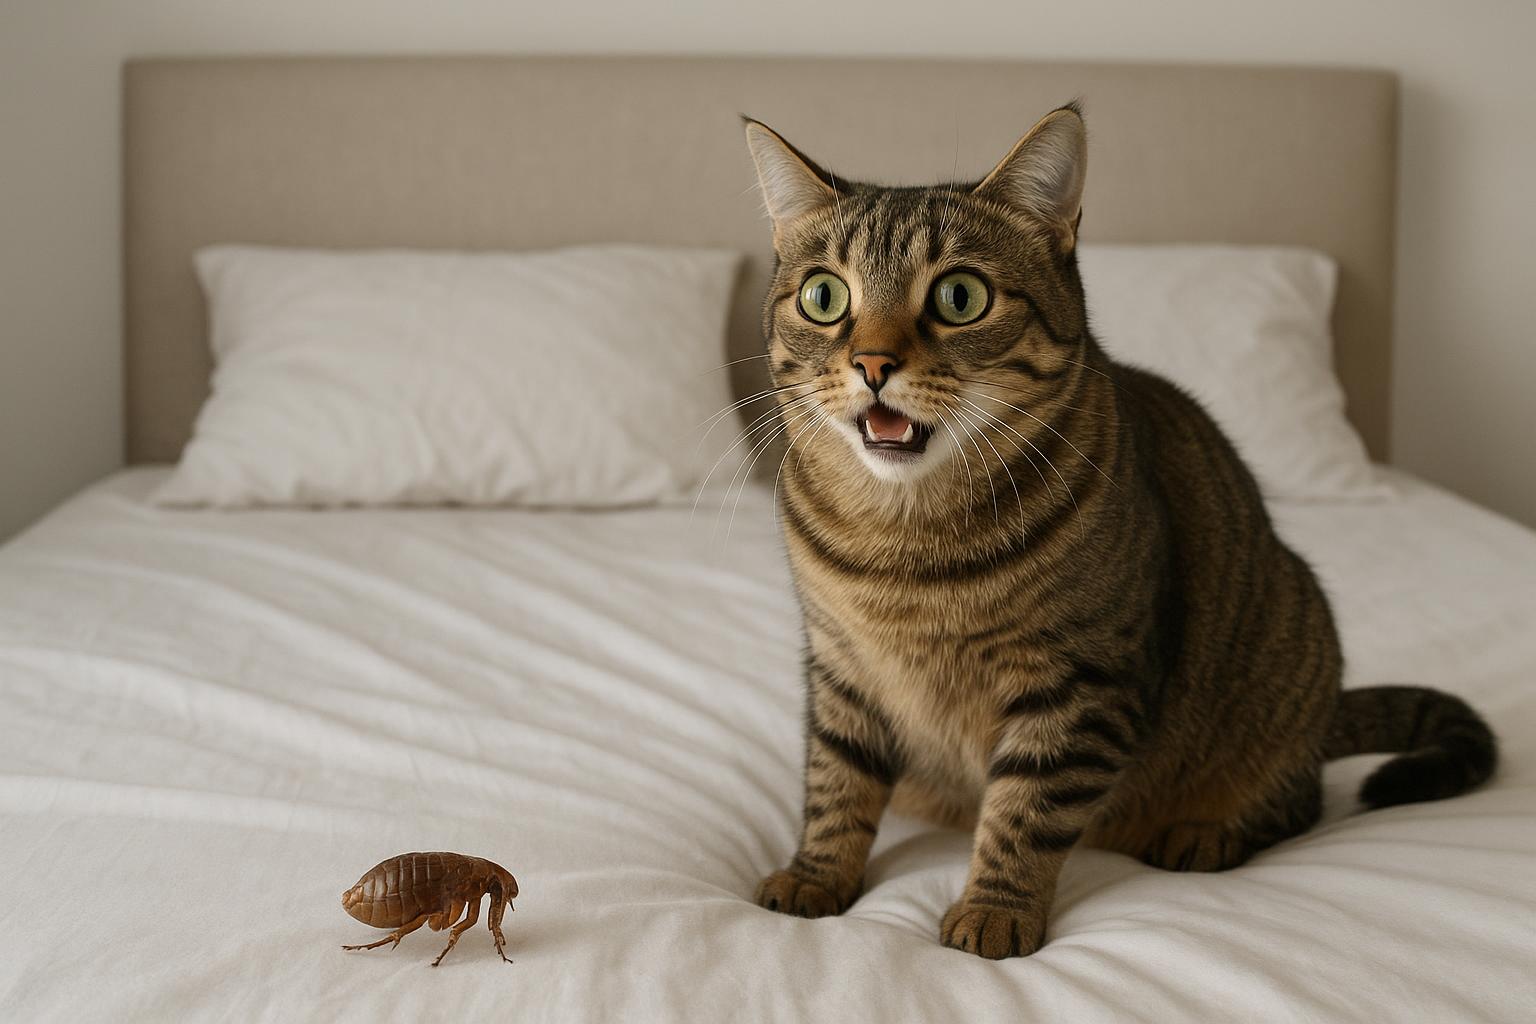
– Visible adult fleas—tiny, fast-moving, and reddish-brown.
– Tapeworm segments visible near the cat’s rear or in stools.
### When To Call A Vet Or Pro
If you notice severe hair loss, open sores from scratching, signs of anemia (pale gums, lethargy), or if you have very young kittens involved, call your veterinarian. They’ll recommend safe, effective treatment. An infestation that spreads through the house often needs professional pest control combined with vet-prescribed flea control for the pet.
## Preventing Fleas In Litter At Home
Prevention is the best strategy. Keeping fleas from establishing in your cat’s litter area is easier than cleaning up a full-blown infestation. Regular cleaning, combined with appropriate preventive treatments for your cat, dramatically reduces the chance of fleas in litter taking hold.
### Daily And Weekly Habits That Help
A few simple routines cut risk:
– Scoop the litter often and replace clumping litter fully on a regular schedule.
– Wash any mats, bedding, and nearby fabrics weekly in hot water.
– Vacuum around the litter station and adjacent spaces to remove eggs and larvae.
– Keep the litter box in a low-humidity, well-ventilated area if possible—flea larvae dislike dry, drafty spots.
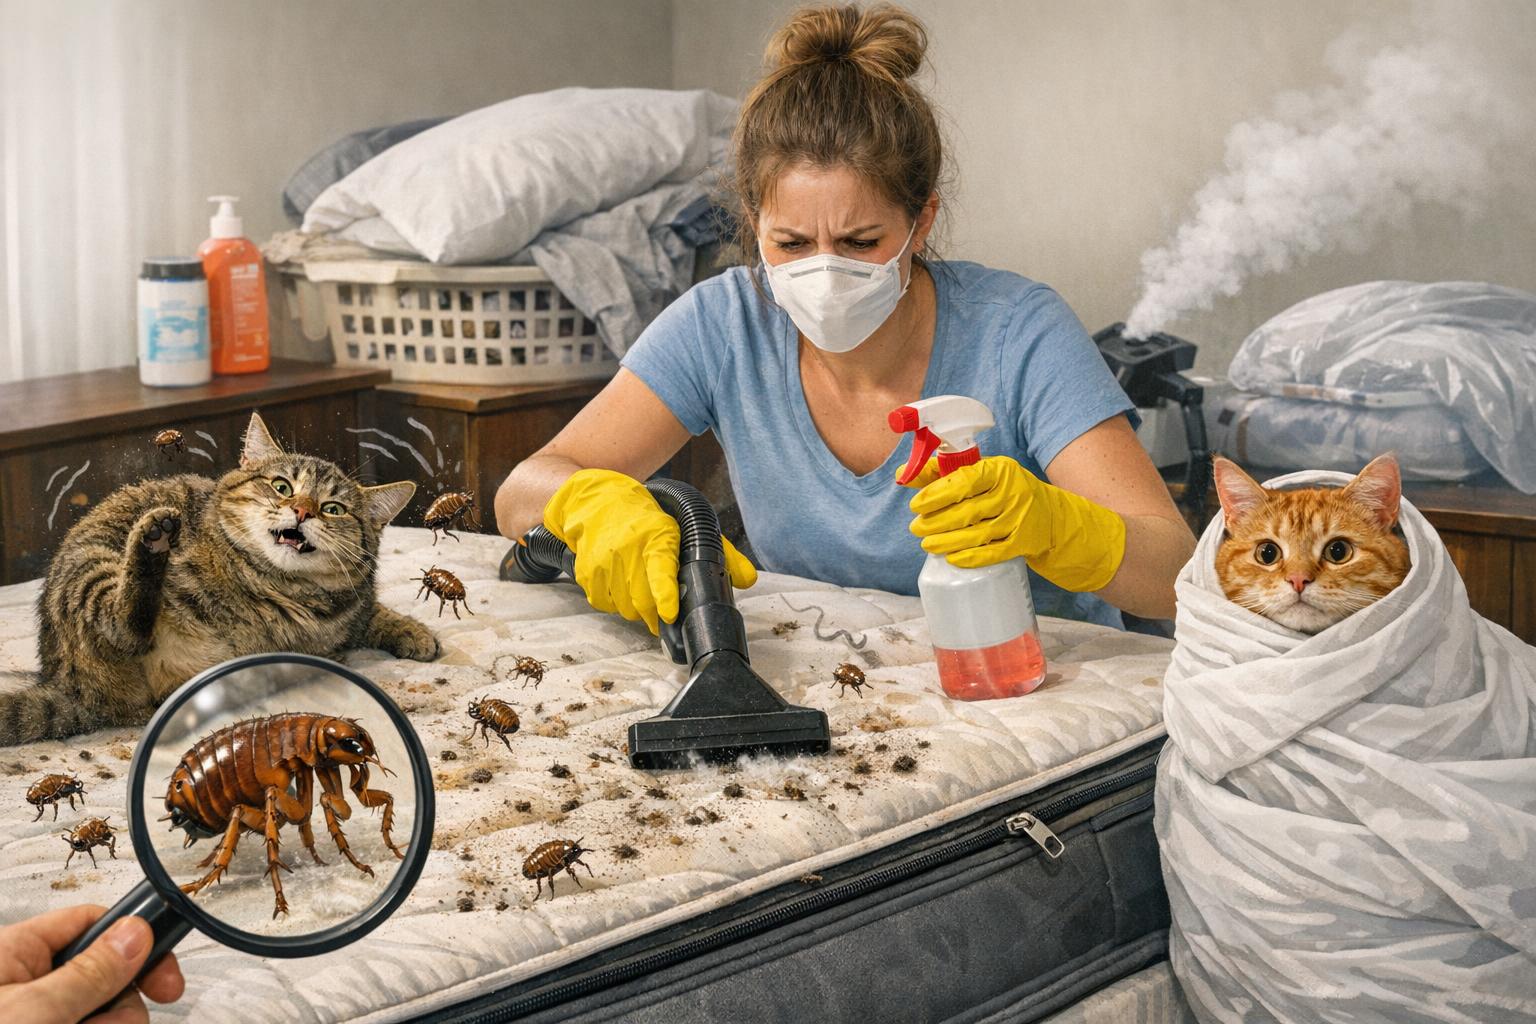
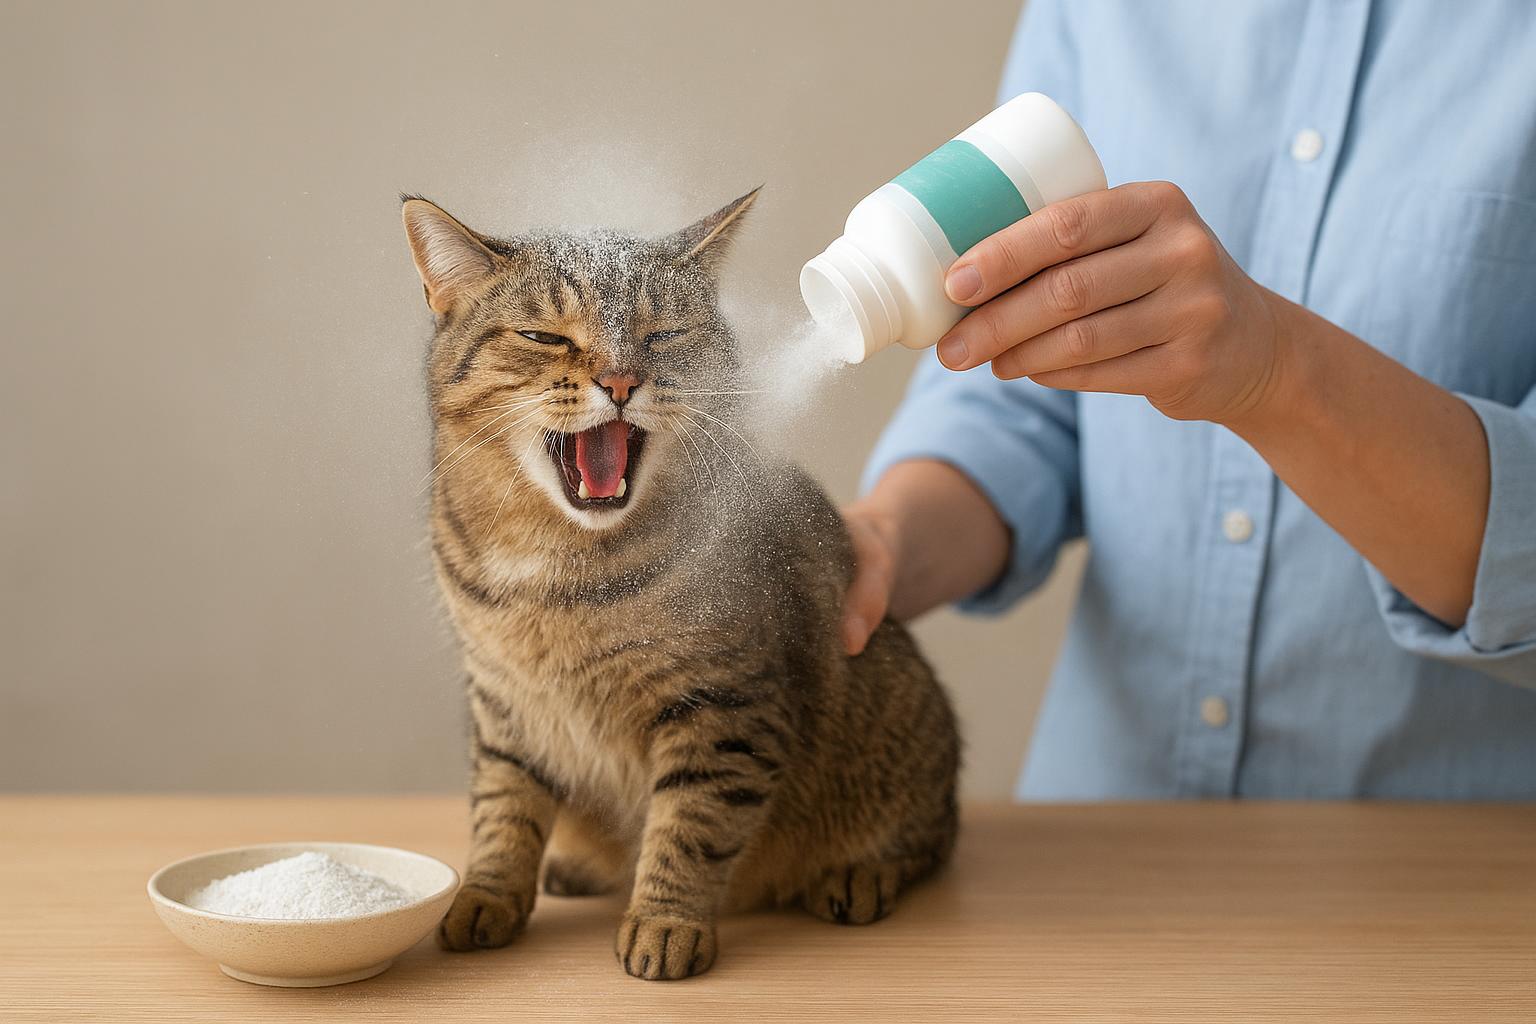
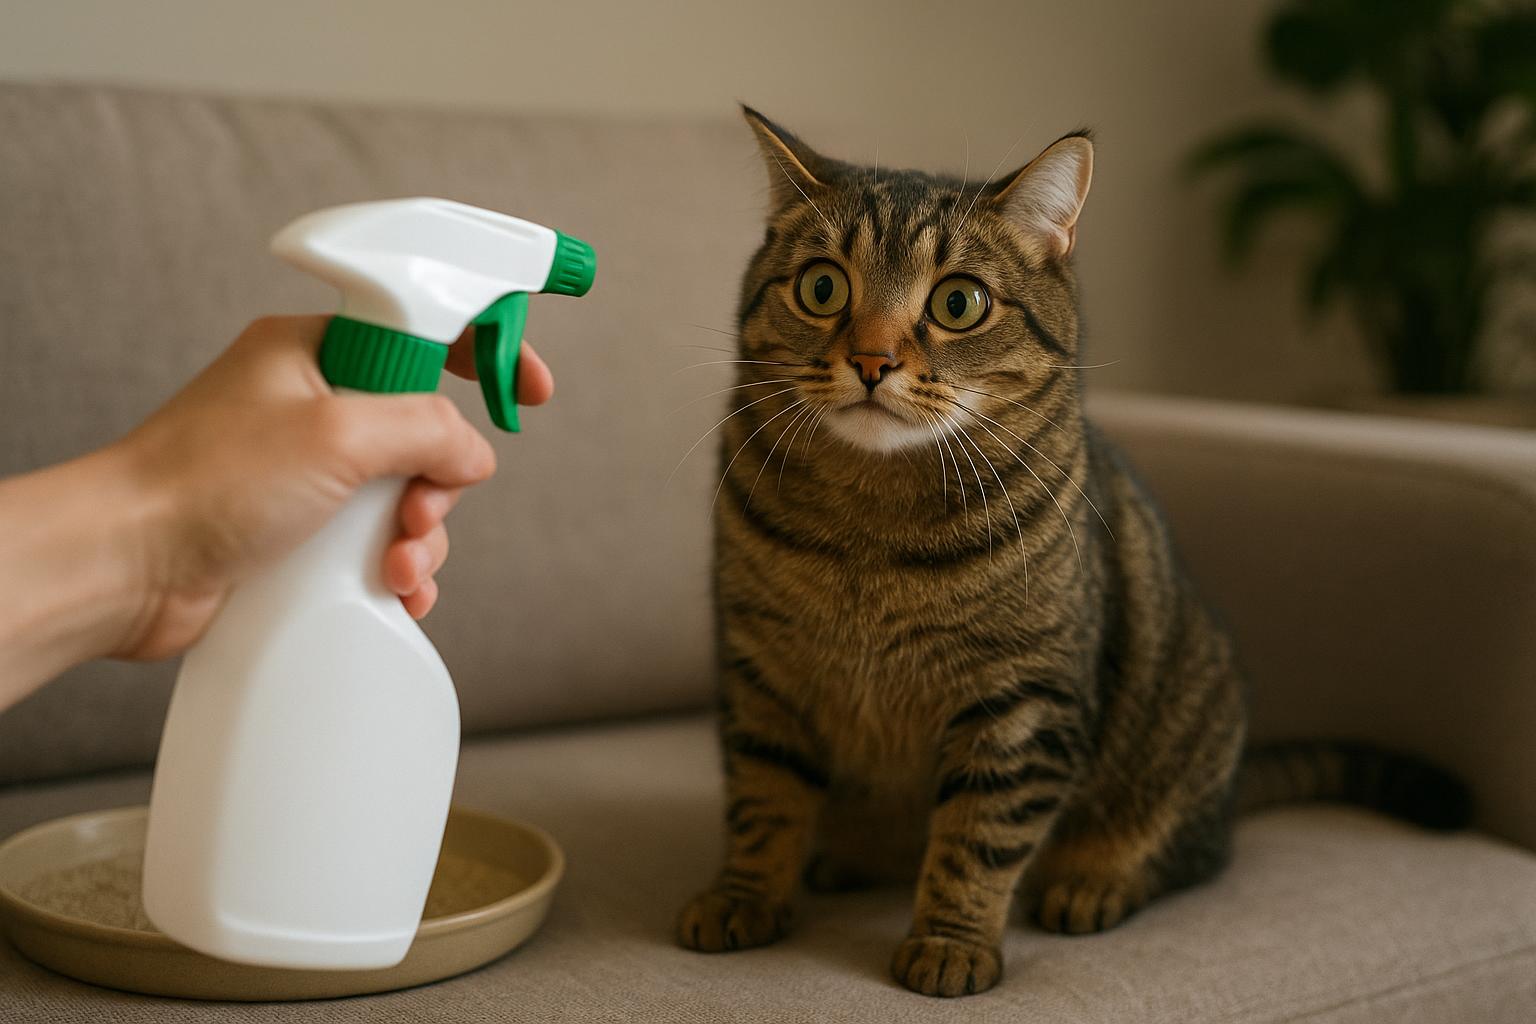
## Remedy 1: Clean And Treat The Litter Box (Nonchemical)
When you suspect fleas in litter, start with a thorough, nonchemical clean. This reduces eggs and larvae without exposing your cat to strong fumes.
Materials Needed:
– Rubber gloves and a disposable mask (optional but helpful)
– Stiff brush or sponge
– Mild dish soap
– Hot water
– Plastic trash bags
– Replacement clumping litter or fresh substrate
– Baking soda (optional)
– A clean spray bottle with water (for rinsing)
Procedure (Formal, Step-By-Step):
1. Prepare: Put on gloves and mask. Remove your cat from the area to a safe, closed room.
2. Remove Old Litter: Scoop and bag all old litter in a sturdy trash bag. Seal and dispose immediately outdoors if possible.
3. Initial Rinse: Rinse the empty litter box with hot water to dislodge debris.
4. Wash Thoroughly: Using mild dish soap and a brush, scrub all interior surfaces. Pay attention to rims and crevices where eggs can cling.
5. Disinfect (Optional For Plastic Boxes): If the box is made of sturdy plastic and manufacturer instructions allow, you may use a diluted bleach solution (1 part bleach to 9 parts water). Apply carefully, leave for 5–10 minutes, then rinse thoroughly until no bleach smell remains. Note: Bleach is not recommended for all materials—always check labeling.
6. Dry Completely: Air-dry the box in sunlight if possible. Flea eggs and larvae prefer damp conditions, so a fully dry box is less hospitable.
7. Refill With Fresh Litter: Add new litter. Consider replacing mats or liners too.
8. Clean Surrounding Area: Vacuum the floor and wash any nearby fabrics in hot water. Dispose of vacuum bag contents outdoors or empty canister into a sealed bag.
Safety Notes: Avoid using diatomaceous earth around cats because powdered forms can irritate respiratory tracts. Stick to physical cleaning and sunlight for this method.
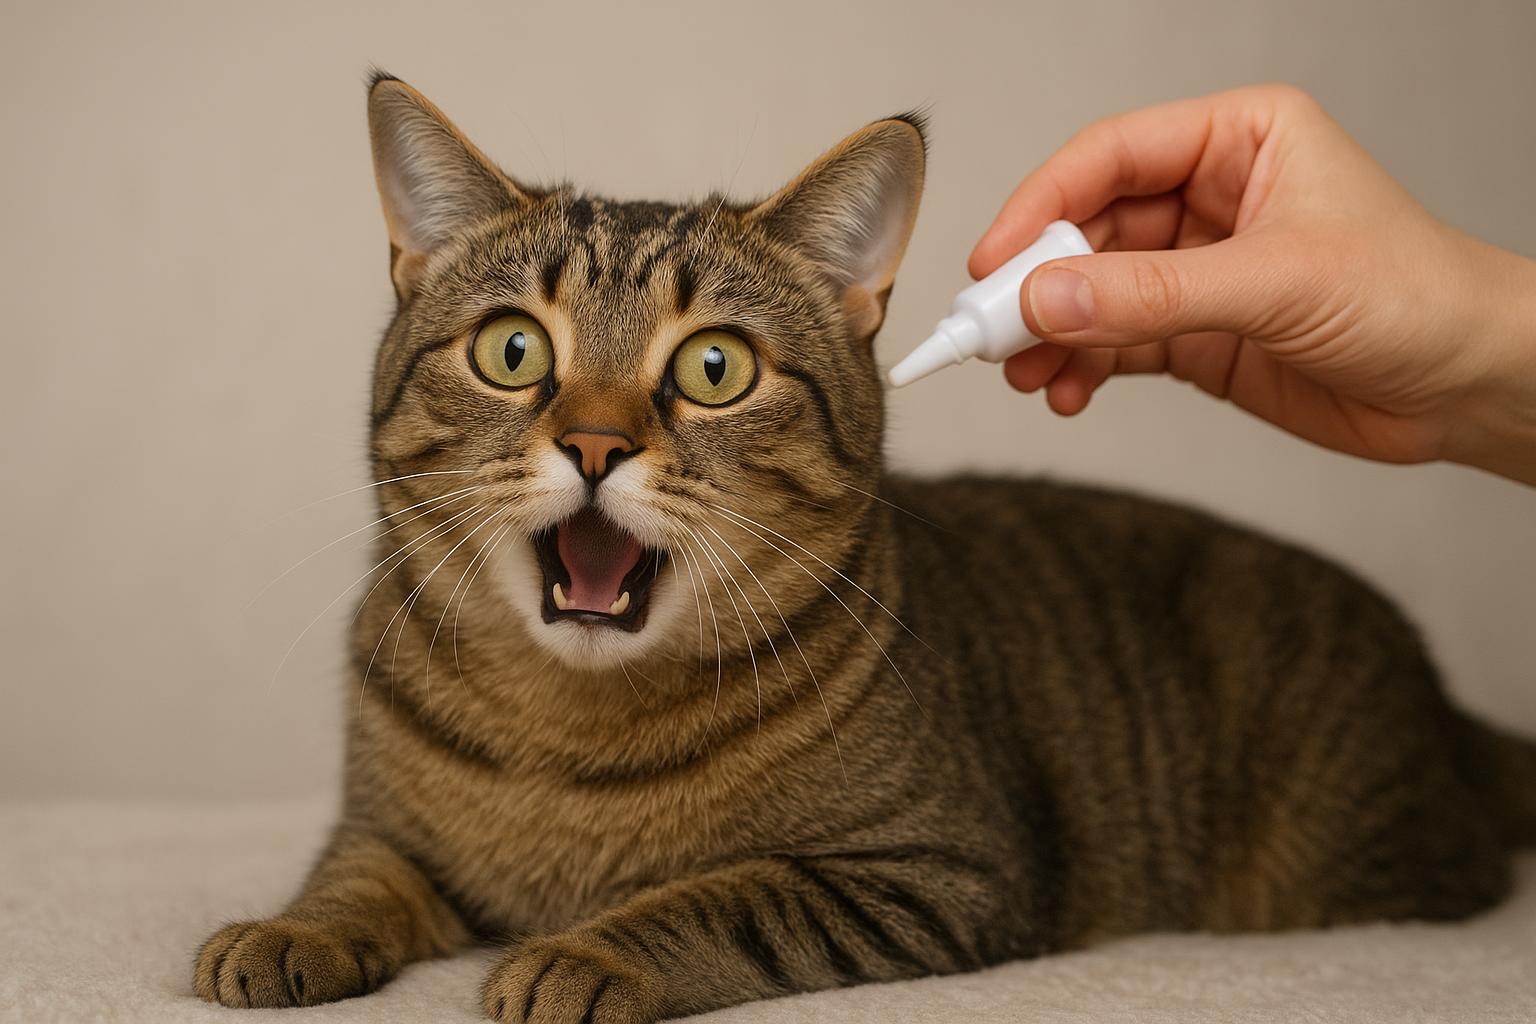
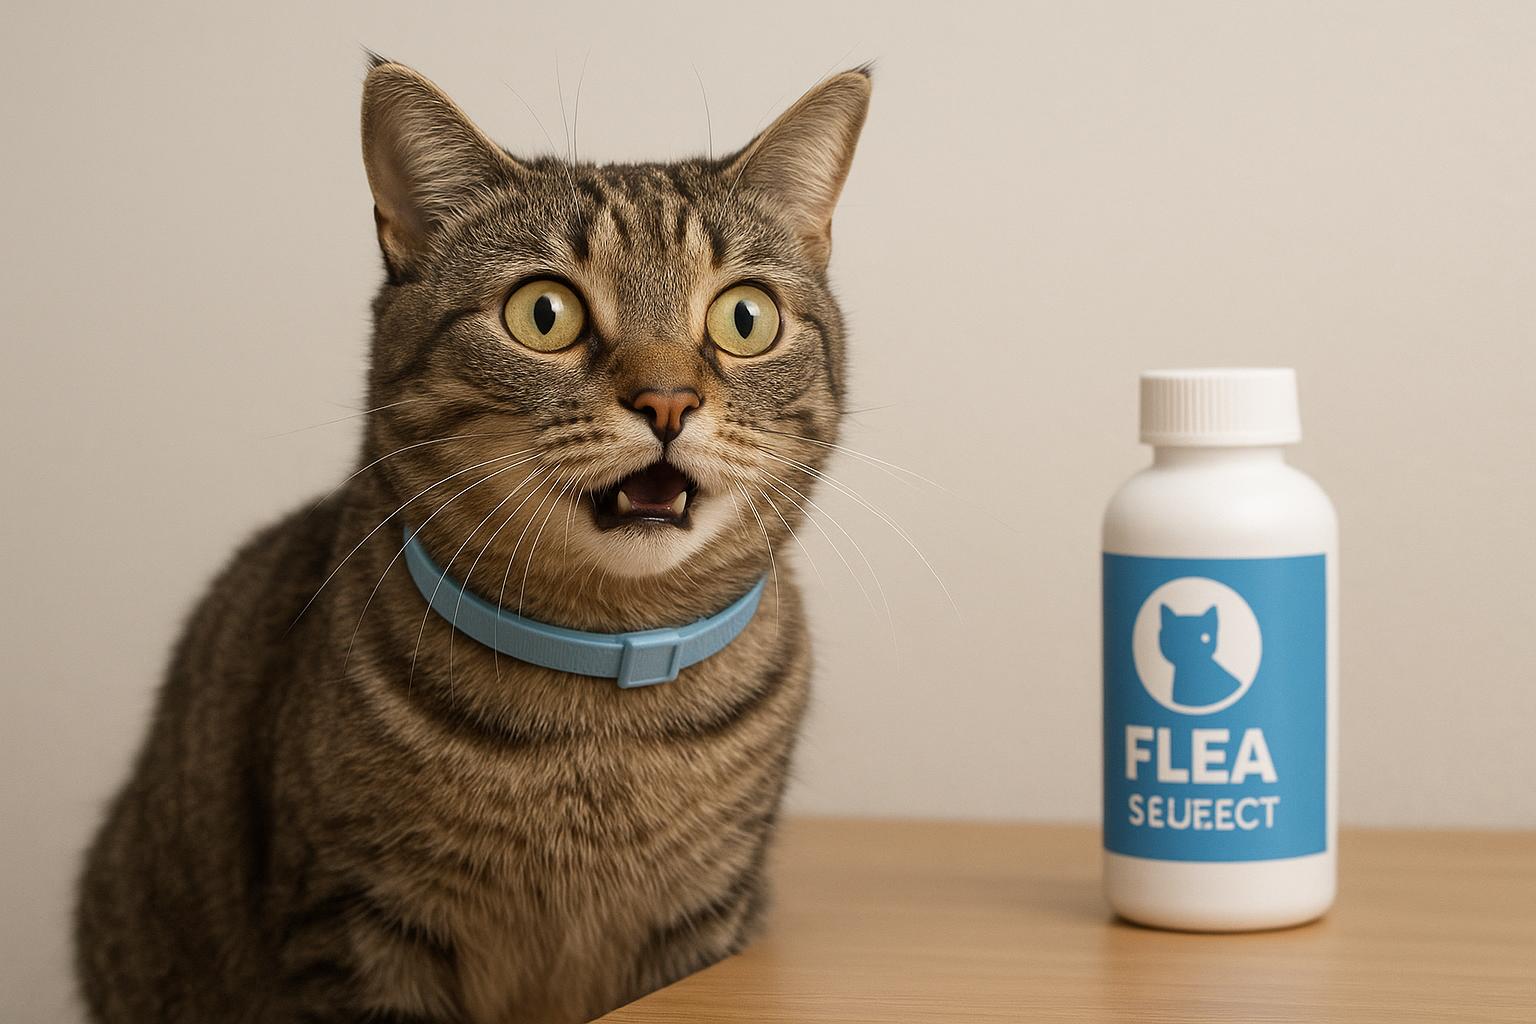
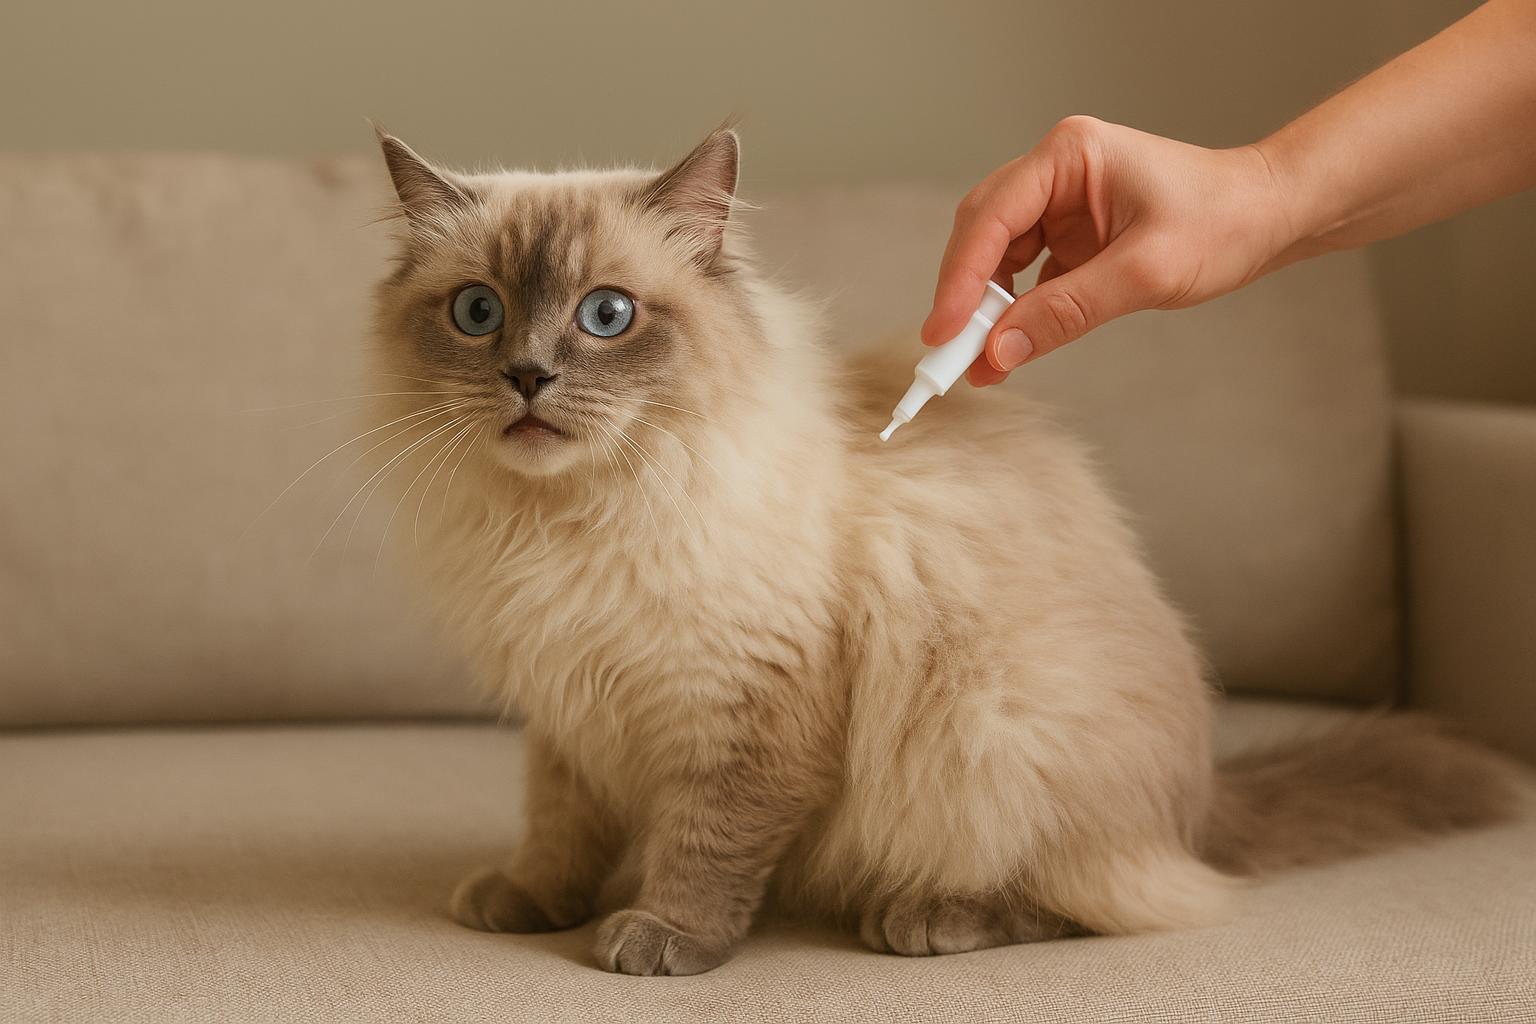
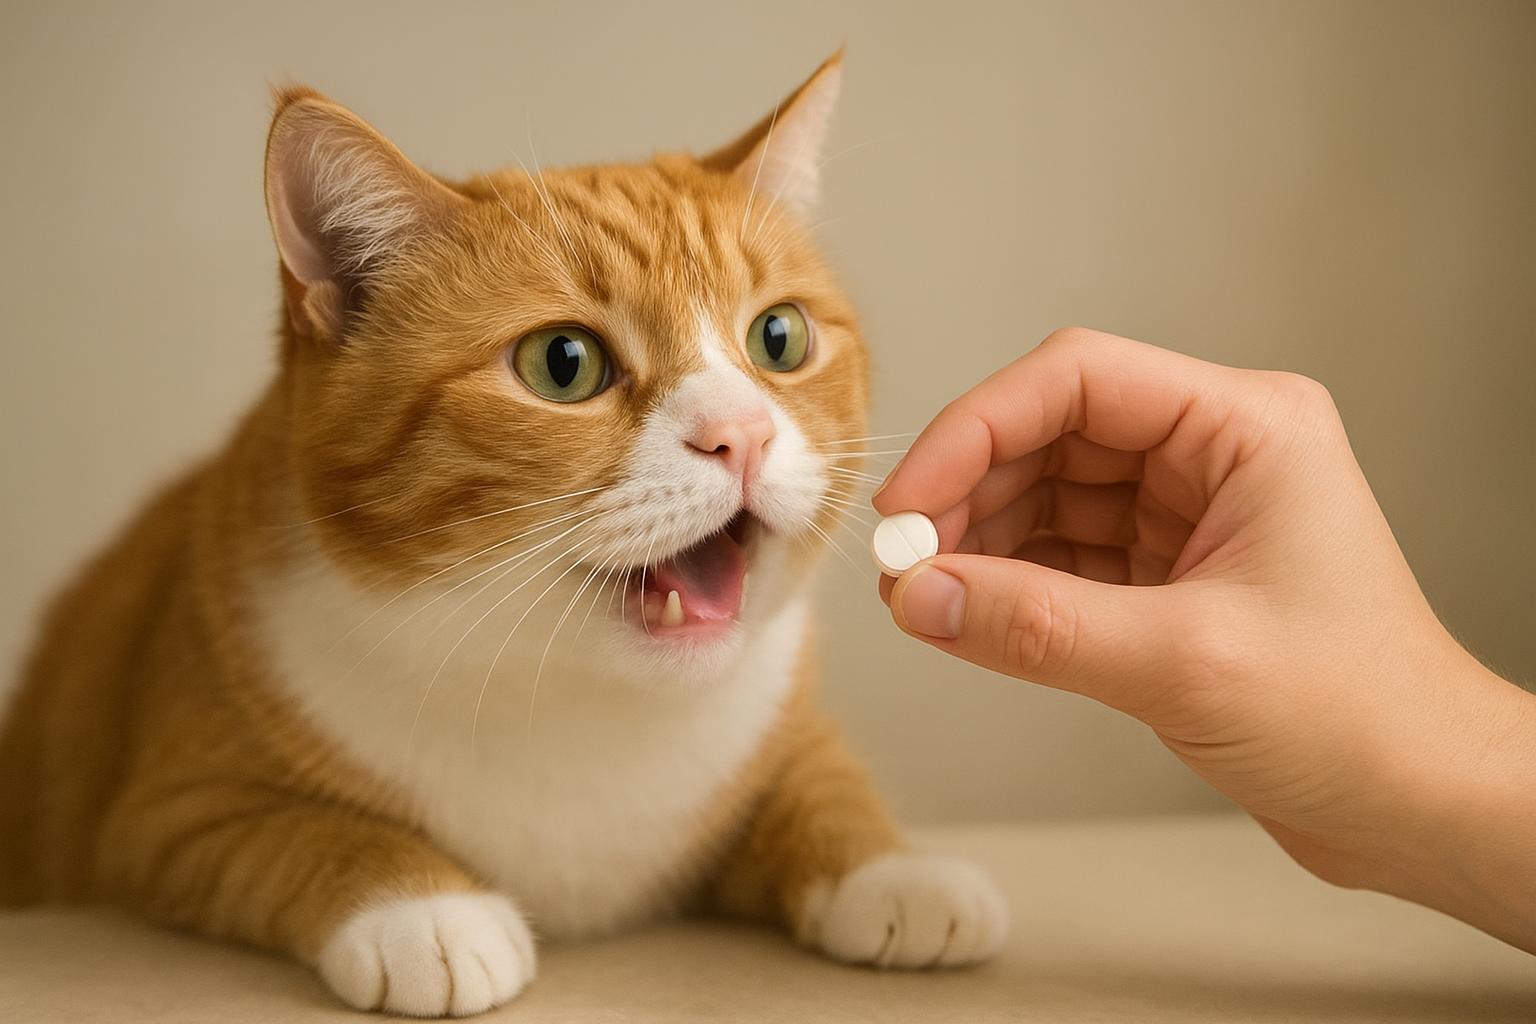
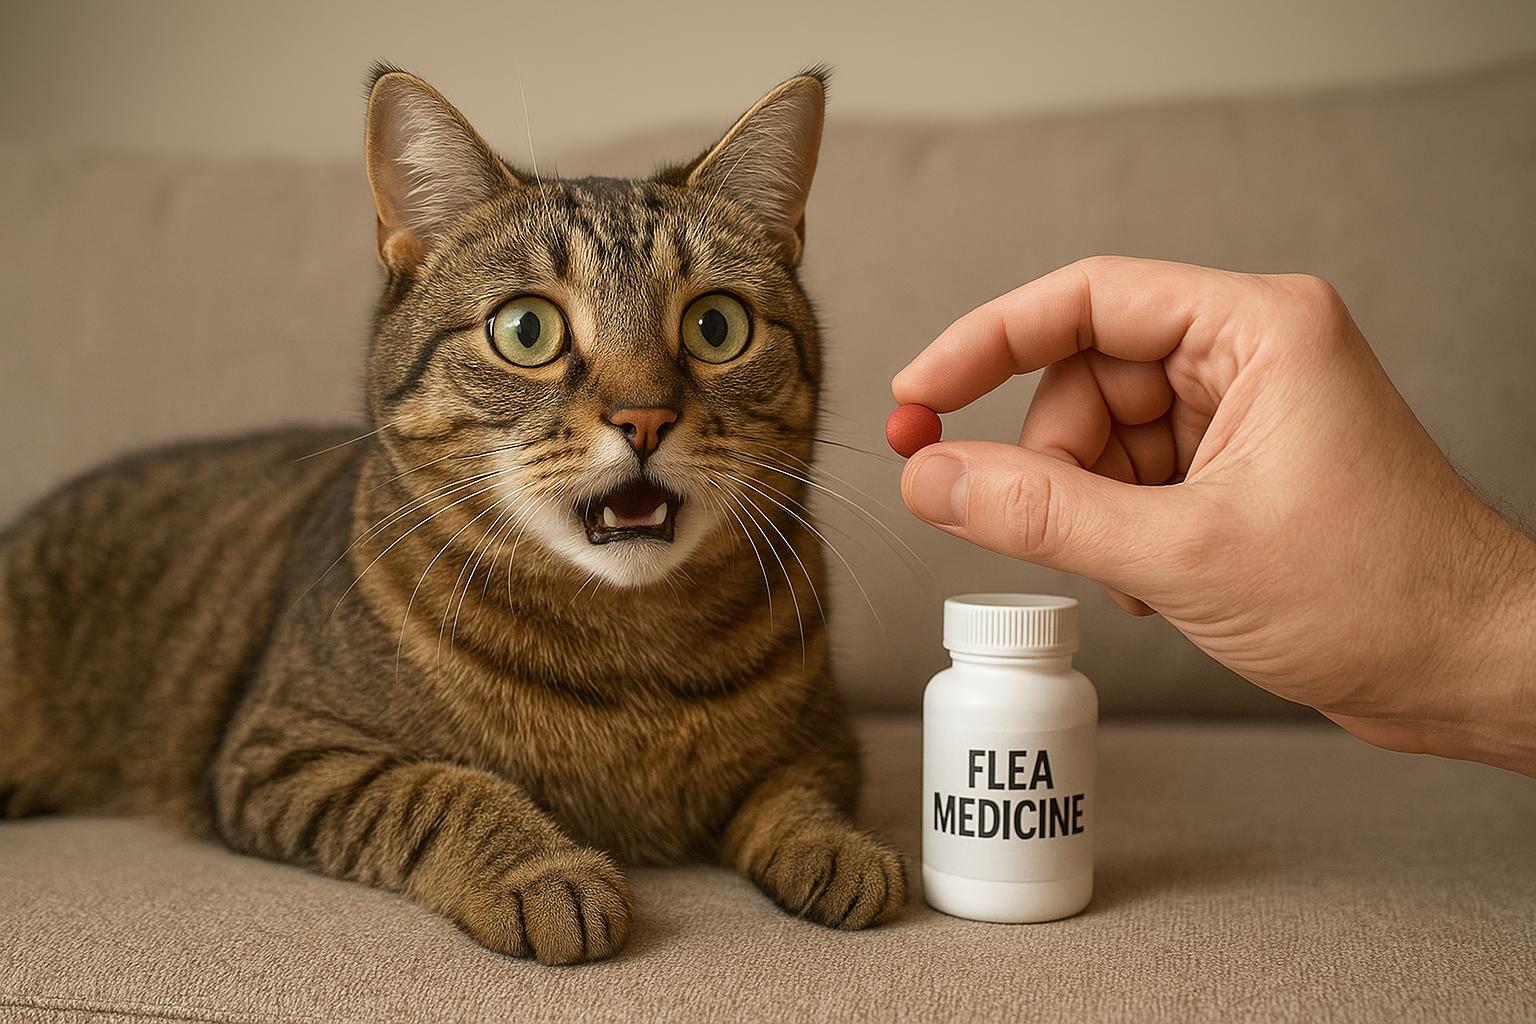
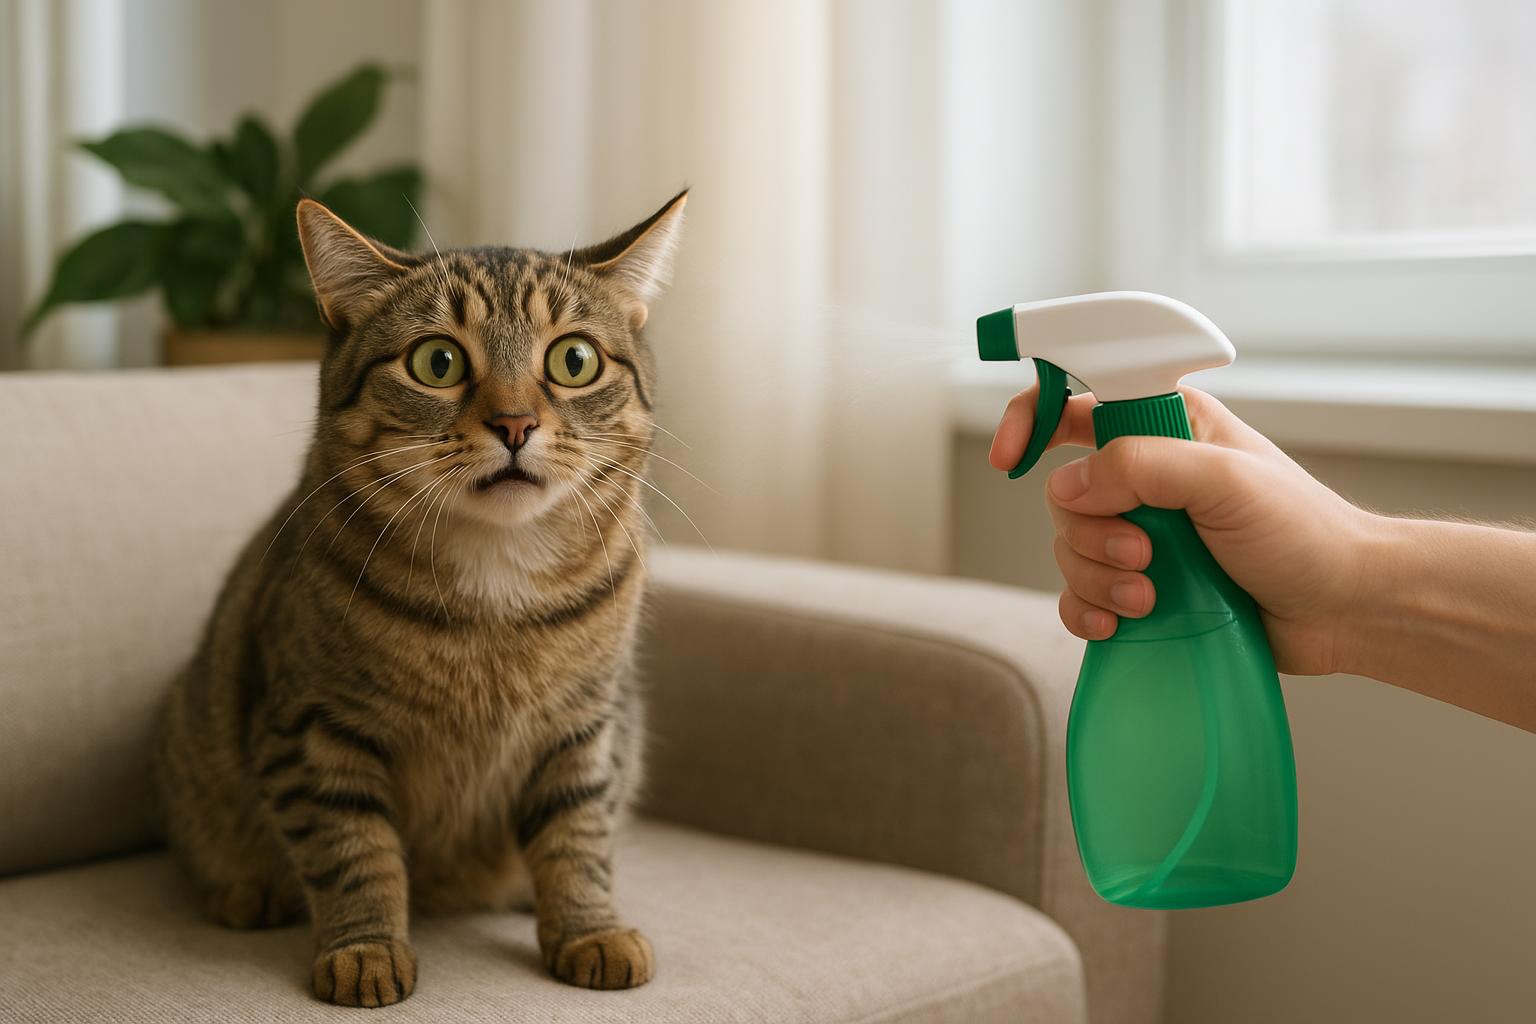
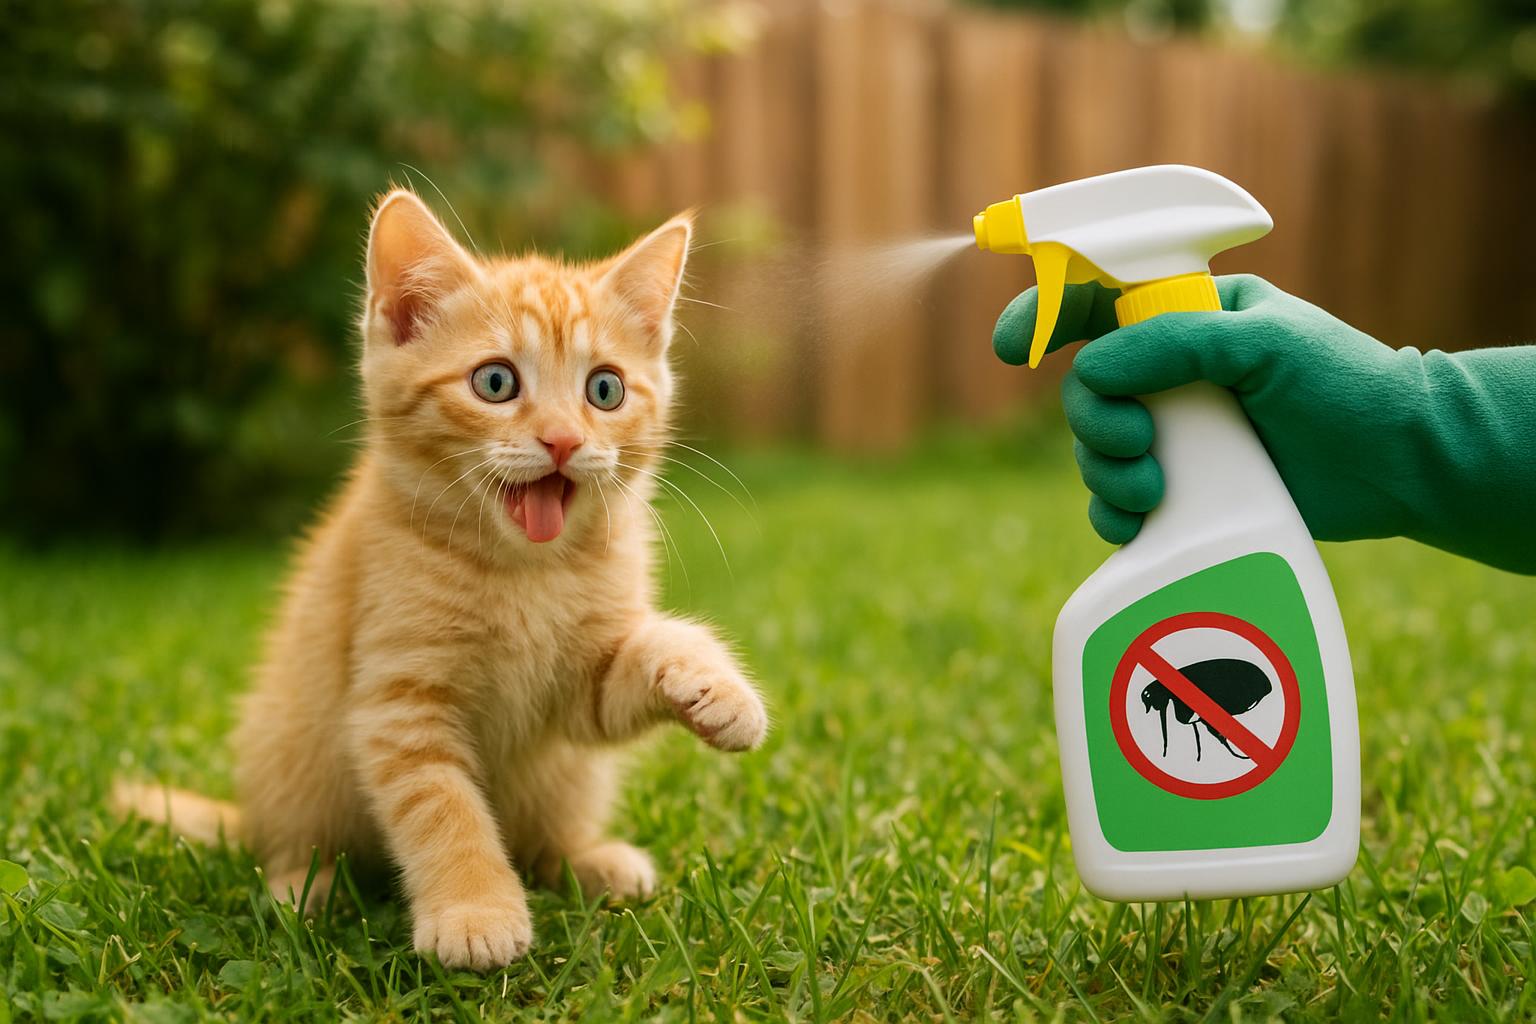
## Remedy 2: Integrated Cat And Home Flea Treatment (Veterinary-Grade)
When fleas in litter are part of a broader infestation, a combined environmental and pet treatment is necessary. This remedy is more formal: it involves pet-safe insecticidal products and often an insect growth regulator (IGR) for the home.
Materials Needed:
– Veterinary-recommended topical or oral flea medication (as prescribed)
– Flea comb and shallow bowl of soapy water
– High-efficiency vacuum with disposable bag or canister you can empty outdoors
– Laundry detergent and access to a hot dryer
– Environmental insecticide containing an IGR (pyriproxyfen or methoprene) or professional pest control service
– Protective gloves and eye protection for applying environmental products
Procedure (Formal, Step-By-Step):
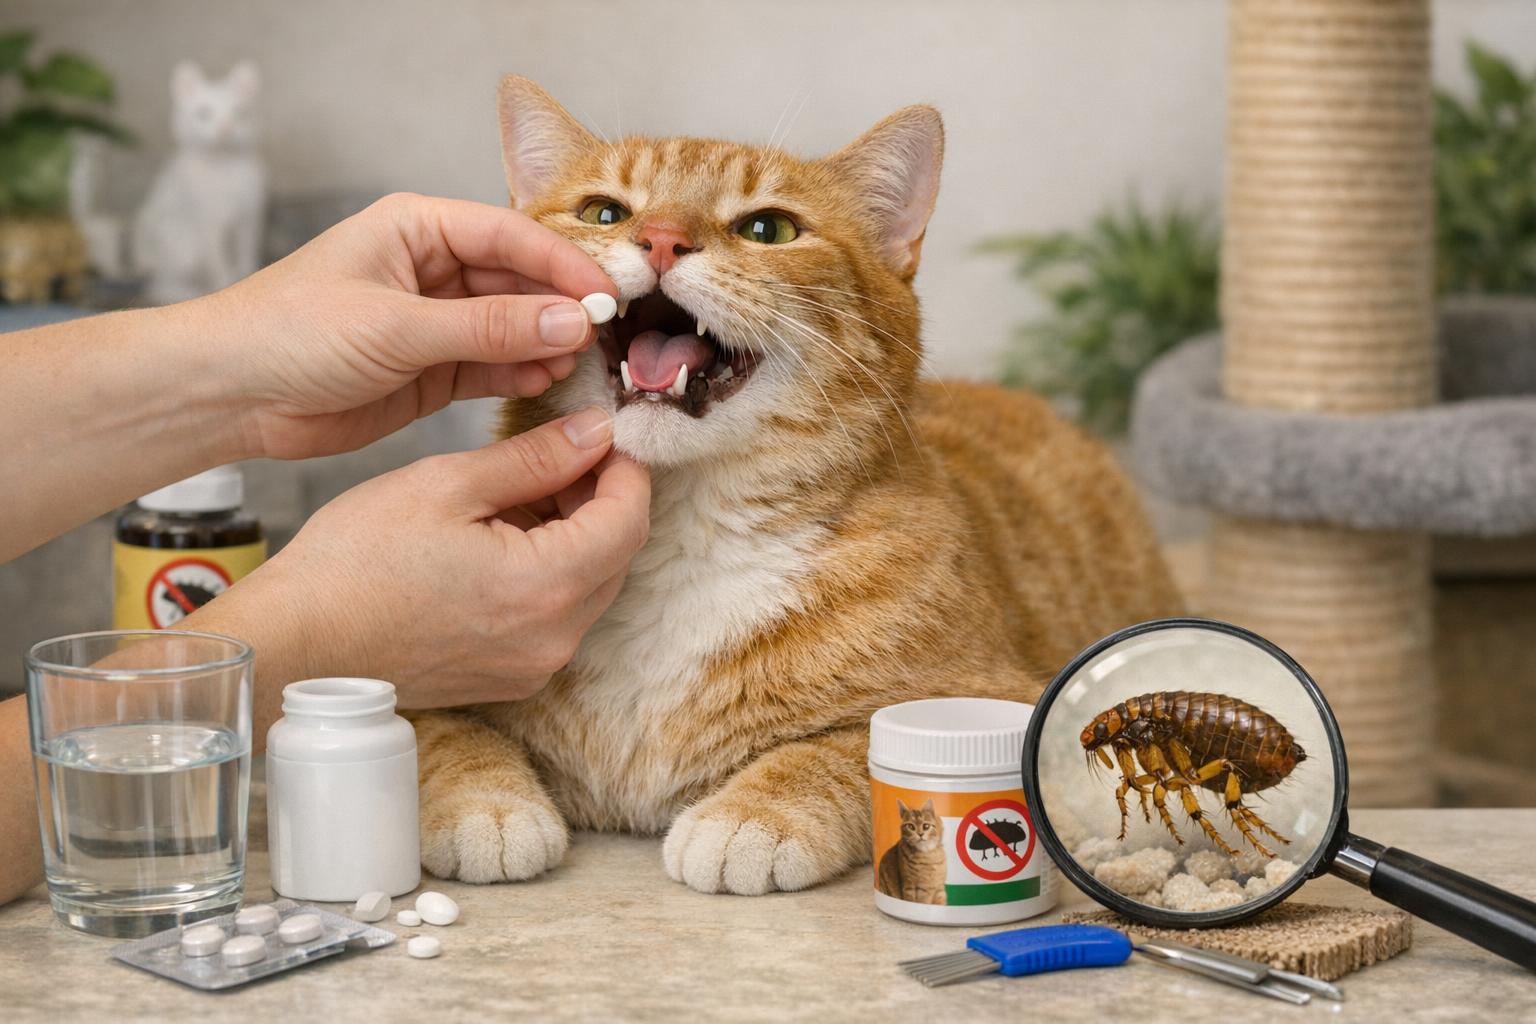
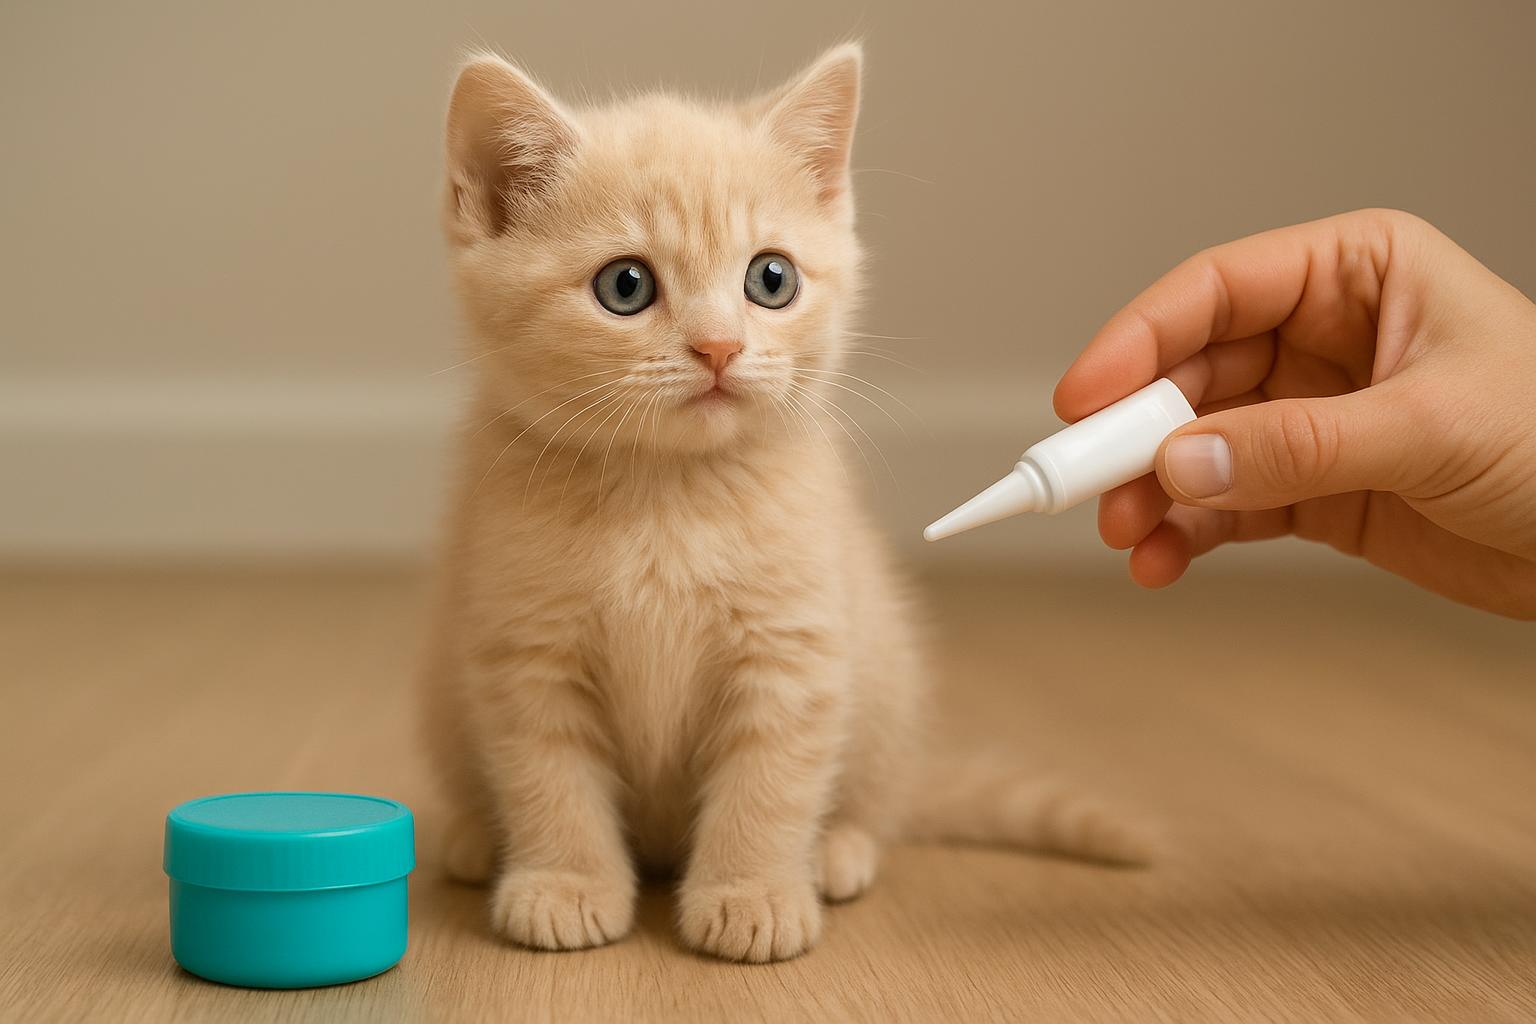
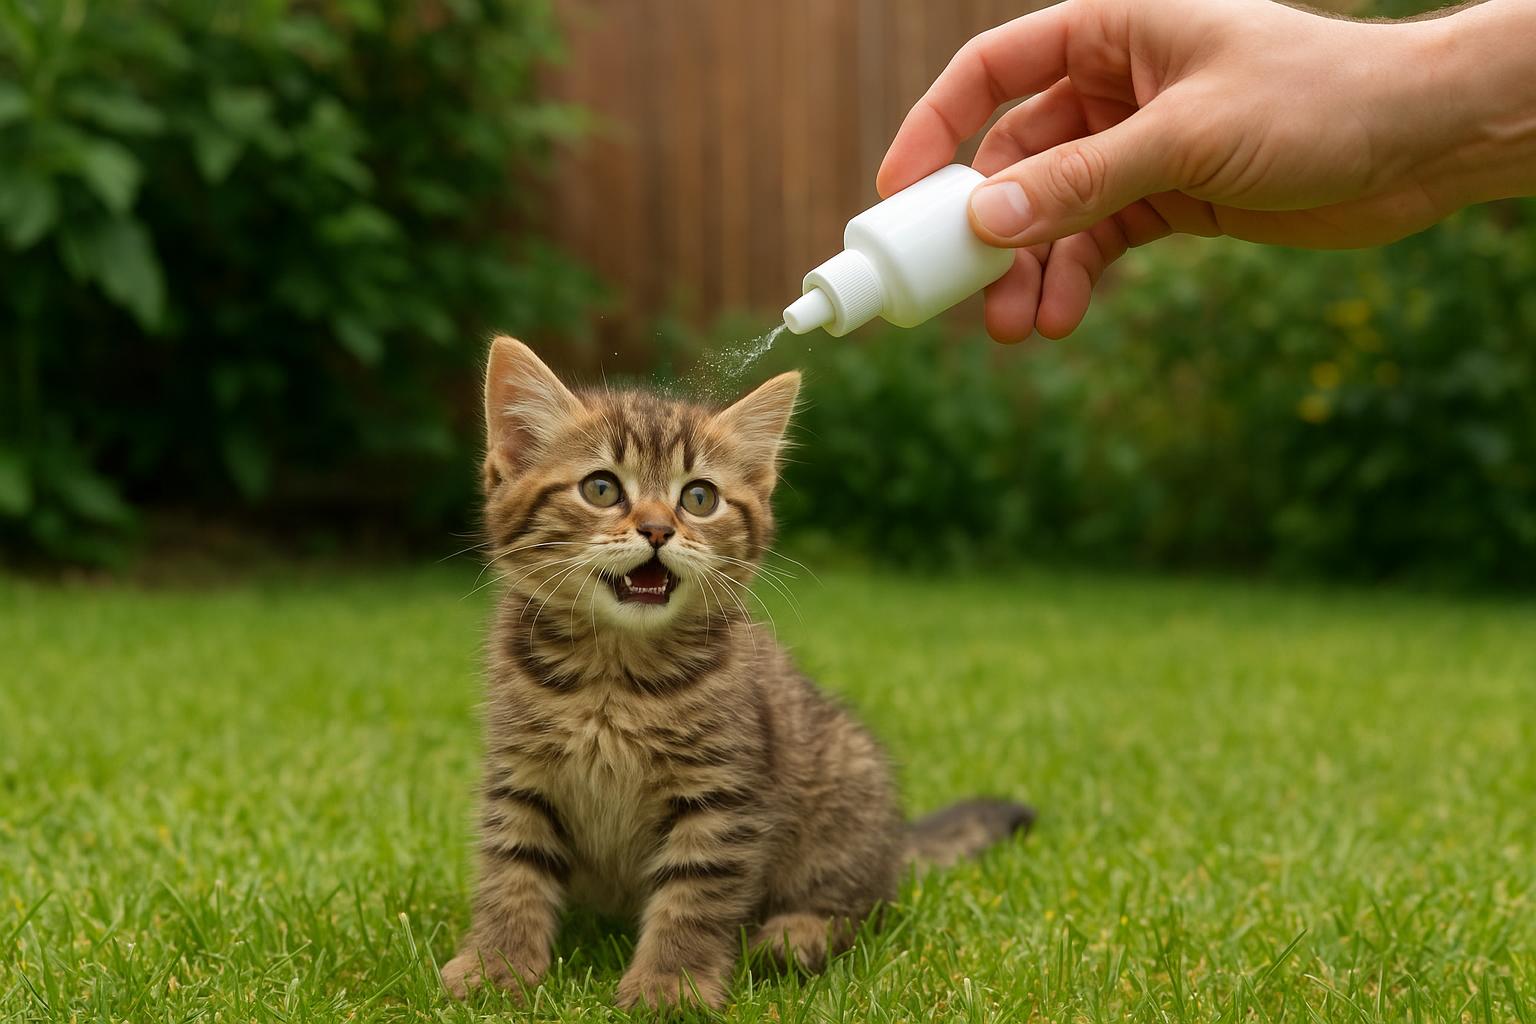
1. Vet Consultation: Schedule a visit or call your veterinarian. Discuss the infestation and obtain a recommended flea control product suitable for your cat’s age, weight, and health status. Follow the vet’s instructions precisely.
2. Immediate Pet Treatment: Administer the prescribed flea medication to the cat. Do not use over-the-counter products not approved for cats; some dog products are toxic to felines.
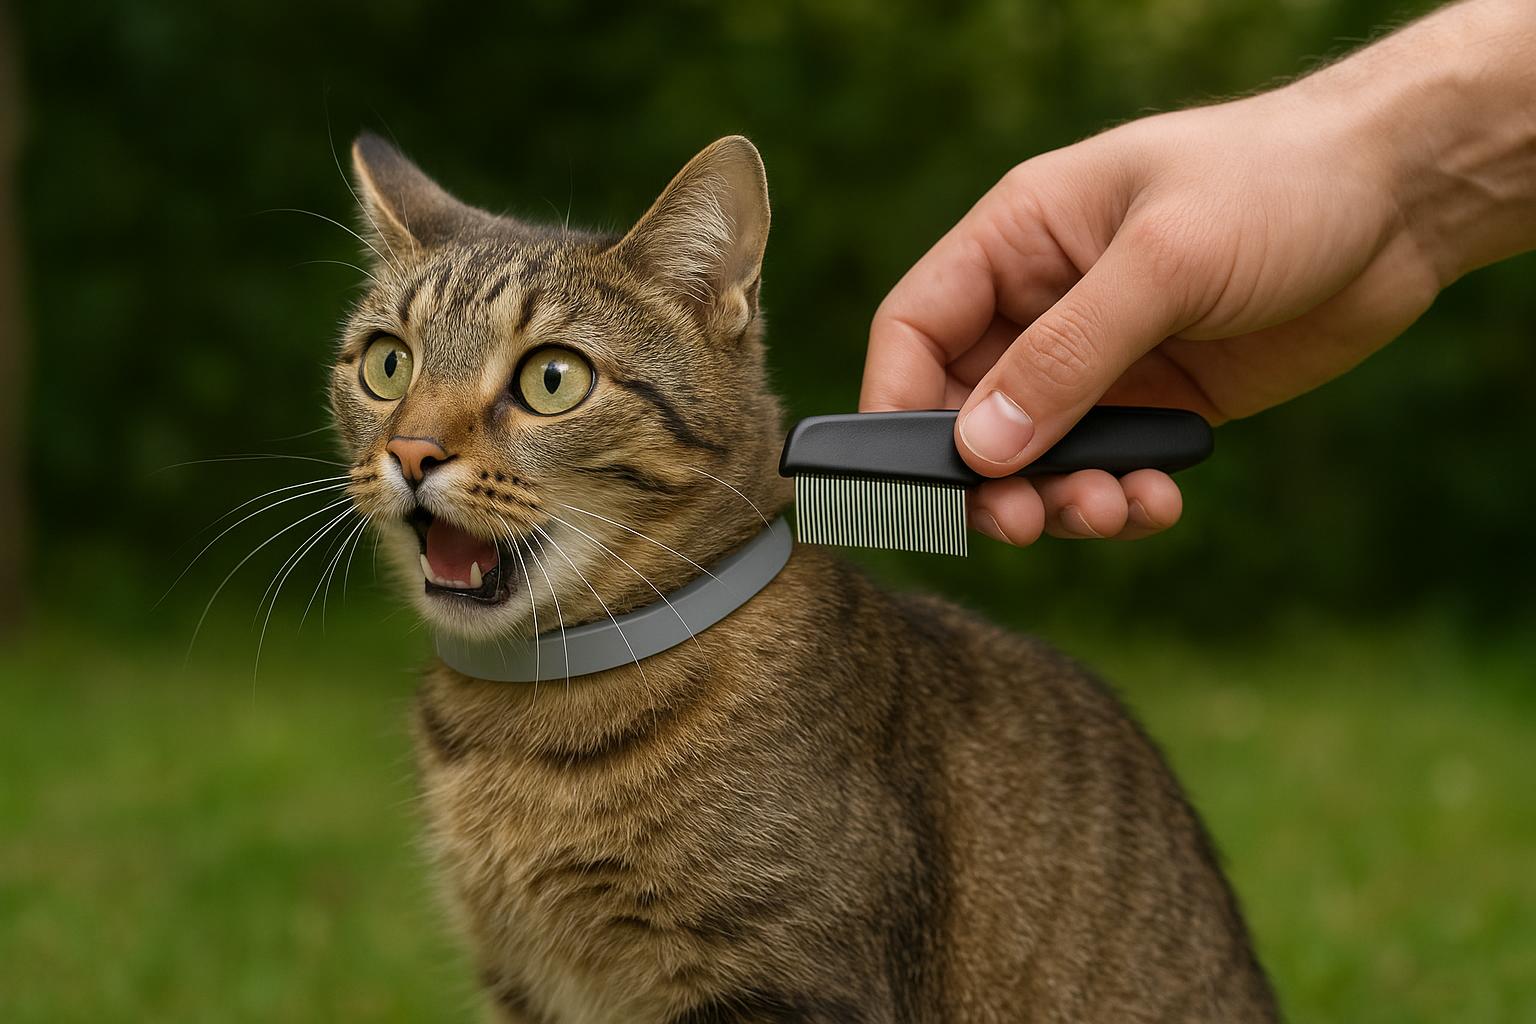
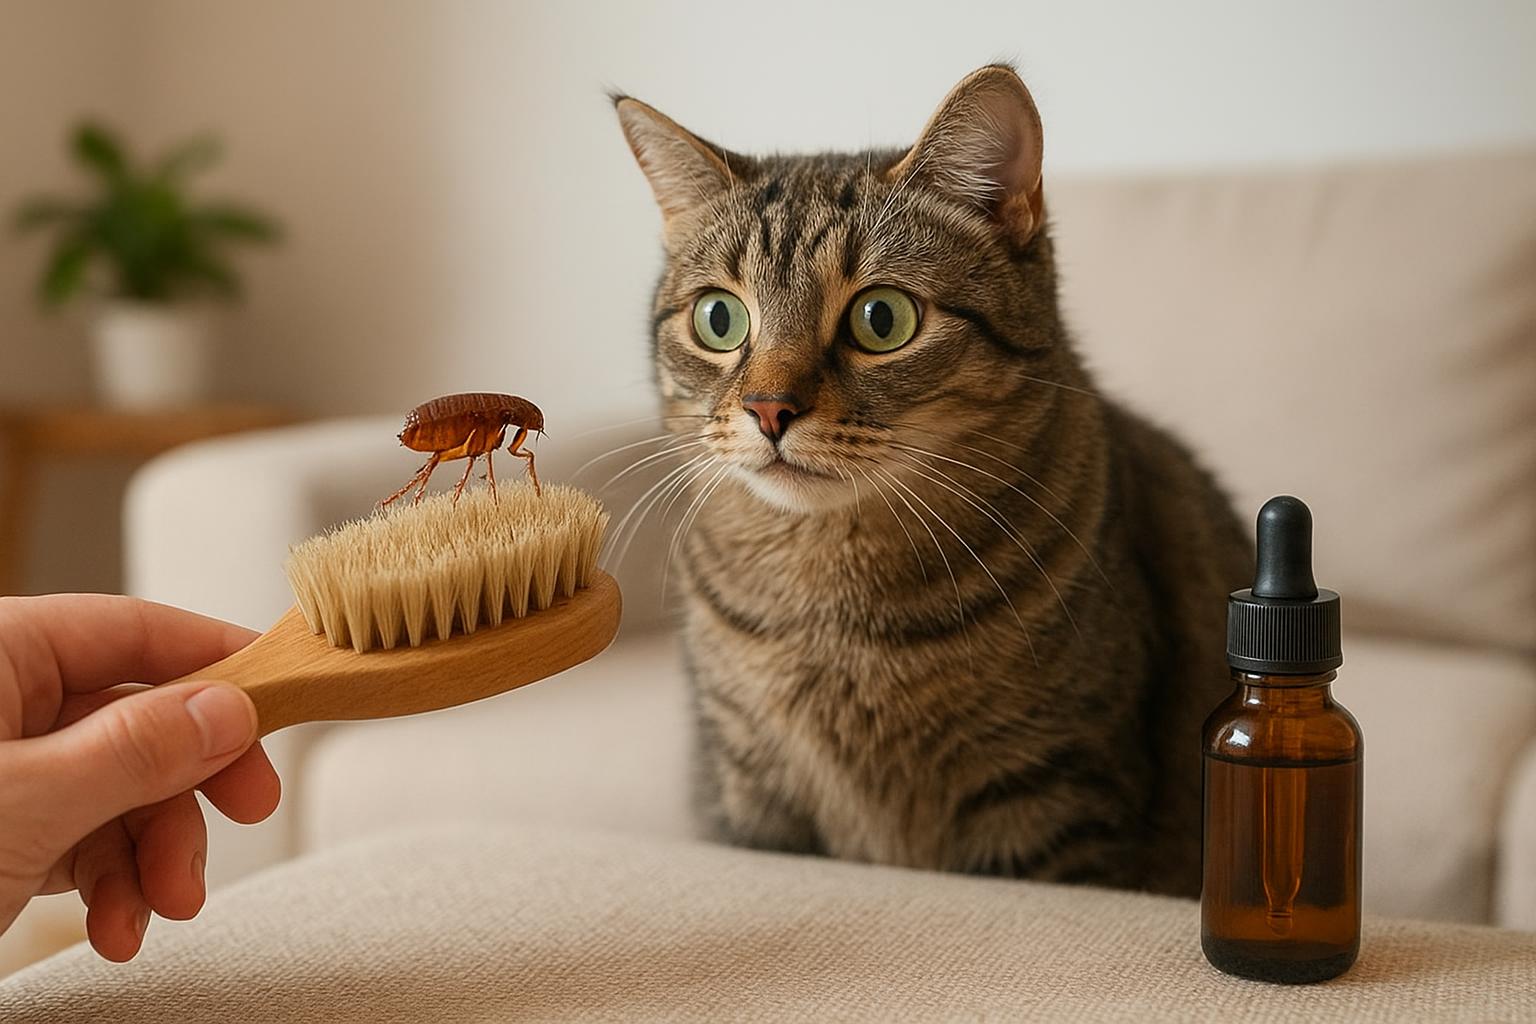
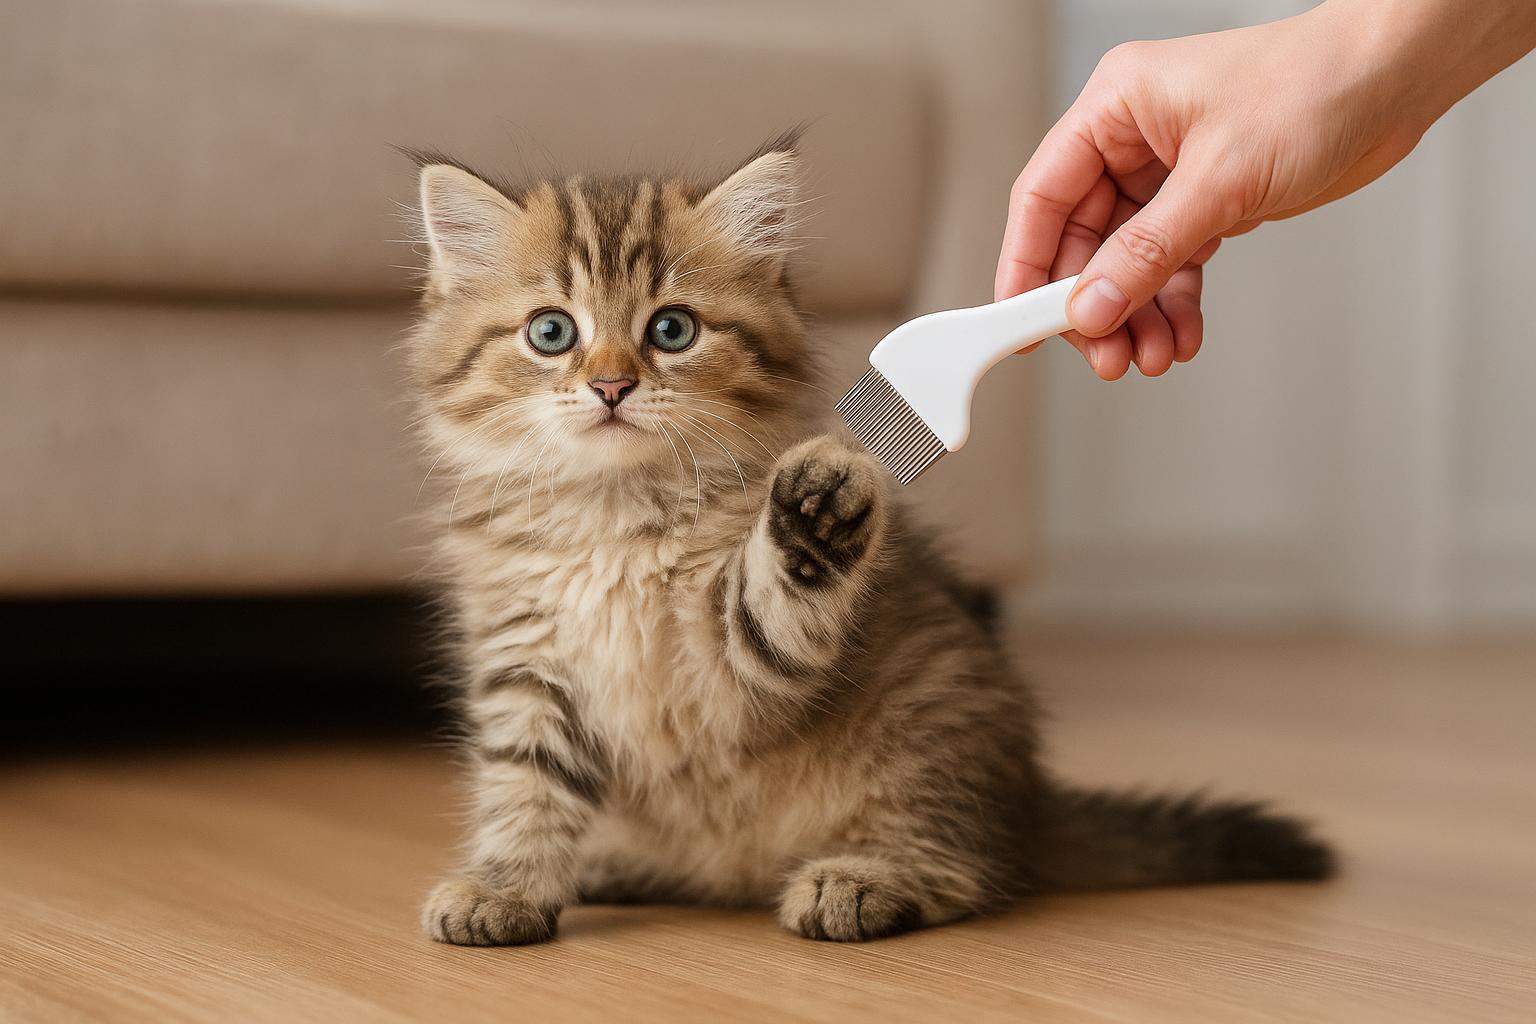
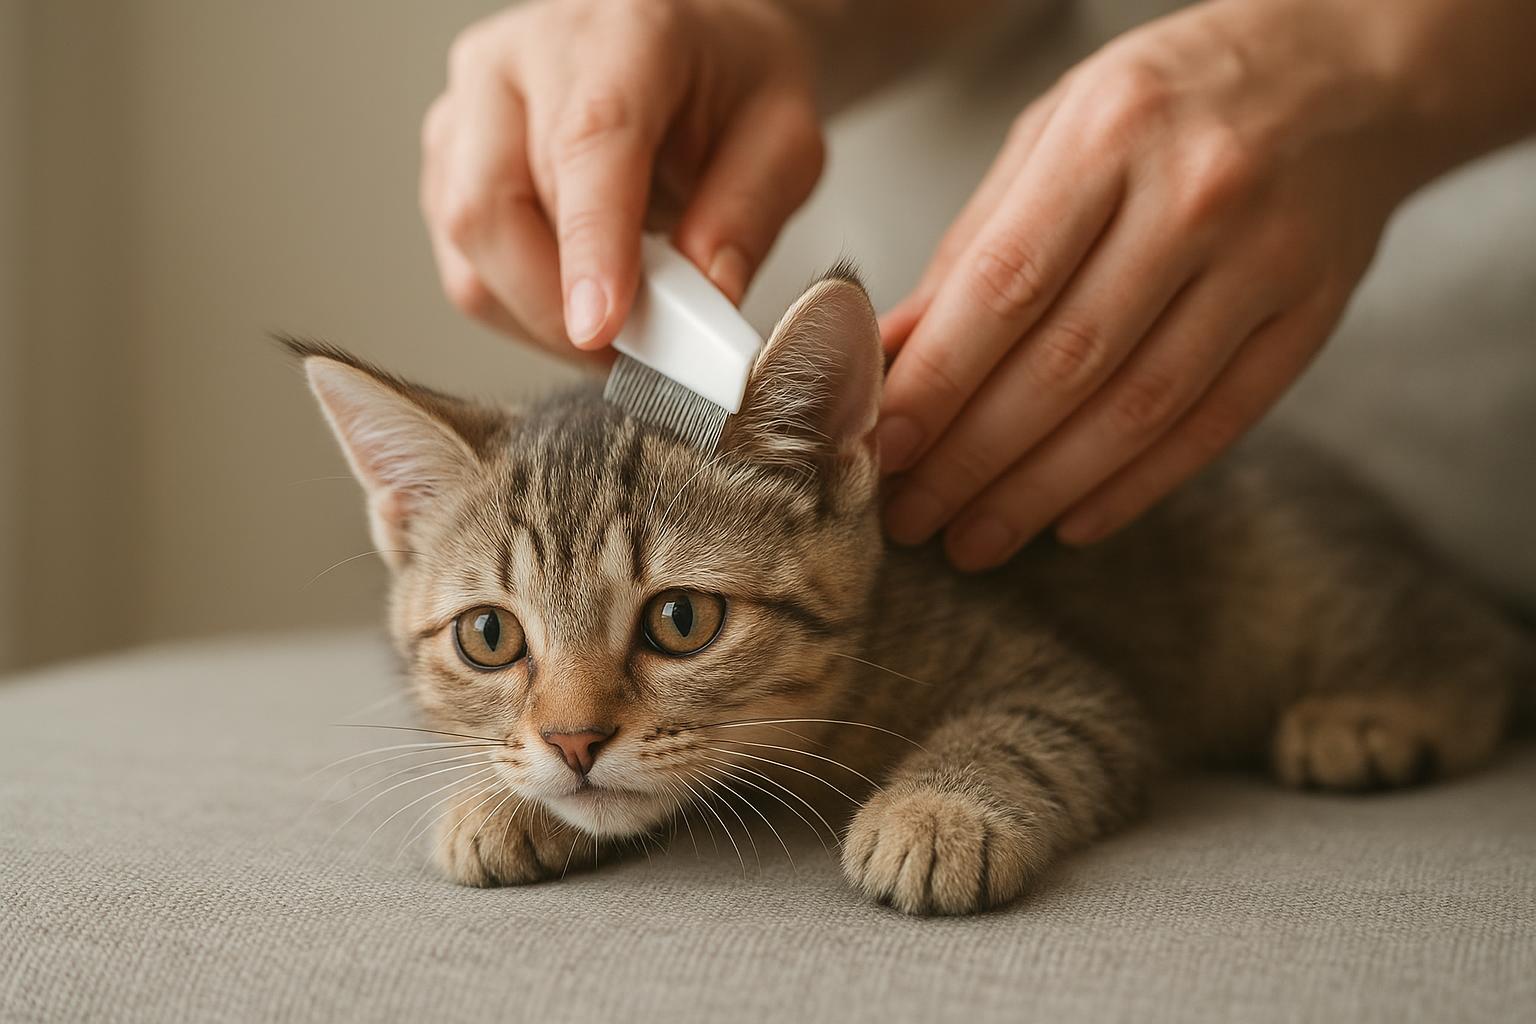
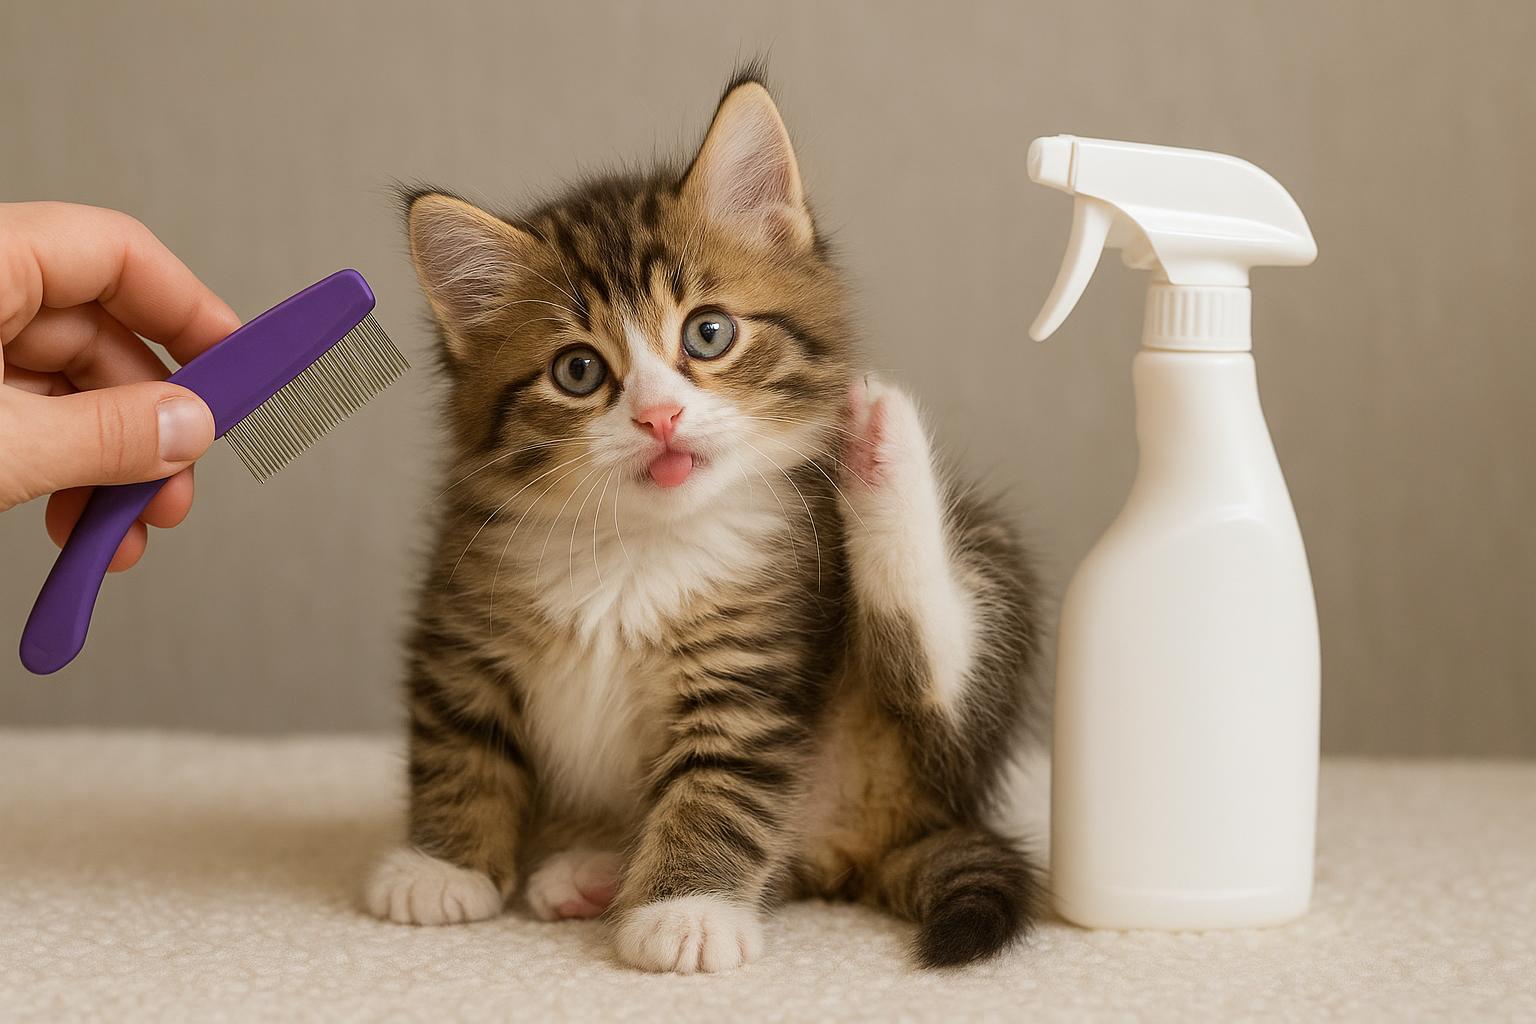
3. Physical Removal: Use a flea comb to remove adult fleas; dip comb in soapy water to kill them. This provides quick, visible relief.
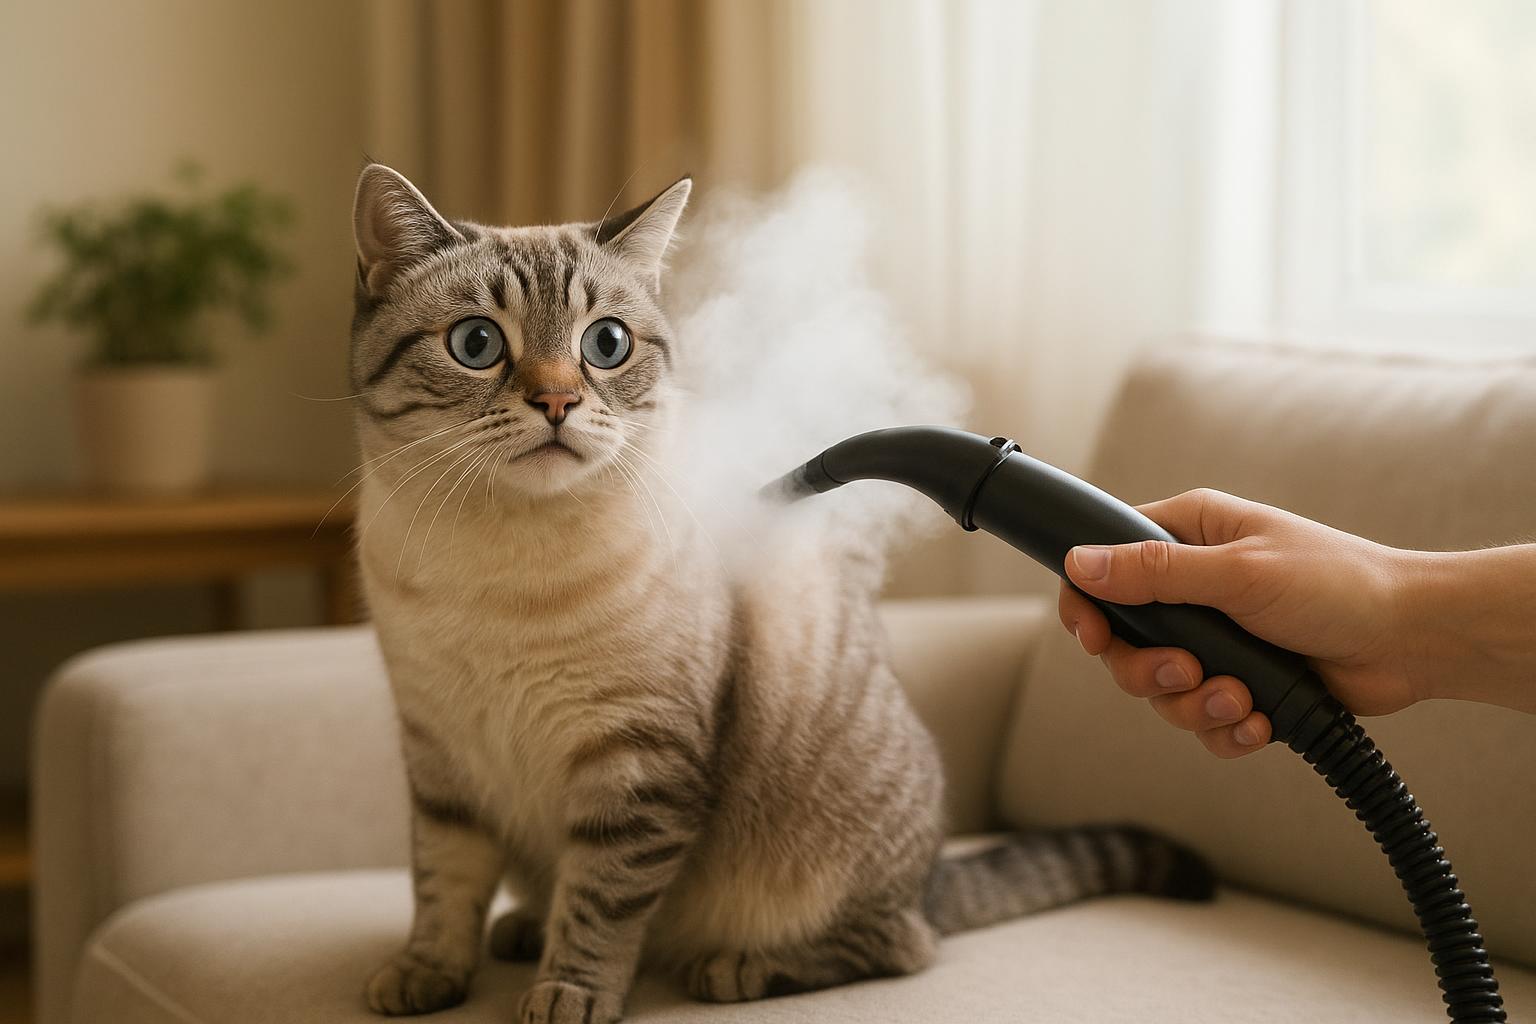
4. Environmental Cleanup: Thoroughly vacuum floors, furniture, and especially around the litter area. Vacuuming stimulates pupae to emerge as adults, which are then captured. Empty the vacuum contents into a sealed bag and dispose outdoors immediately.
5. Wash Fabrics: Wash cat bedding and any nearby textiles in hot water and dry on high heat. Heat kills eggs and larvae effectively.
6. Apply Environmental IGR: Choose an IGR spray labeled for indoor use that contains pyriproxyfen or methoprene. Apply according to label instructions to carpets, baseboards, and the perimeter of the litter area. Keep pets and people out of treated rooms until the product fully dries and label time has passed.
7. Repeat As Directed: Many IGRs and professional treatments require follow-up applications to break the lifecycle. Follow product labels or pest control recommendations.
8. Monitor And Maintain: Continue monthly preventive flea medication for your cat and maintain cleaning habits until you see no signs of fleas for several weeks.
Safety And Legal Notes: Only use products labeled for indoor use and for cats. Always read and follow label instructions. If you’re unsure, hire a licensed pest control professional.
### When Professional Help Is Best
If the infestation is widespread, or if household members are having allergic reactions, a professional exterminator paired with veterinary flea control is the safest route. Professionals can apply targeted treatments and advise on long-term prevention.
## Lifestyle Tips To Keep Fleas Out Long-Term
Simple changes reduce the odds of a repeat infestation. Keep up regular vet-approved flea preventives for all pets, limit outdoor exposure during peak flea seasons if possible, and maintain a clean, dry litter area. Also inspect any second-hand furniture before bringing it into the home—fleas love surprises almost as much as cats do.
### Quick Troubleshooting
#### If You Still See Fleas After Treatment
Recheck your routine: did you wash bedding at high heat, vacuum frequently, and continue preventative treatment for the full recommended duration? Missed eggs in hidden spots or lapses in pet treatment are the usual culprits. Return to the integrated approach and consult your vet.
Keep calm and methodical; fleas multiply rapidly but respond well to coordinated cleaning plus safe veterinary treatment. With the right steps, that litter box will be a flea-free throne again—your cat will appreciate the peace, and you’ll appreciate not hosting tiny acrobats in your home.


Leave a Reply