Hey there — pull up a lawn chair and a mug (or binoculars, if you’re watching the wildlife like I do). Tonight my backyard detective work took a tiny, annoying turn: a microscopic culprit led to a surprisingly big revelation. If you have pets, plants, or bare feet in your yard, this little story might save you a few itchy nights and a lot of guessing. Expect a relaxed vibe, a dash of wry amusement, and then some straight-up practical help when it comes to solutions.
## Cat Flea Causes Shocking Backyard Revelation Tonight
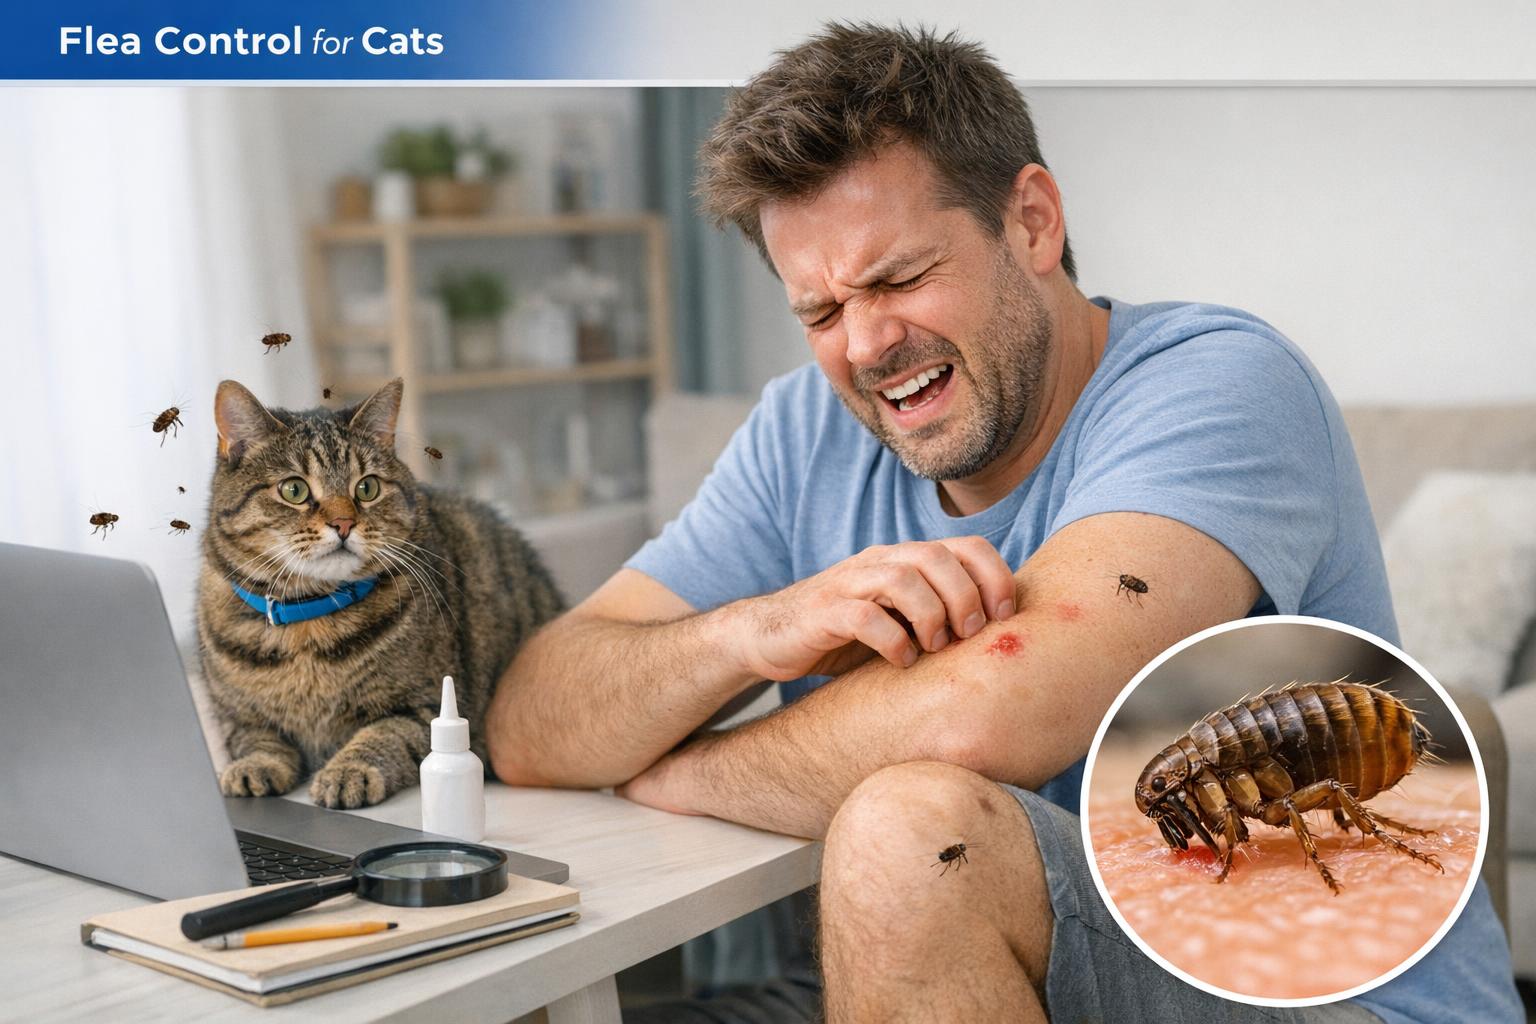
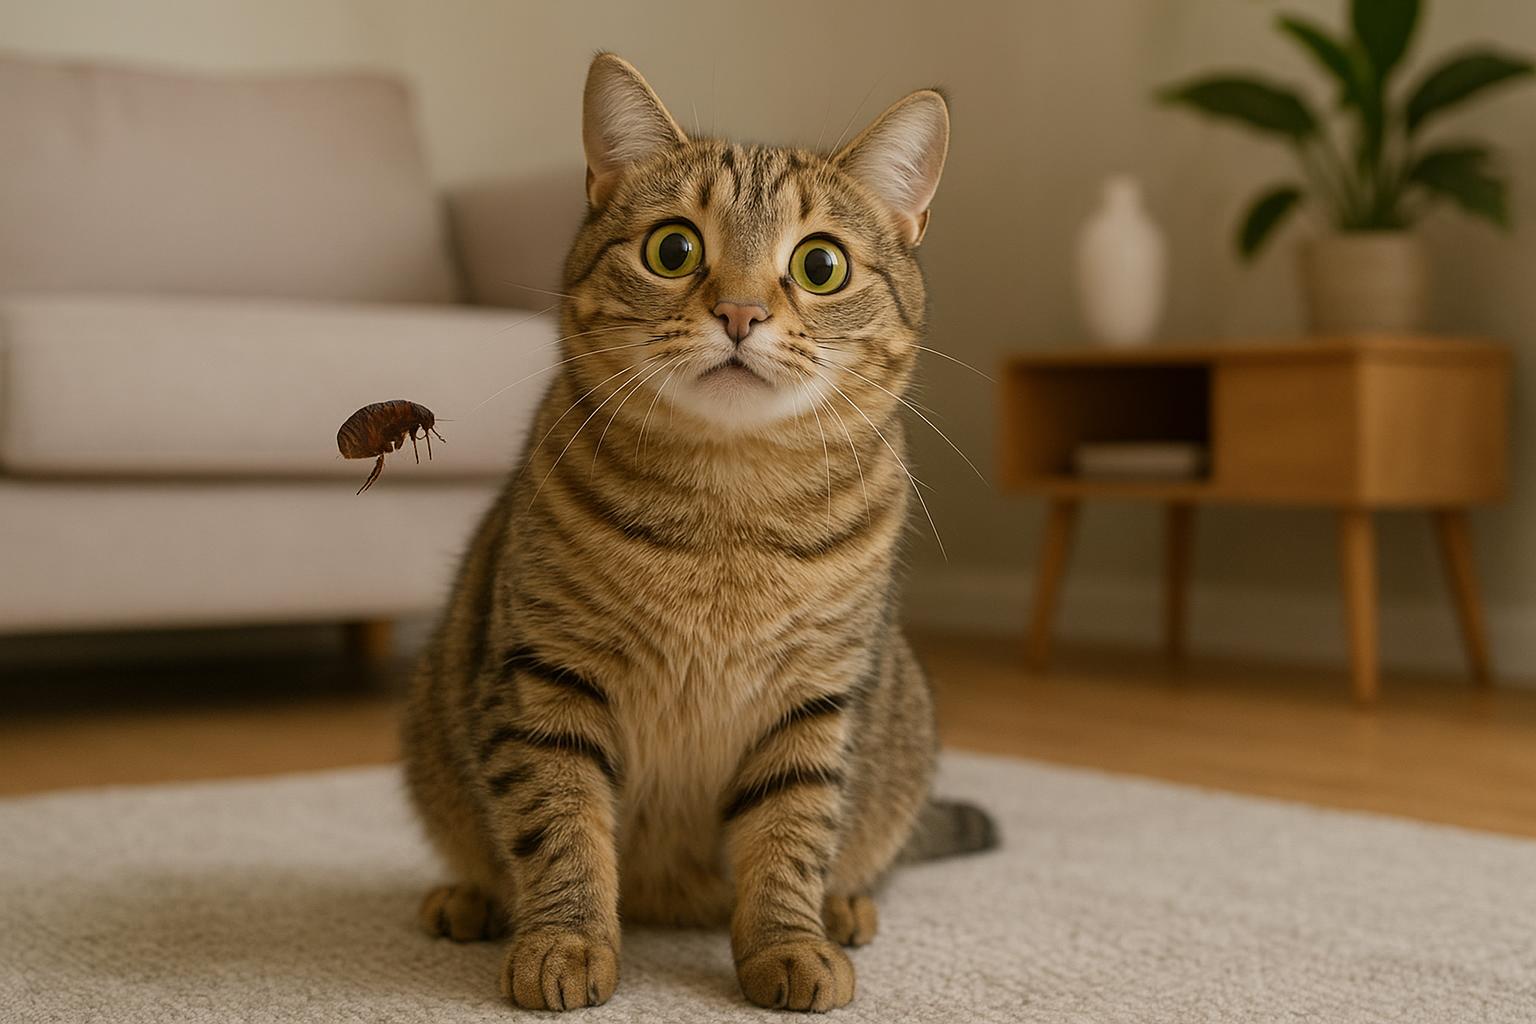
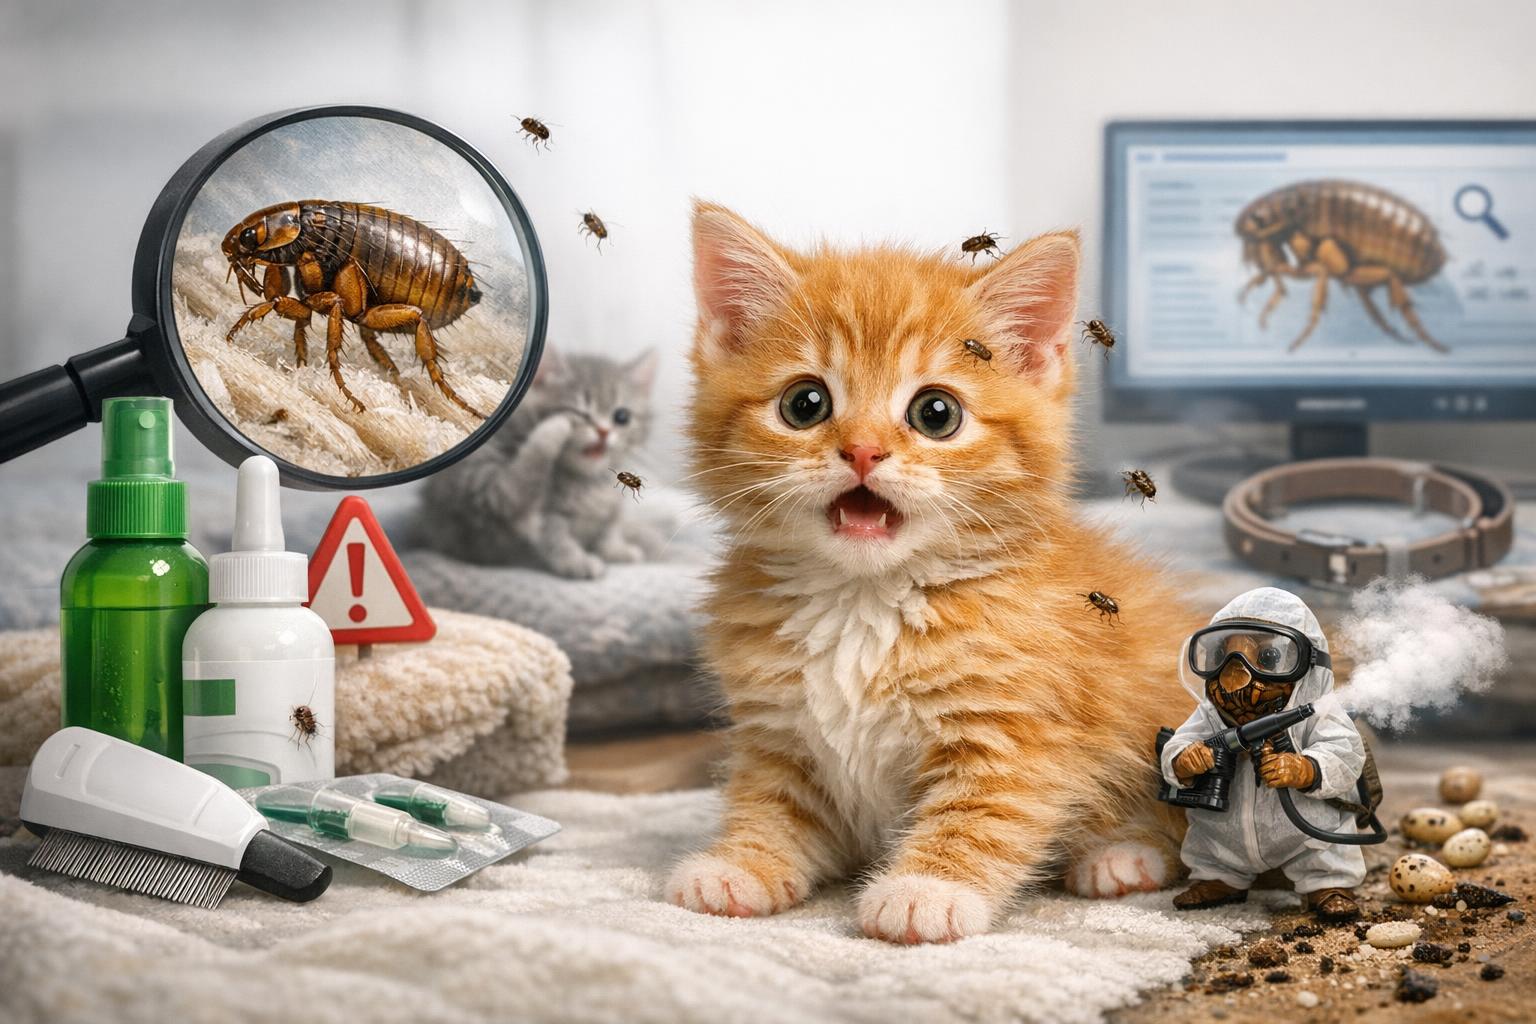
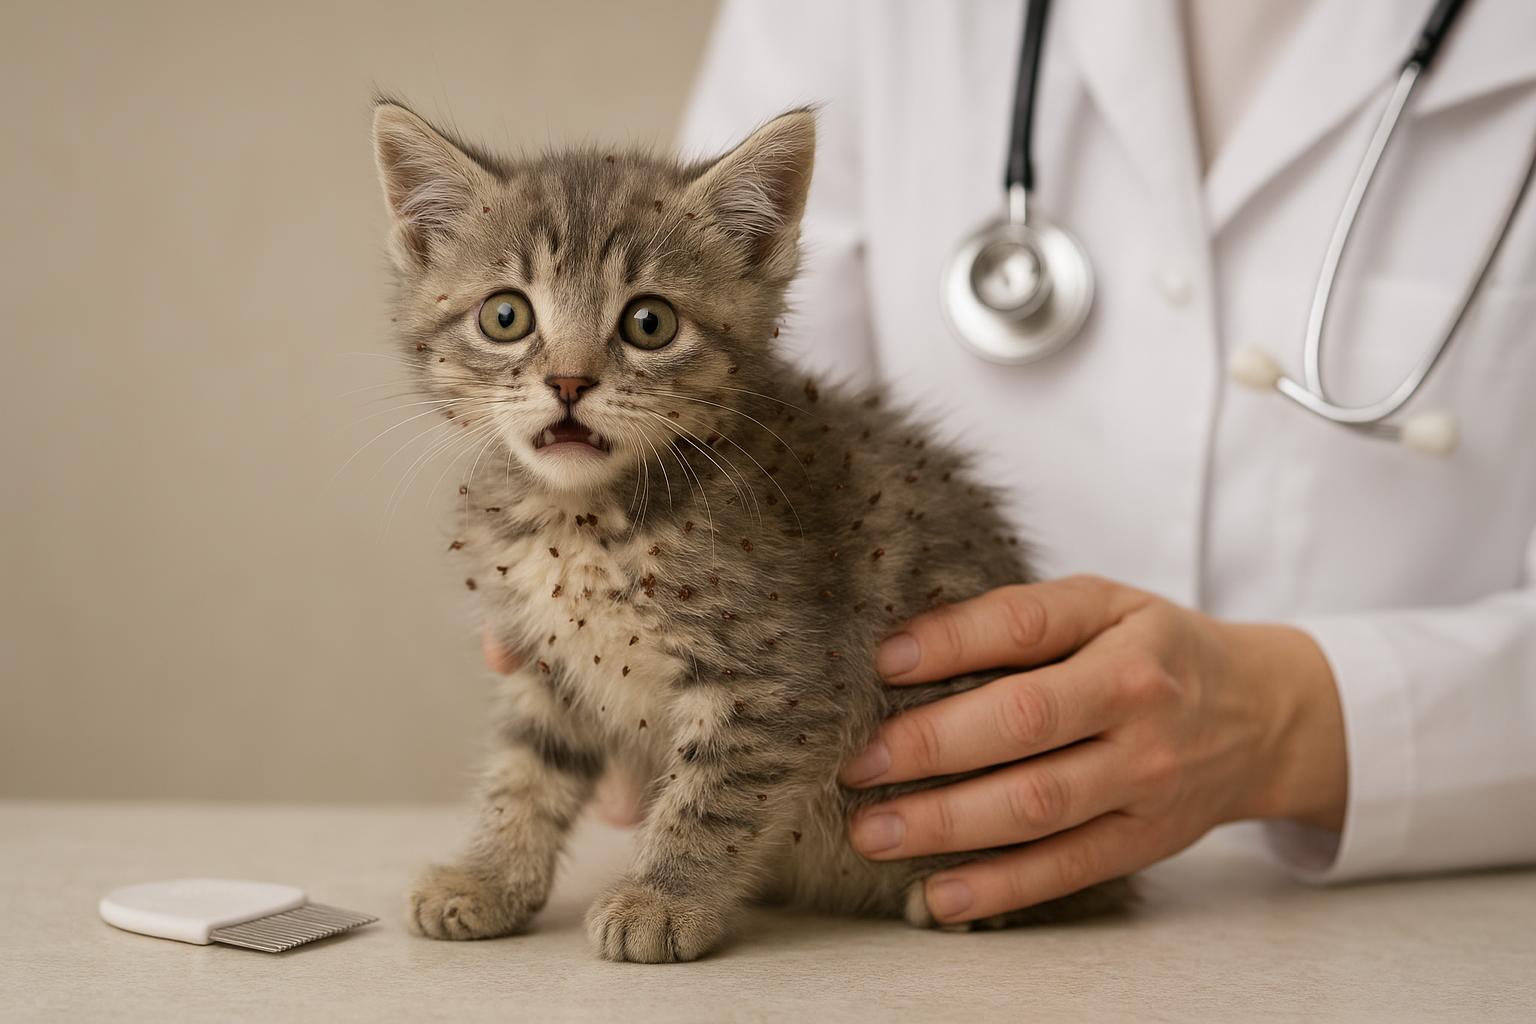
If you’ve ever wondered what a cat flea causes when it stages a backyard takeover, the short answer is: more than you’d expect. These tiny insects do more than make your cat scratch; they can reveal weaknesses in yard hygiene, point to nesting rodents, and even spotlight gaps in how you care for outdoor pets. Tonight’s revelation was that a single patch of moist, shaded turf and a friendly neighborhood tabby were enough to create a local flea hotspot.
### How The Clues Added Up
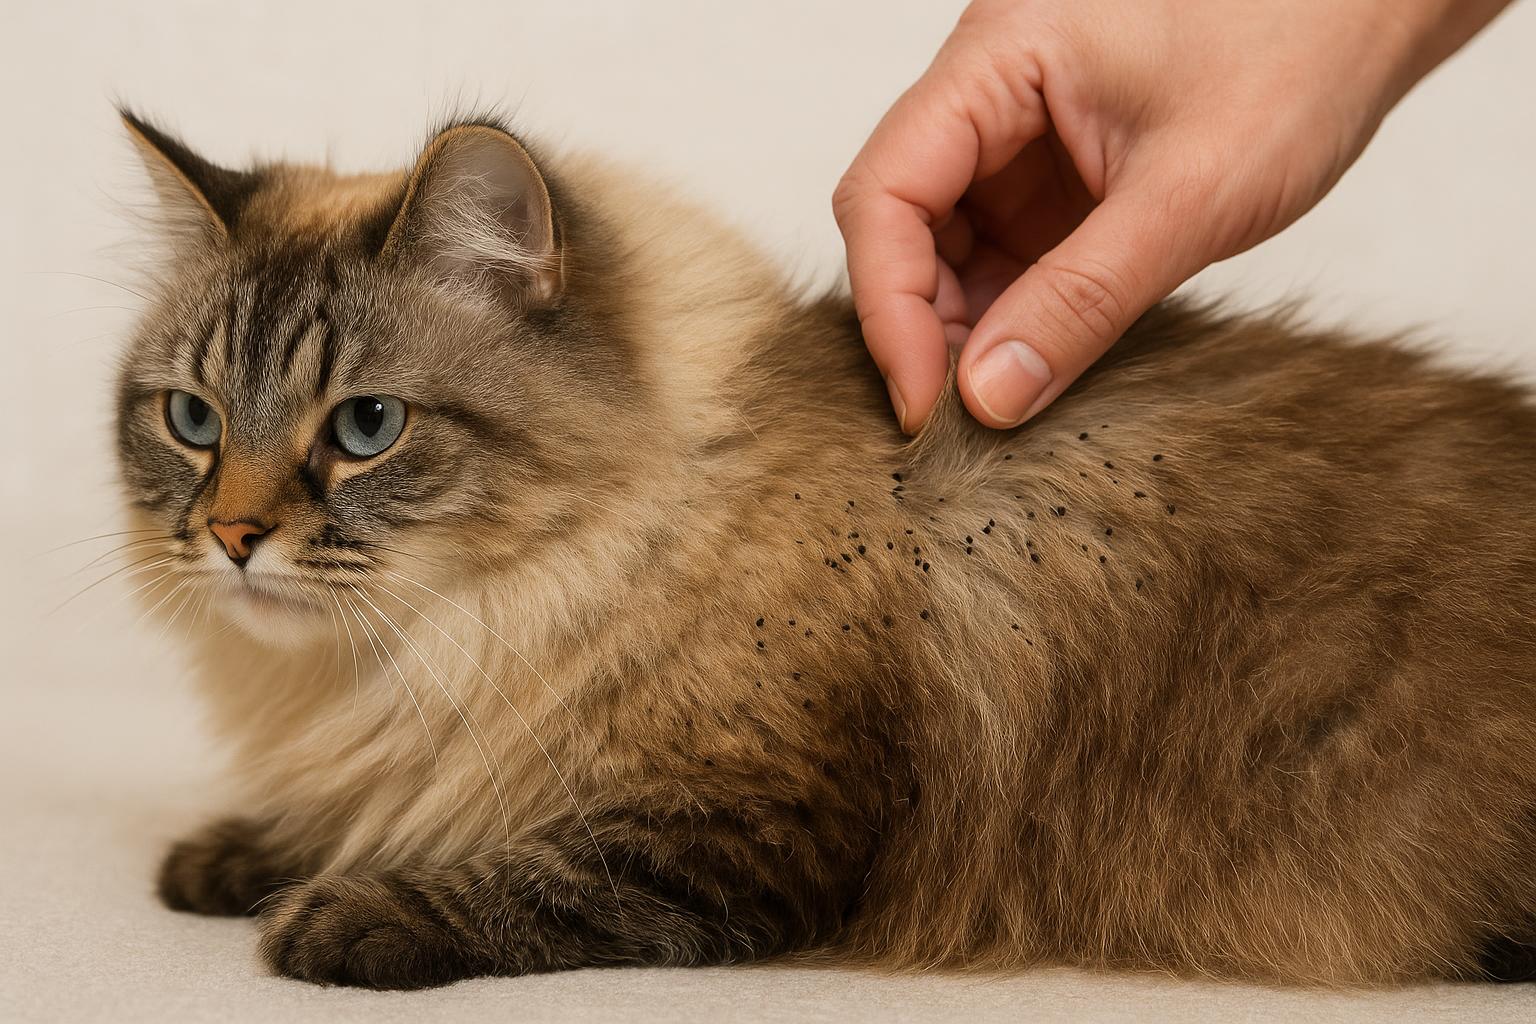
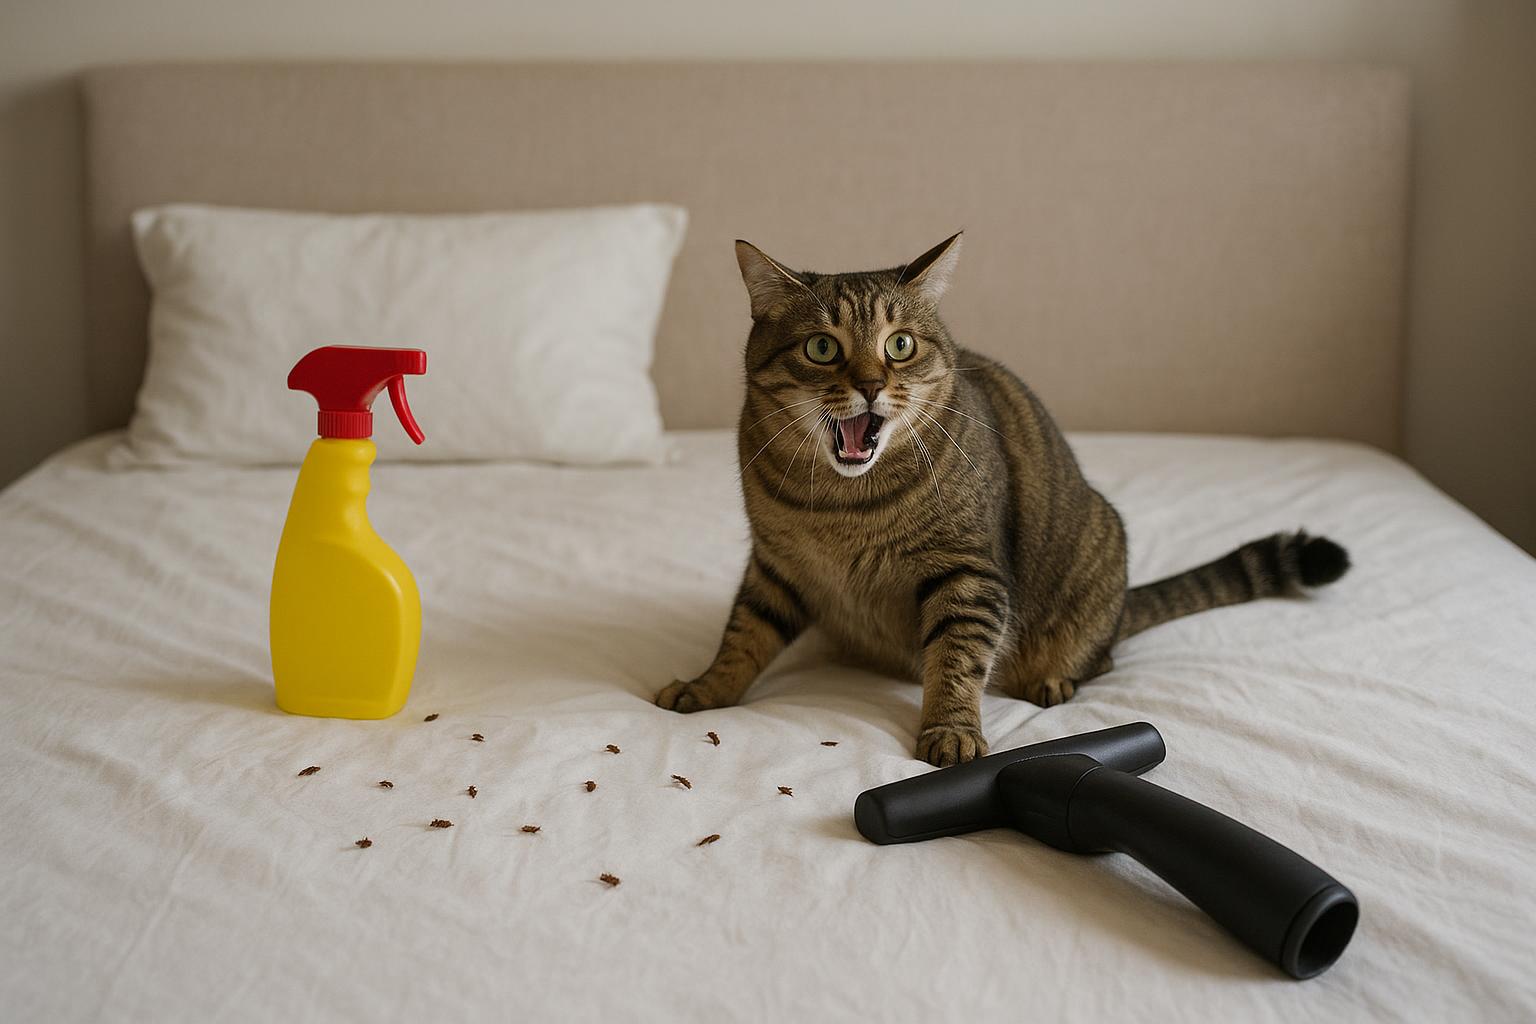
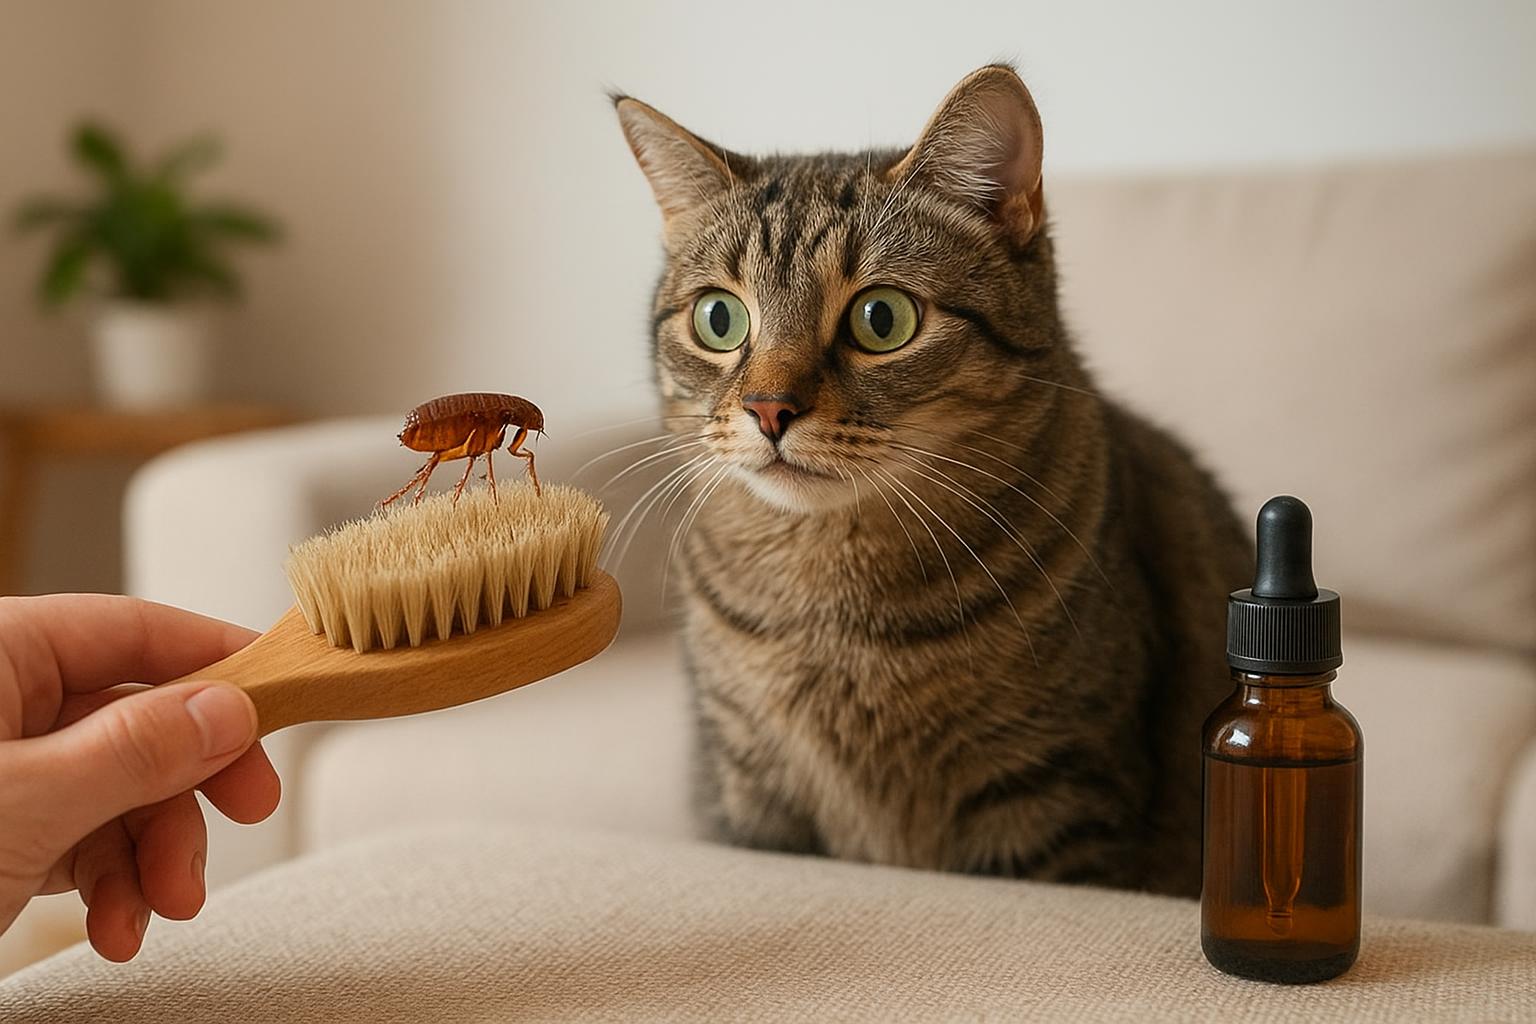
There’s an art to backyard sleuthing. I noticed a pattern: increased scratching in the early evening, a ring of missing fur on one cat’s flank, and clusters of tiny dark specs near the baseboards of the porch. Those dark specs are usually either dirt or flea droppings — and when you pick them up and wet them, they bleed red. That’s the telltale sign, but more broadly what the cat flea causes isn’t just skin irritation; it’s a trail of ecological hints.
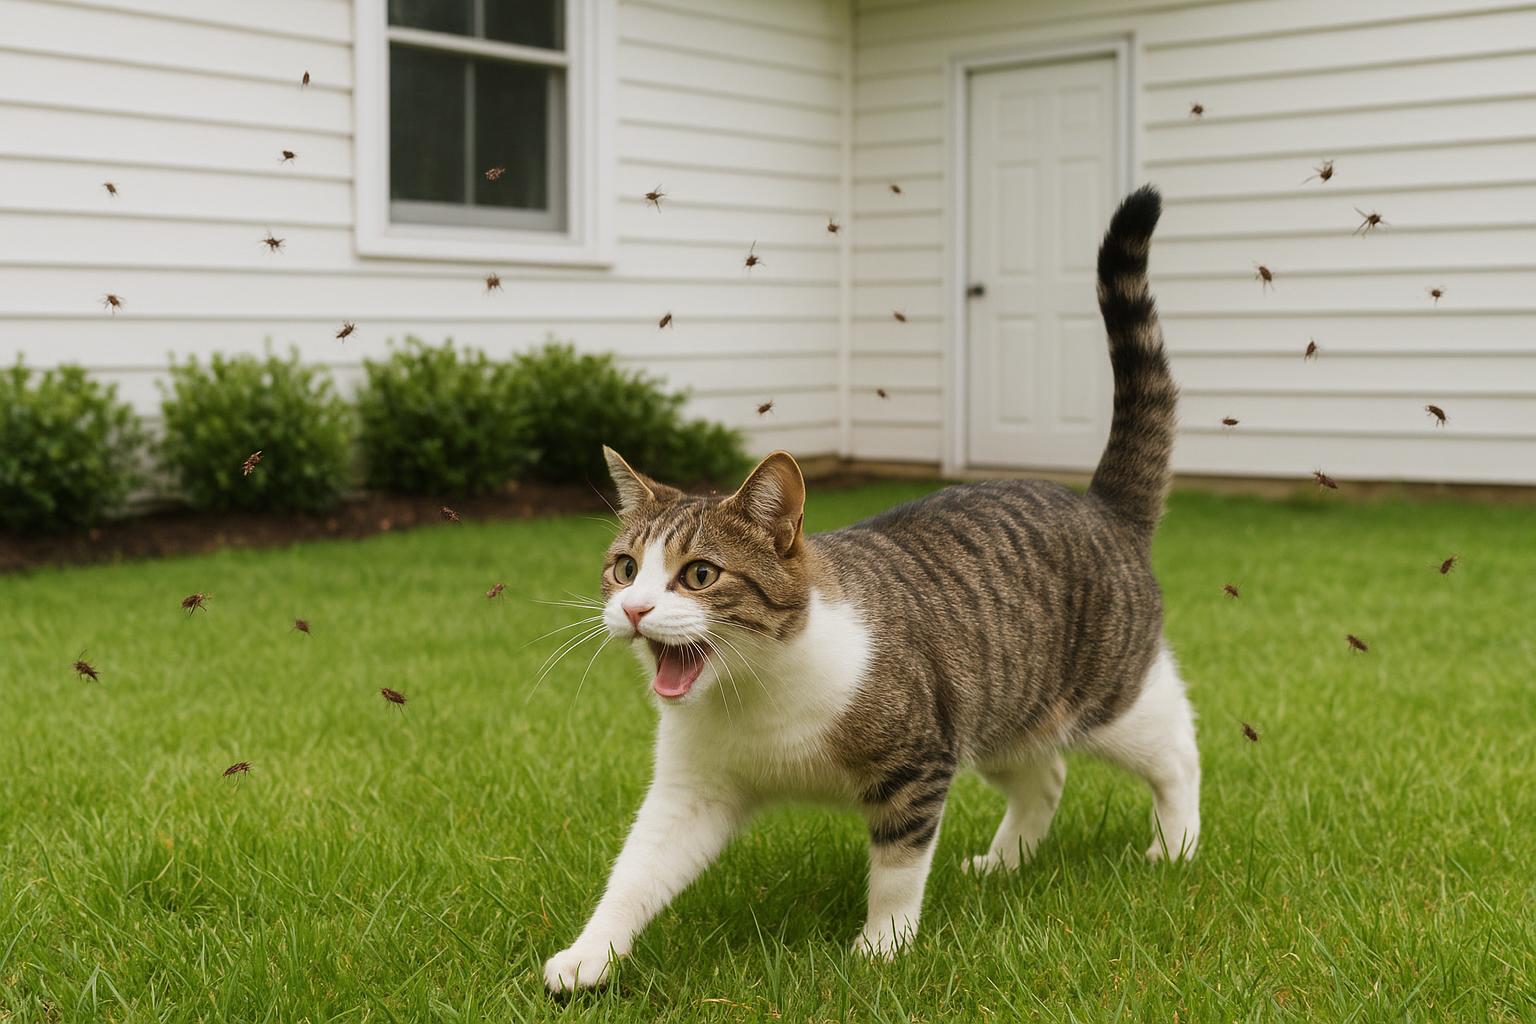
### Why The Yard, Not Just The Cat, Matters
A common misconception is that fleas are only a “pet problem.” In reality, cat flea causes extend to the surrounding environment. Larvae feed on organic debris, pupa lurk in cool soil crevices, and adults jump onto passing hosts. A shady compost heap, dense groundcover, or untrimmed hedges can all make your property an enticing flea nursery. So when you see those first itchy signs, think broader than the cat carrier.
### The Flea Life Cycle And What It Means For You
Understanding what the cat flea causes requires a quick look at its life stages:
– Eggs and larvae thrive off organic detritus in the yard.
– Pupae can remain dormant, then hatch when a host passes by.
– Adults jump, feed, and reproduce rapidly on cats, dogs, and sometimes wildlife.
This life-cycle rhythm explains why a small, seemingly isolated flea problem can suddenly blossom. Disturb the ground, shoo away a host, or change the microclimate and you can trigger an emergence.
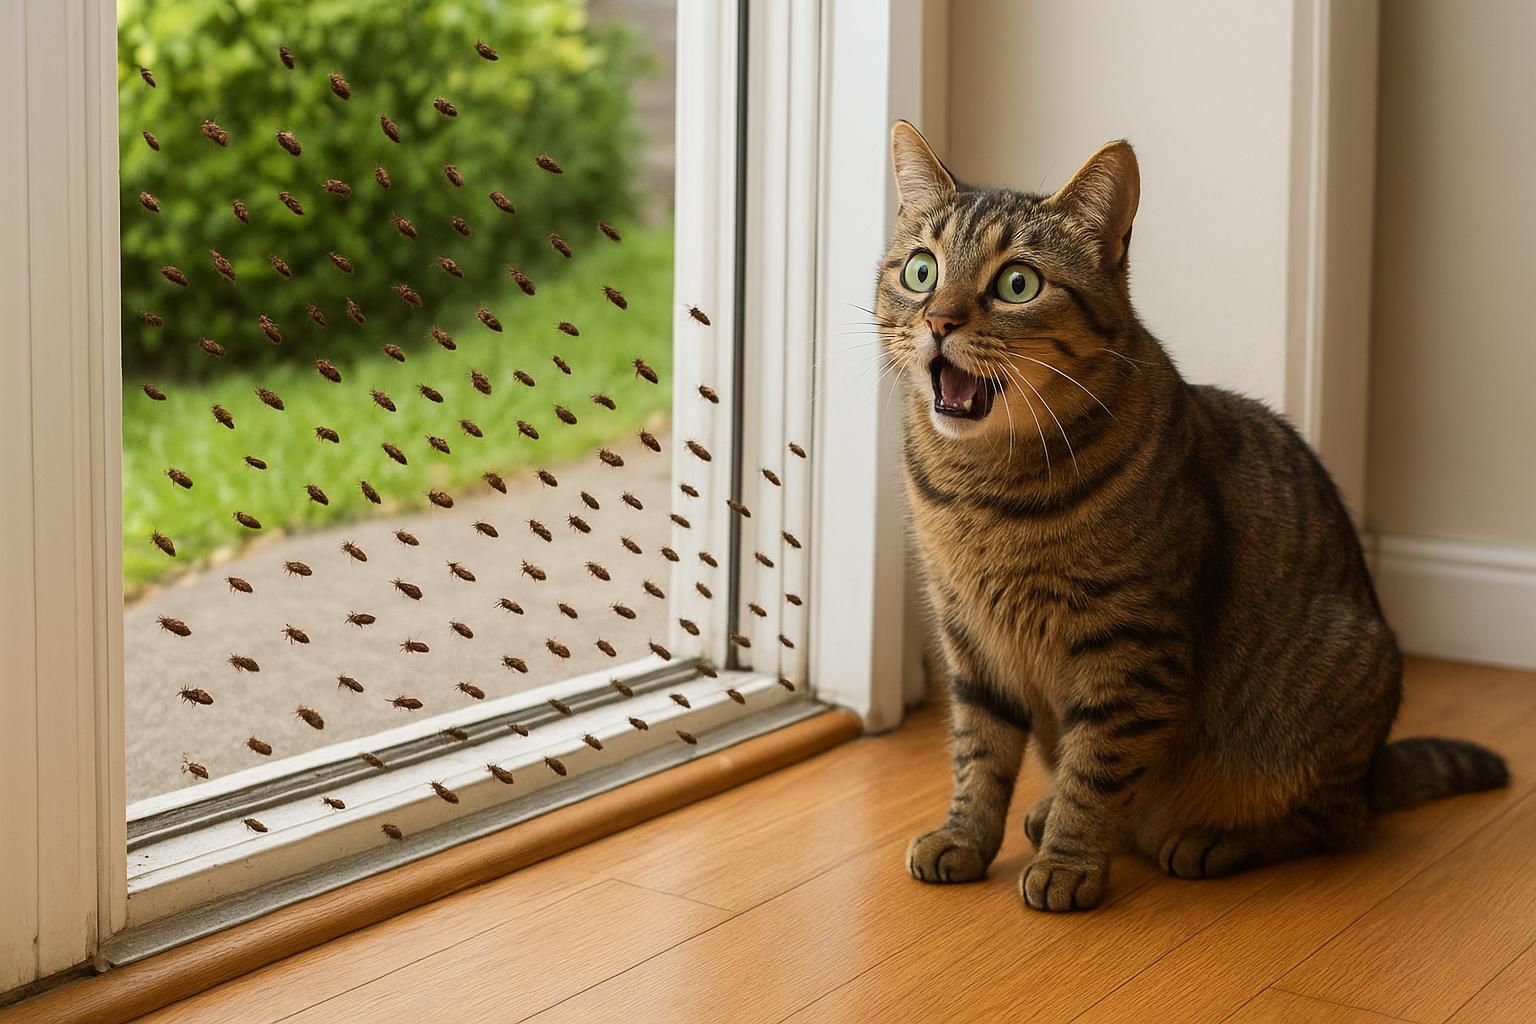
### Common Backyard Hotspots To Inspect
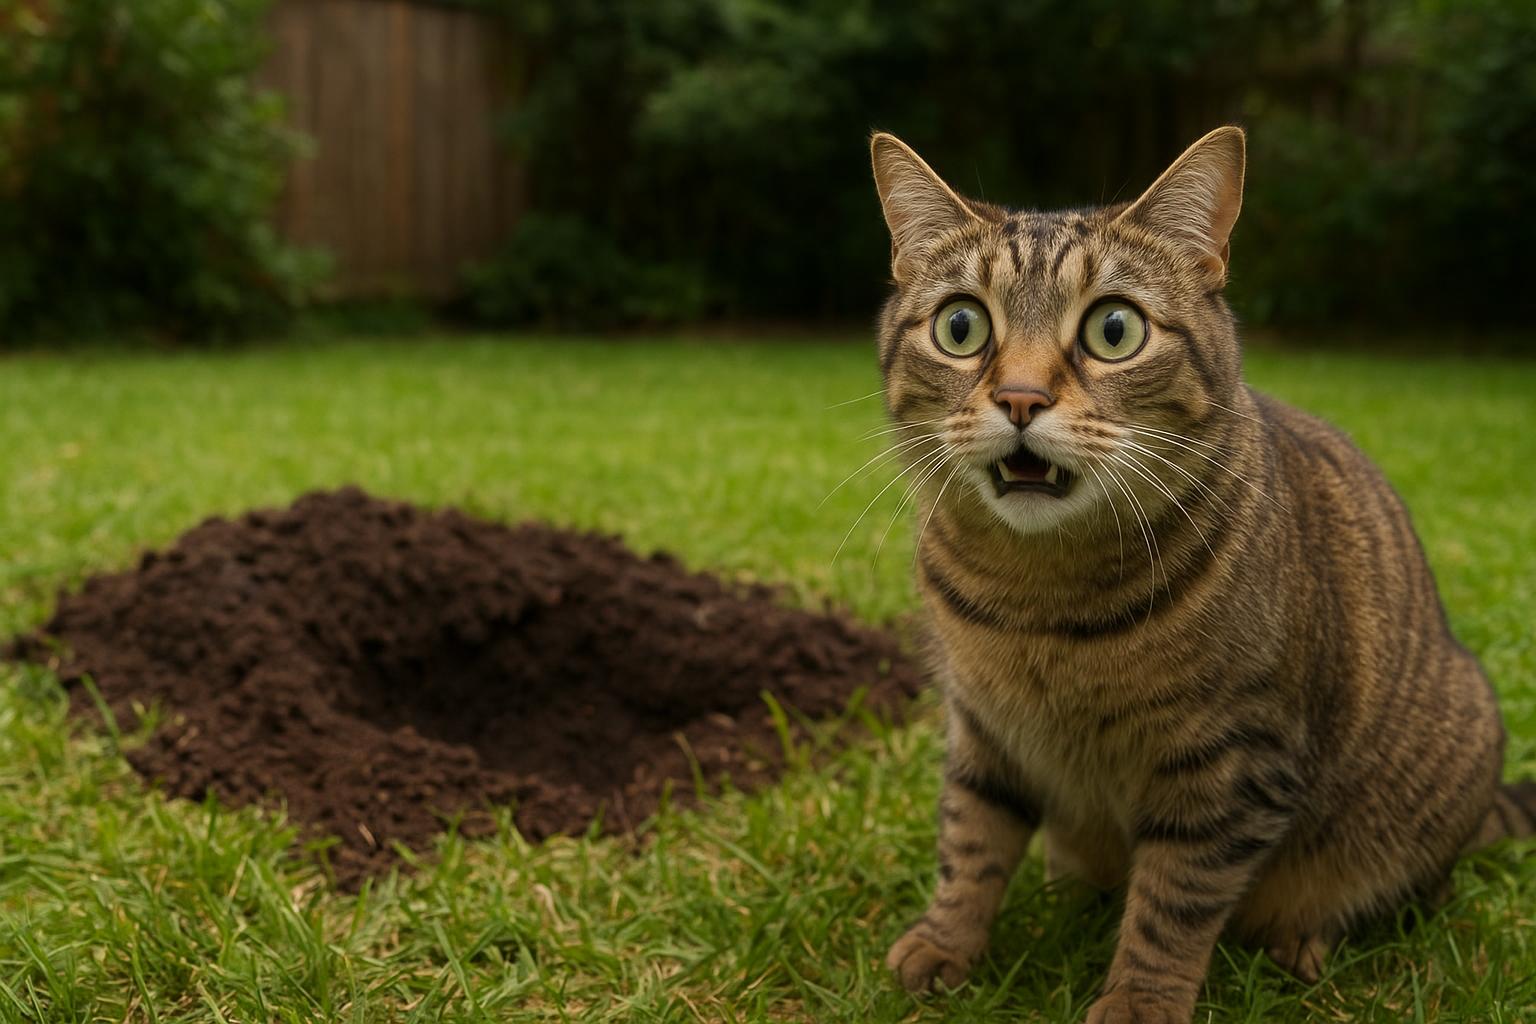
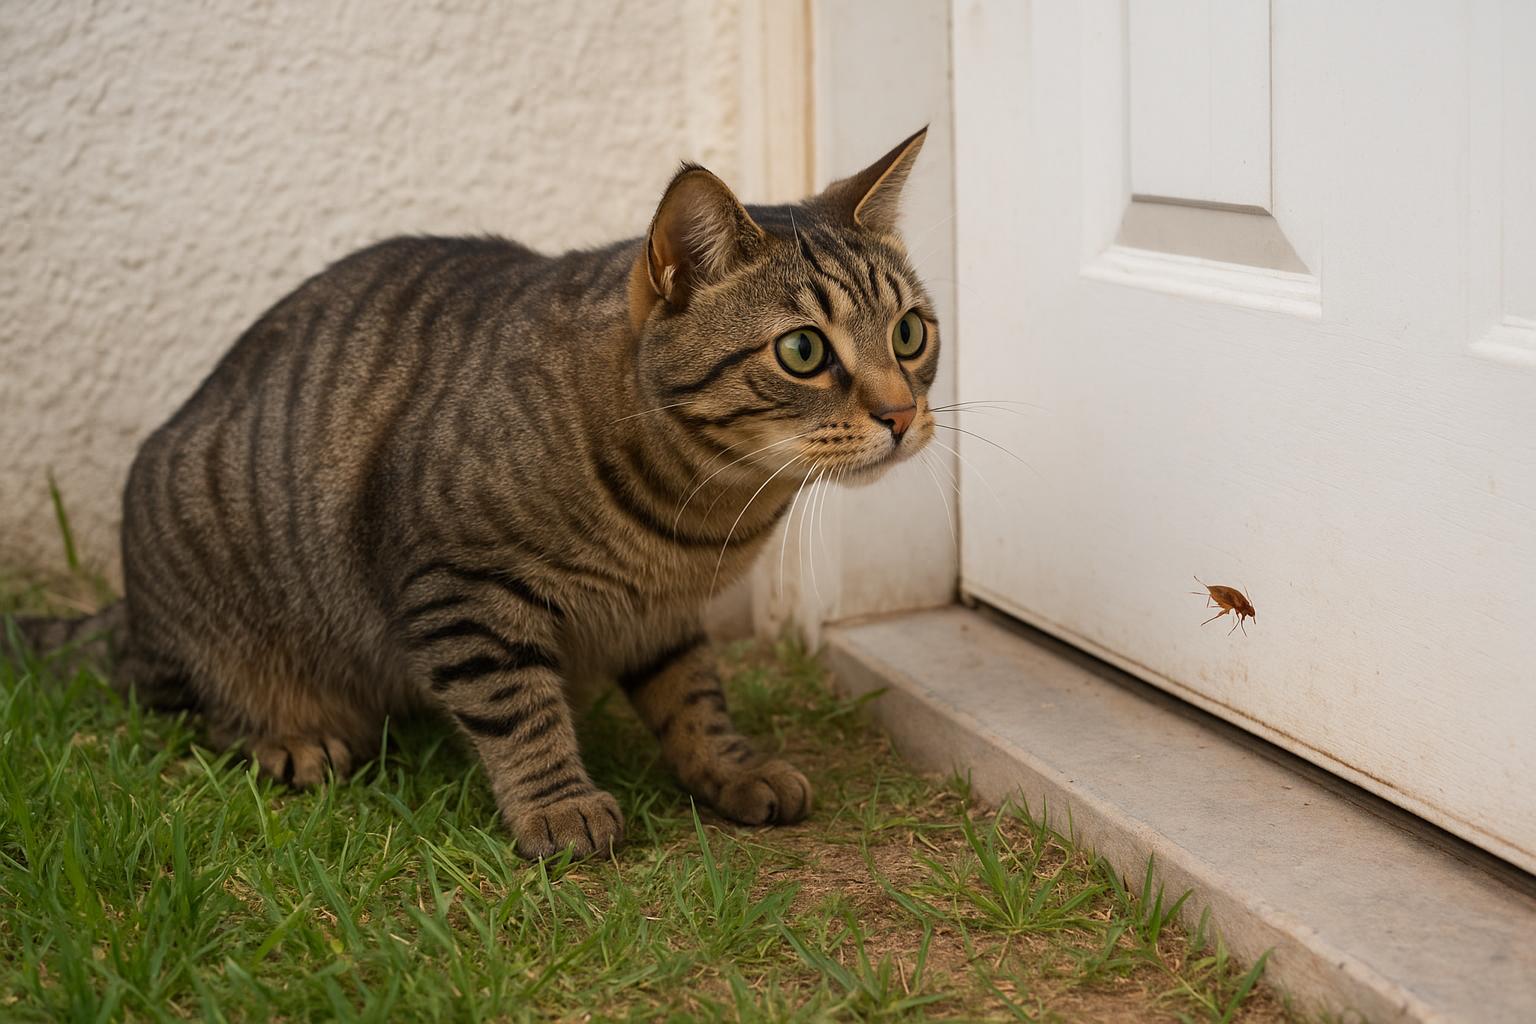
Shaded lawns, under decks, around woodpiles, and along fence lines are classic real estate for fleas. If you let your cat nap under a bush, you’ve practically built them a flea-friendly studio apartment. Also, rodents and wild mammals (raccoons, opossums) can bring fleas in from the surrounding green belt, so your yard’s neighbors matter.
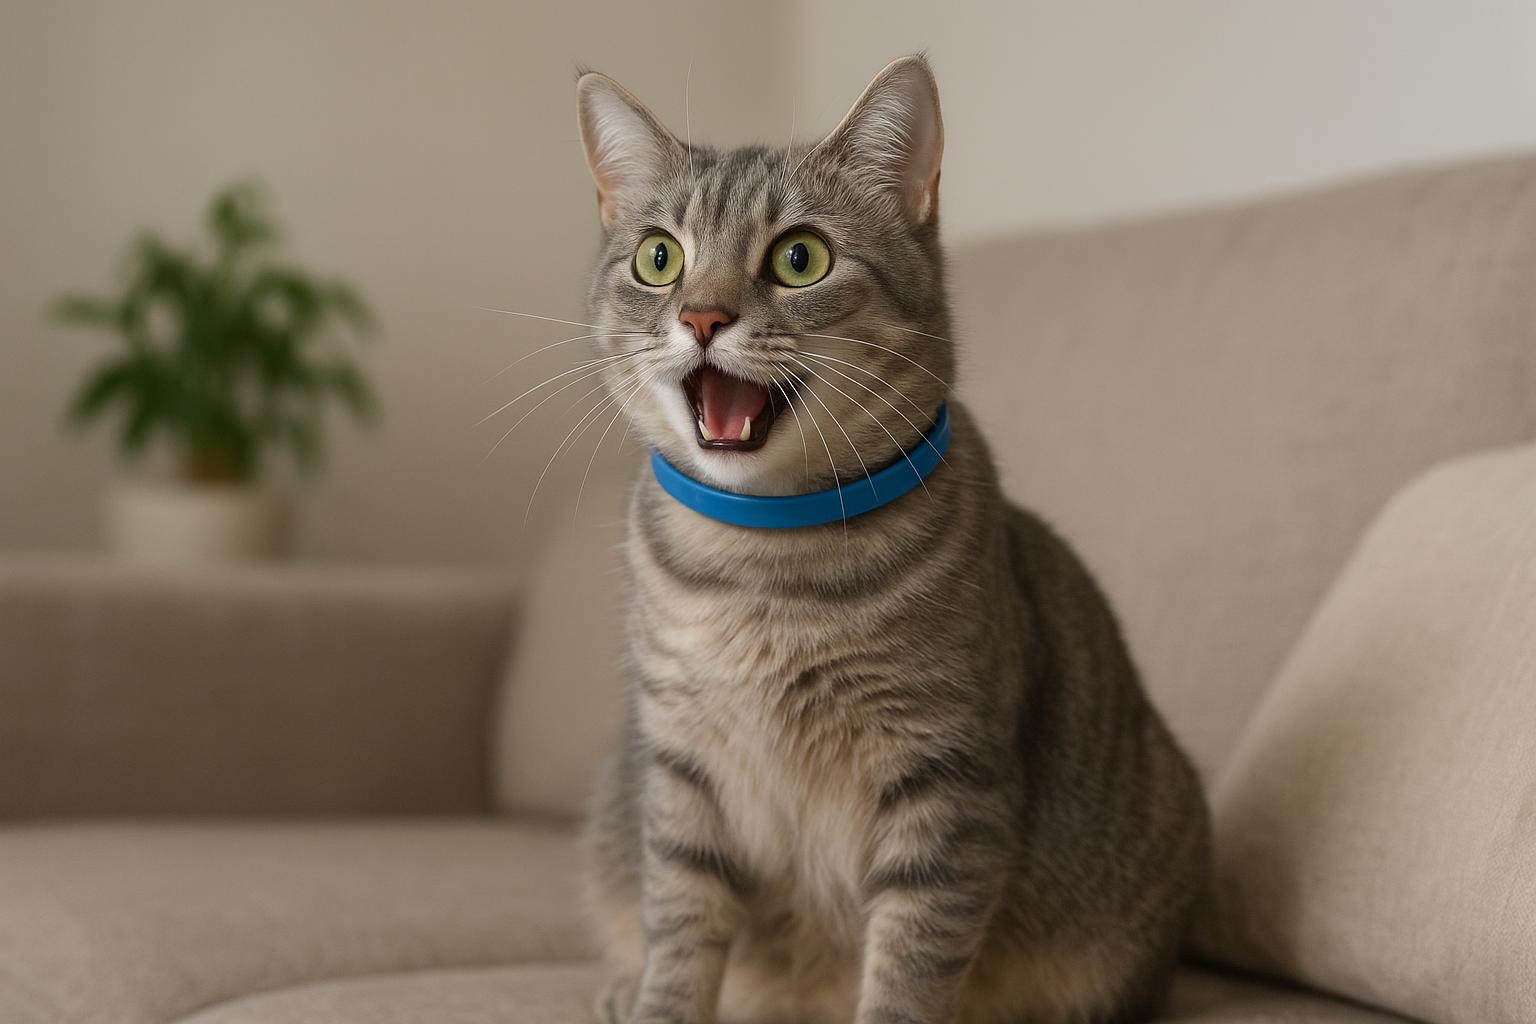
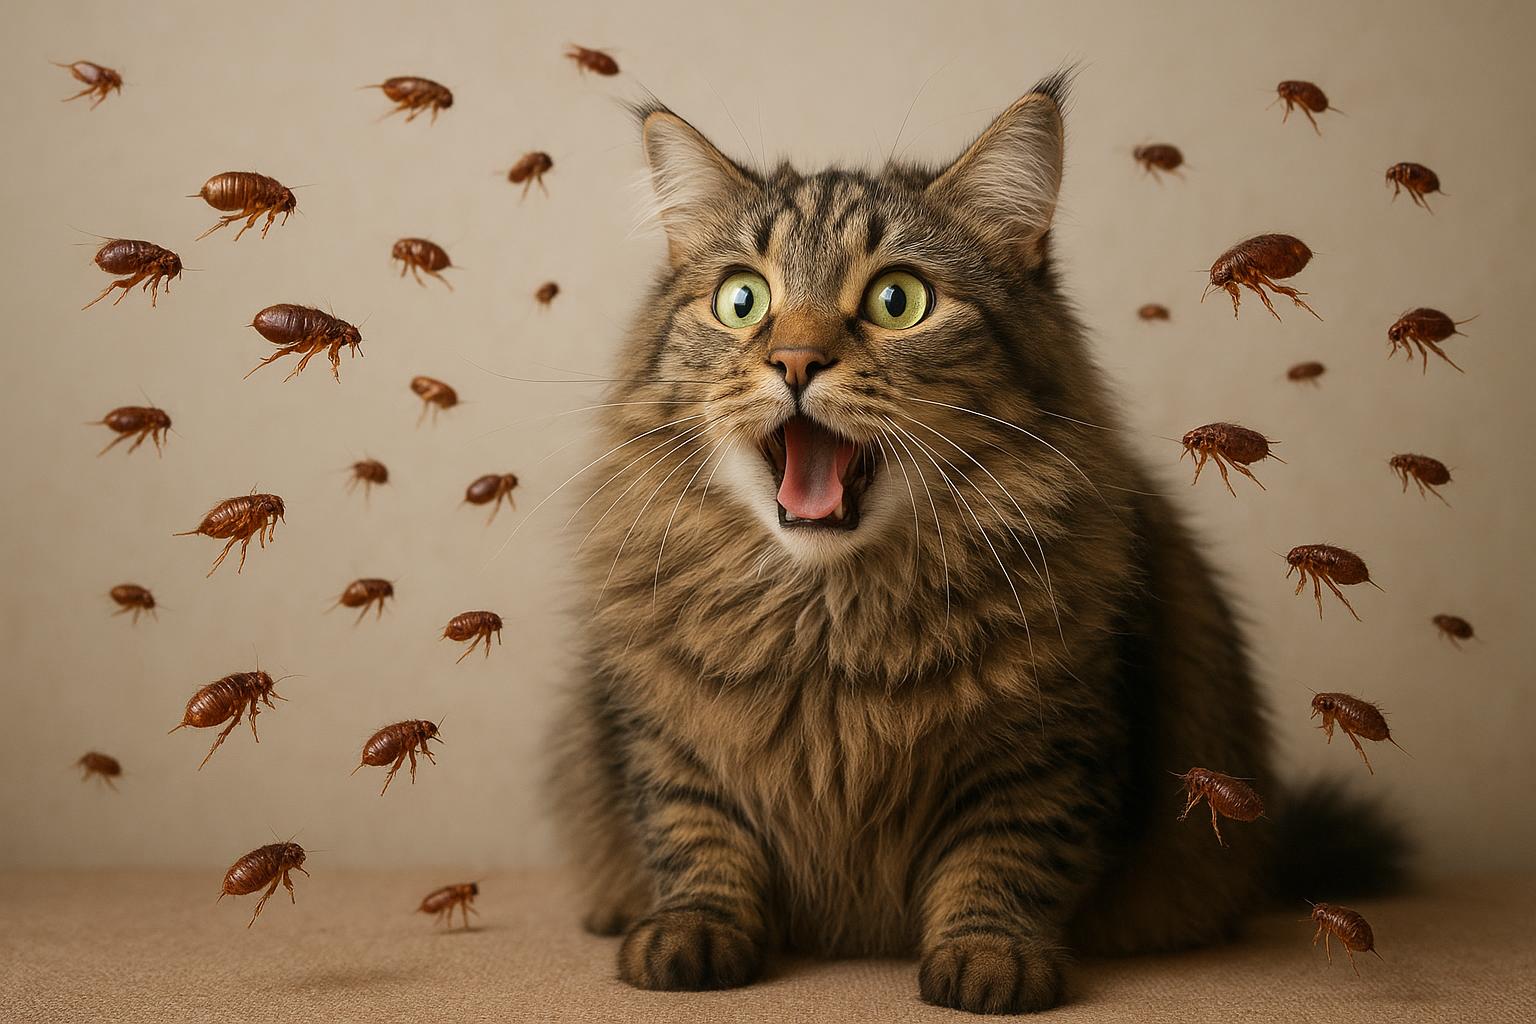
### Signs Your Cat Is Telling You Something (Listen)
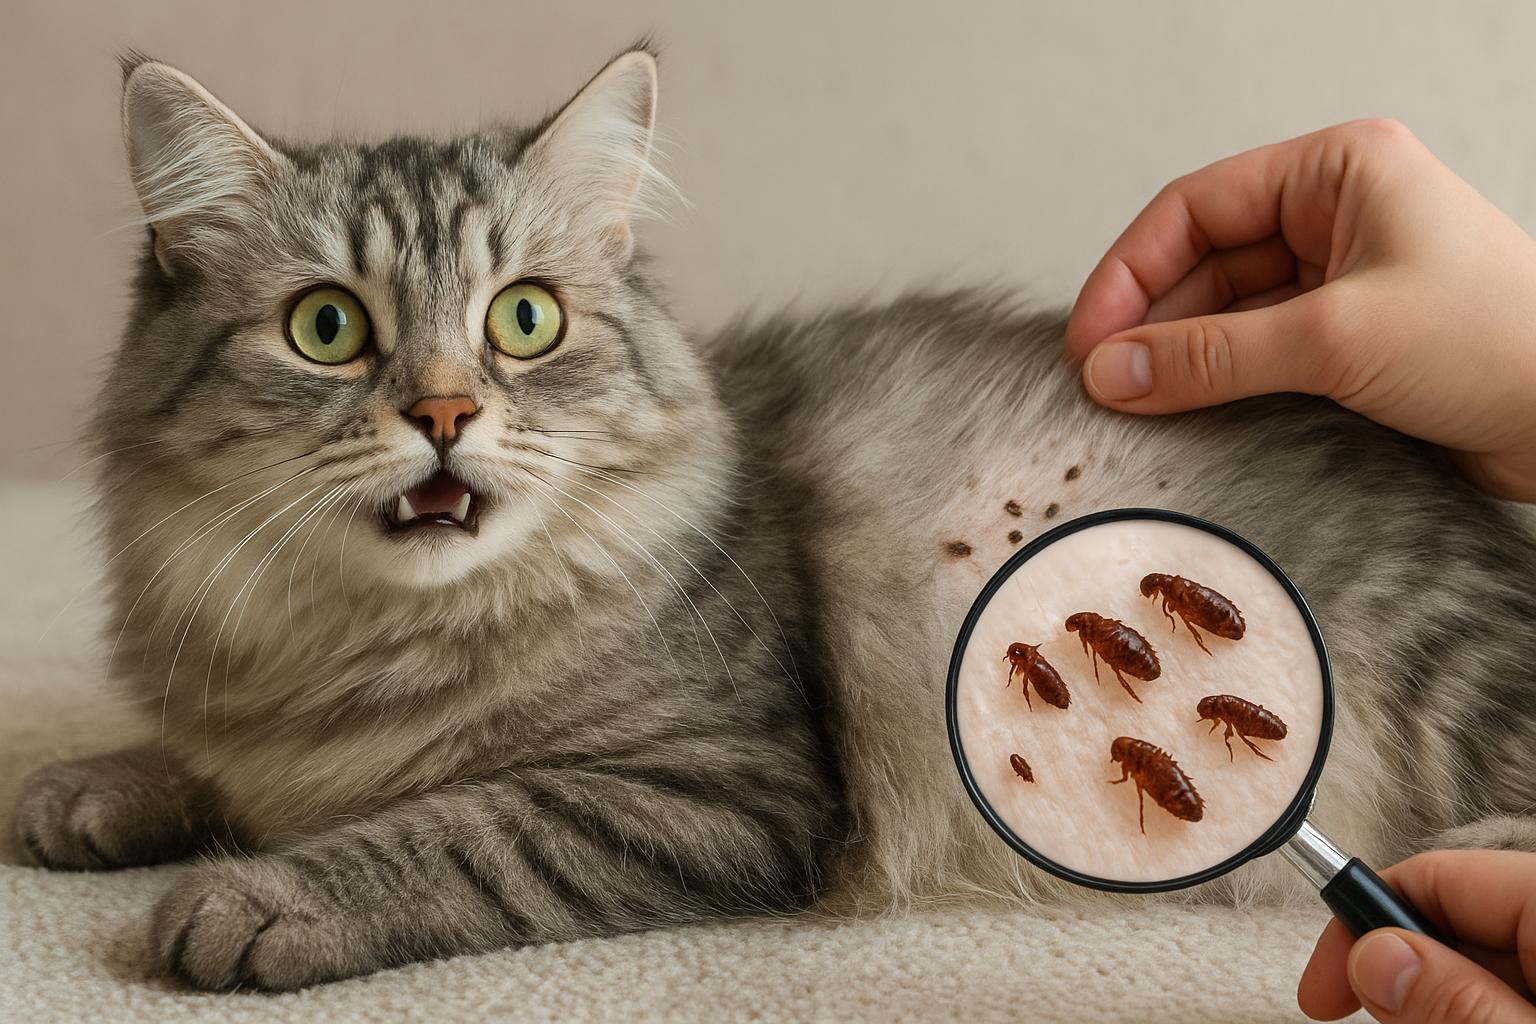
Cats are stoic, but they’ll tell you if something’s wrong:
– Excessive scratching at night.
– Biting at the base of the tail.
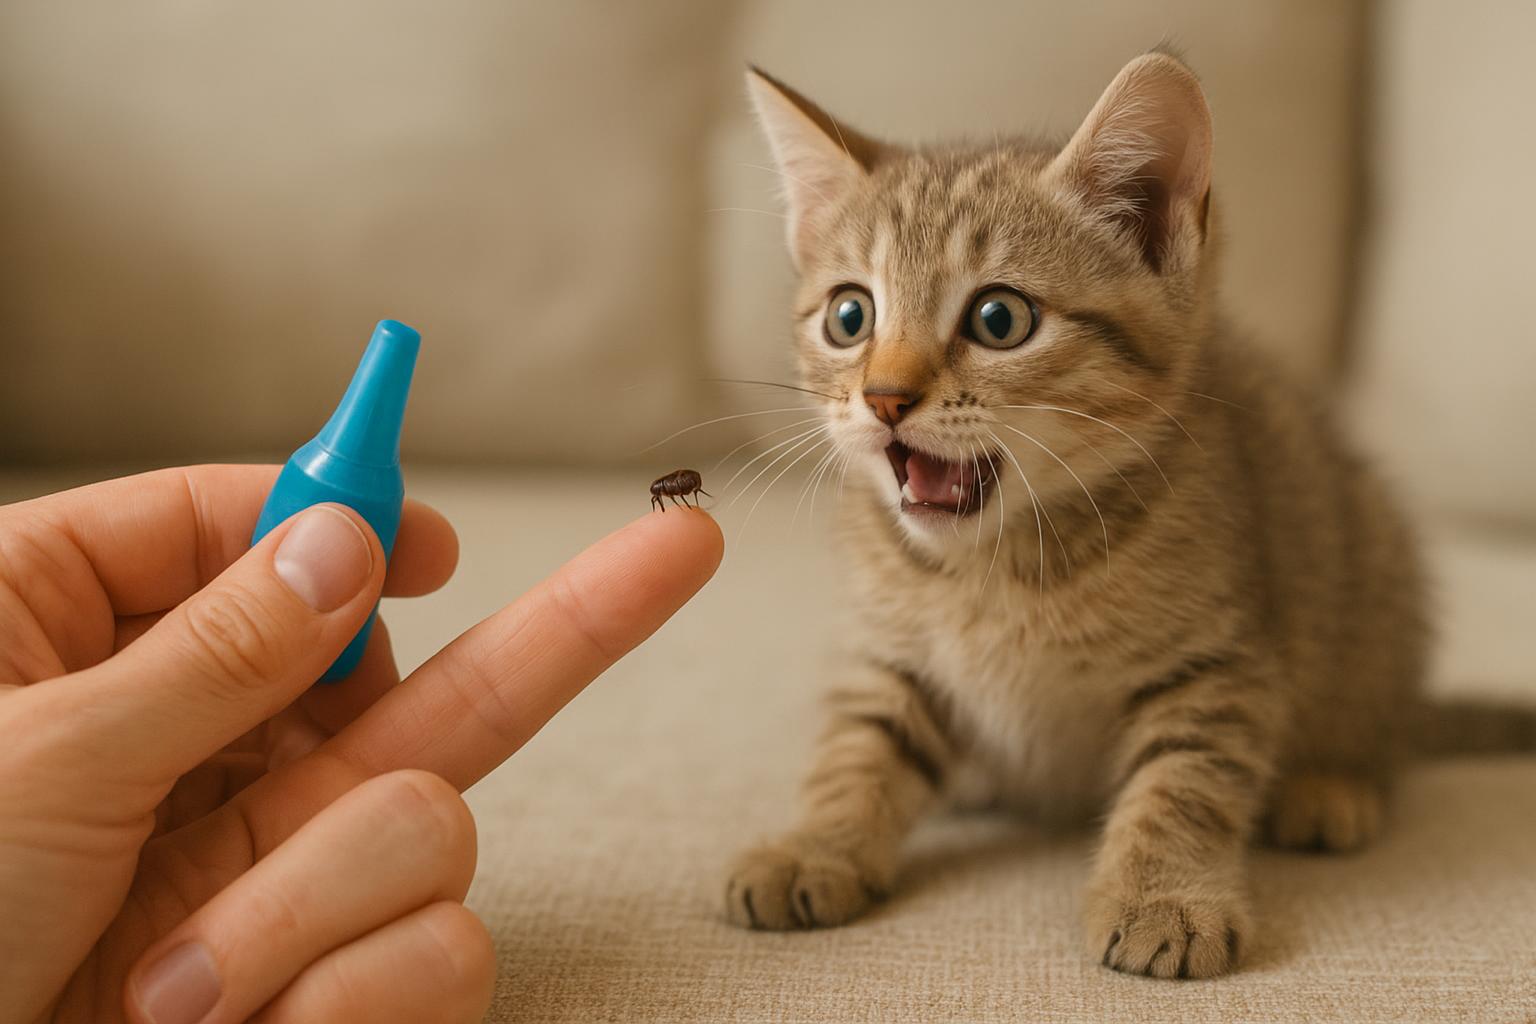
– Tiny black specks (flea dirt) in their fur.
– Pale gums (in severe infestations that cause anemia).
If you spot these, the cat flea causes aren’t speculative — they’re happening, and they’re asking for a tidy response.
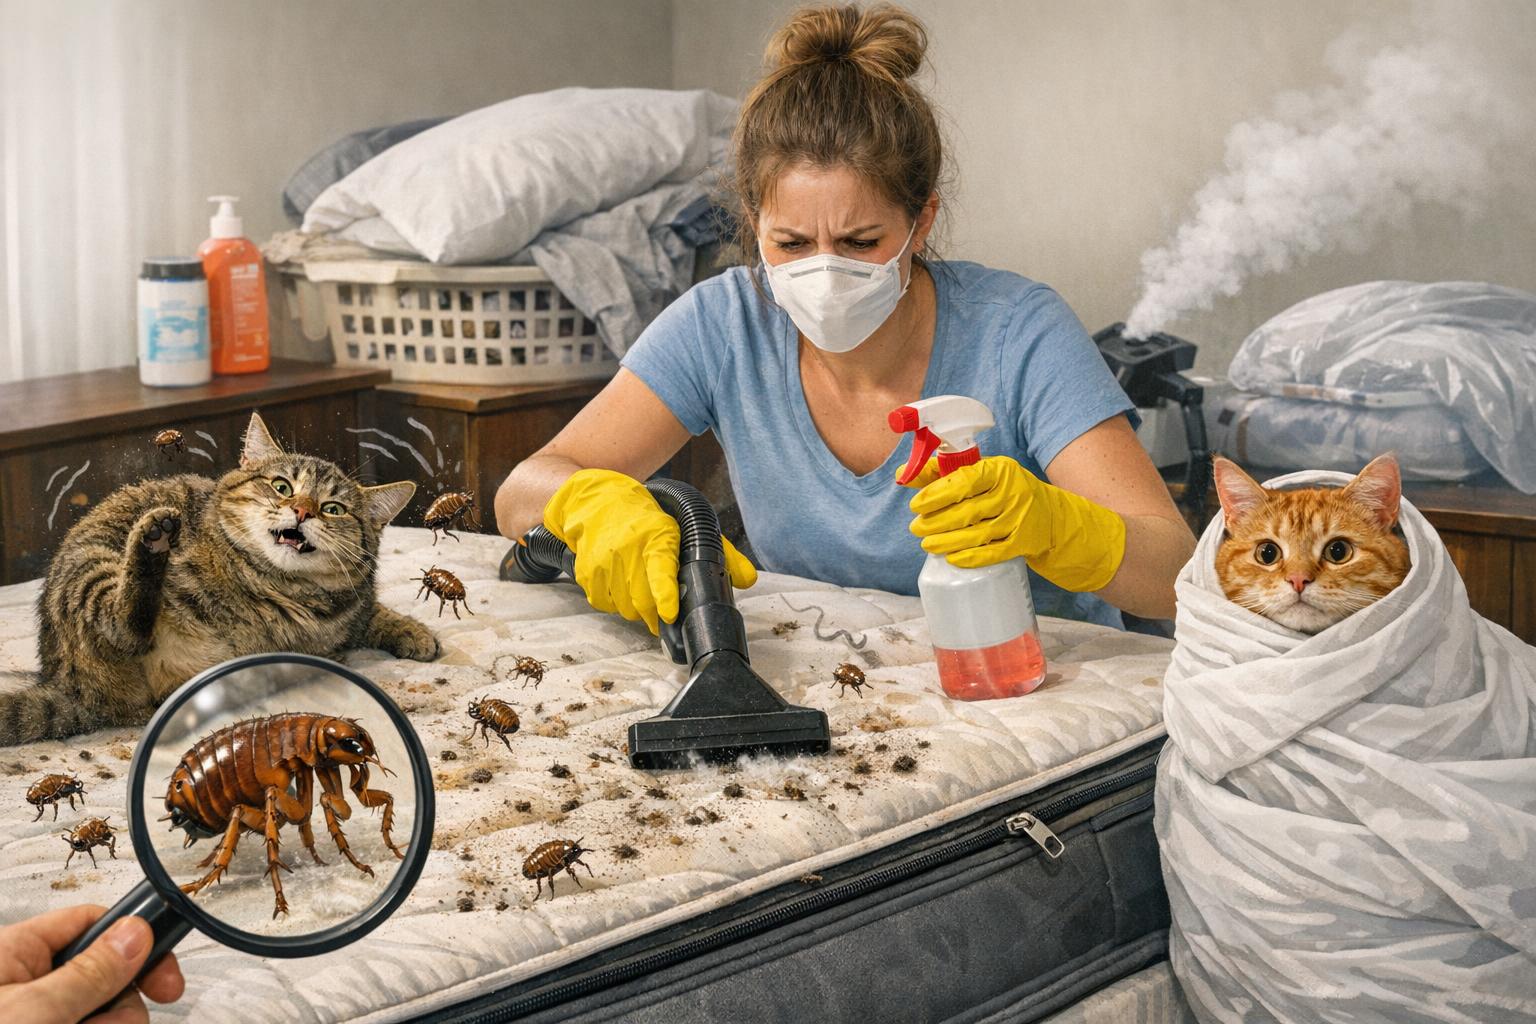
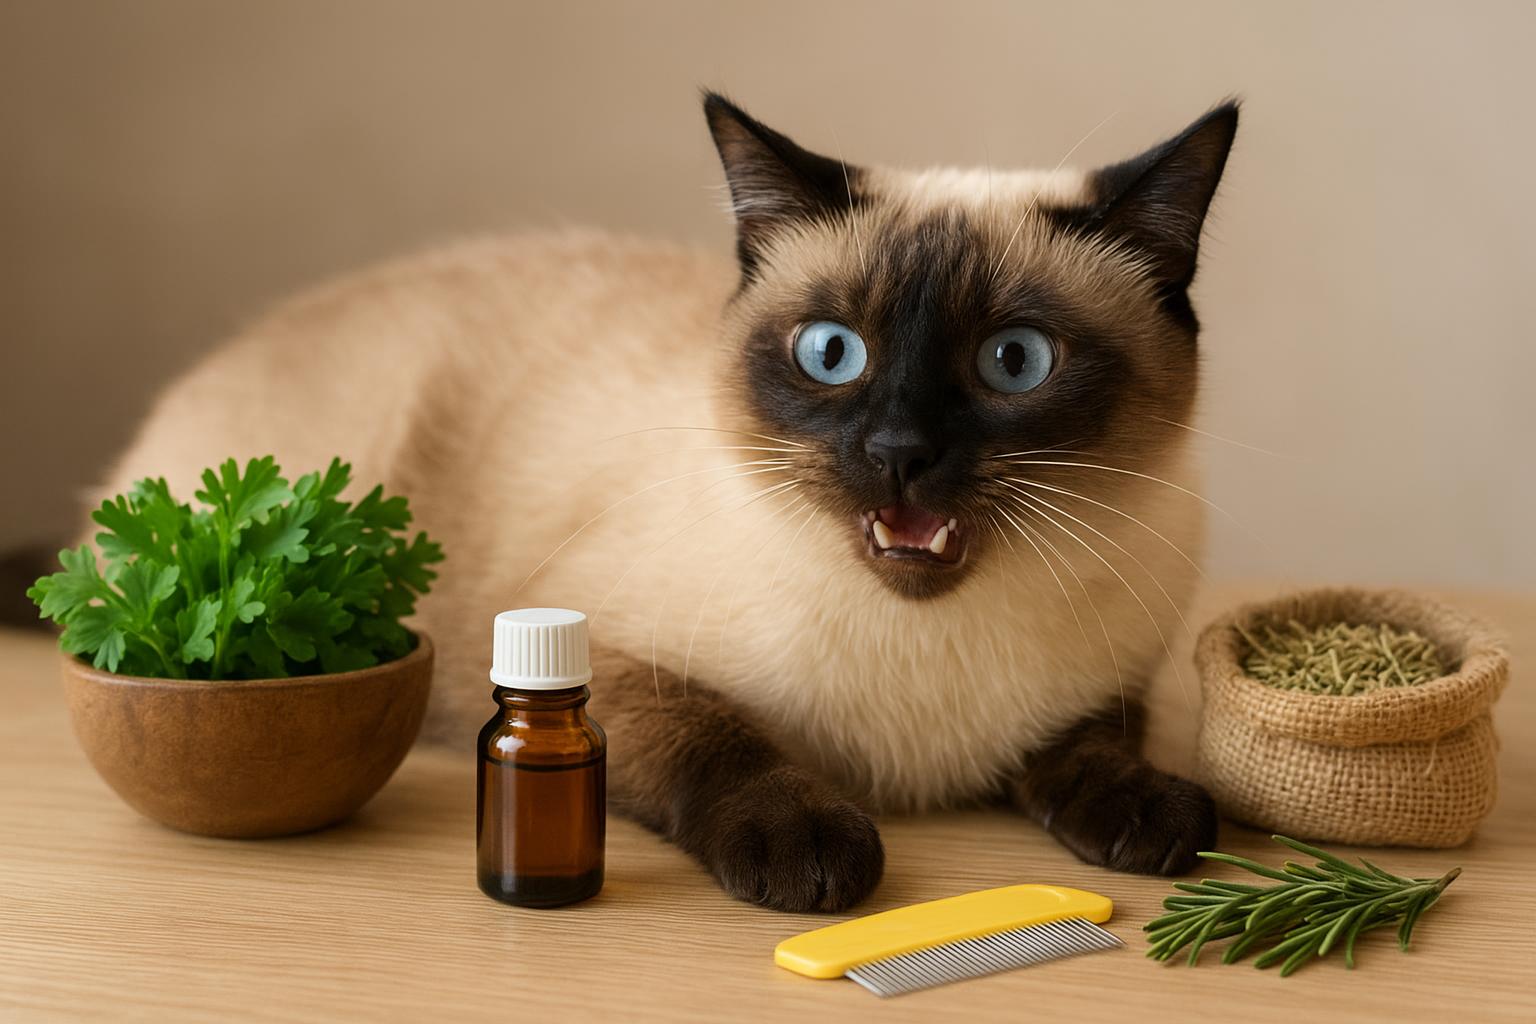
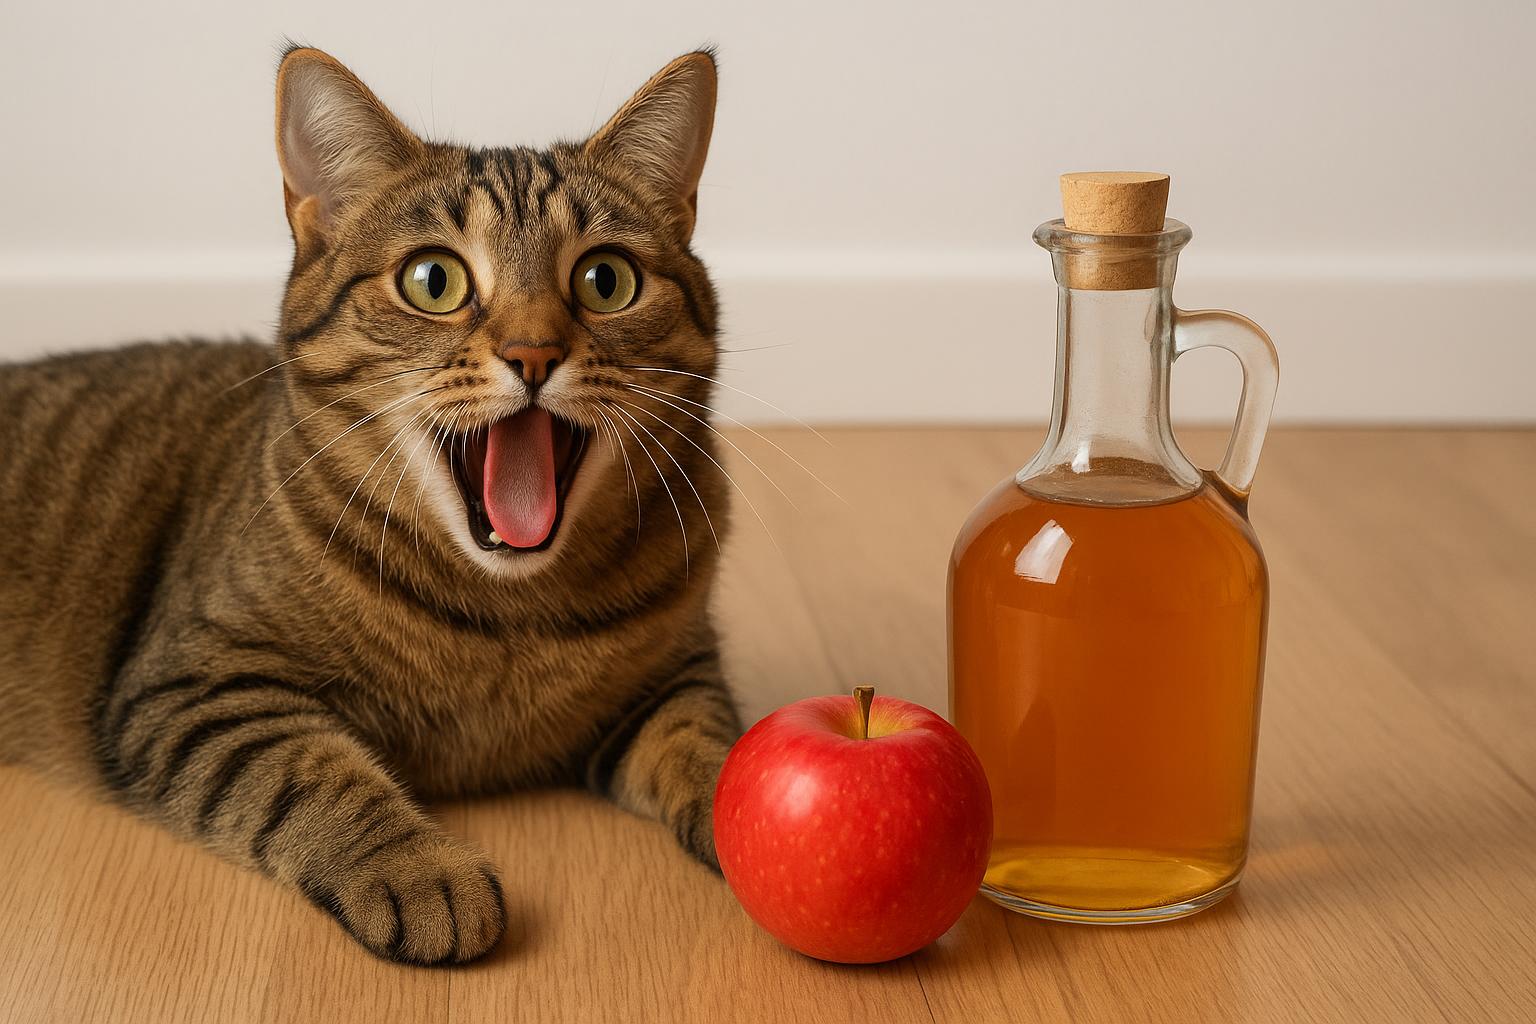
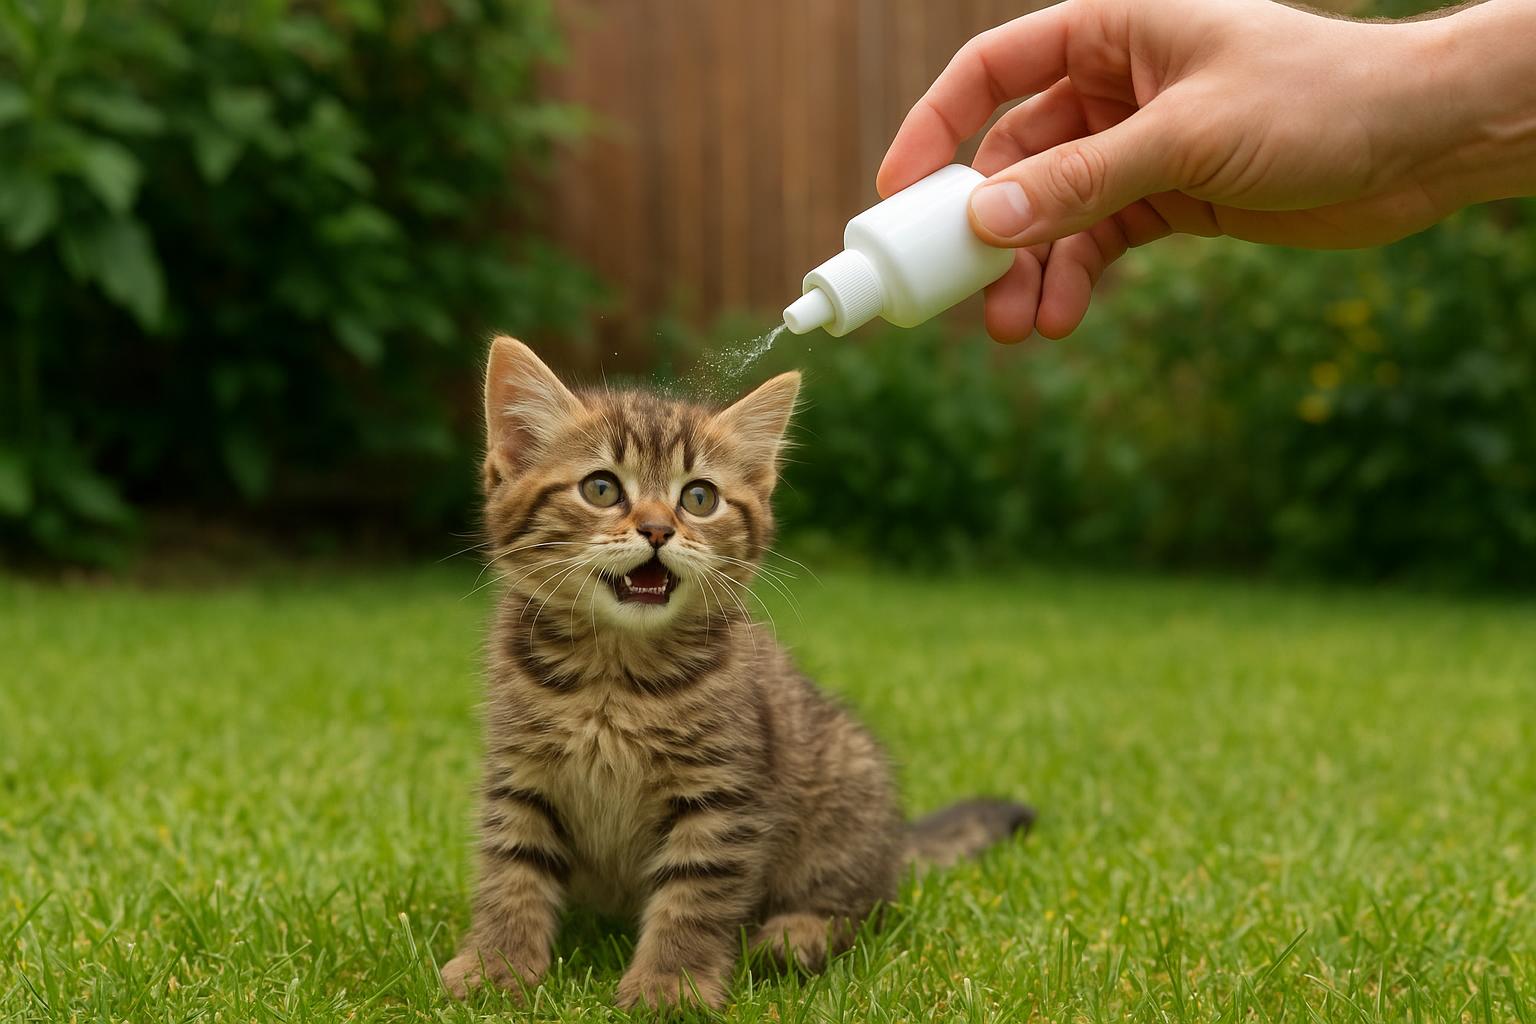
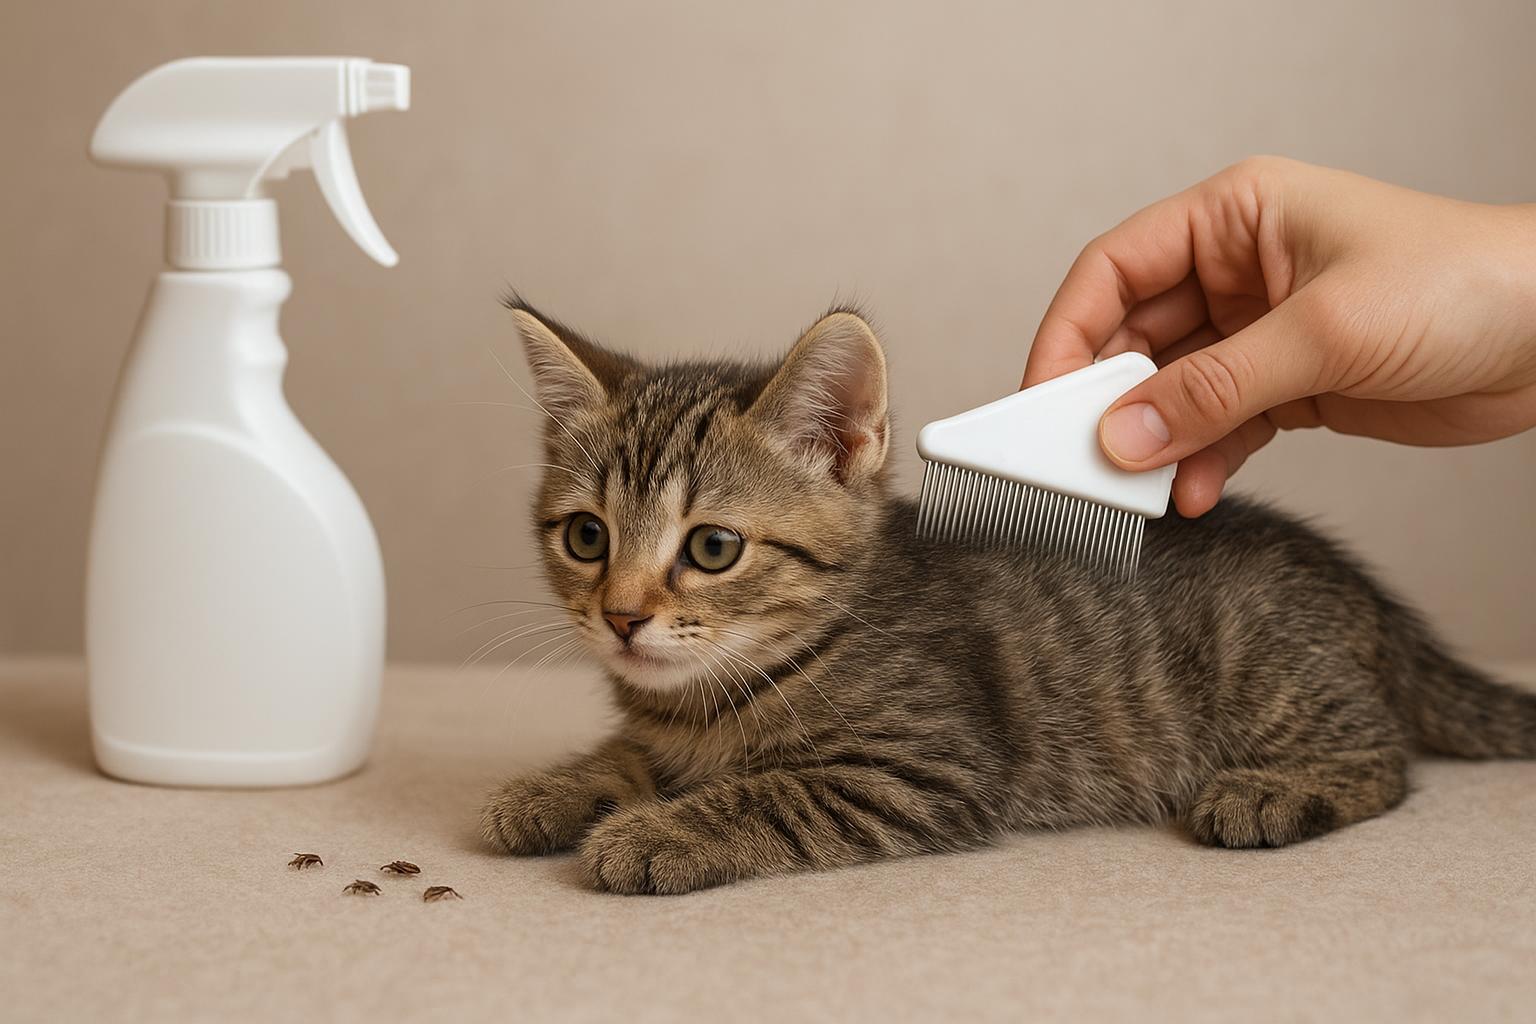
### Remedy 1: Natural Yard Treatment (Home Method)
When dealing with pests there’s room for a gentle first approach. The following is a formal, evidence-based home remedy that reduces flea habitat without heavy pesticides. Please follow steps precisely, and do not rely on this alone for severe infestations.
#### Ingredients Or Materials
– Stiff broom or leaf blower
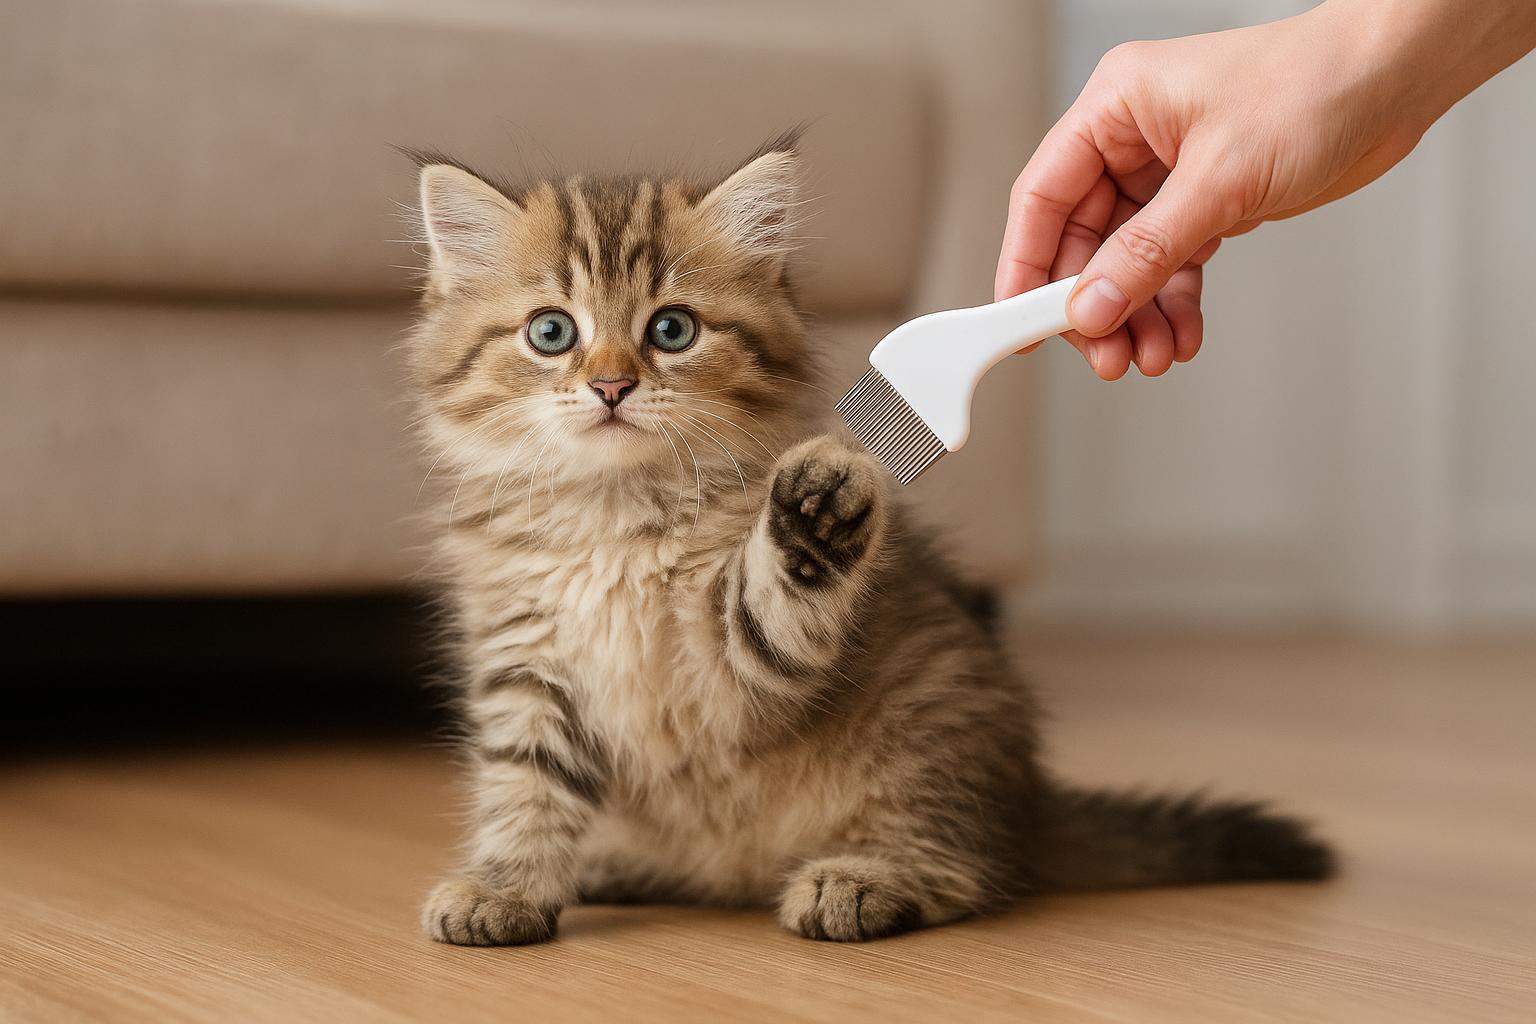
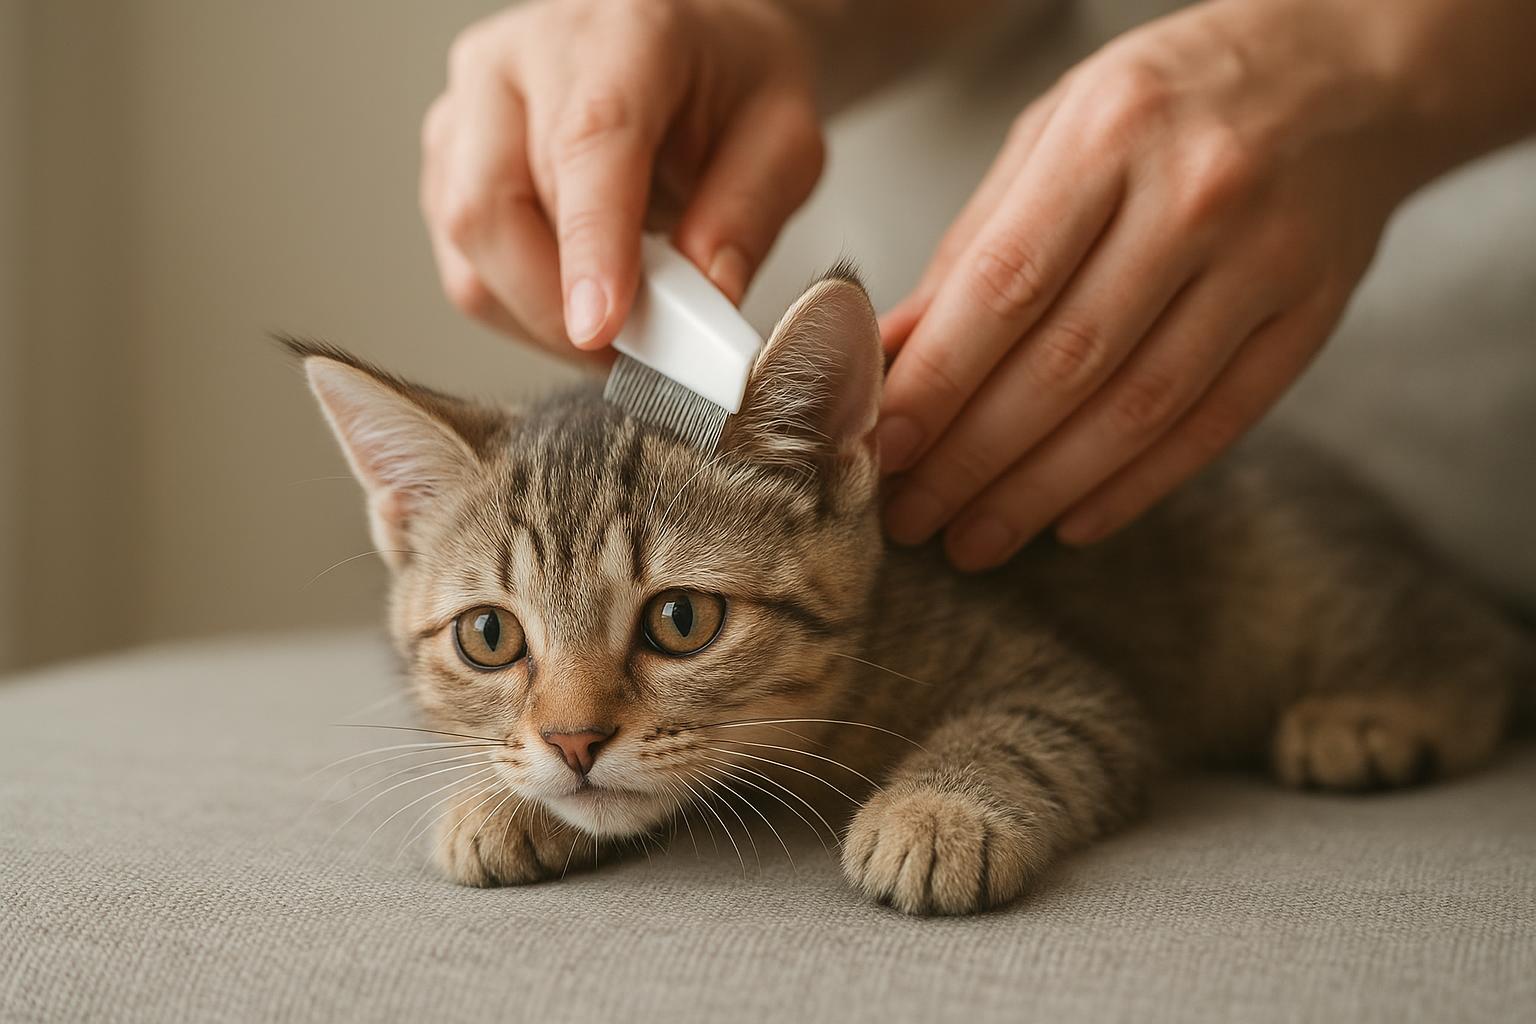
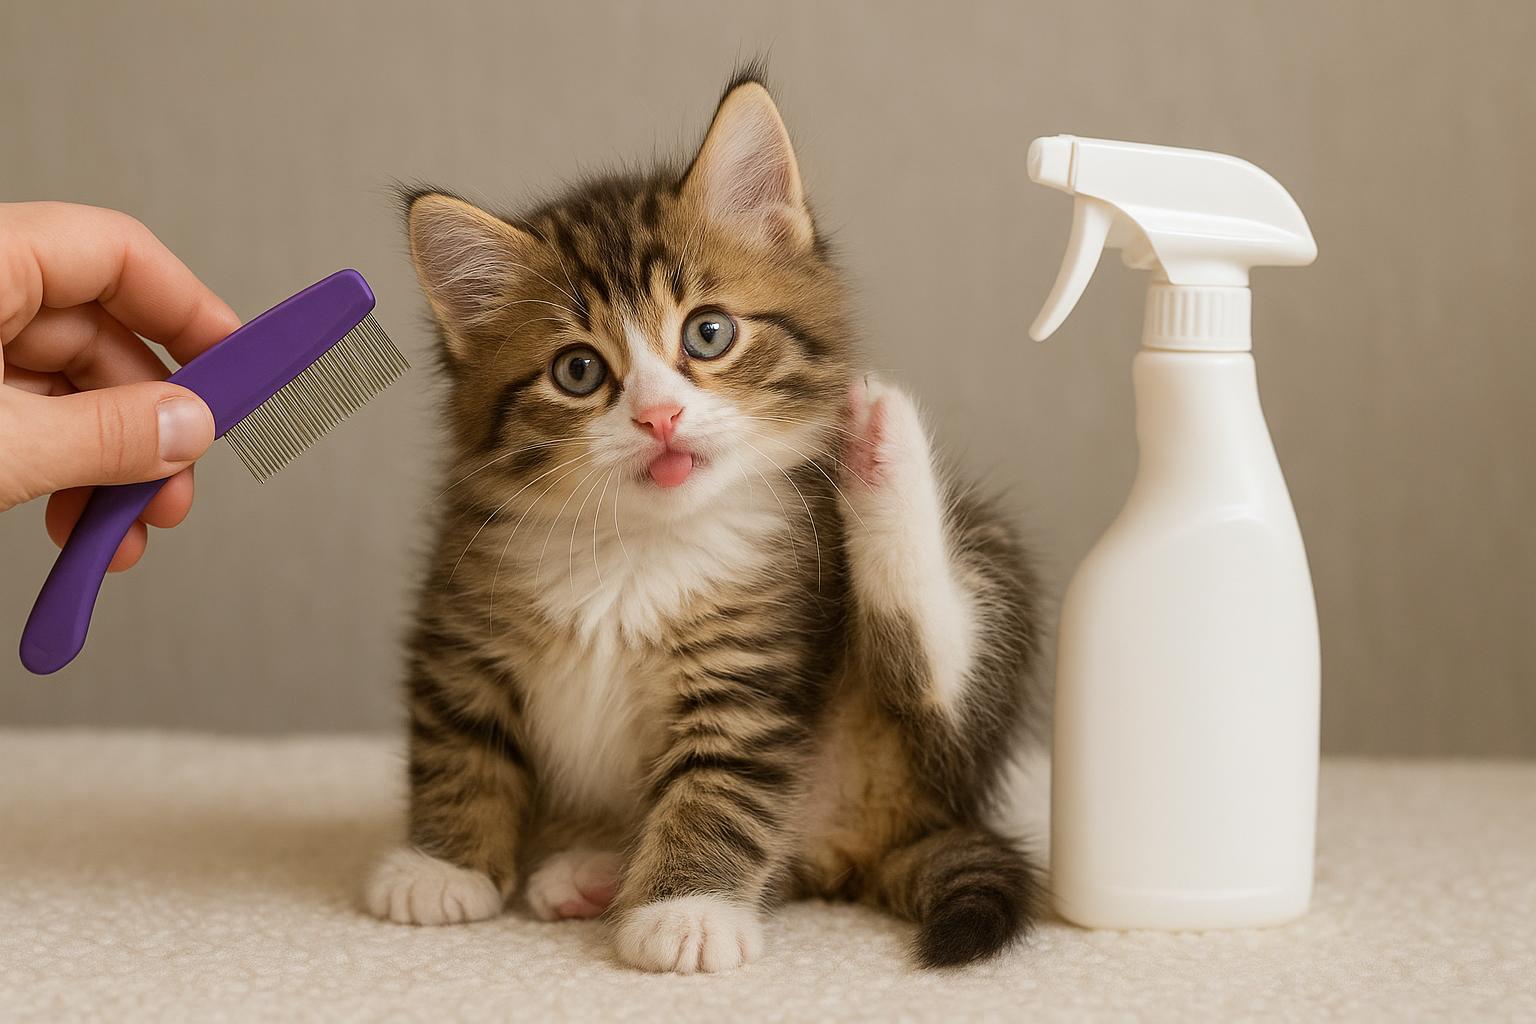
– Fine-tooth comb for pets
– Diatomaceous earth (food-grade), 100% silica
– Garden rake
– Mulch or pine needles (to replace damp groundcover)
– Trash bags for removing organic debris
– Protective gloves and dust mask
#### Step-By-Step Creation And Application
1. Assess The Area: Walk the yard at dusk and identify shaded, moist patches and animal resting sites. Mark them.
2. Remove Organic Debris: Using gloves and a rake, clear leaf litter, old grass clippings, and loose mulch from hotspots. Bag and dispose of this material promptly.
3. Increase Airflow And Sunlight: Trim low branches and thin dense groundcover to let light reach the soil. Fleas prefer cool, moist microclimates; drying these areas reduces suitability.
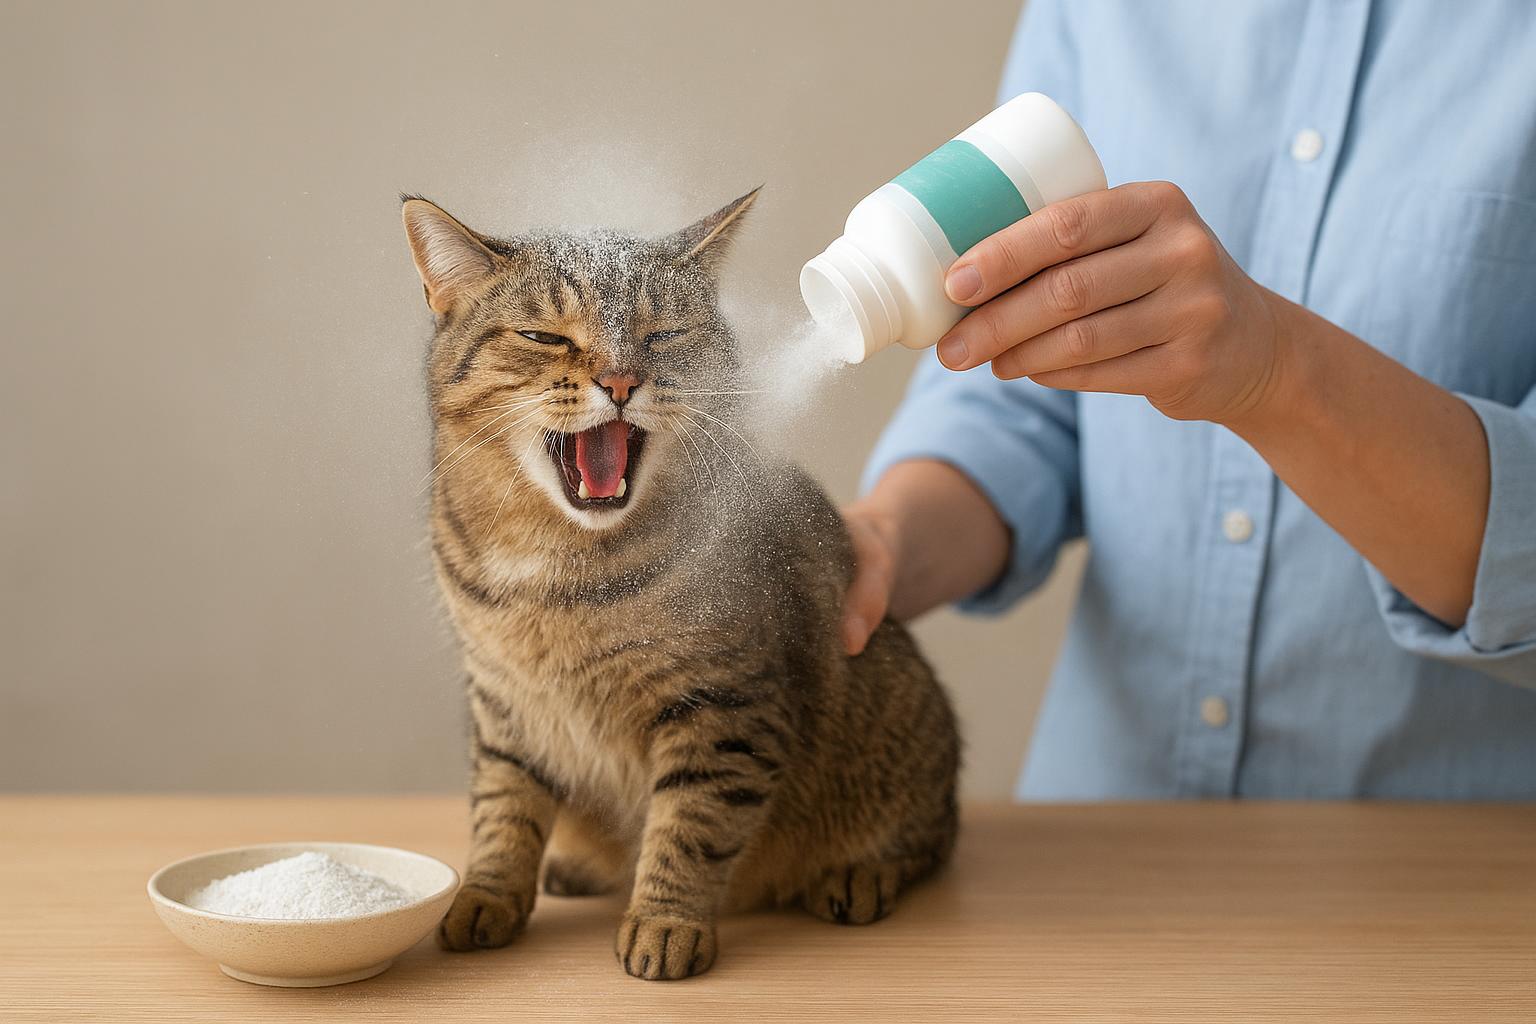
4. Apply Diatomaceous Earth: Wearing a dust mask and gloves, lightly dust a thin layer of food-grade diatomaceous earth to the topsoil and under-deck areas. Do not over-apply; a dusting at entry points and around animal resting spots is sufficient. Reapply after heavy rain.
5. Replace Damp Mulch: Swap out wet mulch close to the house with a drier option like gravel or pine needles, which don’t retain moisture as much.
6. Maintain Regularly: Once a week for a month, inspect and reapply step 2 and 4 as needed. Natural methods reduce populations but won’t eliminate pupae already sealed in cocoons immediately.
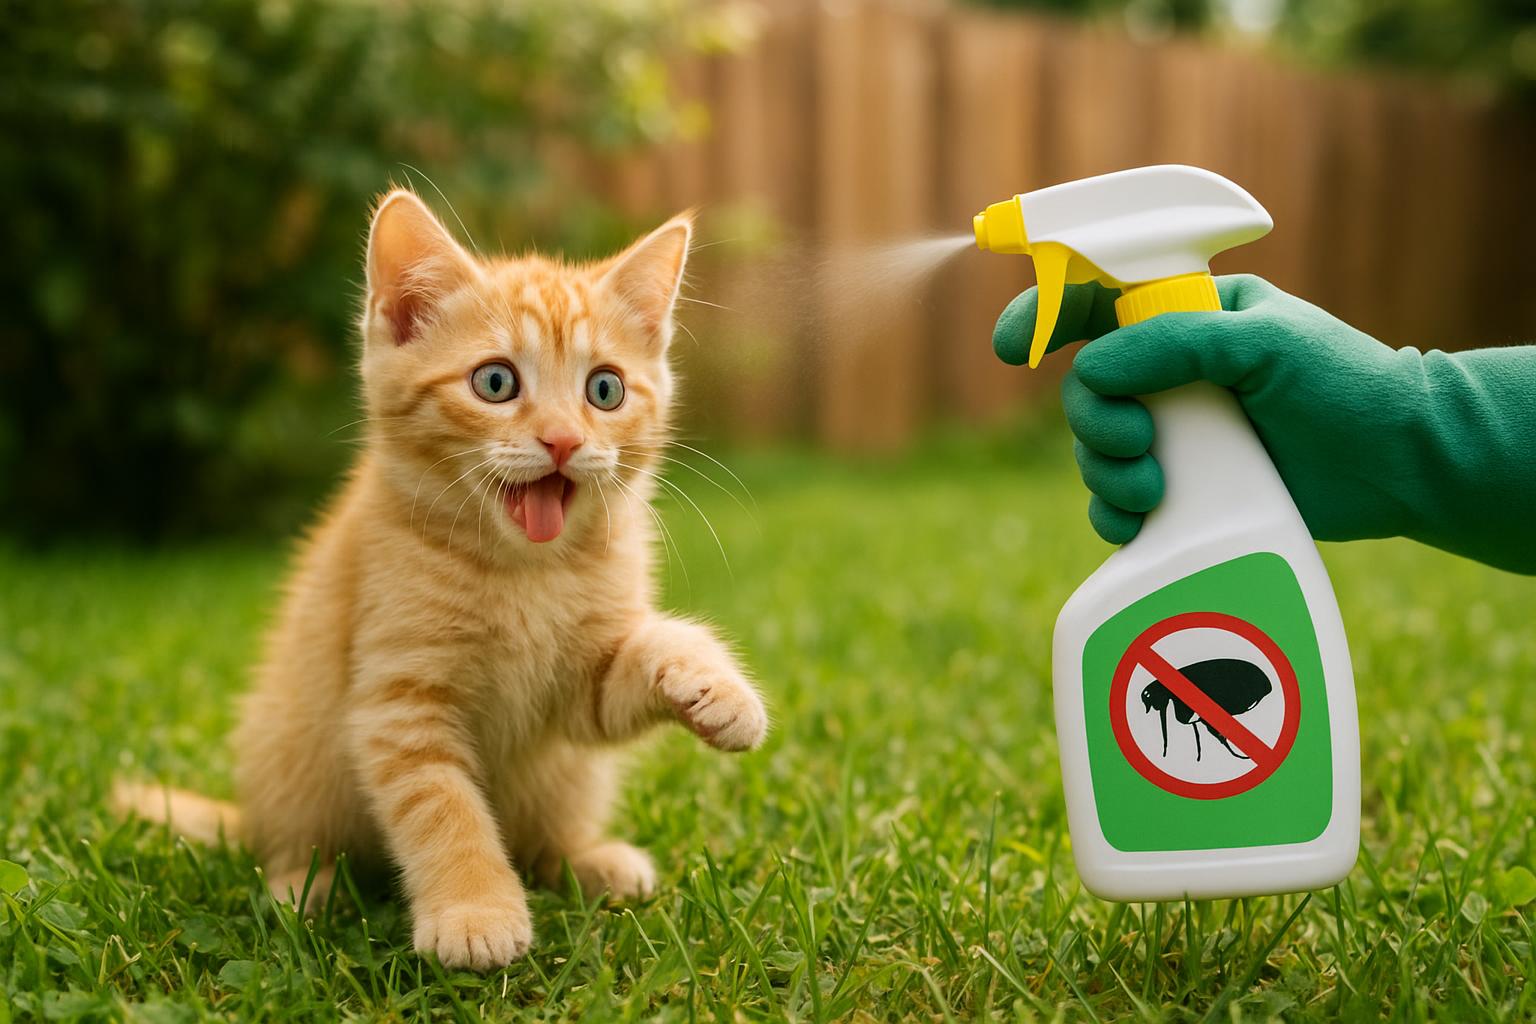
### Remedy 2: Professional Grade Yard Treatment (When You Need It)
If the infestation is severe, or the natural route hasn’t worked, formal intervention is warranted. The following professional approach is more technical and should be followed with care. Consider hiring a licensed pest control operator if you’re uncomfortable handling chemicals.
#### Ingredients Or Materials
– EPA-registered insect growth regulator (IGR) product for outdoor use (e.g., methoprene or pyriproxyfen)
– Targeted adulticide labeled for outdoor flea control
– Battery-powered or professional sprayer
– Personal protective equipment: gloves, goggles, respirator
– Pet-safe warning signs if public access
– Access to local municipal guidelines on pesticide application
#### Step-By-Step Creation And Application
1. Choose Registered Products: Select an IGR to interrupt the flea life cycle and an adulticide for immediate reduction. Verify the labels for outdoor, homeowner or applicator use.
2. Read Label Directions: Carefully read the manufacturer’s label for mixing ratios, application rates, and safety precautions. Labels are legally binding instructions.
3. Prepare The Site: Keep pets and people away from the treatment area for the time specified on the product label. Cover fish ponds and remove pet food and water dishes.
4. Apply IGR First: Use the sprayer to apply IGR to larval habitats — shaded soil, under decks, and along baseboards. The purpose is to prevent eggs and larvae from developing.
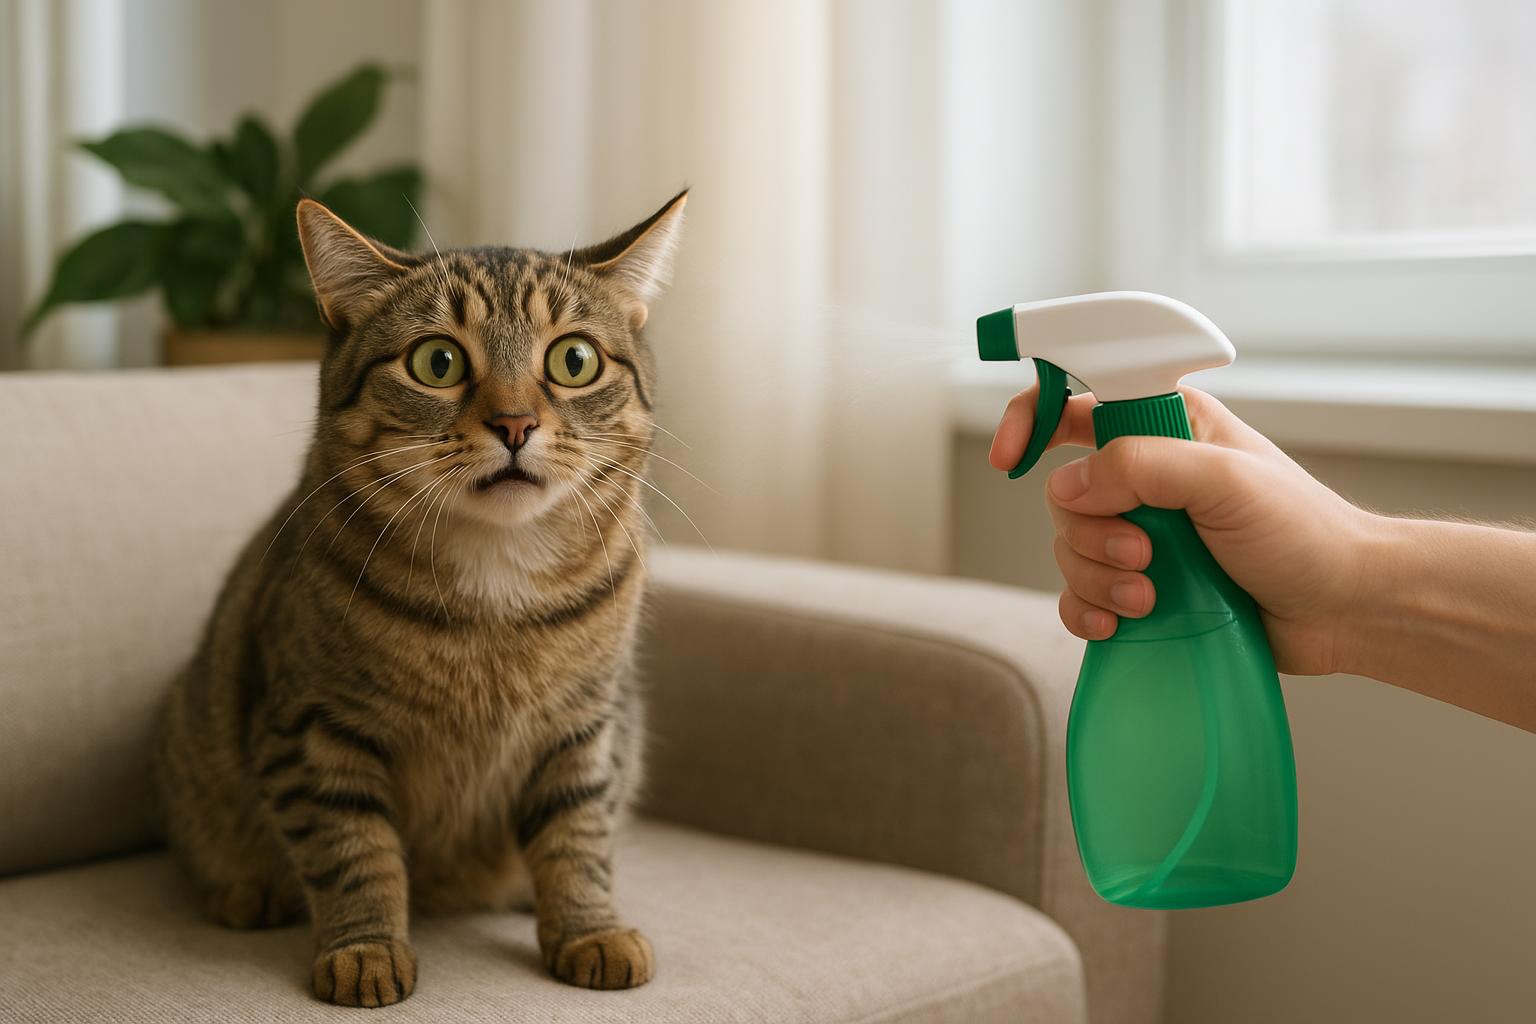
5. Follow With Adulticide: Apply the adulticide to vegetation edges, landscaping, and animal resting spots for quick population knockdown. Avoid broadcasting over unnecessary areas.
6. Re-Entry And Safety: Ensure the area has dried or the label-required time has passed before allowing pets back. Clean sprayer equipment according to manufacturer instructions and local disposal rules.
7. Schedule Follow-Ups: Most protocols require a follow-up in 2–4 weeks to address hatching pupae. Maintain sanitation (see Remedy 1) to improve long-term outcomes.
### When To Bring In The Pros
Consider professional help if:
– Your pet shows signs of anemia.
– DIY methods don’t reduce sightings after a month.
– You notice fleas across multiple animals or in home carpeting.
A professional will have access to more potent IGRs and can design a property-wide plan.
#### Preventive Habits That Work (A Friendly Nudge)
A few ongoing habits will stop the cat flea causes before they get dramatic:
– Keep grass trimmed and remove excess leaf litter.
– Regularly groom and treat outdoor cats with veterinarian-recommended flea preventives.
– Seal gaps under porches and remove potential rodent nesting spots.
– Wash pet bedding weekly in hot water.
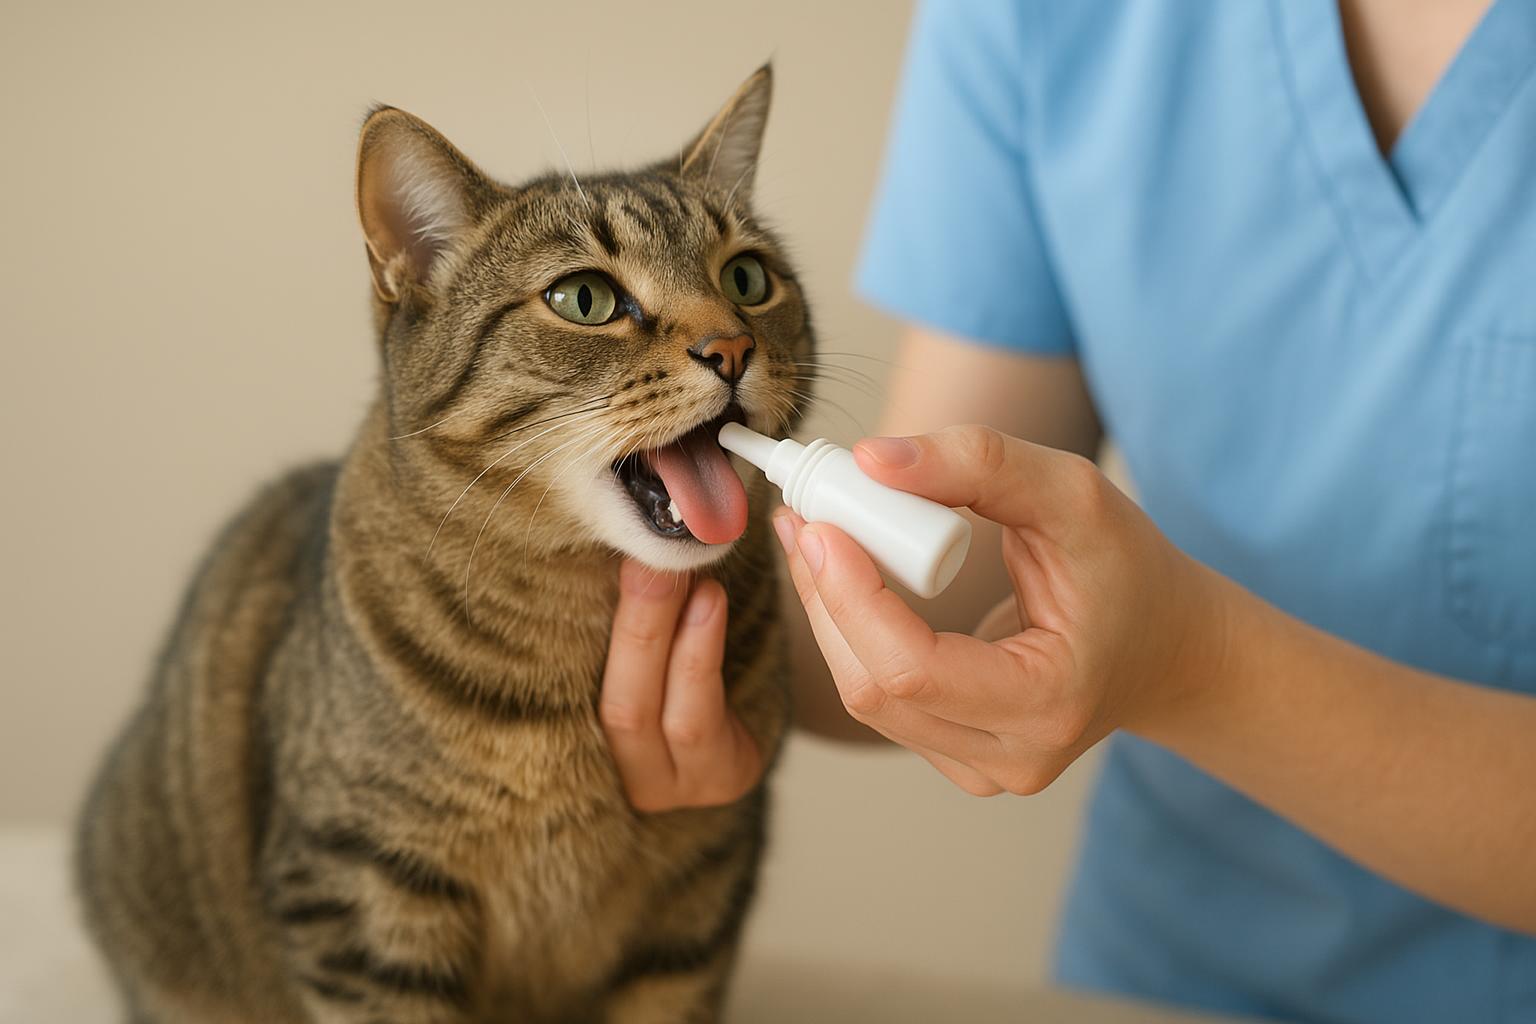
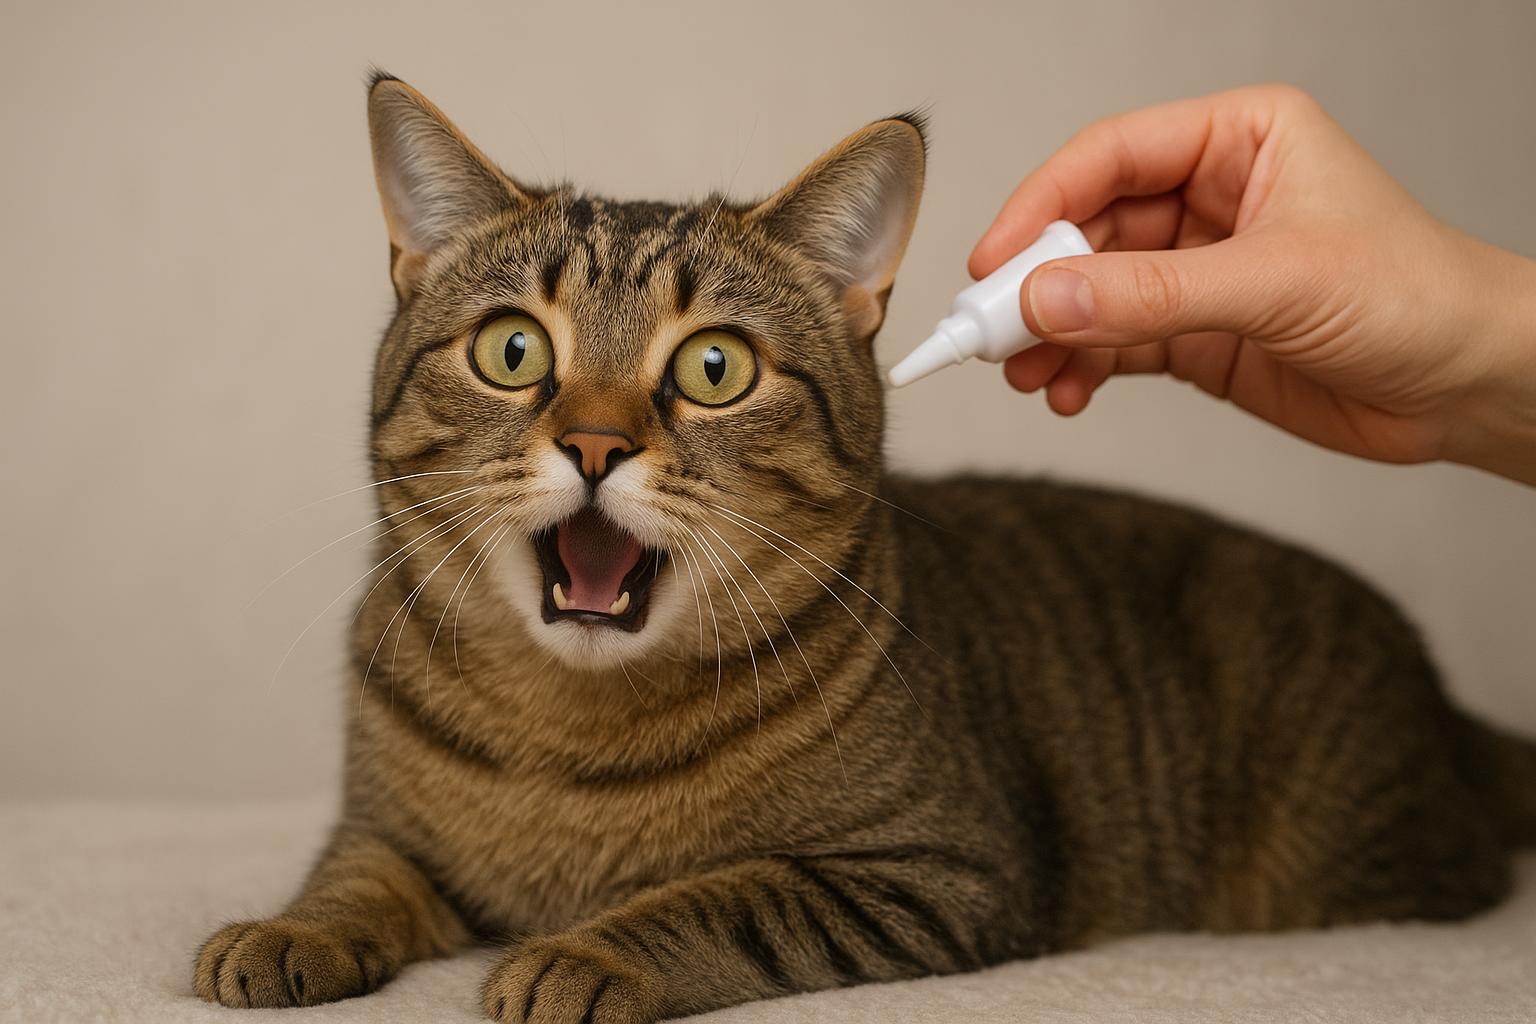
### A Small Note On Safety And Pets
Always use veterinarian-approved flea treatments for animals. Human products or household insect sprays can be toxic to cats and dogs. If in doubt, check with your vet — they’ll appreciate your attention and your pet will appreciate fewer flea baths.
### The Unexpected Benefit Of Paying Attention
Here’s the part that delights me: when you start looking for what the cat flea causes, you often end up making your outdoor space tidier, safer, and friendlier for wildlife and humans alike. Fixing the shady moisture problem might mean more lawn for kids to play on, fewer rodent hideouts, and a happier, less itchy cat. You get the headache relief and the yard improvement as a bonus.
If you want, I can walk you through a customized inspection checklist for your yard or help pick the right IGR for your situation.


Leave a Reply