I’m glad you’re here — dealing with fleas is one of those messy, itchy life chapters nobody wants to star in. This guide will walk you through practical cleaning tips with a focus on using your vacuum as a frontline defender. Think of it as teamwork: you, your vacuum, and a small army of cleaning supplies against the tiny jumpers.
## Vacuuming Fleas For Home Flea Control Cleaning Tips
### Why Vacuuming Works And What It Actually Does
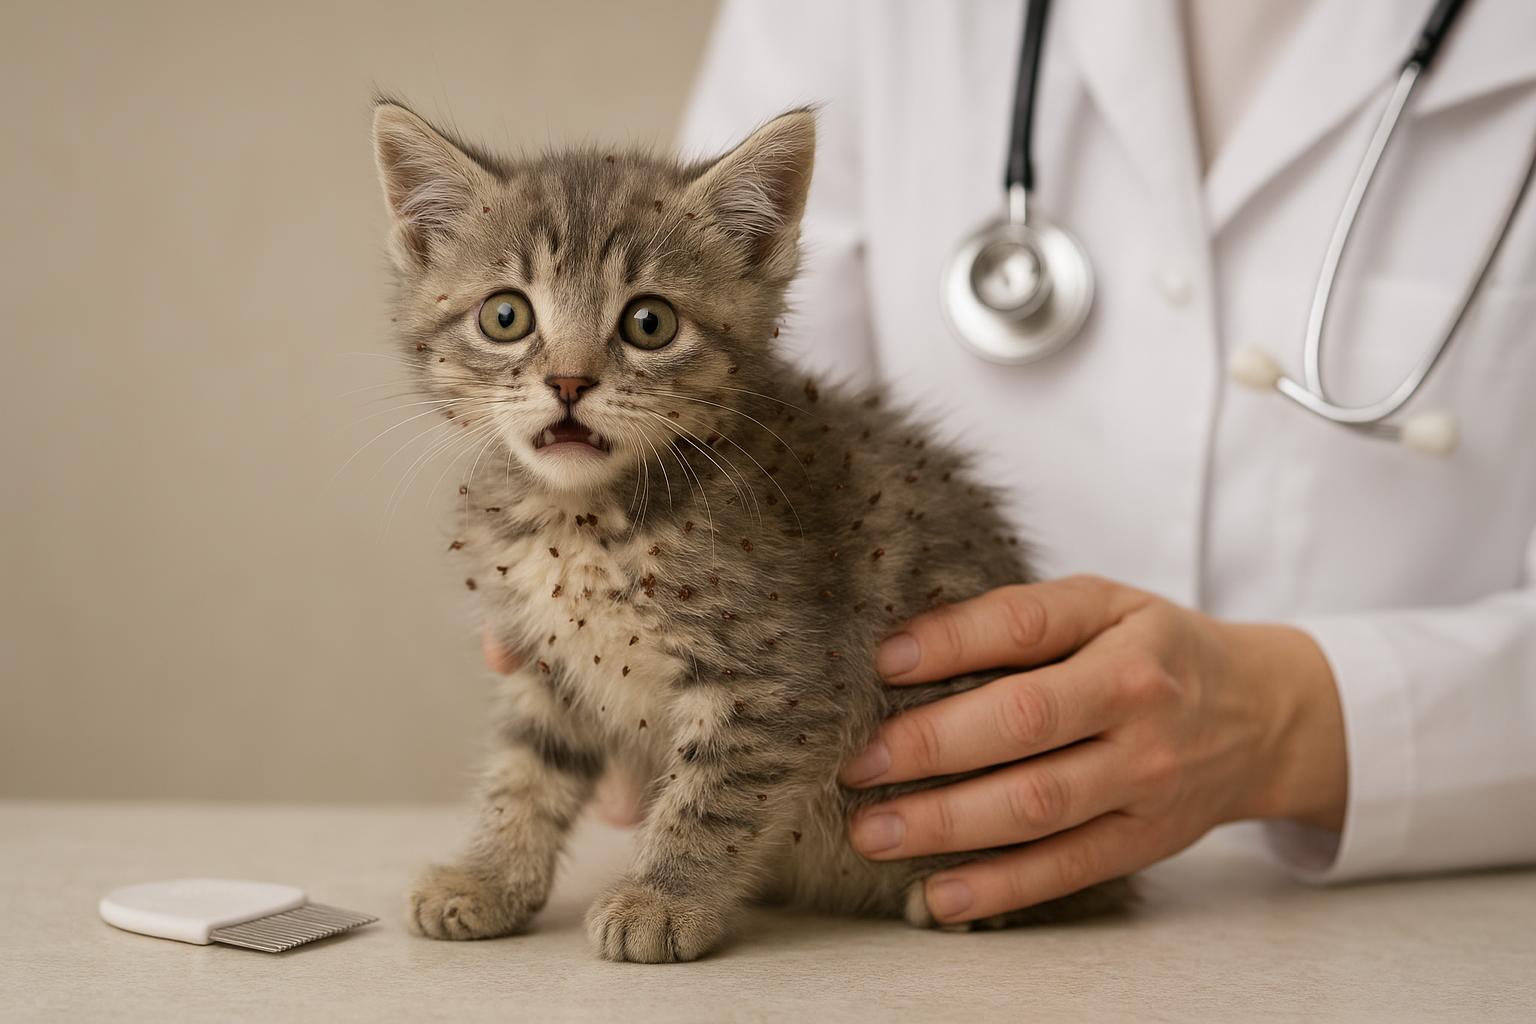
Vacuuming is more than just tidying up stray crumbs. When done correctly, vacuuming disrupts the flea life cycle by removing adults, eggs, larvae, and pupae from carpets, upholstery, and cracks. Flea eggs and larvae tend to hide in fibers and along baseboards; strong suction physically pulls them out before they develop into biting adults. Vacuuming also stirs up dander and debris that fleas feed on, making treated areas less hospitable.
Be realistic: vacuuming alone may not solve a heavy infestation, but it’s an essential and non-chemical pillar of integrated flea control. Combine it with pet treatment, laundering, and targeted residual insecticides when needed.
### Where To Focus Your Vacuuming Efforts
#### High-Traffic And Warm Spots
Fleas love warm, shady, and frequently used spots. Concentrate on:
– Areas where pets sleep and lounge
– Rugs, runners, and carpet edges
– Upholstered furniture and cushions
– Under beds and along baseboards
– Cracks in hardwood floors and crevices in stair treads
#### Timing And Frequency
For light to moderate problems, vacuum daily in pet resting areas and every other day in the rest of the house for at least two weeks. For heavy infestations, daily vacuuming for a month is recommended. The goal is to interrupt the life cycle continually as eggs hatch over several weeks.
## 1. Vacuuming Fleas: Materials And Step-By-Step Procedure
When it’s time to get methodical, follow this formal step-by-step protocol to maximize insect removal and reduce reinfestation risk.
#### Materials Required
– A high-suction vacuum cleaner (upright or canister) with a beater brush or rotating brush function
– A vacuum with a HEPA filter is preferred but not required
– Crevice tool and upholstery attachment
– Stiff brush (optional)
– Heavy-duty garbage bags
– Rubber gloves
– Laundry detergent and hot water (for bedding)
– Tape or disposable cloth to seal dust canister or bin if applicable
#### Procedure — Preparation
1. Remove clutter from floors and pet areas (toys, clothing, loose items).
2. Strip pet bedding and human bedding that may have pet contact and place items in a laundry basket or bag.
3. Put on gloves if you prefer not to handle debris directly.
#### Procedure — Vacuuming Technique (Formal Steps)
1. Set the vacuum to the appropriate height for the surface. Low enough for good suction, high enough to avoid damage.
2. Use the beater brush on carpeted areas; the rotating action helps dislodge fleas, eggs, and larvae. Move slowly — slow passes increase suction time and pickup efficiency.
3. Run the vacuum along baseboards and under furniture using the crevice tool. Flea eggs and larvae concentrate where carpet meets walls.
4. Vacuum upholstered furniture thoroughly with the upholstery attachment, including seams and under cushions. Remove cushions and vacuum the underlying frame if accessible.
5. For hardwood floors, use the vacuum without the rotating brush unless your model instructs otherwise; follow up with a damp mop if desired.
6. Pay extra attention to pet resting spots; vacuum both sides of removable cushions and inside pet crates.
7. After vacuuming each room, empty the vacuum bag or canister immediately. Seal the contents in a heavy-duty garbage bag and dispose of it outside the home the same day.
8. If your vacuum has a reusable dust bin, remove it and wash or wipe it out outdoors. Allow it to dry fully before reassembly.
#### Procedure — Frequency And Follow-Up
– Repeat the vacuuming cycle daily in trouble spots for at least two weeks; maintain regular deep cleaning for longer-term prevention.
– Wash pet bedding, rugs, and any removable covers in hot water (minimum 60°C/140°F or the hottest safe setting) and dry on high heat when fabric care labels allow.
– Monitor flea activity and adjust vacuuming frequency if you see new activity.
### Safety Notes And Equipment Care
– Emptying and sealing waste immediately helps prevent any captured fleas from re-emerging.
– Replace vacuum filters as recommended by the manufacturer and clean brushes to maintain suction power.
– If you’re using a bagged vacuum, replace the bag frequently during treatments; do not simply leave a full bag in the machine.
– Avoid using strong pesticides around pets without veterinary guidance.
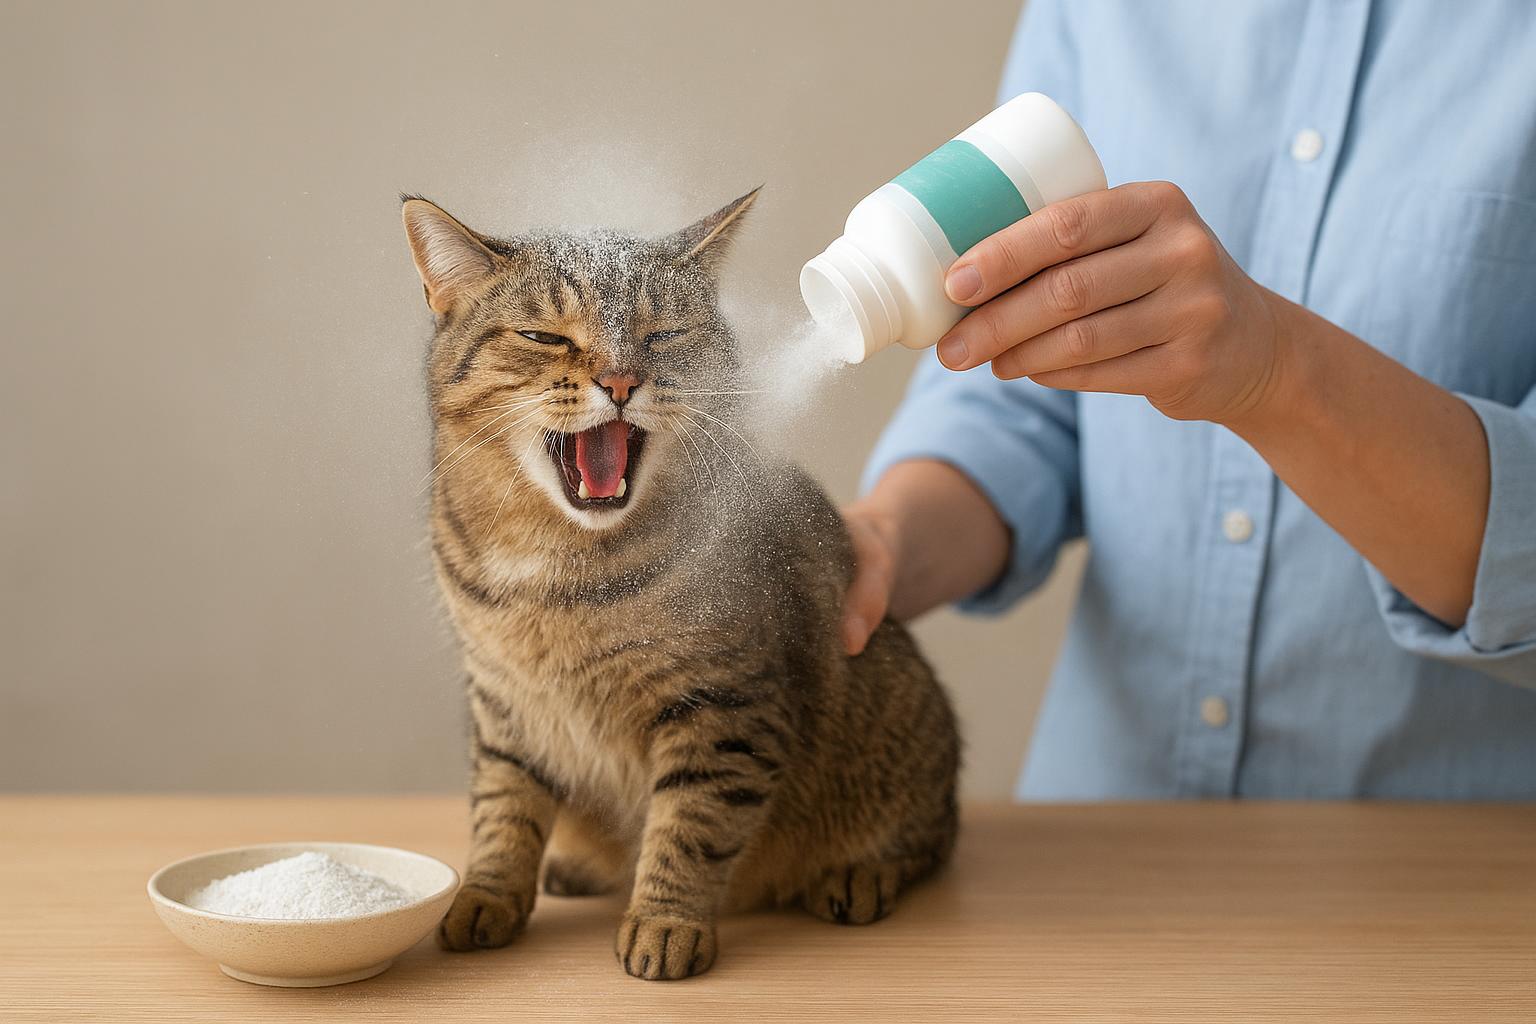
## 2. Salt, Diatomaceous Earth, And Other Dry Treatments (Optional Complement)
If you want a non-chemical desiccant strategy to augment vacuuming, this numbered treatment is commonly used. It’s supplementary and should be combined with vacuuming for best results.
#### Materials Required
– Food-grade diatomaceous earth (DE) or fine-grain salt
– Gloves and dust mask (to avoid inhalation)
– Fine sieve or shaker
– Broom or brush
– Vacuum cleaner as described above
#### Application Instructions
1. Lightly dust the treatment area with a thin, even layer of DE or salt. Focus along baseboards, under beds, and in carpet fibers on pet resting spots.
2. Let the material sit for 48–72 hours, during which it dehydrates larvae and adults on contact.
3. After exposure time, vacuum thoroughly — remember to dispose of vacuum contents immediately as in the formal vacuuming steps.
4. Repeat if needed, but avoid overapplying — a thin film is more effective than piles.
Note: Diatomaceous earth can be mildly abrasive; avoid heavy use on delicate textiles and keep away from areas where birds are present.
### Making A Simple Flea Trap (Optional Low-Tech Tool)
A small DIY trap can capture adult fleas and help you monitor progress. Use a low bowl of soapy water and a night light—fleas are attracted to warmth and light and will jump into the trap. This is not a stand-alone solution but a helpful monitor.
#### Materials
– Shallow bowl
– Water and dish soap
– Small lamp or nightlight
#### Steps
1. Fill the bowl with warm water and a few drops of dish soap.
2. Place the bowl on the floor in a pet resting area. Position a lamp so the light and heat shine over the bowl.
3. Leave overnight and check in the morning. Clean and repeat as needed.
### Aftercare, Monitoring, And When To Call A Pro
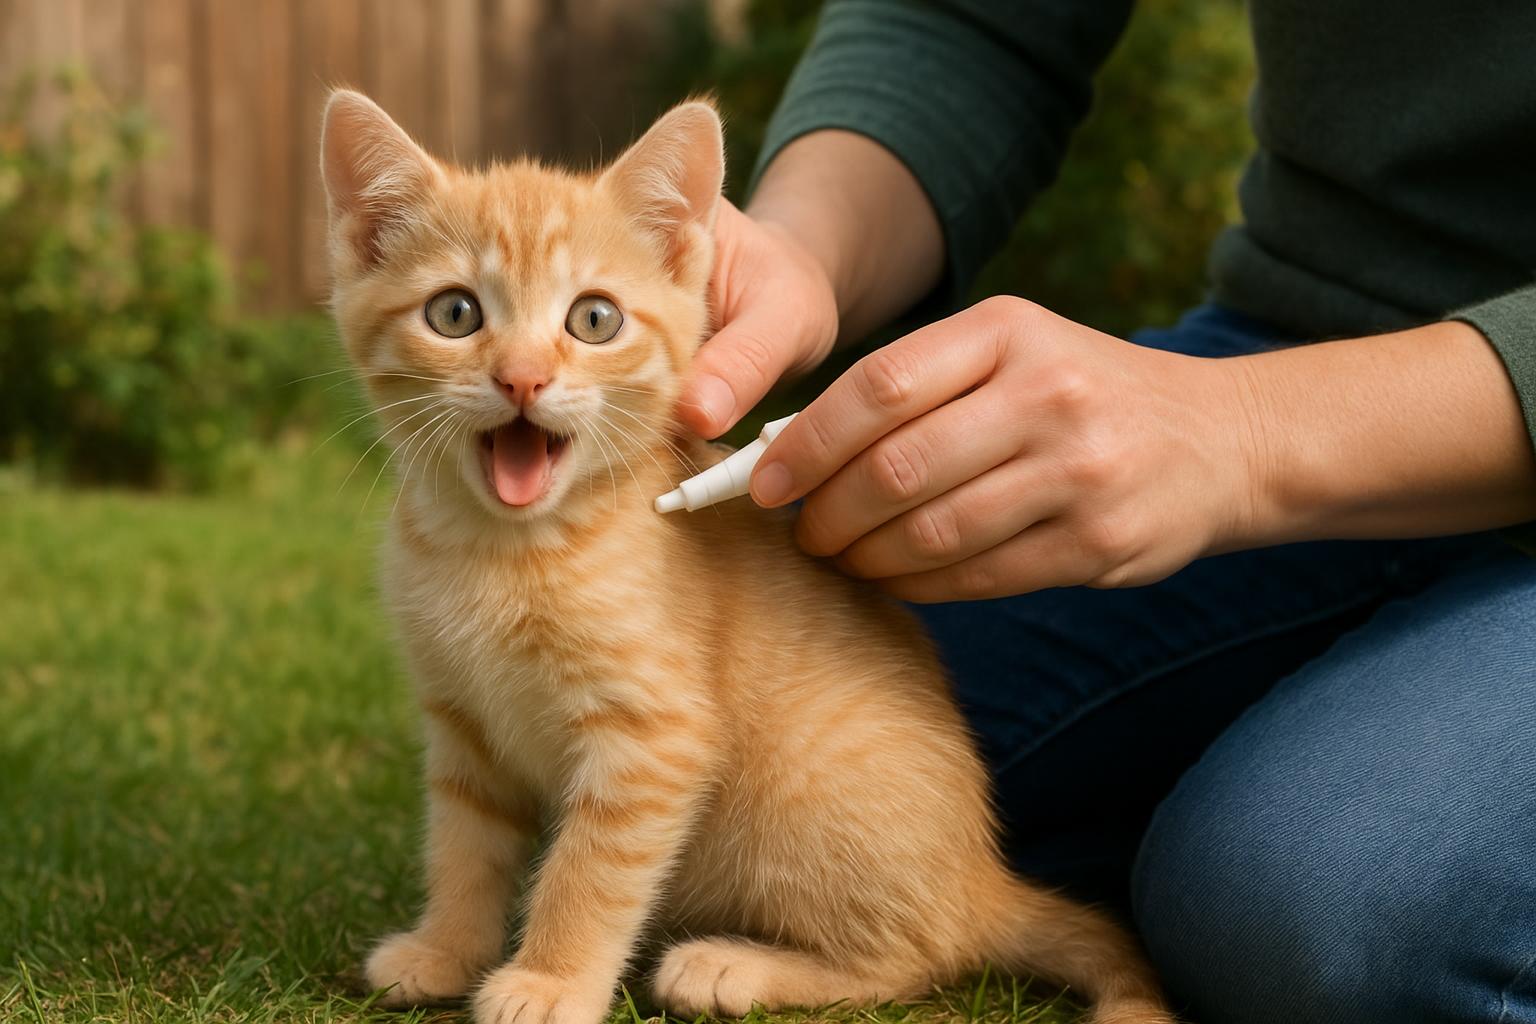
Even with rigorous cleaning, fleas can persist due to outer environments or untreated wildlife. Continue daily inspection of pets, maintain vacuuming cadence, and launder bedding regularly. If you notice ongoing bites on pets or family members despite thorough vacuuming and home remedies, consult your veterinarian for pet treatments and consider a licensed pest management professional for household treatments.
Keep a log of when you vacuum, wash bedding, and treat pets; it helps track the life-cycle interruption and tells professionals what you’ve already tried.
### Practical Tips That Make Vacuuming More Effective
– Move slowly while vacuuming — more time equals better suction.
– Focus on where pets sleep; even a single stray egg can reignite an infestation.
– Rotate between beater brush and attachments based on surface to avoid wear and tear.
– Consider a professional-grade vacuum rental for severe infestations; rental units often offer superior suction.
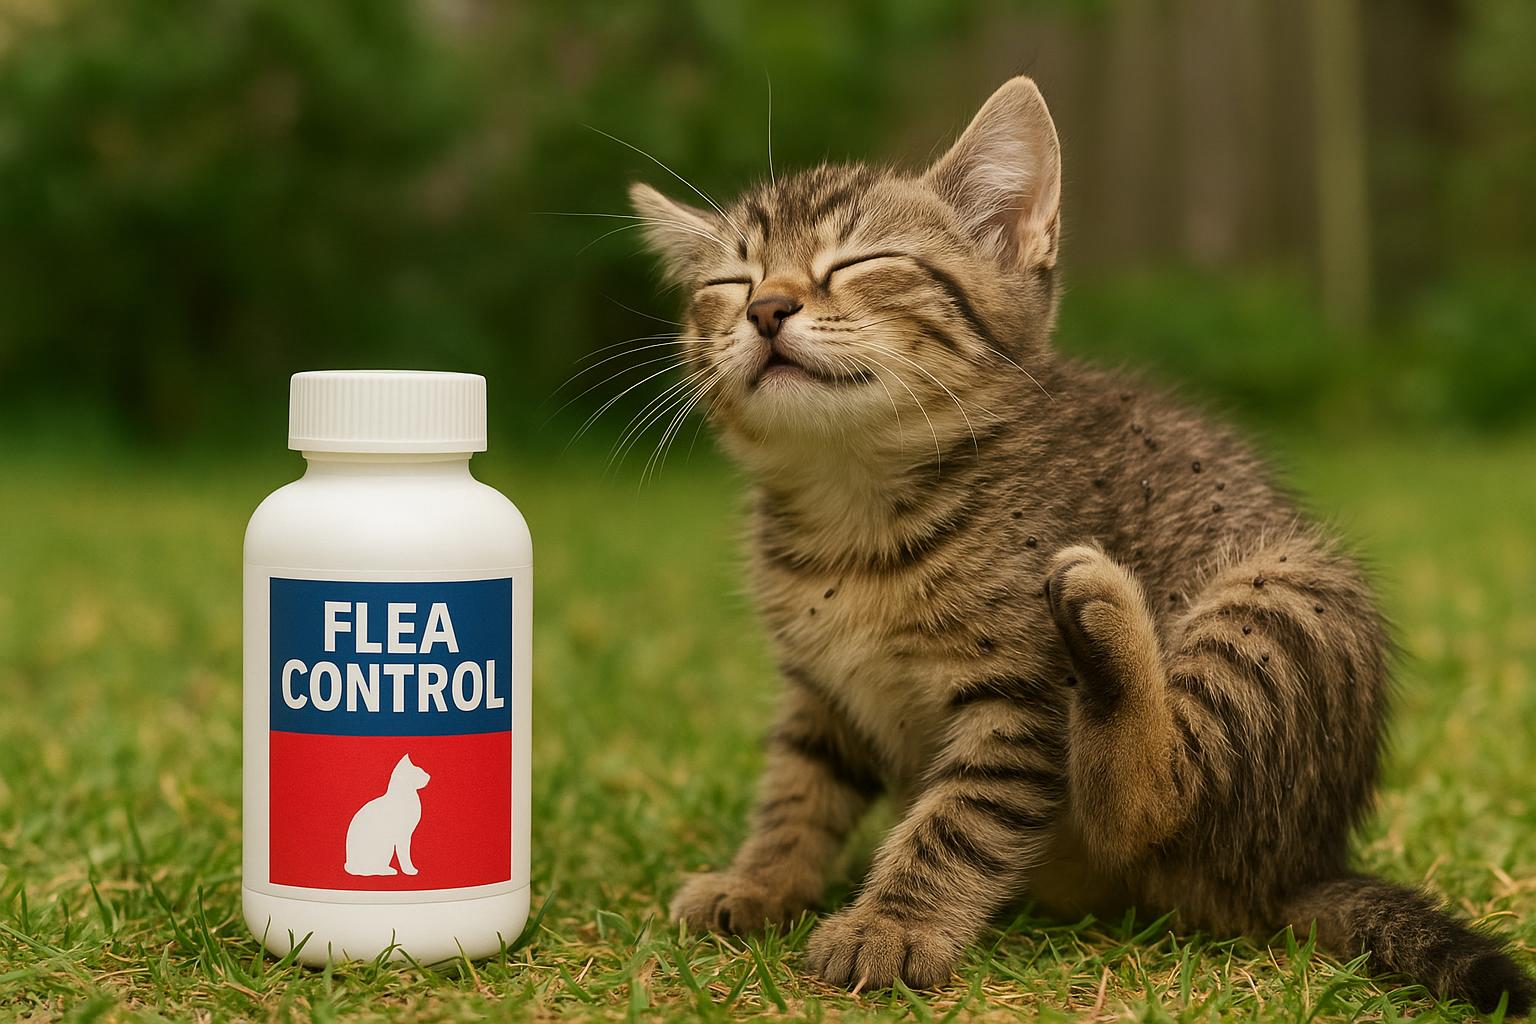
– Maintain pet flea prevention year-round as a primary defense.
A final friendly nudge: patience is key. Flea life cycles can span weeks, and your clean-home efforts may take time to show results. Keeping up the disciplined vacuuming ritual — along with other targeted cleaning and pet care — is the most reliable path back to a calm, bite-free home.


Leave a Reply