Welcome! If you’ve ever found tiny black specks on your cat and wondered whether your sofa has been hosting a tiny coffee grounds convention, you might be looking at something called flea dirt. Let’s walk through what flea dirt is, how to check your pet, and what to do if you find it — without turning your living room into a forensic lab (unless you want to, in which case I’ll try to stay out of the evidence photos).
## Flea Dirt On Cats: What It Means
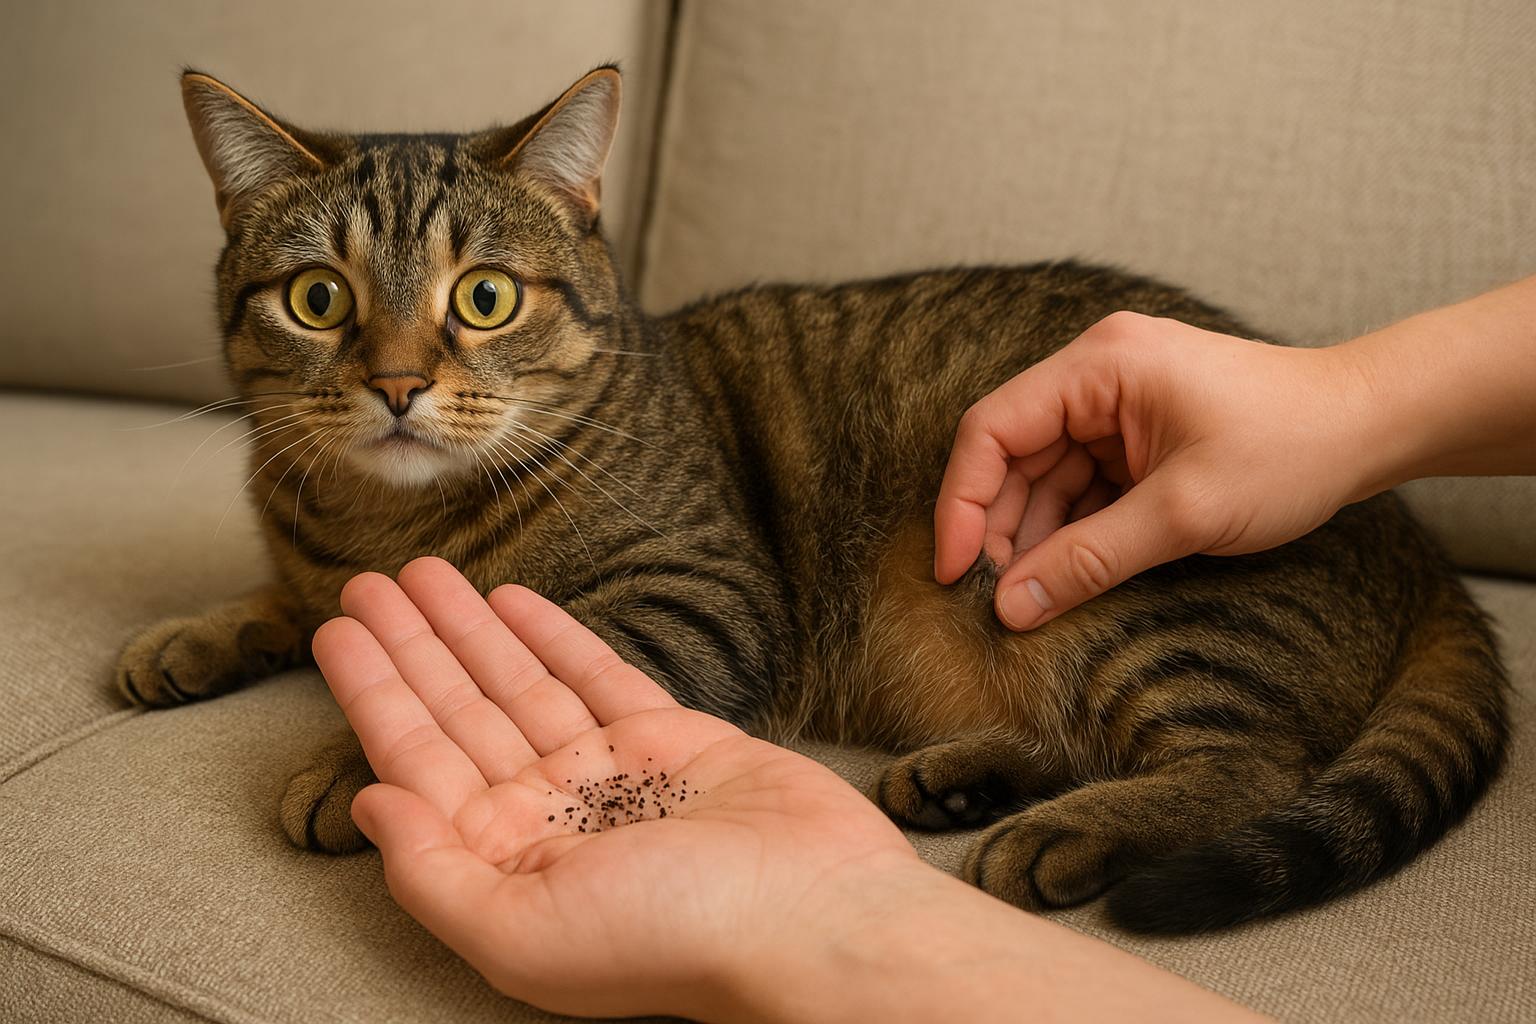
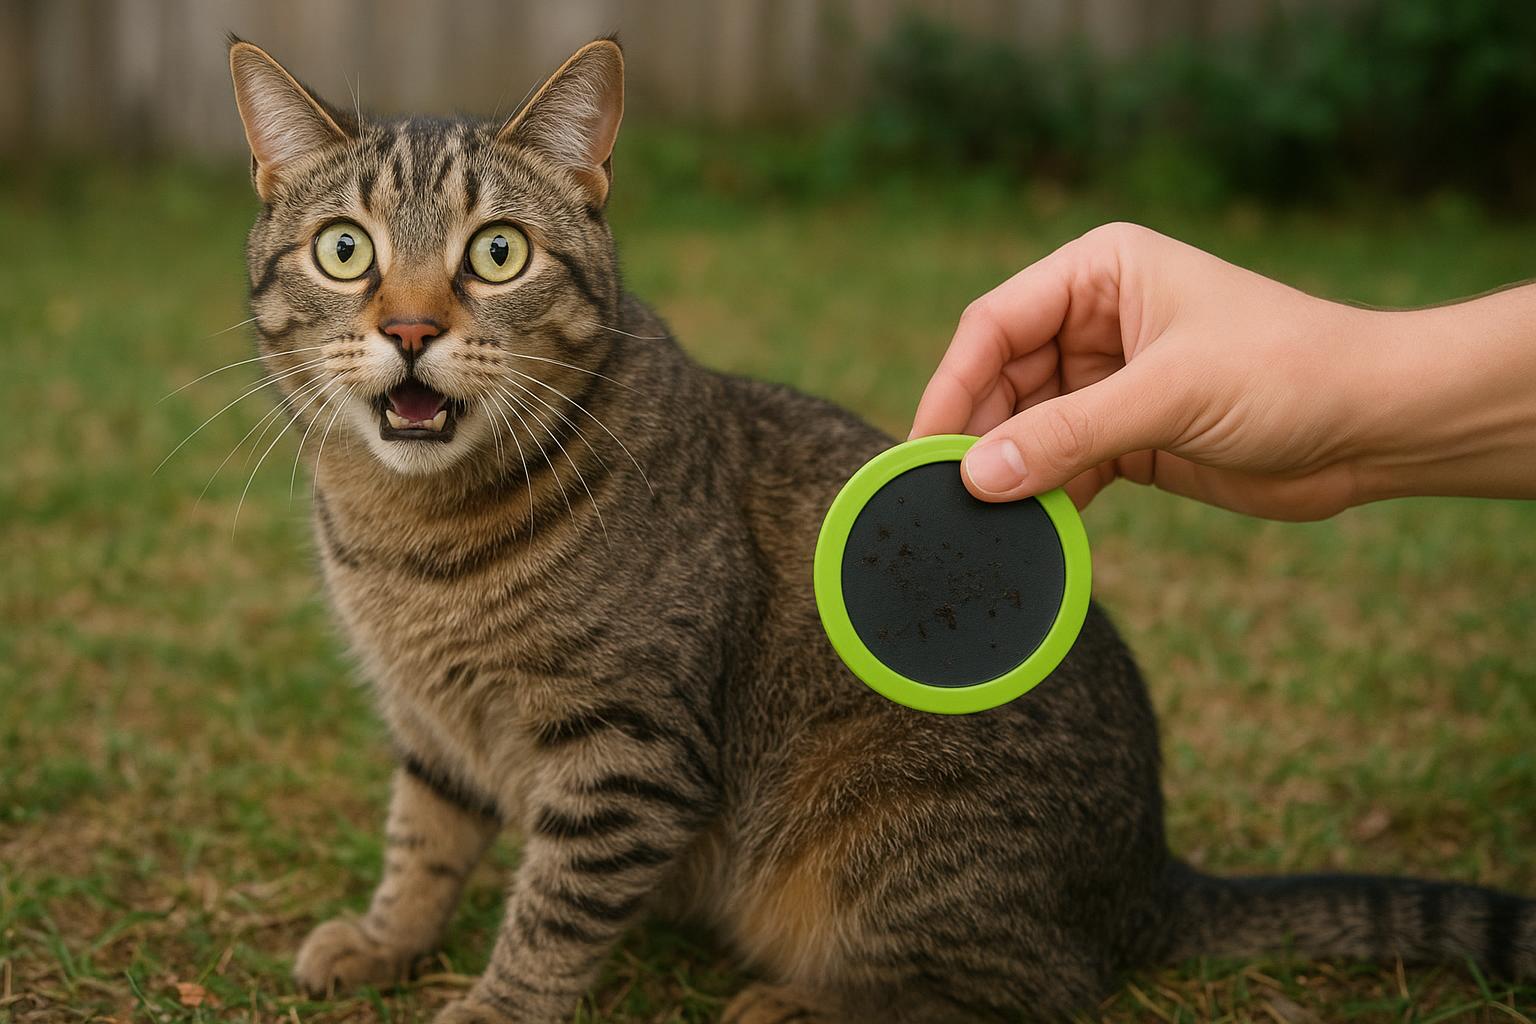
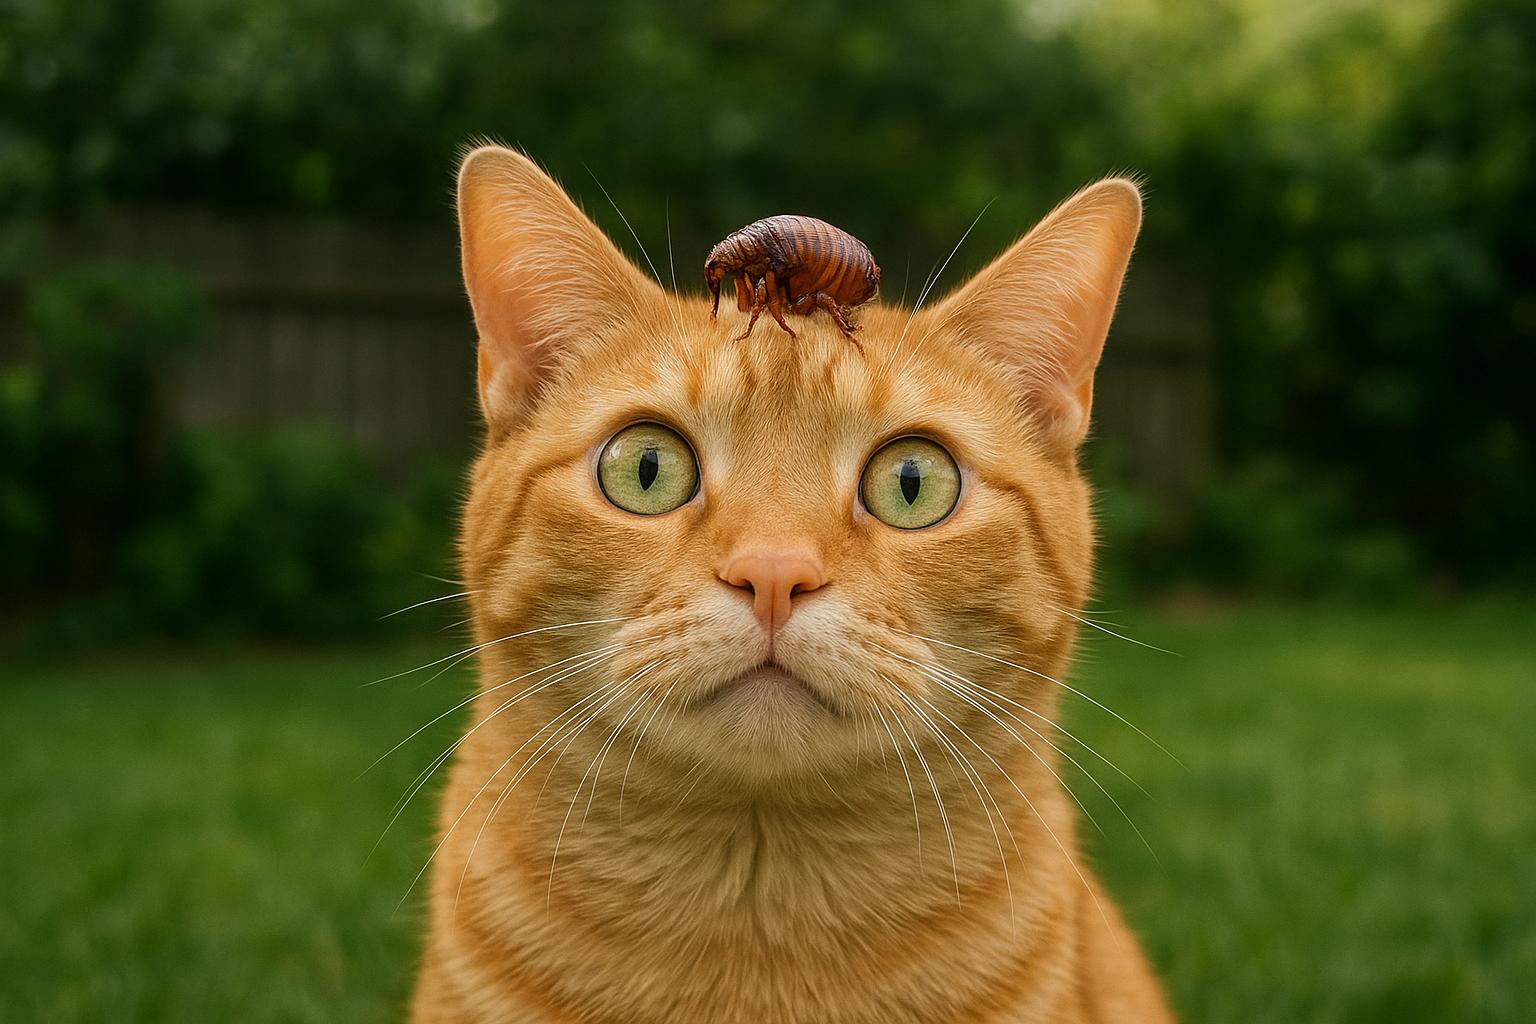
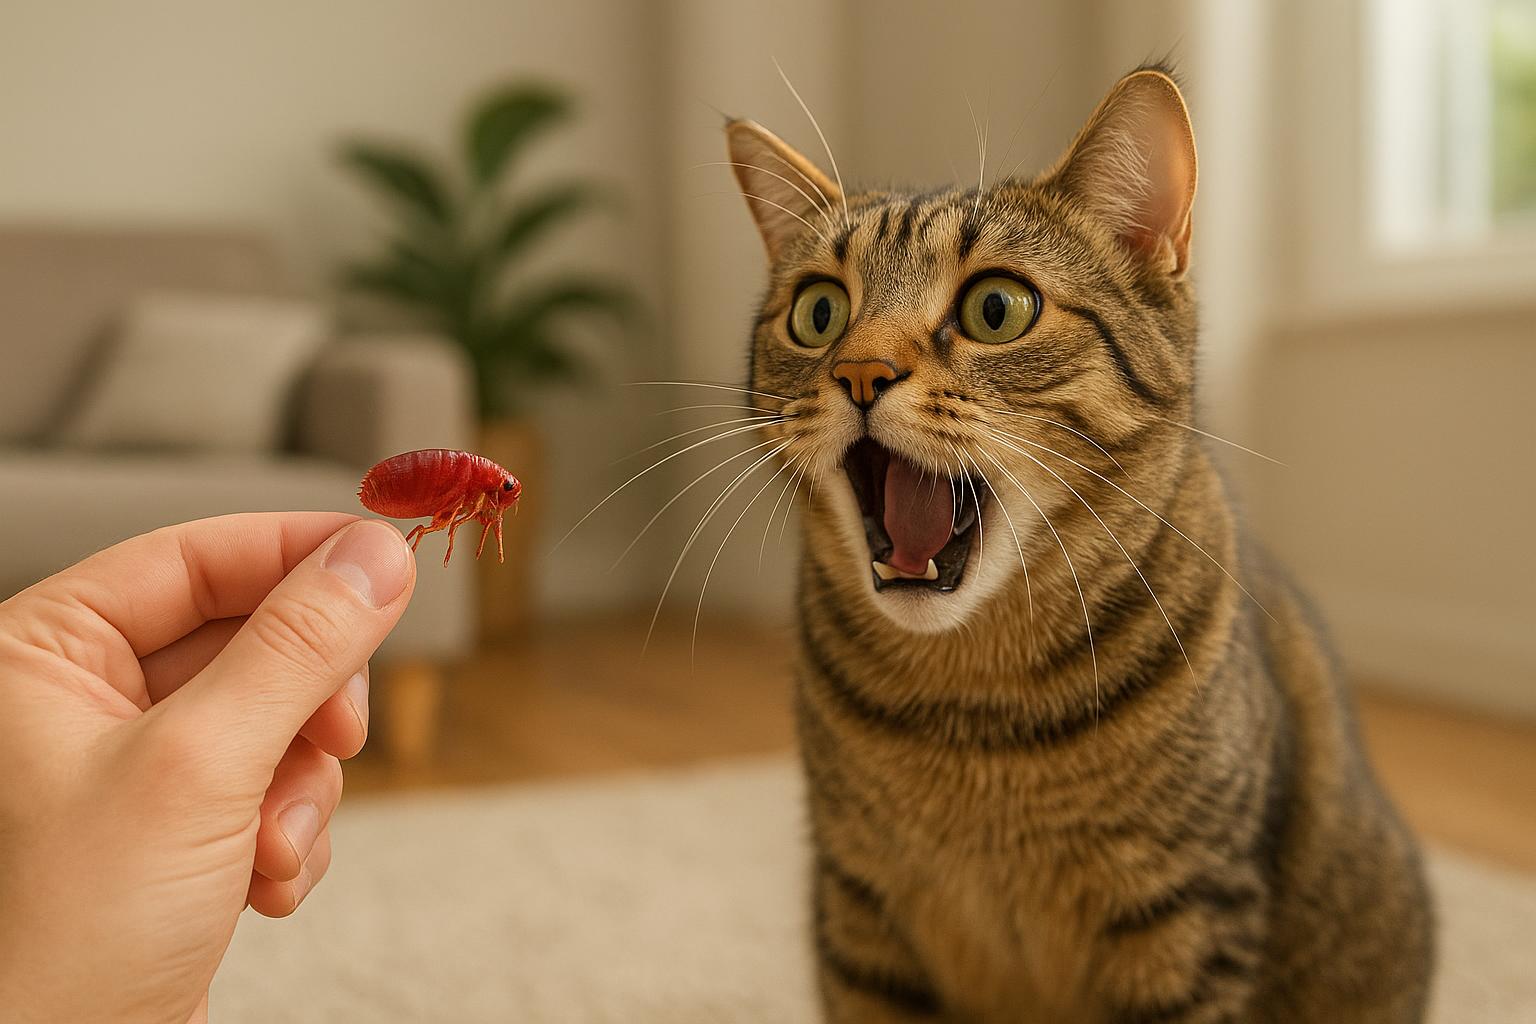
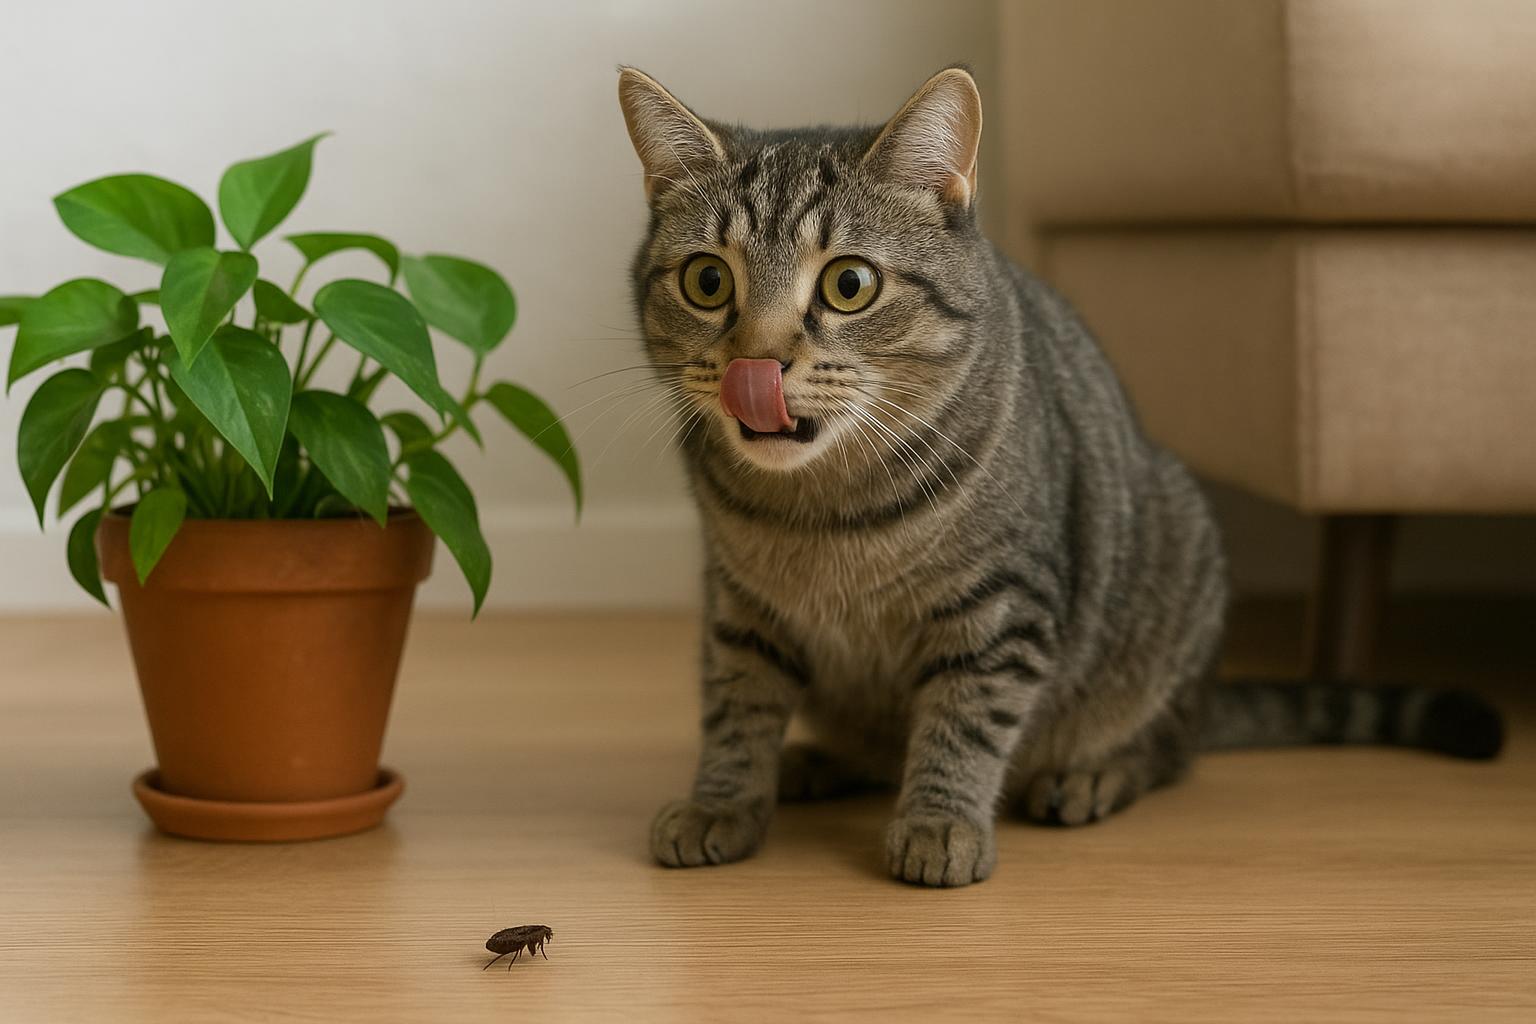
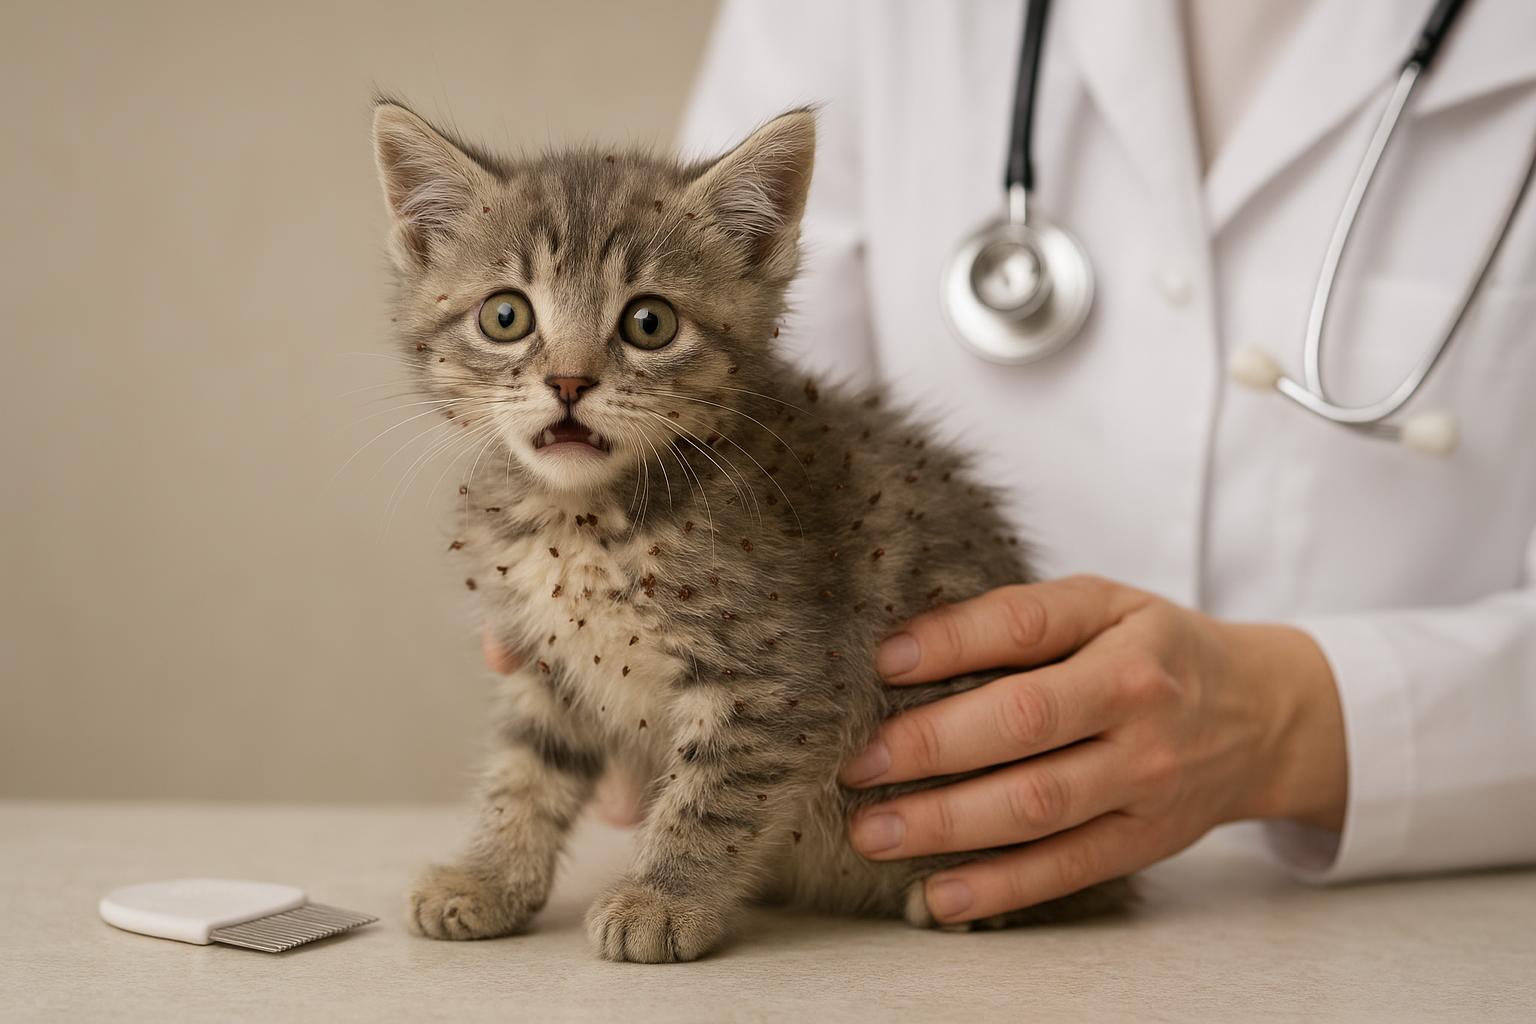
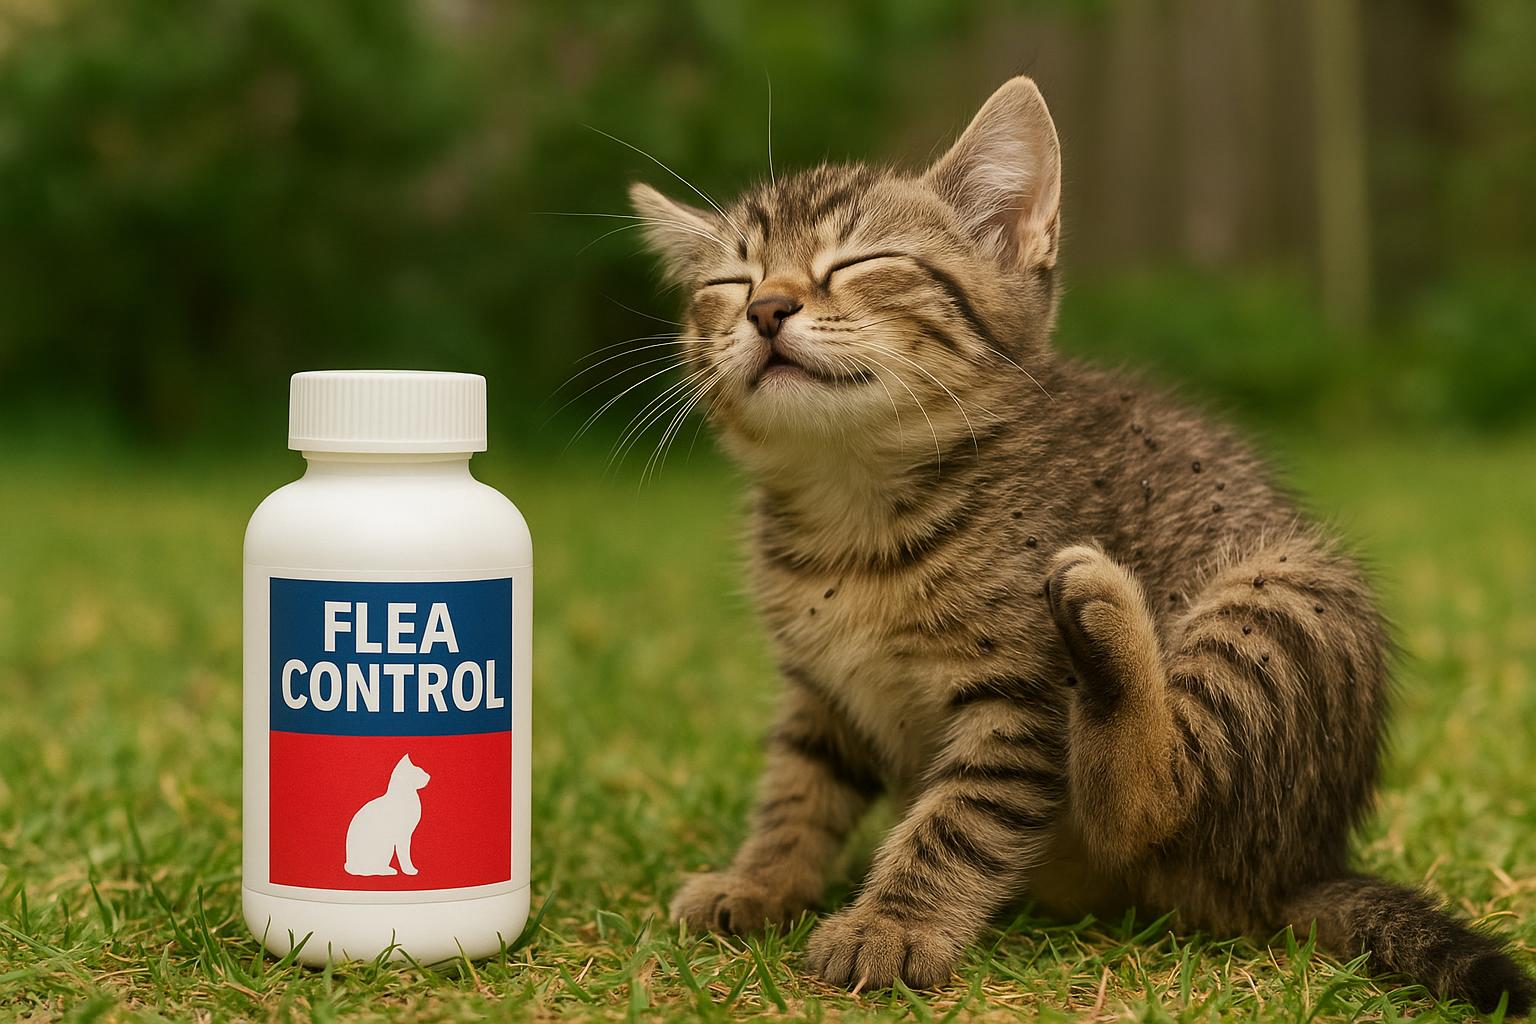
Flea dirt is basically flea poop — not glamorous, but very telling. It looks like tiny black or dark brown specks on your cat’s fur, often around the base of the tail, neck, and belly. These specs are dried blood that adult fleas have fed on and excreted. If you find flea dirt, it’s a strong indicator that fleas have been feeding on your pet recently.
Finding flea dirt doesn’t necessarily mean your cat has a full-blown infestation yet, but it does mean fleas have been present. Even a small number of fleas can cause itching, skin irritation, or, in sensitive cats, allergic reactions. Kittens and indoor-only cats can be at higher risk of complications because they may be less able to groom effectively or tolerate blood loss.
### What Flea Dirt Looks Like
Flea dirt often looks like coarse black pepper or ground coffee. If you wet it, it typically turns a rusty red or brown as the dried blood dissolves — that’s one quick test to distinguish flea dirt from other debris like dirt or lint. Flea dirt tends to be concentrated close to the skin where fleas can reach and feed, so don’t just scan the topcoat.
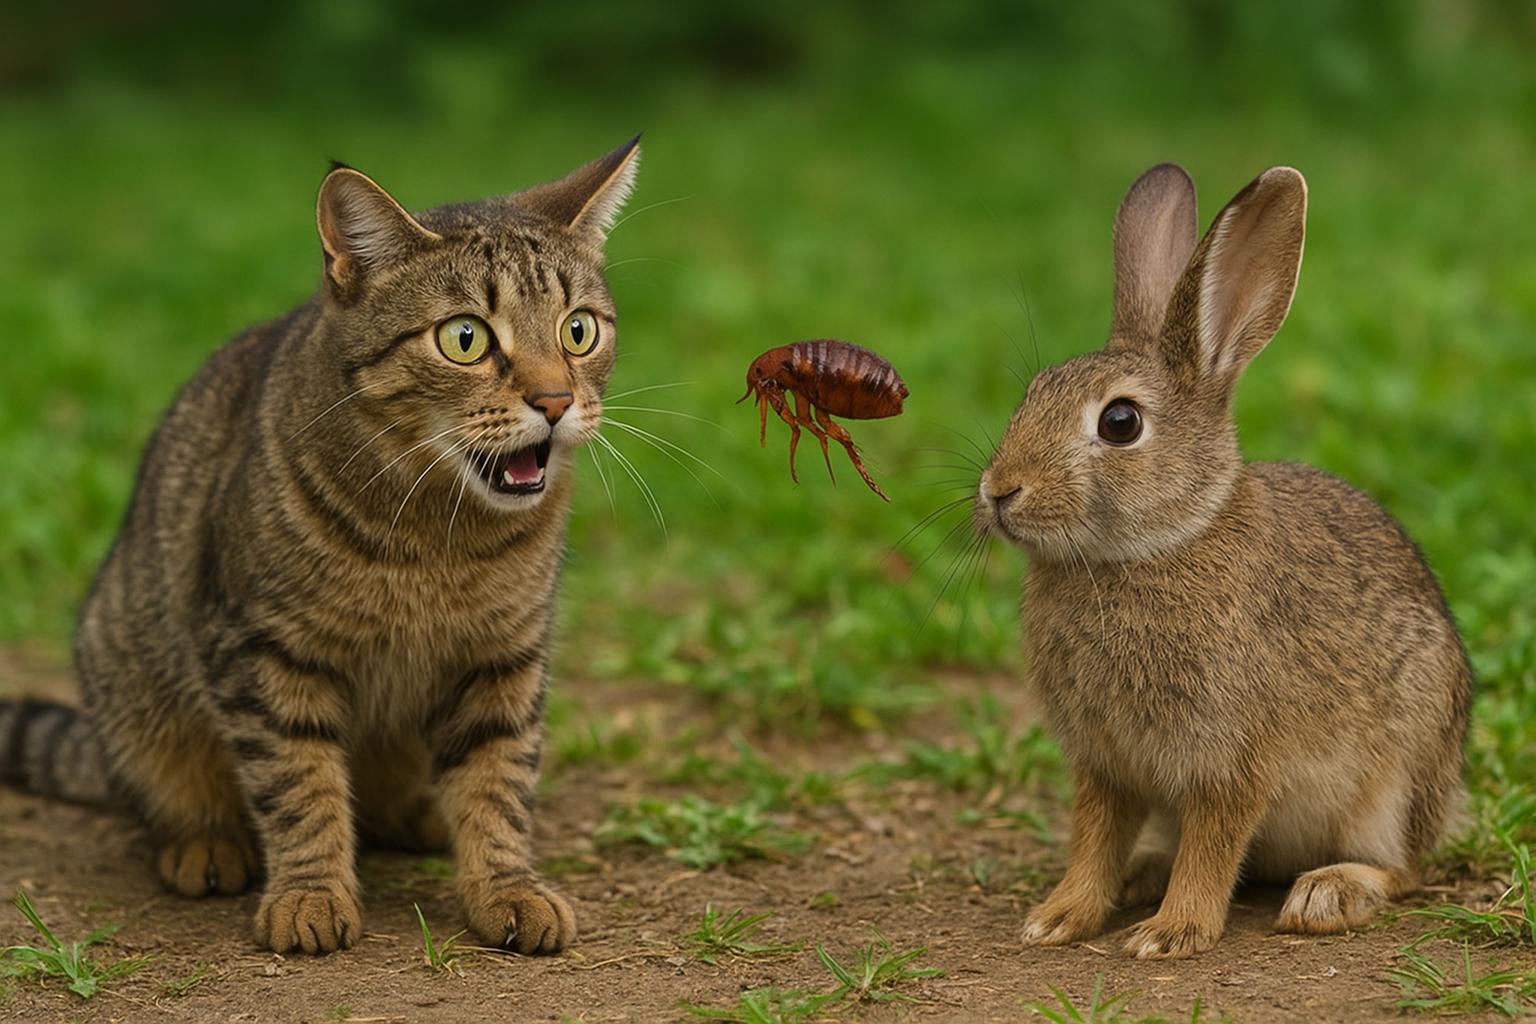
### How Fleas Affect Cats
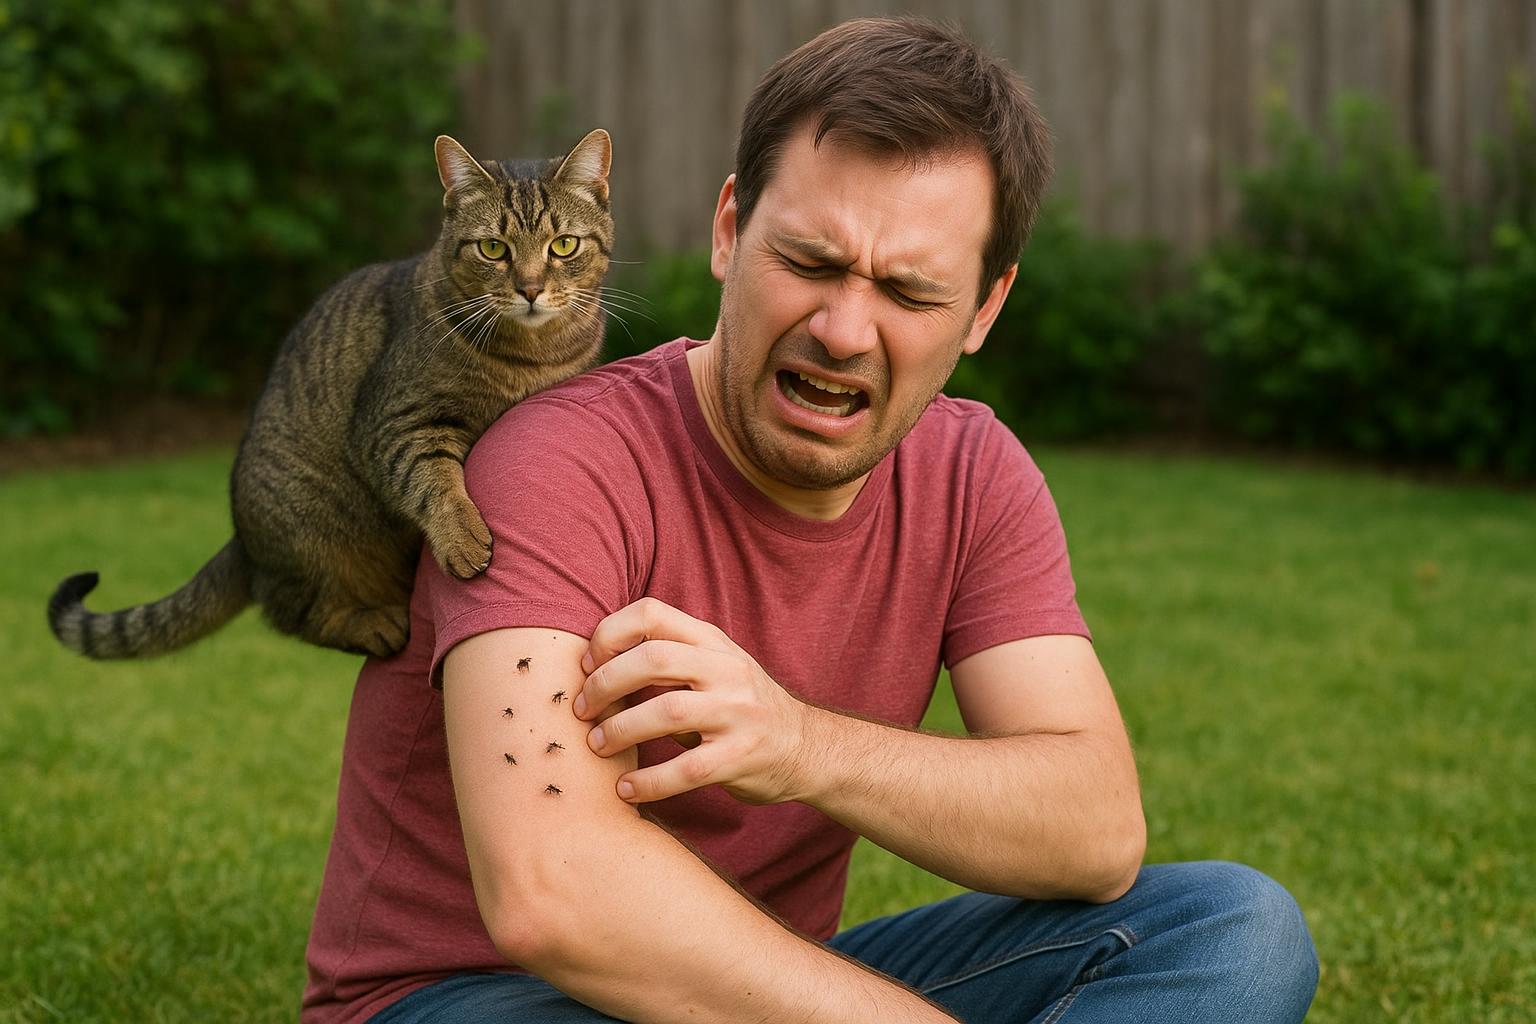
Fleas can cause:
– Intense itching and scratching.
– Hair loss or broken hairs from over-grooming.
– Red, inflamed, or scabbed skin.
– Flea allergy dermatitis (FAD) in sensitive animals, where one or two flea bites cause severe reactions.
– Anemia in heavy infestations, especially in kittens.
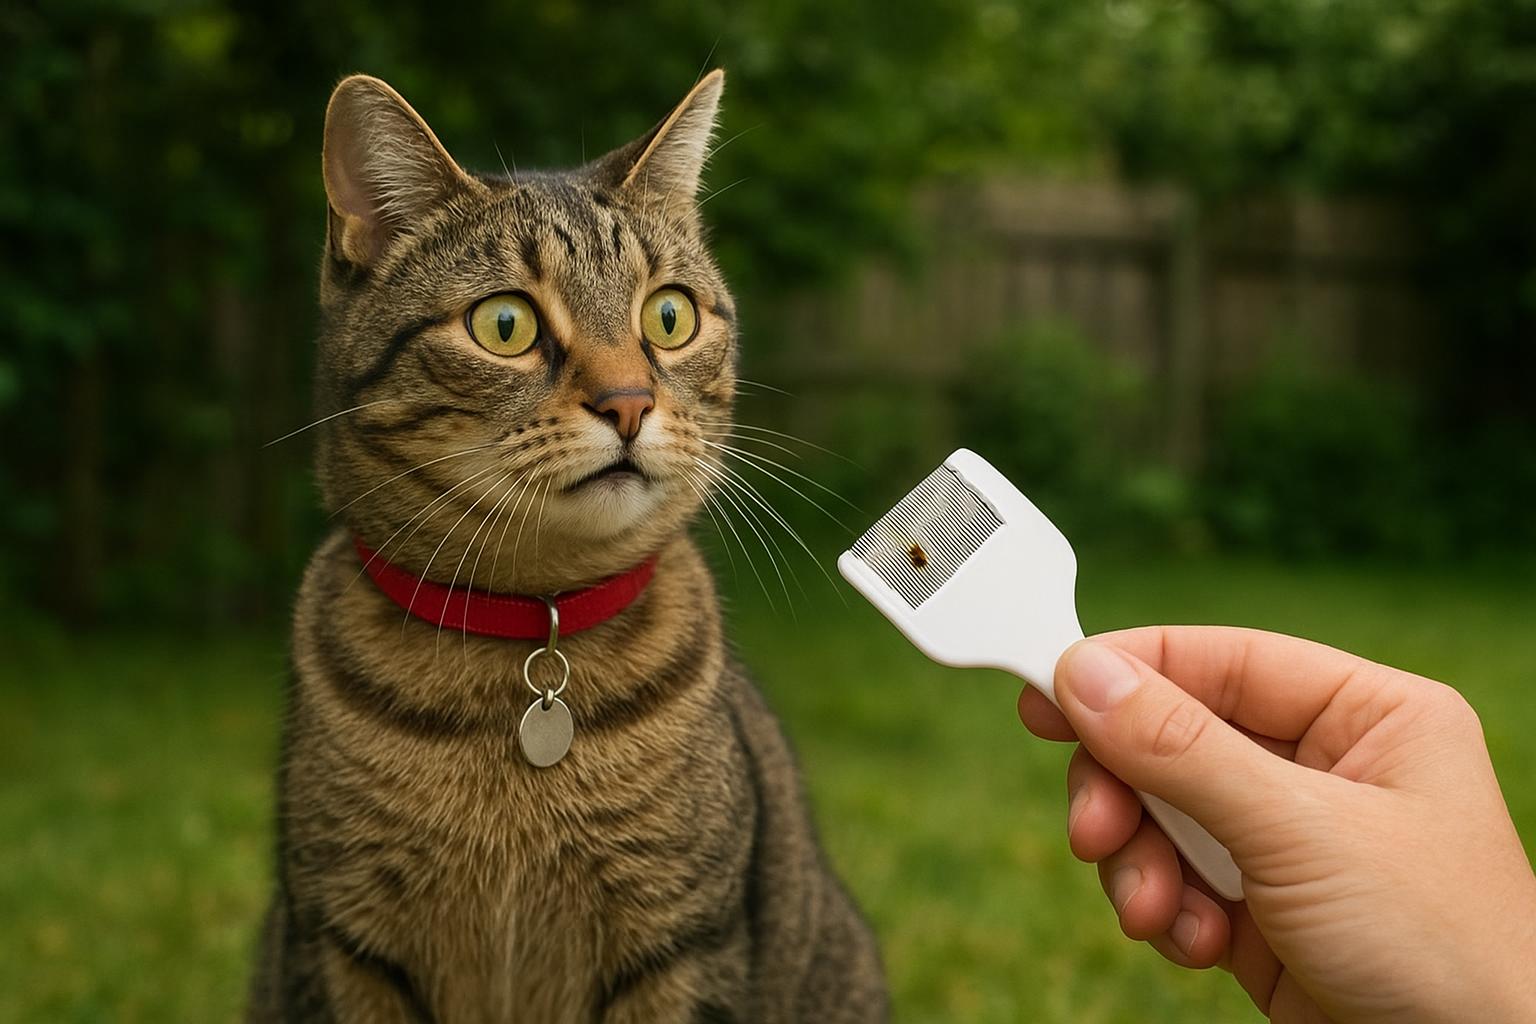
## How To Check Your Pet For Flea Dirt
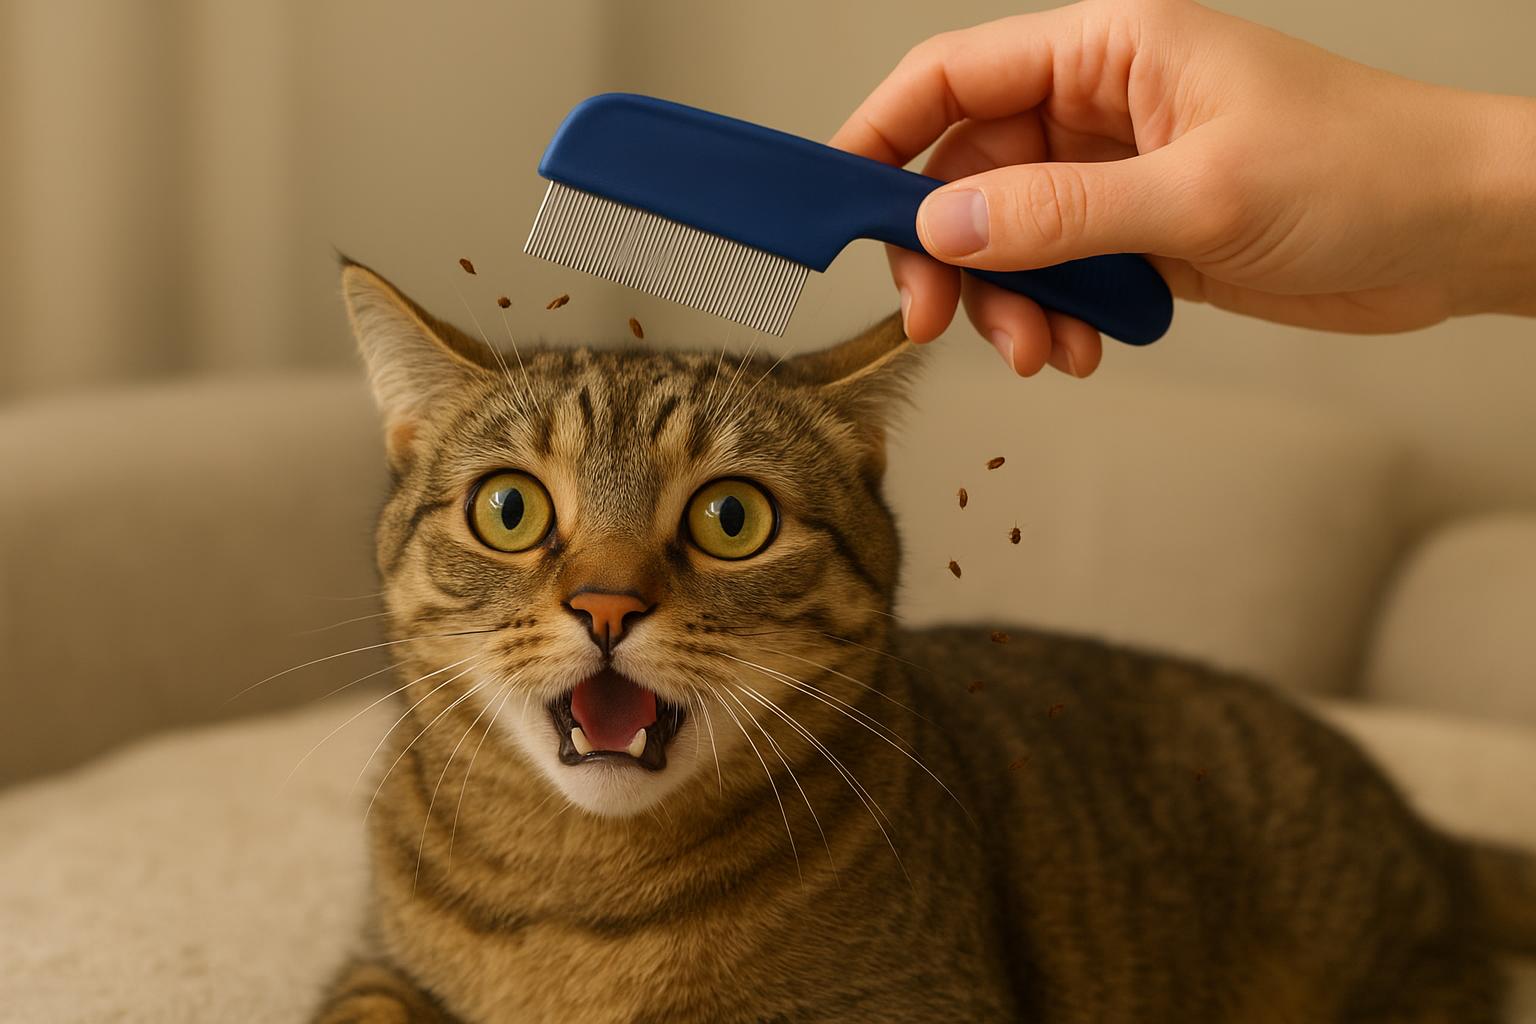
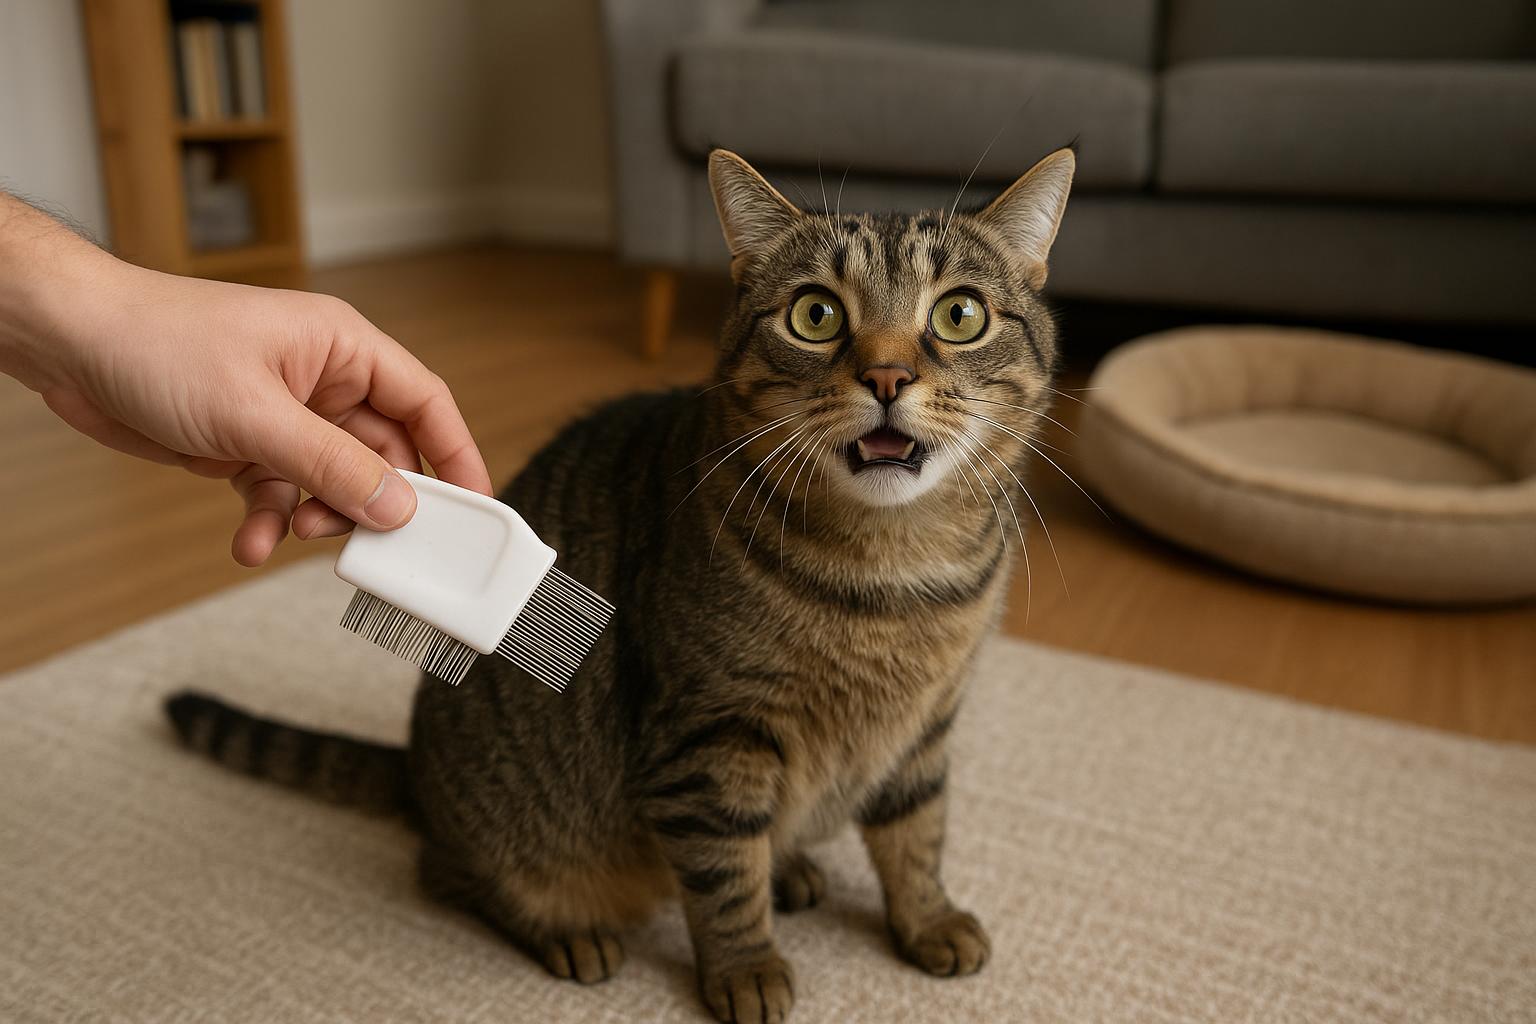
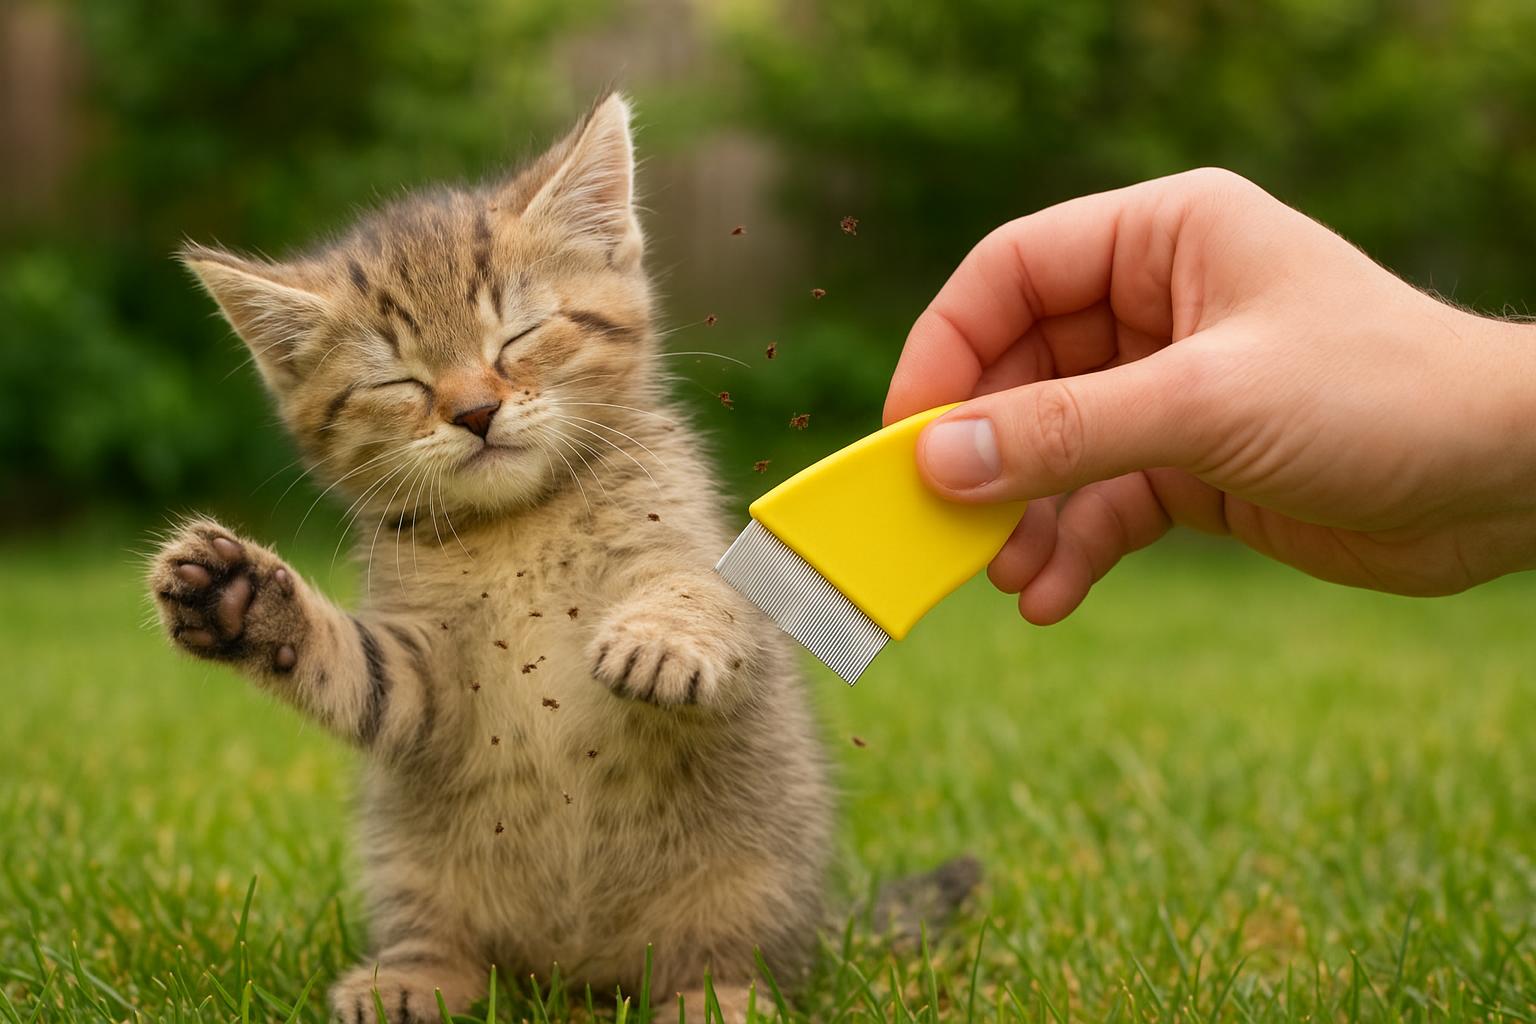
Checking for flea dirt is quick and can be done at home. You’ll need a well-lit spot, a fine-toothed flea comb, and perhaps a white towel or paper towel. Stay calm — cats can pick up on panic and will wriggle away if you treat inspection like a wrestling match.
### Where To Look
Focus on areas fleas prefer:
– Base of the tail
– Between shoulder blades
– Around the neck, especially where a collar sits
– Under the belly and around the groin (be gentle here)
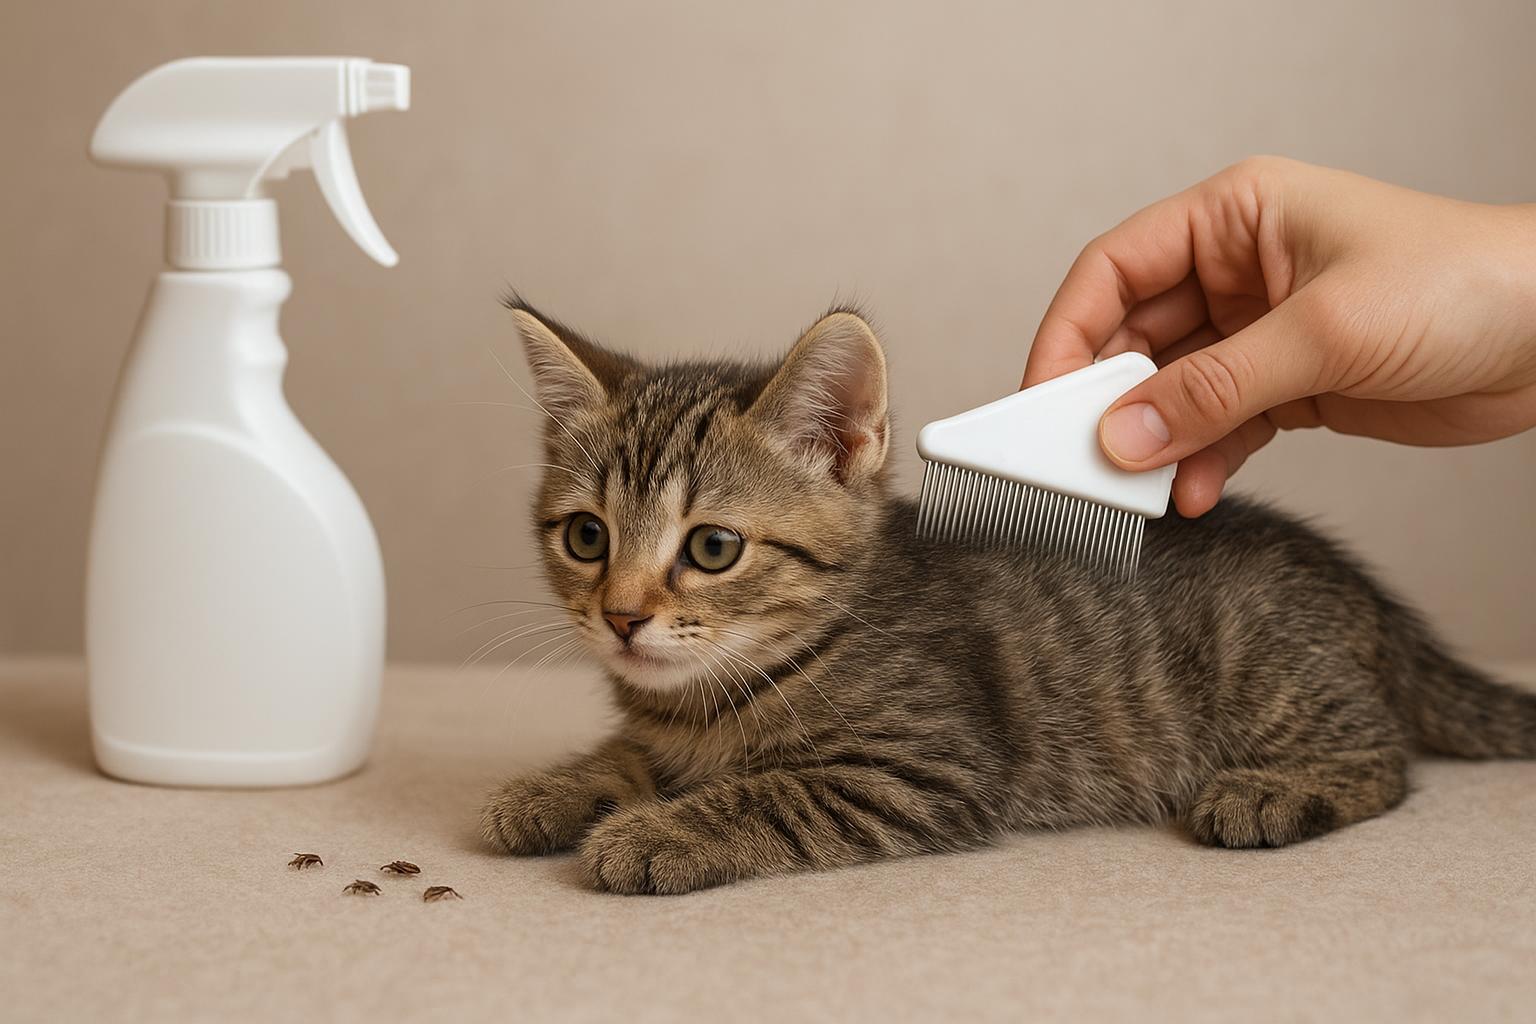
Gently part the fur and look closely at the skin and undercoat. Use a flea comb to comb through the fur and catch loose debris and fleas. If the comb picks up tiny dark specs, transfer them to a damp white towel or paper towel and press them. If the specks dissolve into reddish streaks, that’s flea dirt.
### The White Towel Test
This test is a low-tech classic:
– Place a white towel or large paper towel on your lap or floor.
– Comb your cat over the towel so any debris falls onto it.
– Moisten a speck with a drop of water or press it with your fingertip. If it turns reddish-brown, you’ve found flea dirt.
If you prefer to avoid touching the debris, trap it between two pieces of clear tape and press one corner onto a damp paper towel to look for color change.
## Remedies 1: Home Detection And Cleaning
If you discover flea dirt, acting promptly reduces the chance of a larger infestation. This home remedy plan focuses on detection, immediate cleaning, and reducing flea numbers on your cat and in the environment. It is intended for mild situations and as an initial response; always consult a veterinarian for heavy infestations or if your cat is very young, old, sick, or pregnant.
Ingredients / Materials:
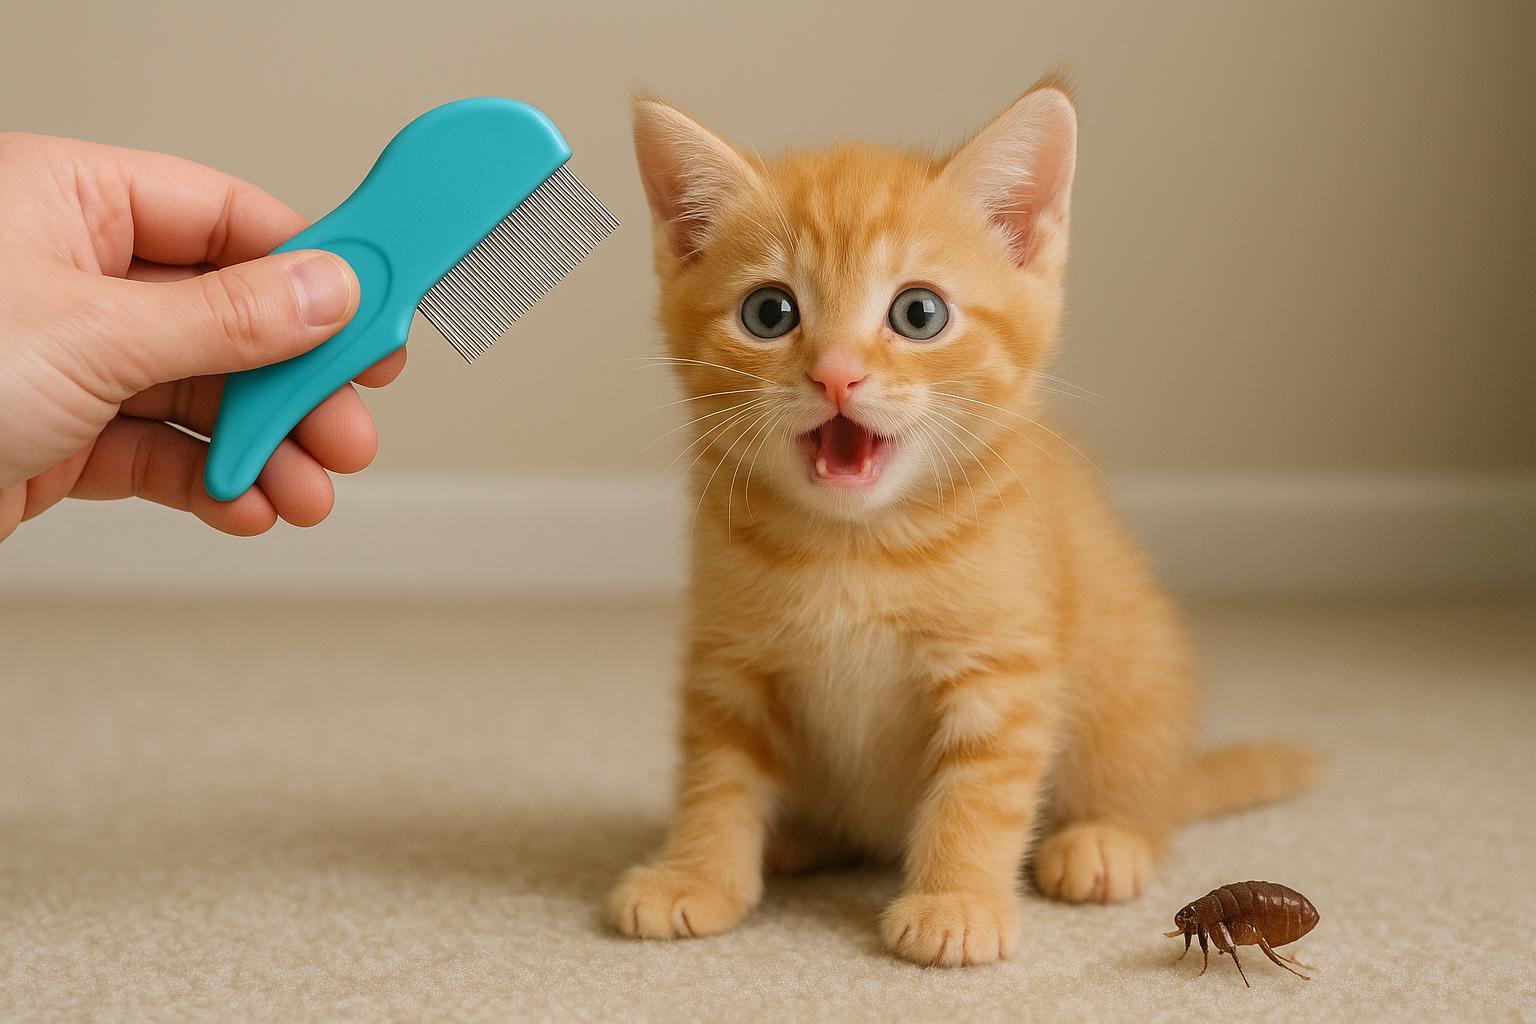
– Fine-toothed flea comb
– Two clean white towels or paper towels
– Warm water
– Mild dish soap or pet shampoo (vet-approved)
– A bowl or shallow dish
– Vacuum cleaner with attachments
– Laundry detergent and hot water for bedding
Step-by-Step: Detection And Cleaning
1. Prepare: Choose a calm time and gather materials. Work in a well-lit area on a towel or washable surface.
2. Comb Thoroughly: Use the flea comb to comb sections of fur closely against the skin. Focus on the base of the tail, neck, and belly. Comb toward the tip of the hair to collect debris and fleas.
3. Use The White Towel Test: Tap the comb onto a damp white towel or paper towel. Inspect for reddish-brown streaks (flea dirt).
4. Remove Live Fleas: If you find live fleas, dip the comb into a bowl of warm, soapy water between comb passes to drown any captured fleas. Replace water if it becomes loaded with debris.
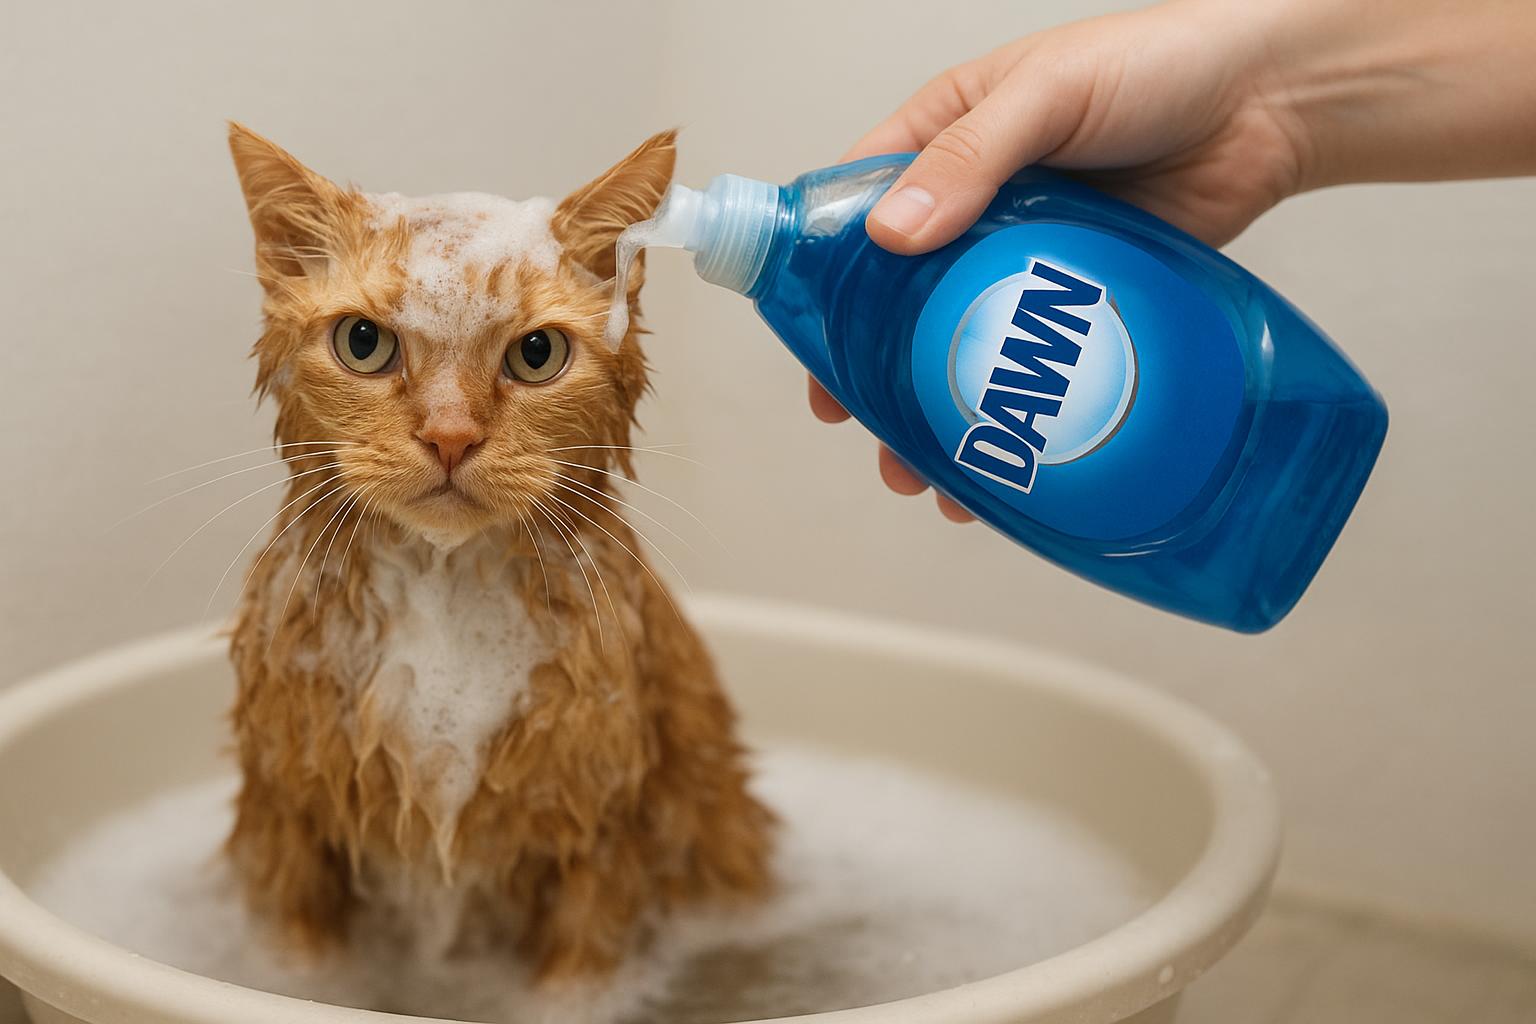
5. Bathe If Appropriate: If your cat tolerates baths and your vet approves, a bath with a mild pet shampoo can remove some fleas and flea dirt. Rinse thoroughly. For cats that hate water, spot cleaning with a damp cloth and combing is preferable.
6. Clean The Environment: Vacuum carpets, rugs, furniture, and pet bedding daily for at least two weeks. Immediately dispose of the vacuum bag or empty the canister outdoors. Wash bedding in hot water and dry on high heat.
7. Treat Household Areas: Consider washing or steam-cleaning areas where your cat spends time. Flea eggs and larvae live in carpets and upholstery; thorough cleaning helps interrupt their lifecycle.
Be mindful: home measures reduce flea numbers but rarely eliminate infestations entirely. For comprehensive control, combine home measures with veterinary-approved prevention.
## Remedies 2: Veterinary Treatment And Prevention
When flea dirt is present, professional-grade products and veterinary guidance are the most reliable path to resolution. This section is more formal because we’re discussing medications and medical decisions — your cat’s health is worth it.
Materials / Considerations:
– Current veterinary records, including age, weight, medical conditions, and pregnancy/lactation status
– List of any medications or supplements your cat is taking
– Prescription flea products (topical spot-ons, oral tablets, collars) as recommended by your veterinarian
– Environmental control products (household sprays or foggers), used only if advised by your vet or pest control professional
Step-by-Step: Veterinary Approach
1. Schedule A Veterinary Visit: Book a consult to confirm flea presence, assess skin condition, and rule out other issues. Bring photos and notes about behavior and where you found the flea dirt.
2. Diagnosis And Assessment: The veterinarian will perform a physical exam, possibly using a flea comb, skin scraping, or allergy testing if signs of dermatitis are present.
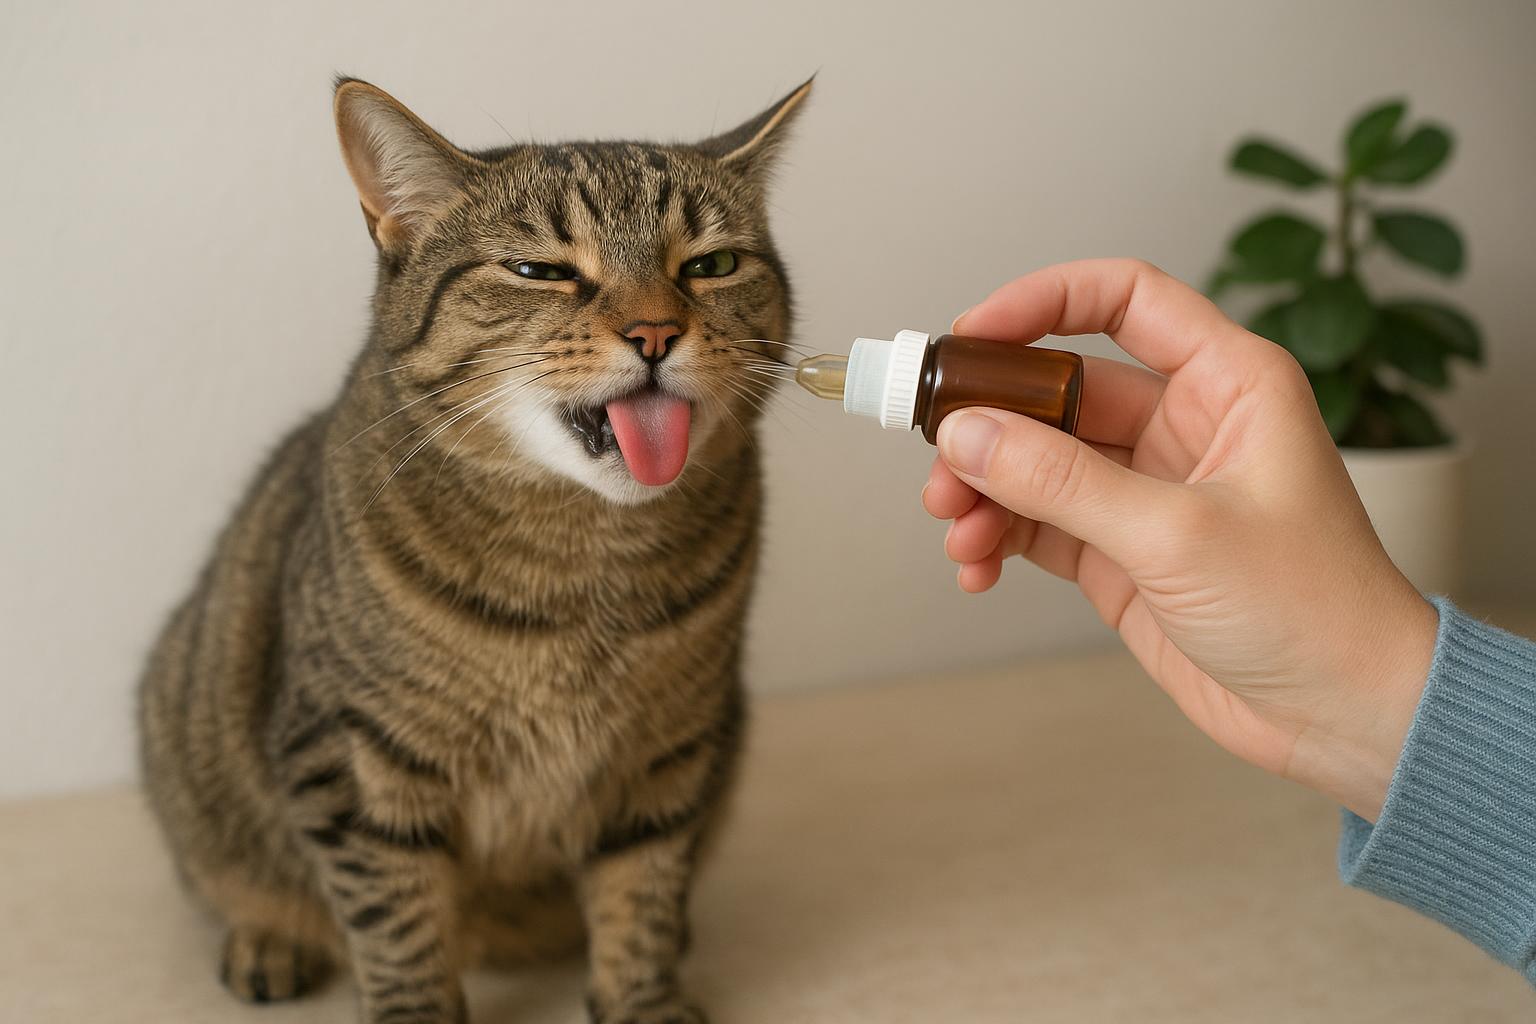
3. Select Appropriate Medication: The vet will prescribe treatment tailored to your cat’s age, weight, health status, and whether there are other pets in the household. Options may include:
– Prescription topical spot-on treatments (monthly)
– Oral flea medications (chewables or tablets, monthly or longer-acting)
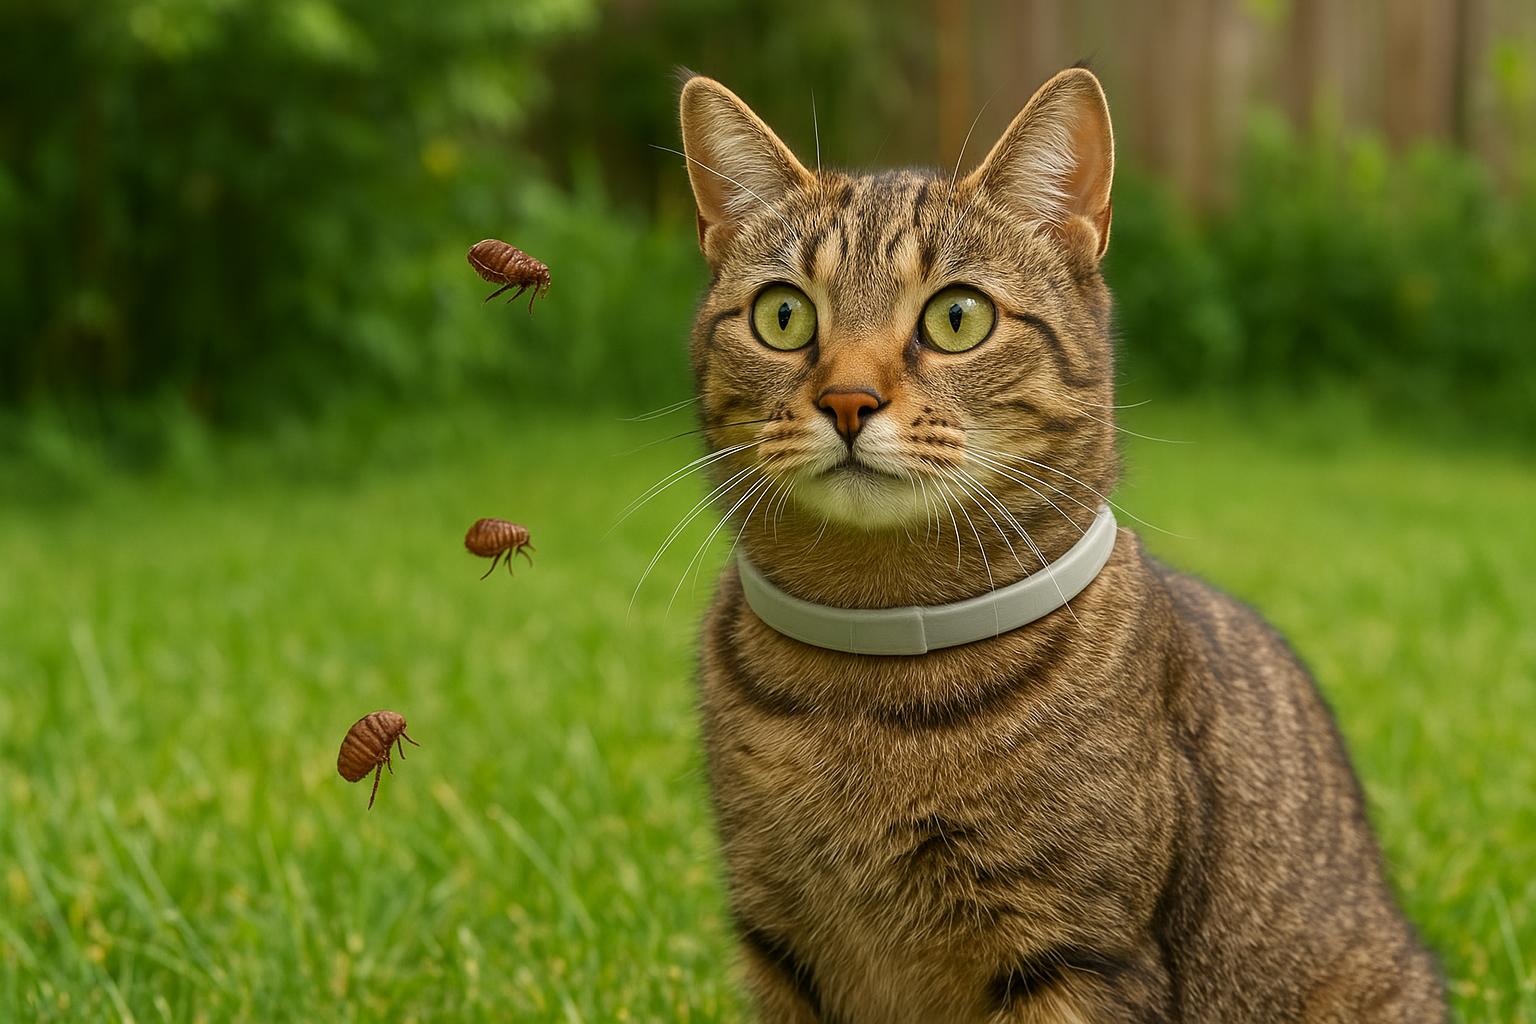
– Flea collars with medically active ingredients
4. Administer Treatment Exactly As Directed: Follow dosing by weight and frequency. Improper dosing can be ineffective or harmful. Note any adverse reactions and contact your vet immediately if you notice vomiting, lethargy, or severe skin reactions.
5. Treat All Pets In The Home: To stop reintroduction, all pets in the household should be treated with veterinarian-approved products appropriate for their species.
6. Follow-Up: Schedule follow-up if signs persist after two to four weeks or if new symptoms develop. The vet may adjust the treatment plan or add medications for secondary infections or dermatitis.
7. Integrated Home Control: Use vet-recommended environmental controls if infestation is significant. Some households need professional pest control for carpets and furniture.
### Safety Notes On Products
Never use dog-specific flea products on cats, as some ingredients (like permethrin in dog-only formulas) are toxic to cats. Always check with your vet before switching or combining products. Keep medications away from children and follow storage instructions.
## Preventing Flea Recurrence
Prevention is less dramatic than chasing fleas across the living room, but it’s more effective. Use year-round flea prevention appropriate for your area and pet, maintain clean bedding, vacuum regularly, and monitor your cat every few weeks for signs of flea dirt or itching. If you travel with your cat or introduce new animals to the home, check them promptly.
### When To See A Veterinarian
If you find flea dirt on a young kitten, a very old or ill cat, or if your cat shows signs of anemia (pale gums, weakness), severe itching, open sores, or hair loss, seek veterinary care immediately. A professional evaluation ensures safe, effective treatment and prevents complications.
If you’re still unsure whether those specks are flea dirt or just a midnight snack crumb, take a photo and consult your vet — they can help you decide the next steps and save both of you some detective time.


Leave a Reply