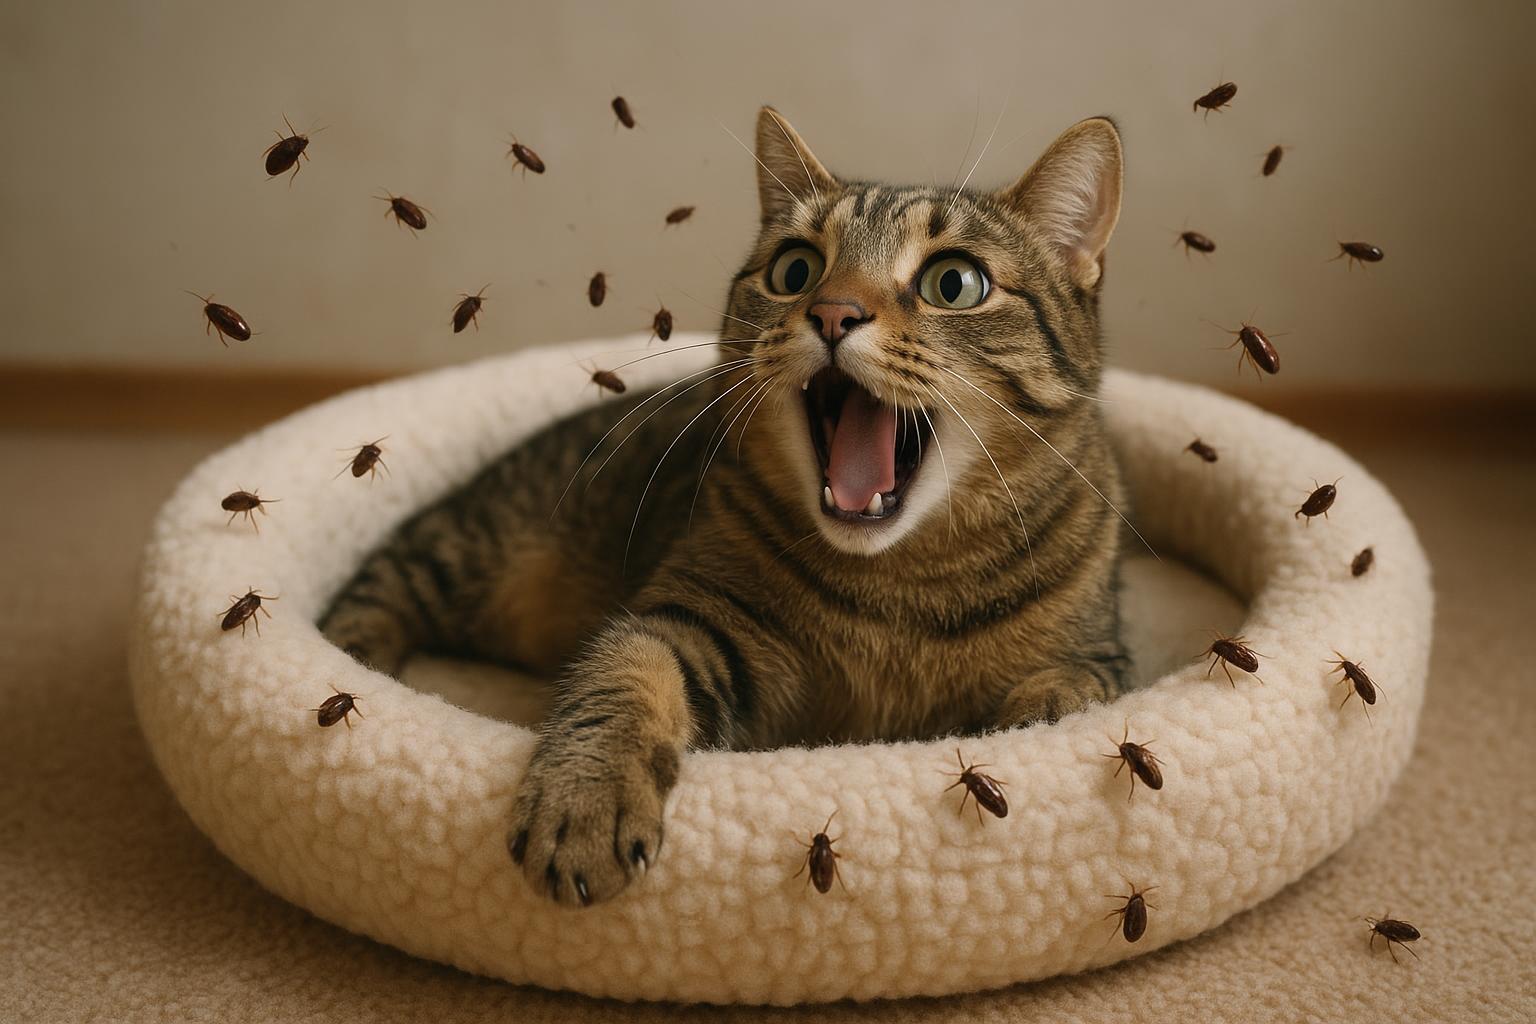
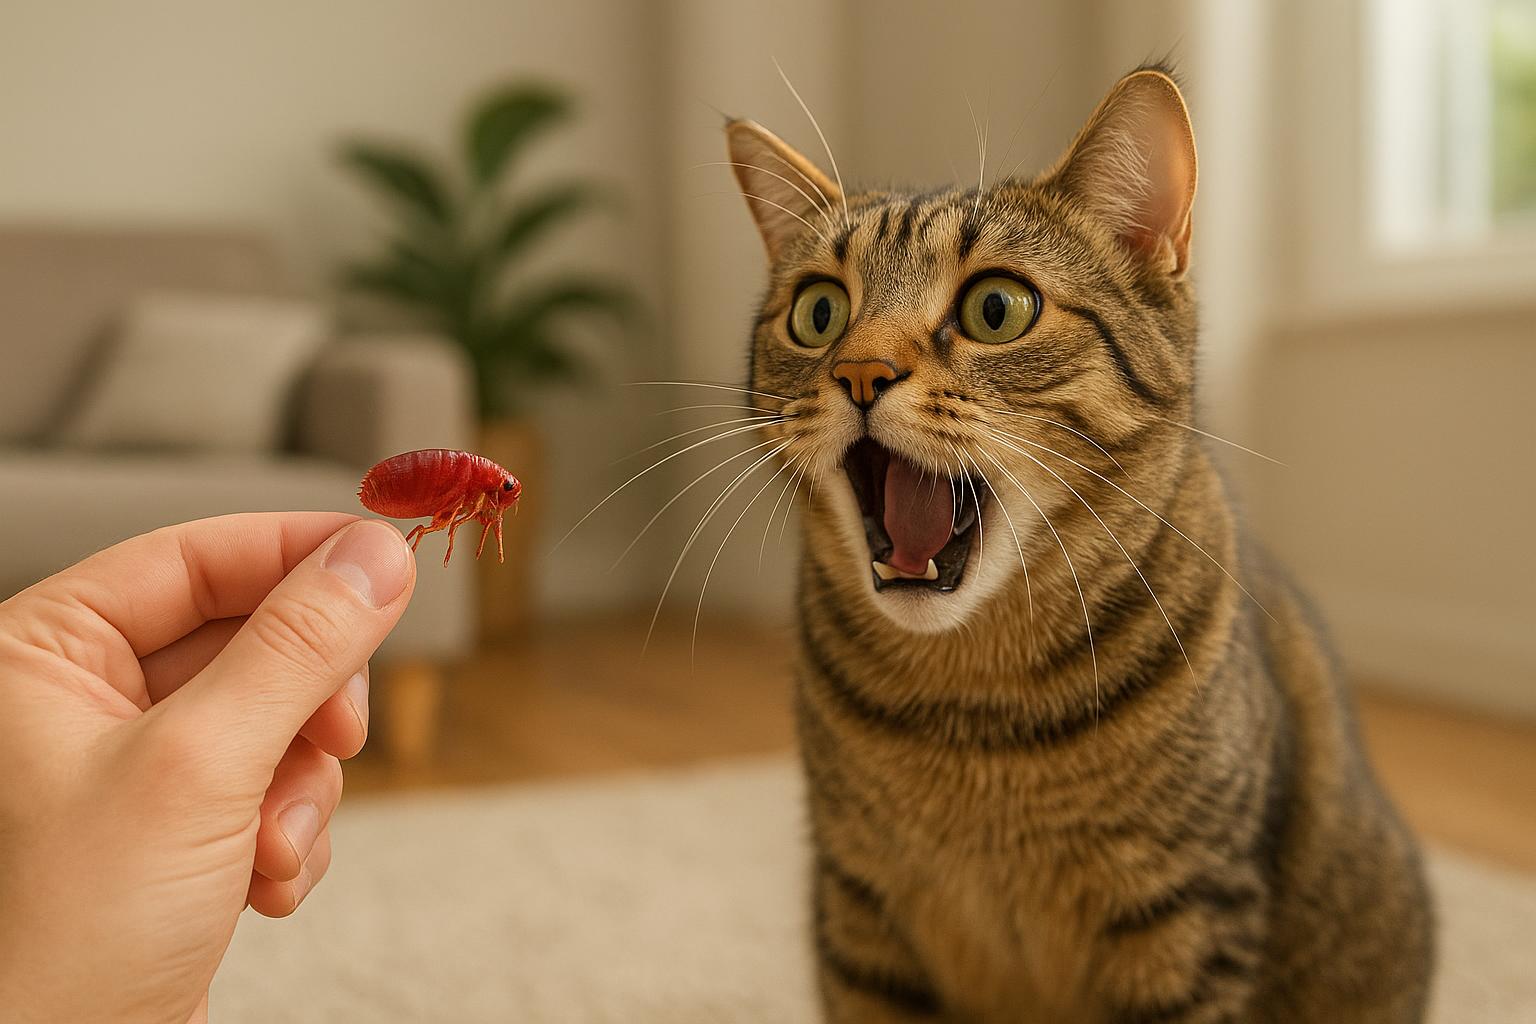
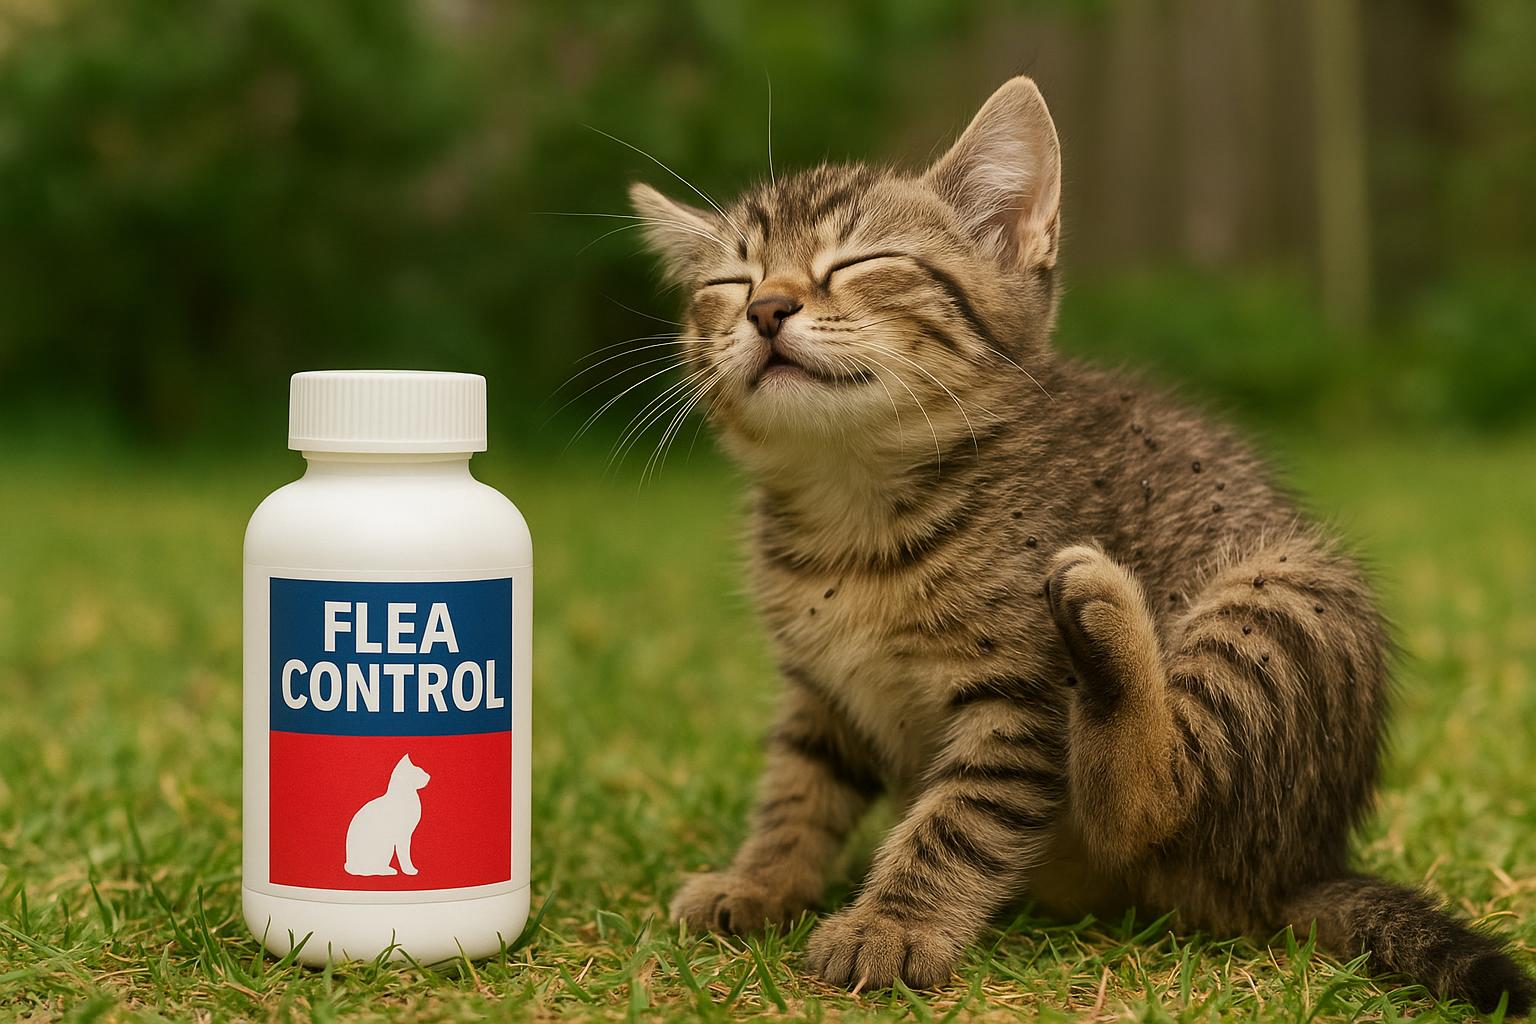
Cat Bed Flea Frenzy Exposed End The Infestation Tonight
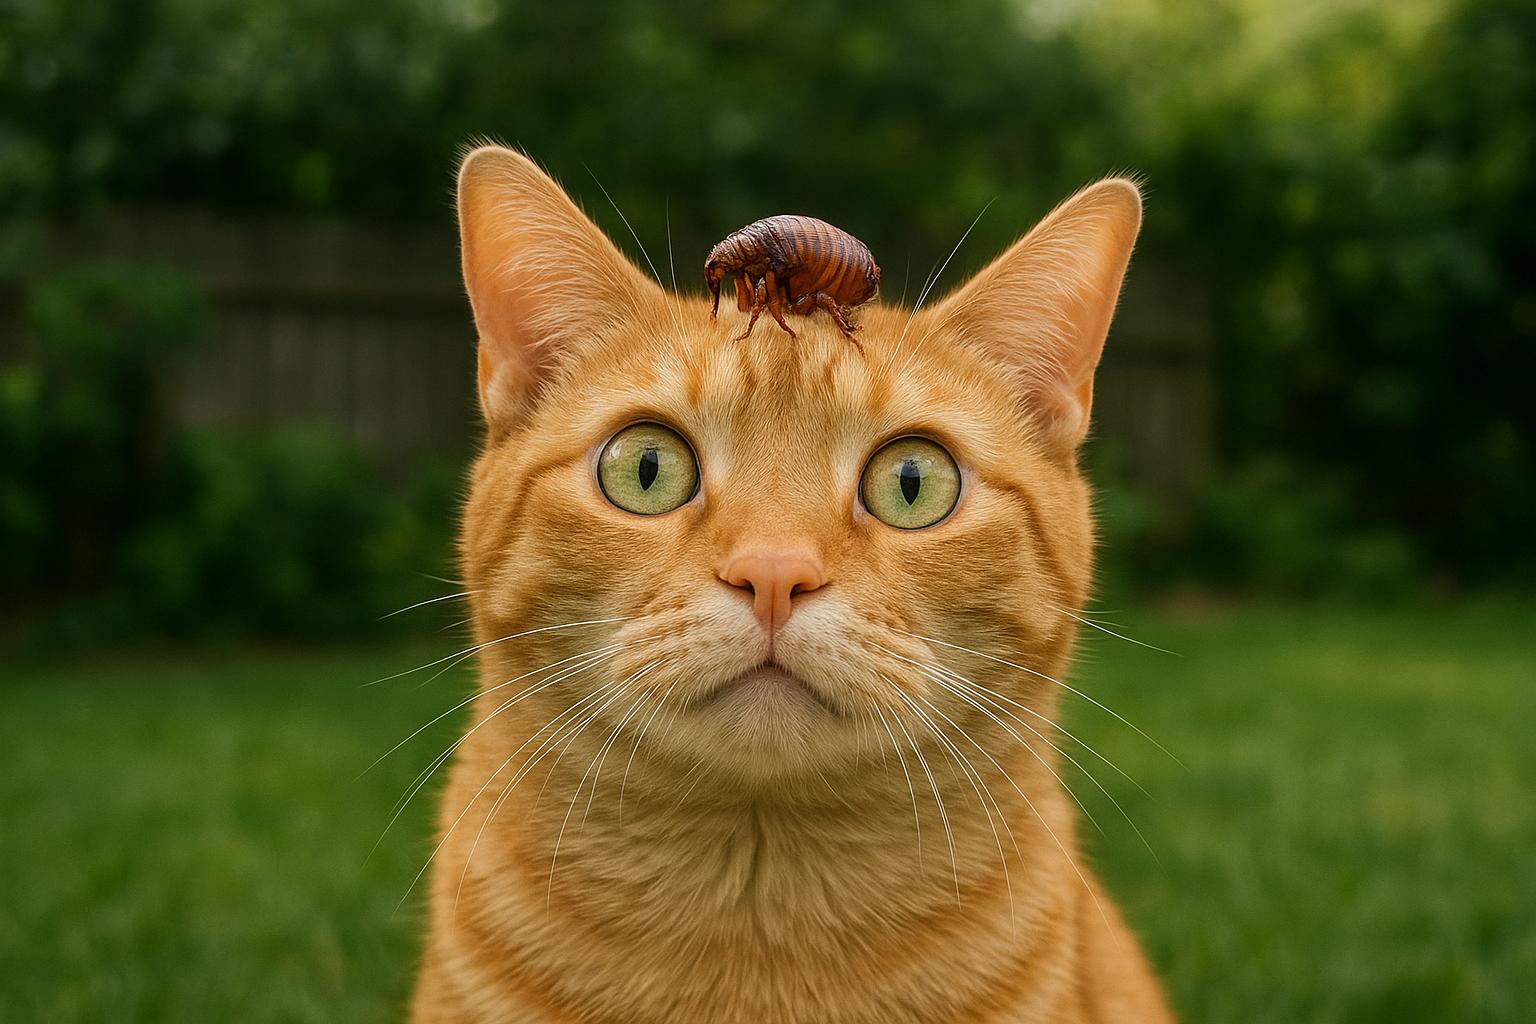
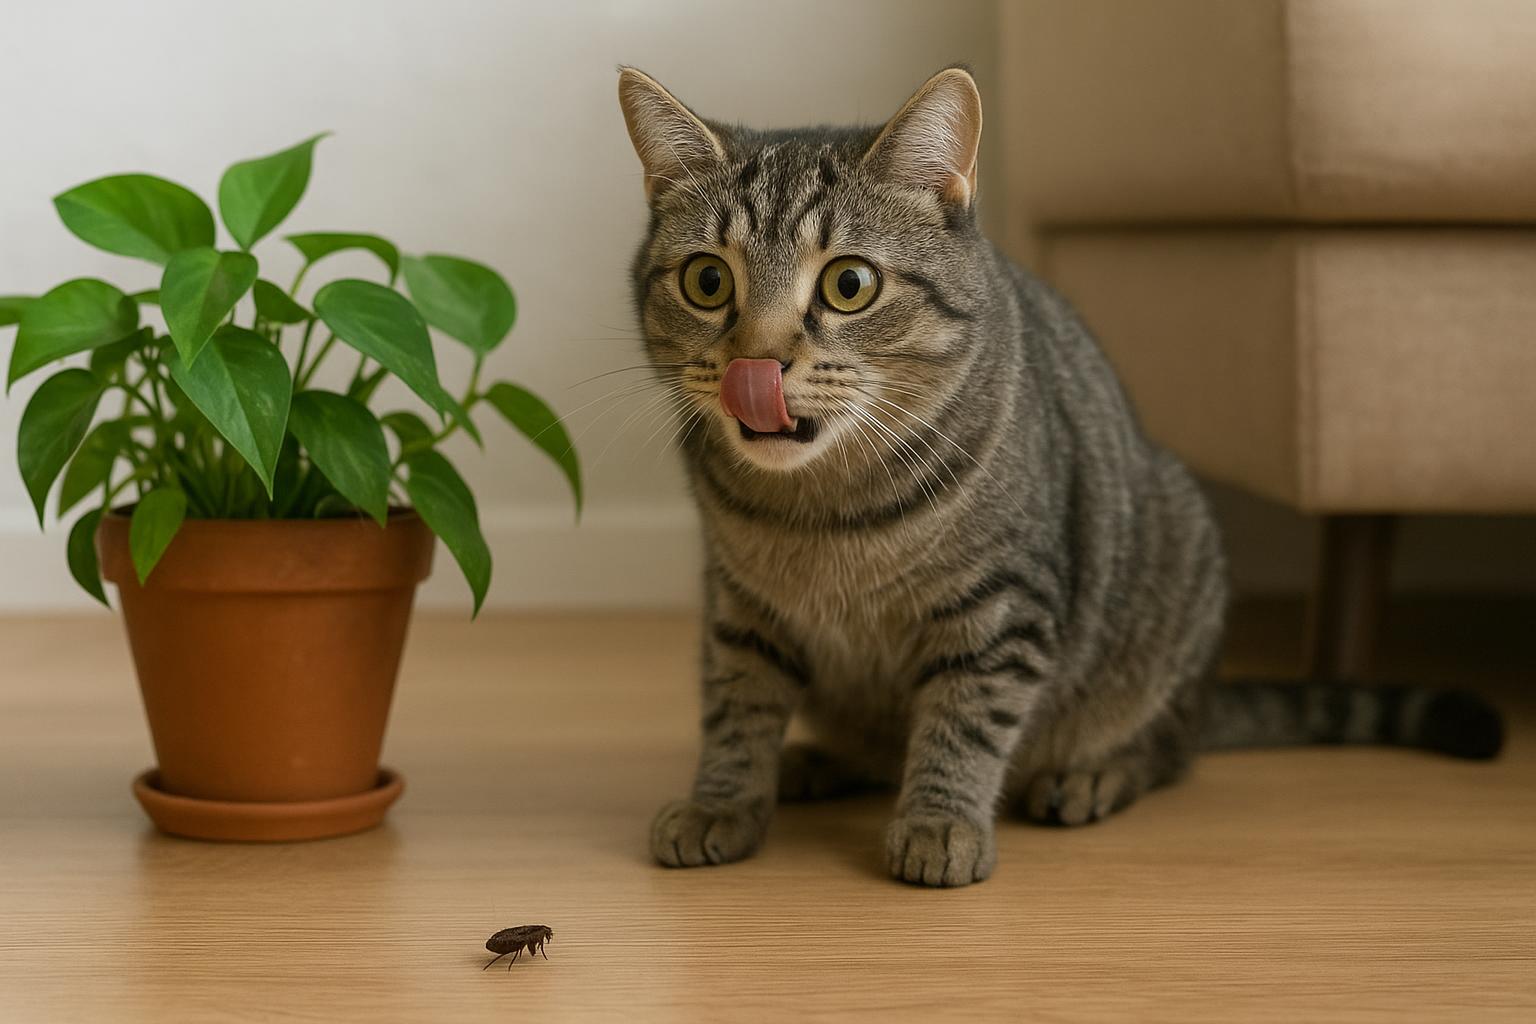
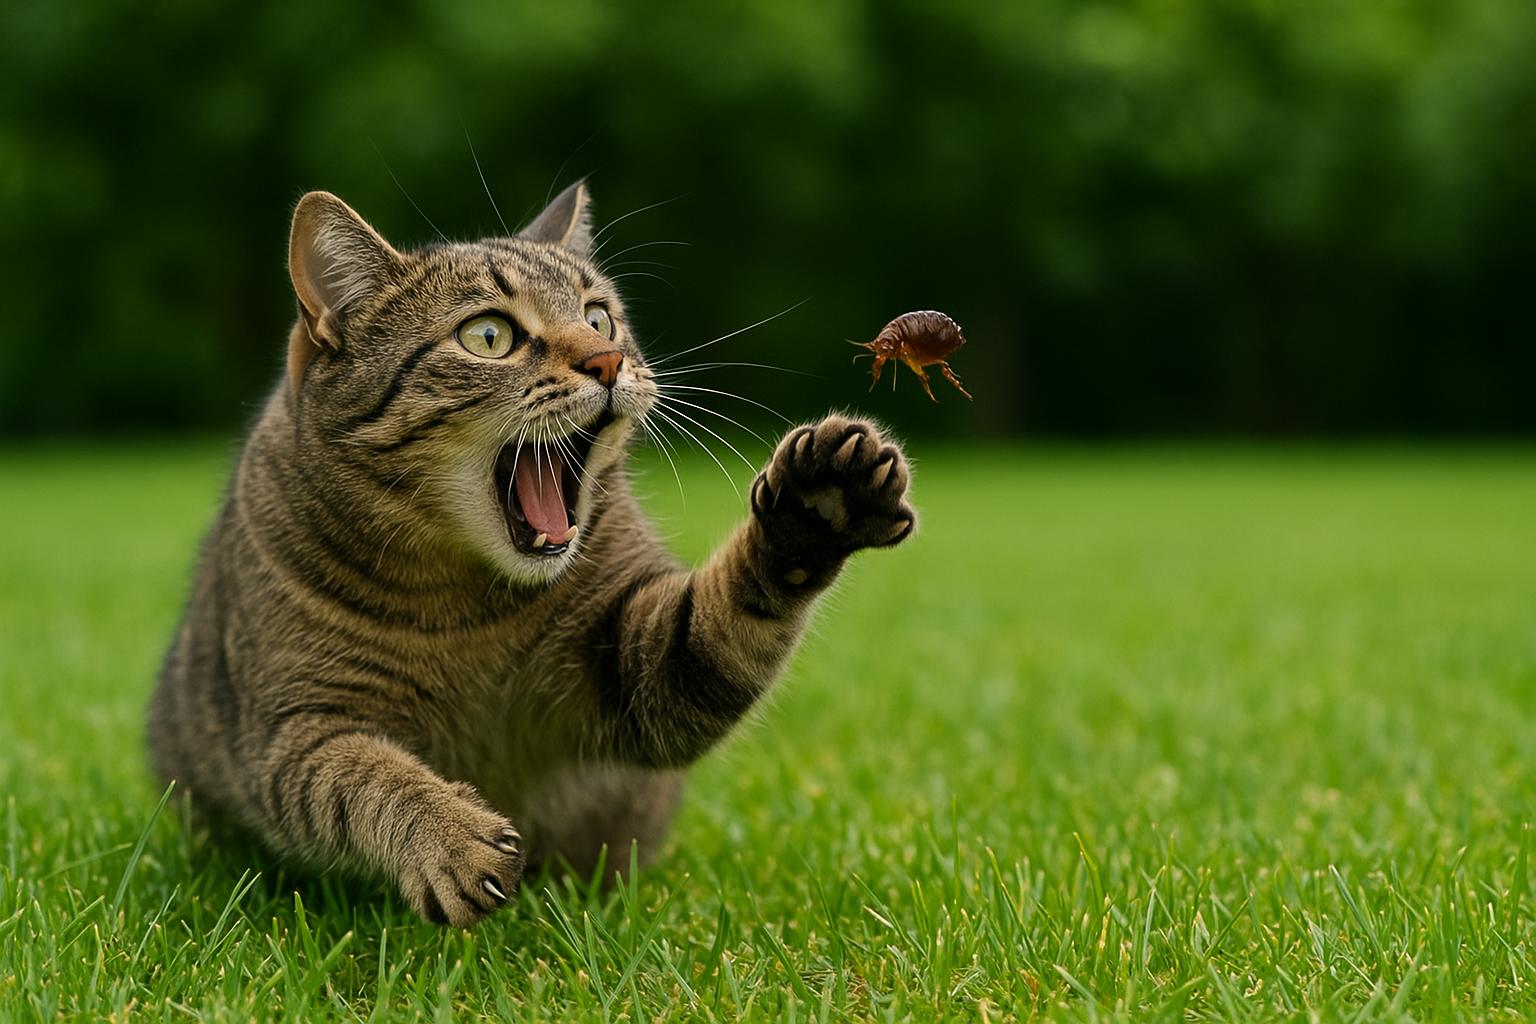
It’s late, you tiptoe past the living room like a cat burglar (pun intended), and there it is: your furry friend blissed out in their favorite cat bed — except something is clearly off. They scratch, you squint, and suddenly you’re face-to-face with the tiny terrors: fleas. These little critters turn a cozy cat bed into a microscopic carnival of misery. Don’t panic. With a little know-how and the right steps, you can evict them tonight.
## Cat Bed Hotspots And Why Fleas Love Them
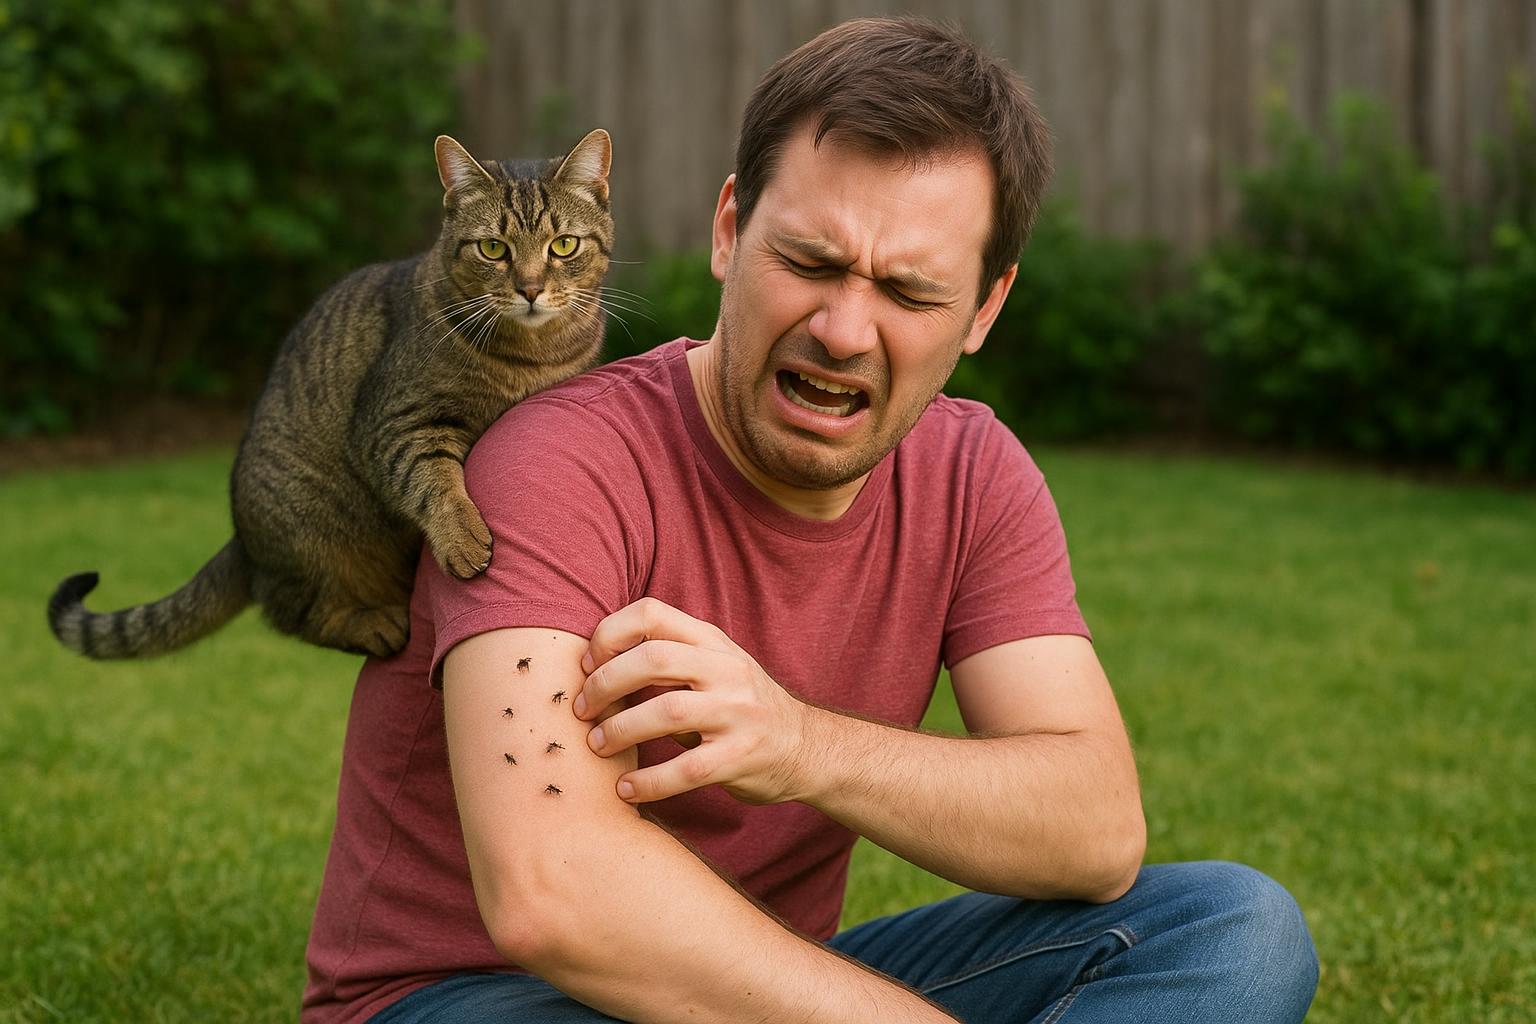
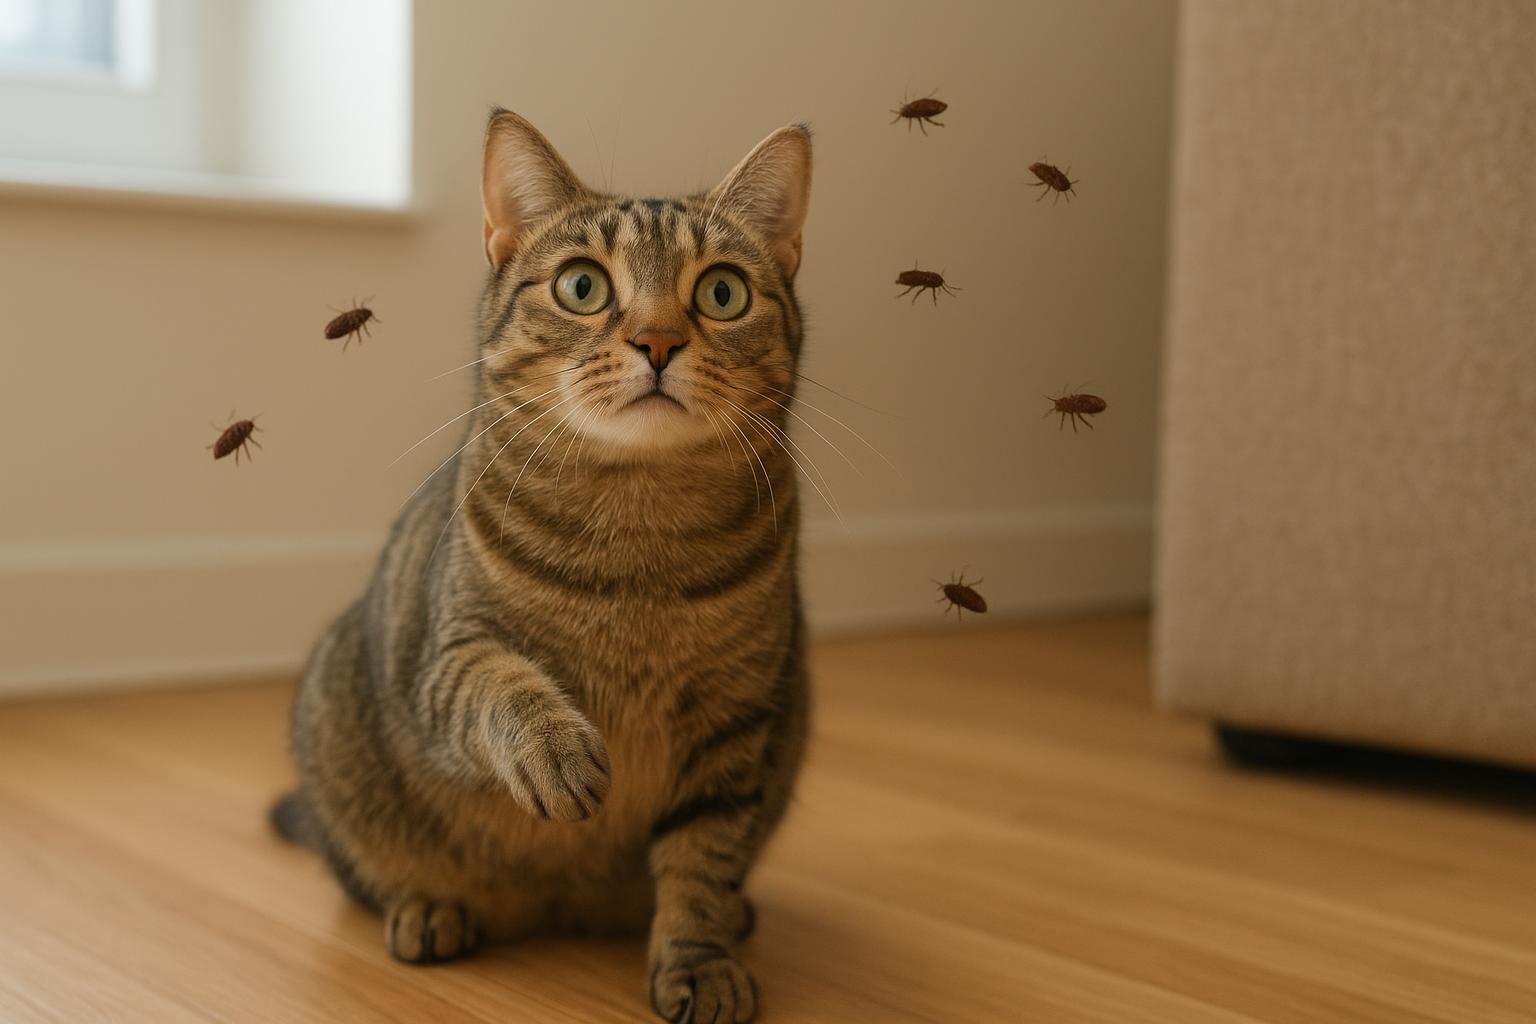
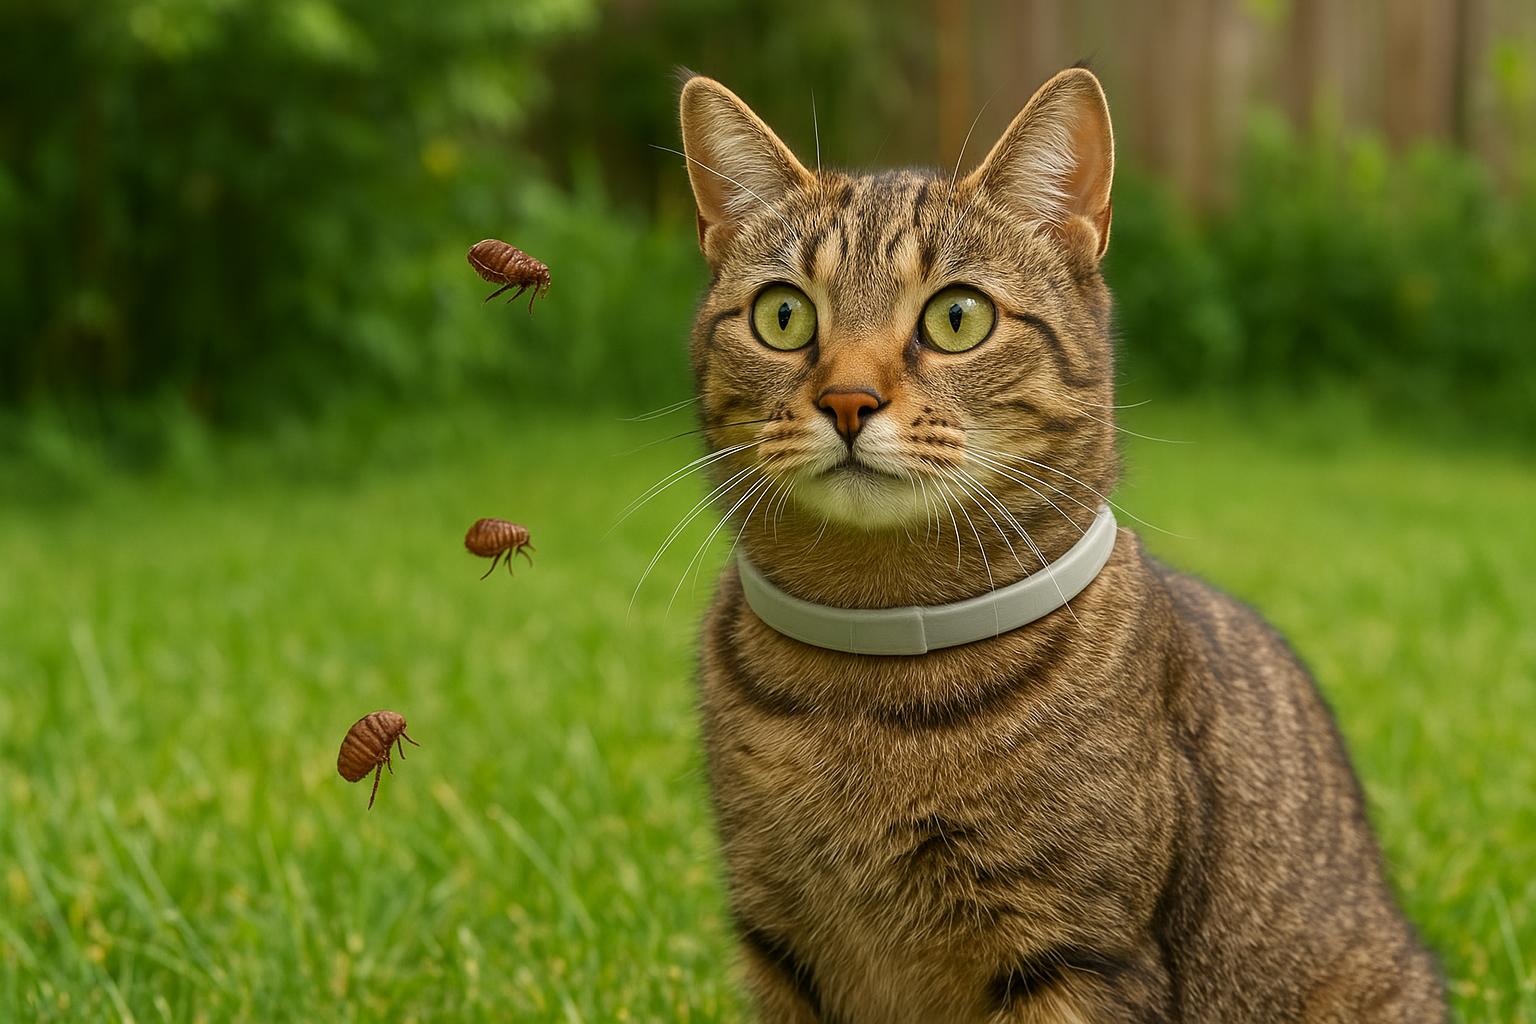
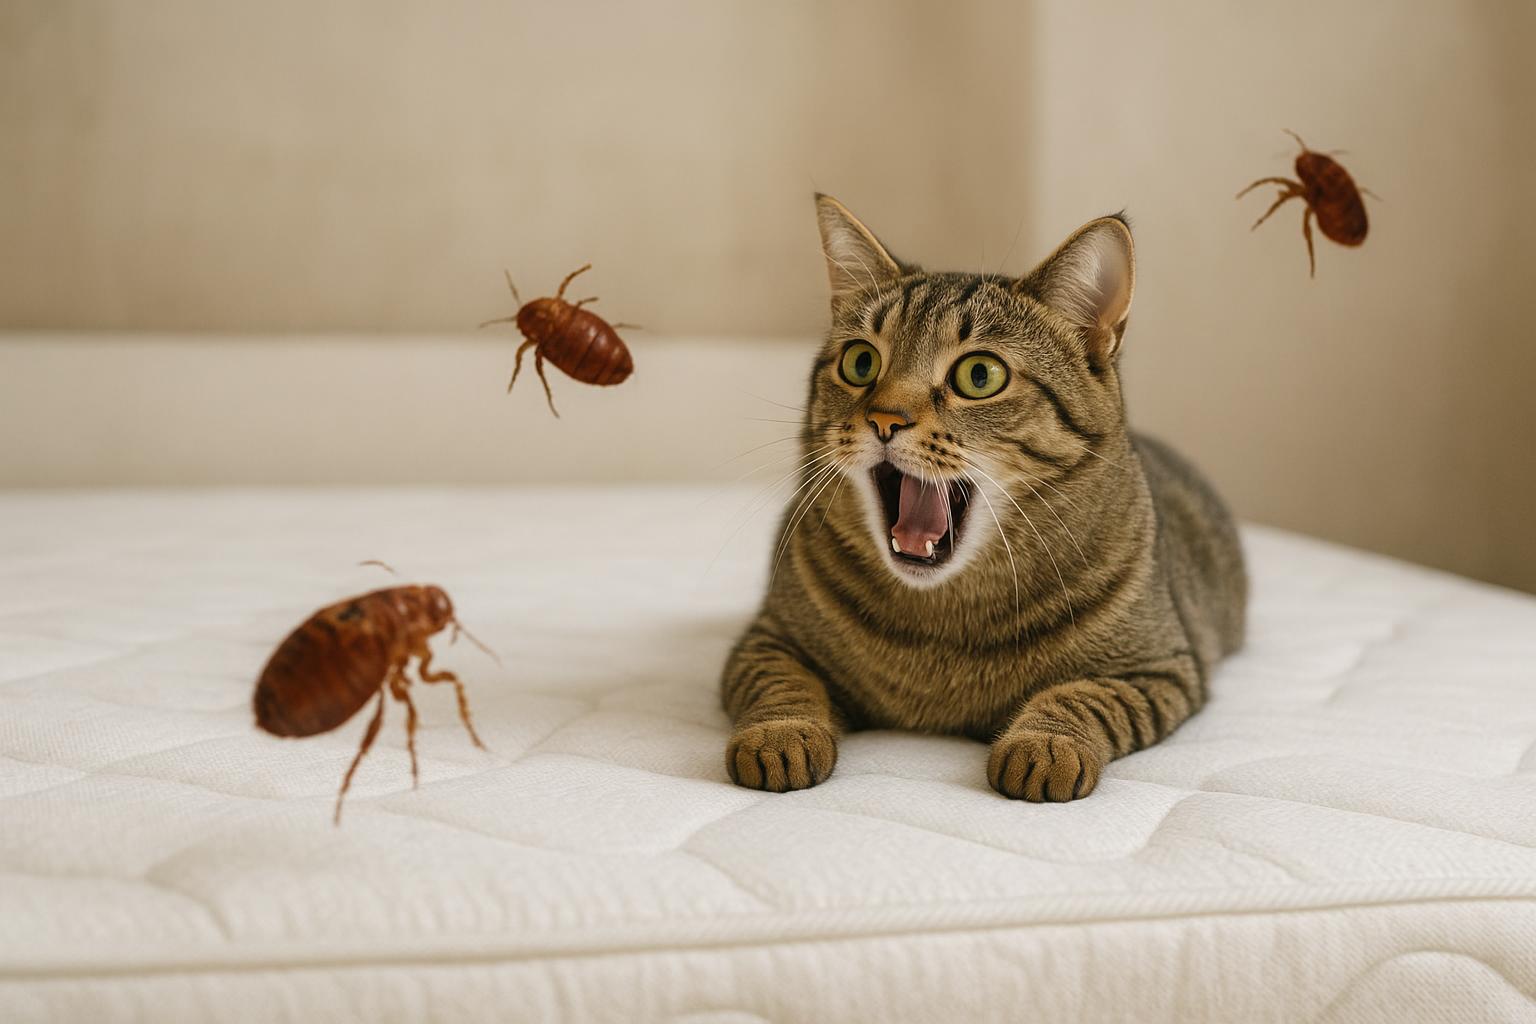
Fleas are basically nubile commuters: they hitch a ride on your cat, shuttle between resting spots, and lay eggs where it’s warm and soft. A cat bed gives fleas three things they love: warmth, regular hosts, and lots of hiding crevices. Even if your cat goes outdoors infrequently, fleas can come in on visitors, other pets, or clothing. Once an egg lands in a cat bed, it can hatch and become part of a growing population before you even notice.
### How Fleas Get In And Spread
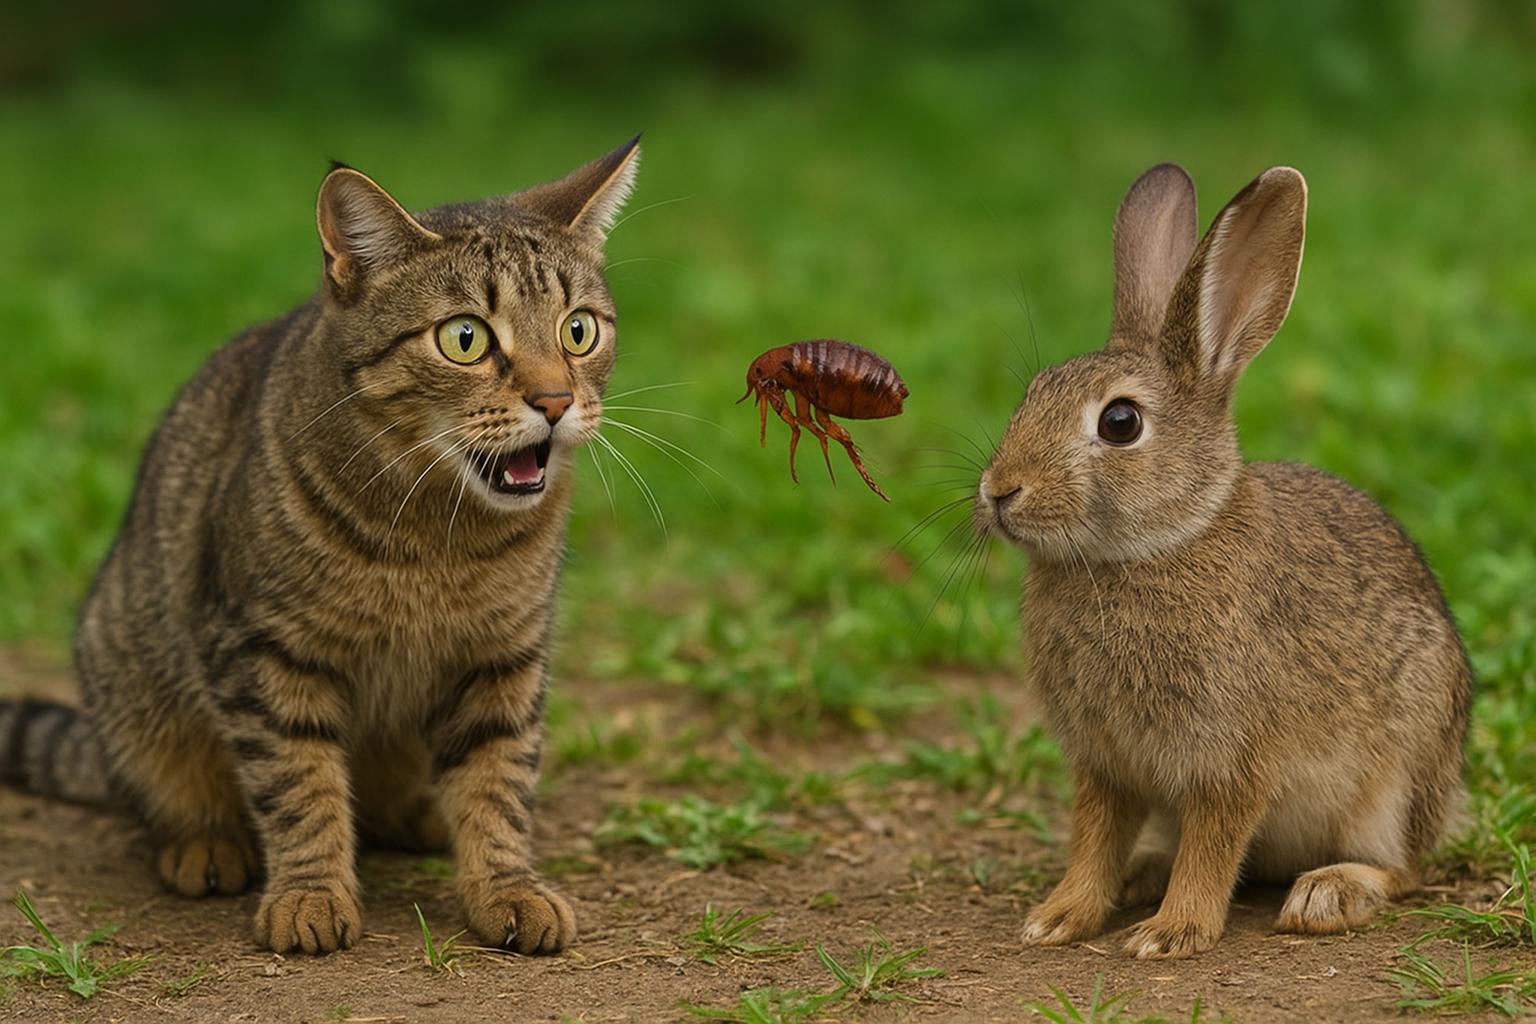
Fleas aren’t picky. They can jump from a bush to your cat, leap aboard someone’s shoe, or linger on a visiting neighborhood dog. Adult fleas live on the animal, where they feed and mate. Eggs fall off into the environment — carpets, cracks, and yes, that favorite cat bed. Larvae hide in fabric folds; pupae can remain dormant for months. When conditions are right, the pupae hatch and the cycle restarts.
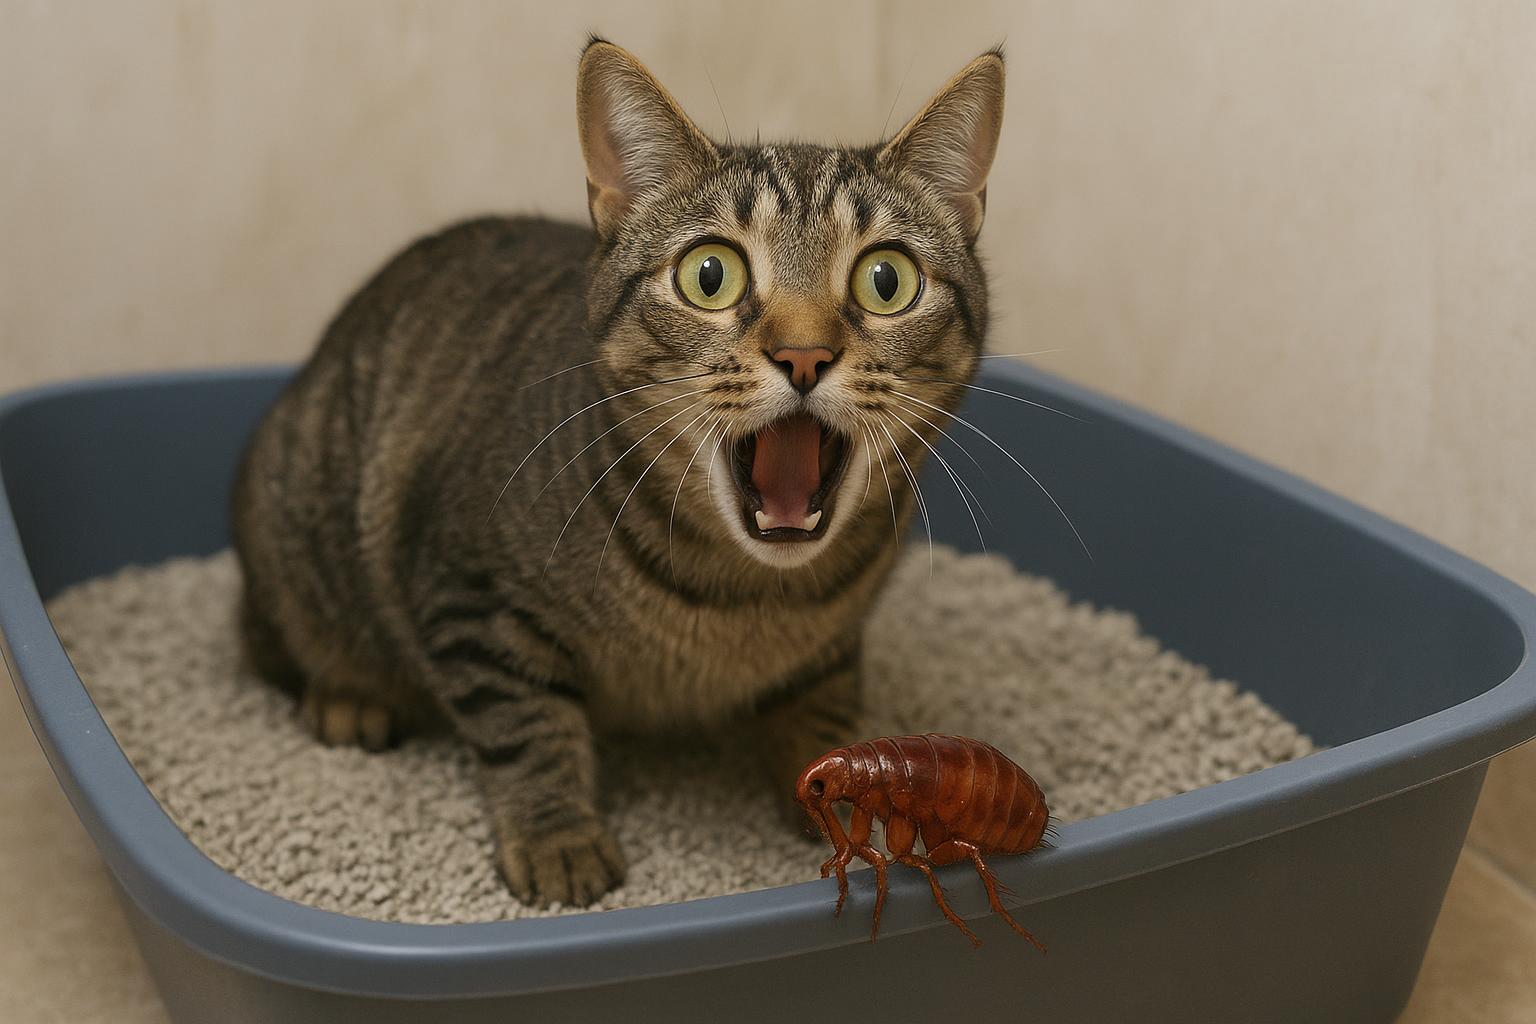
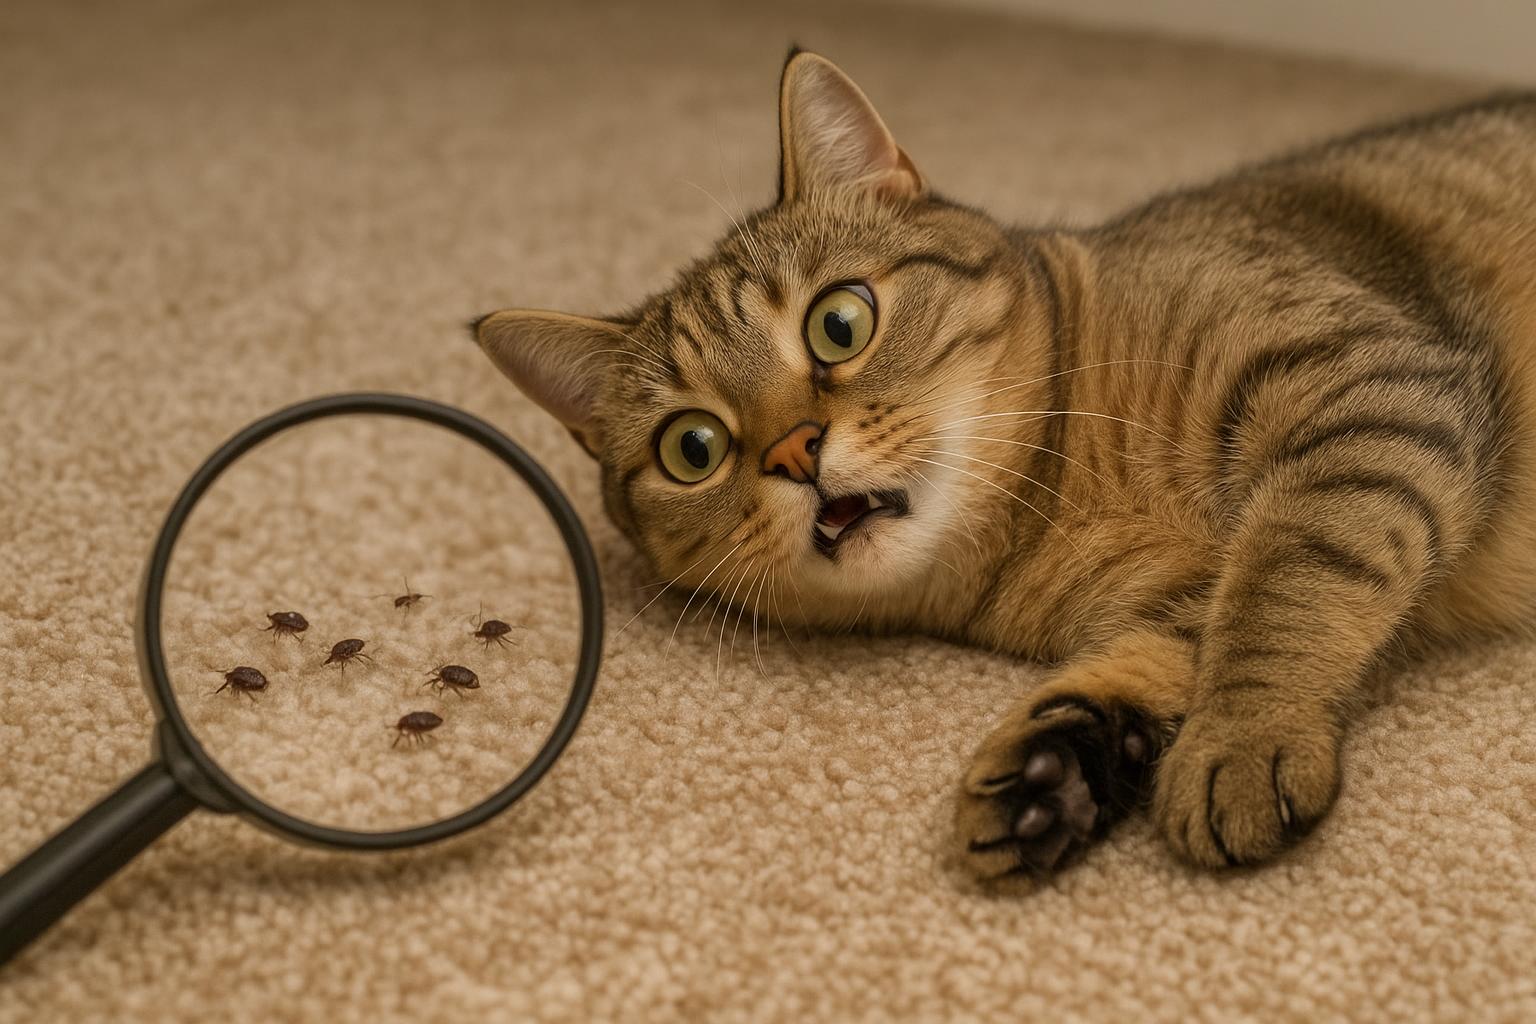
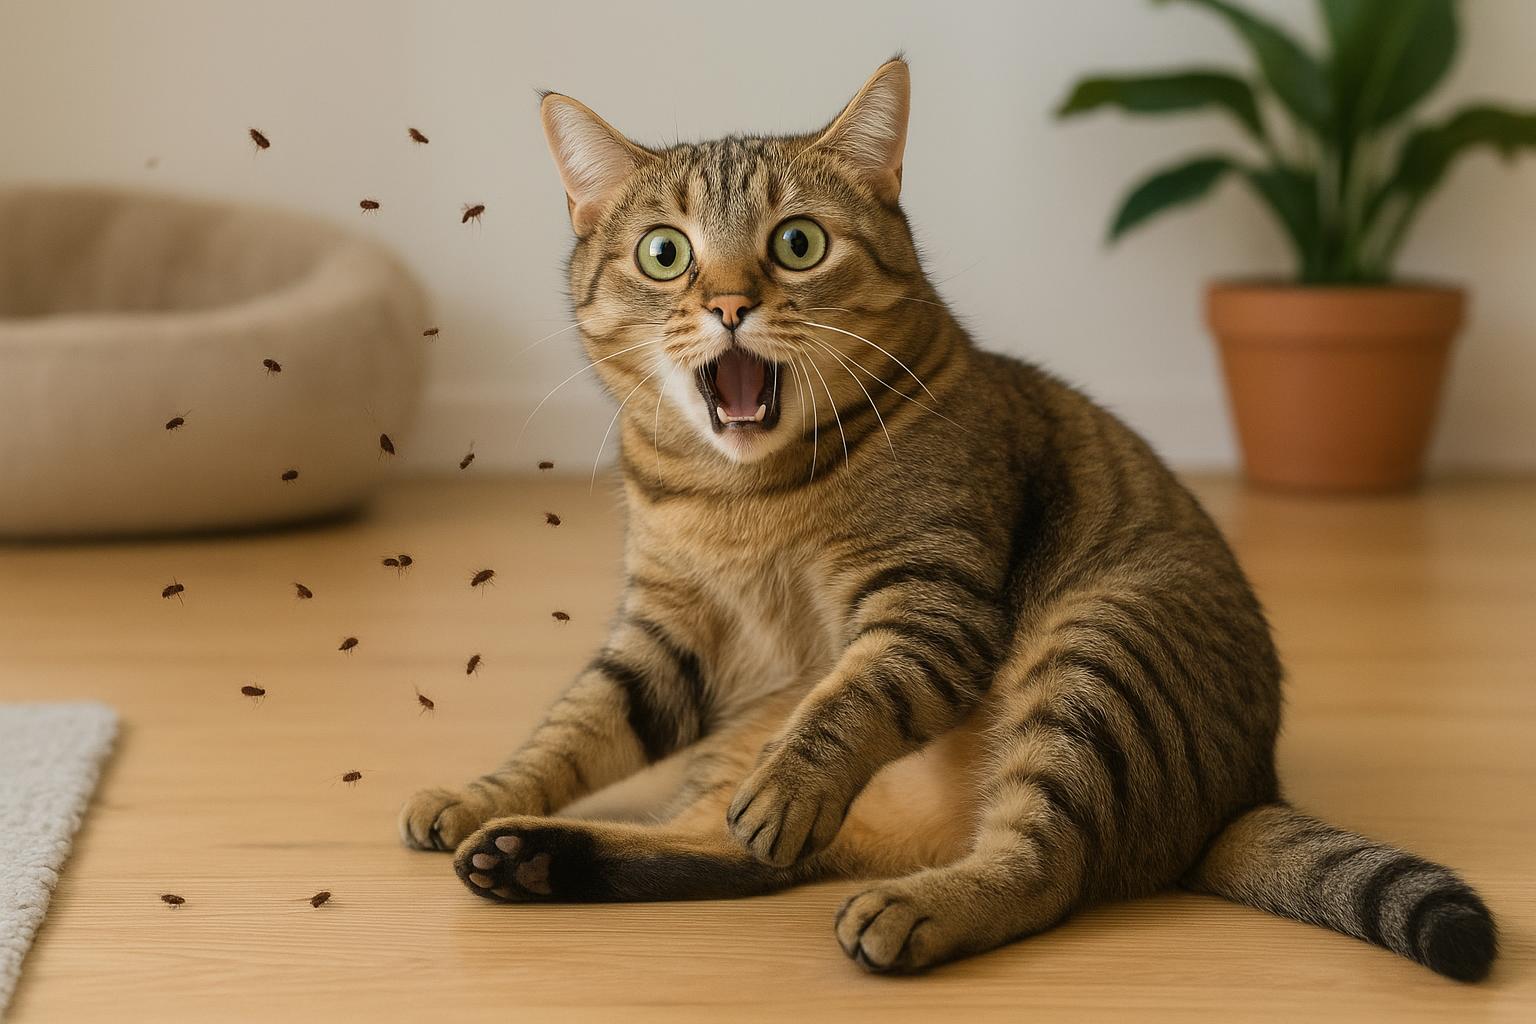
### Signs Your Cat Bed Is Compromised
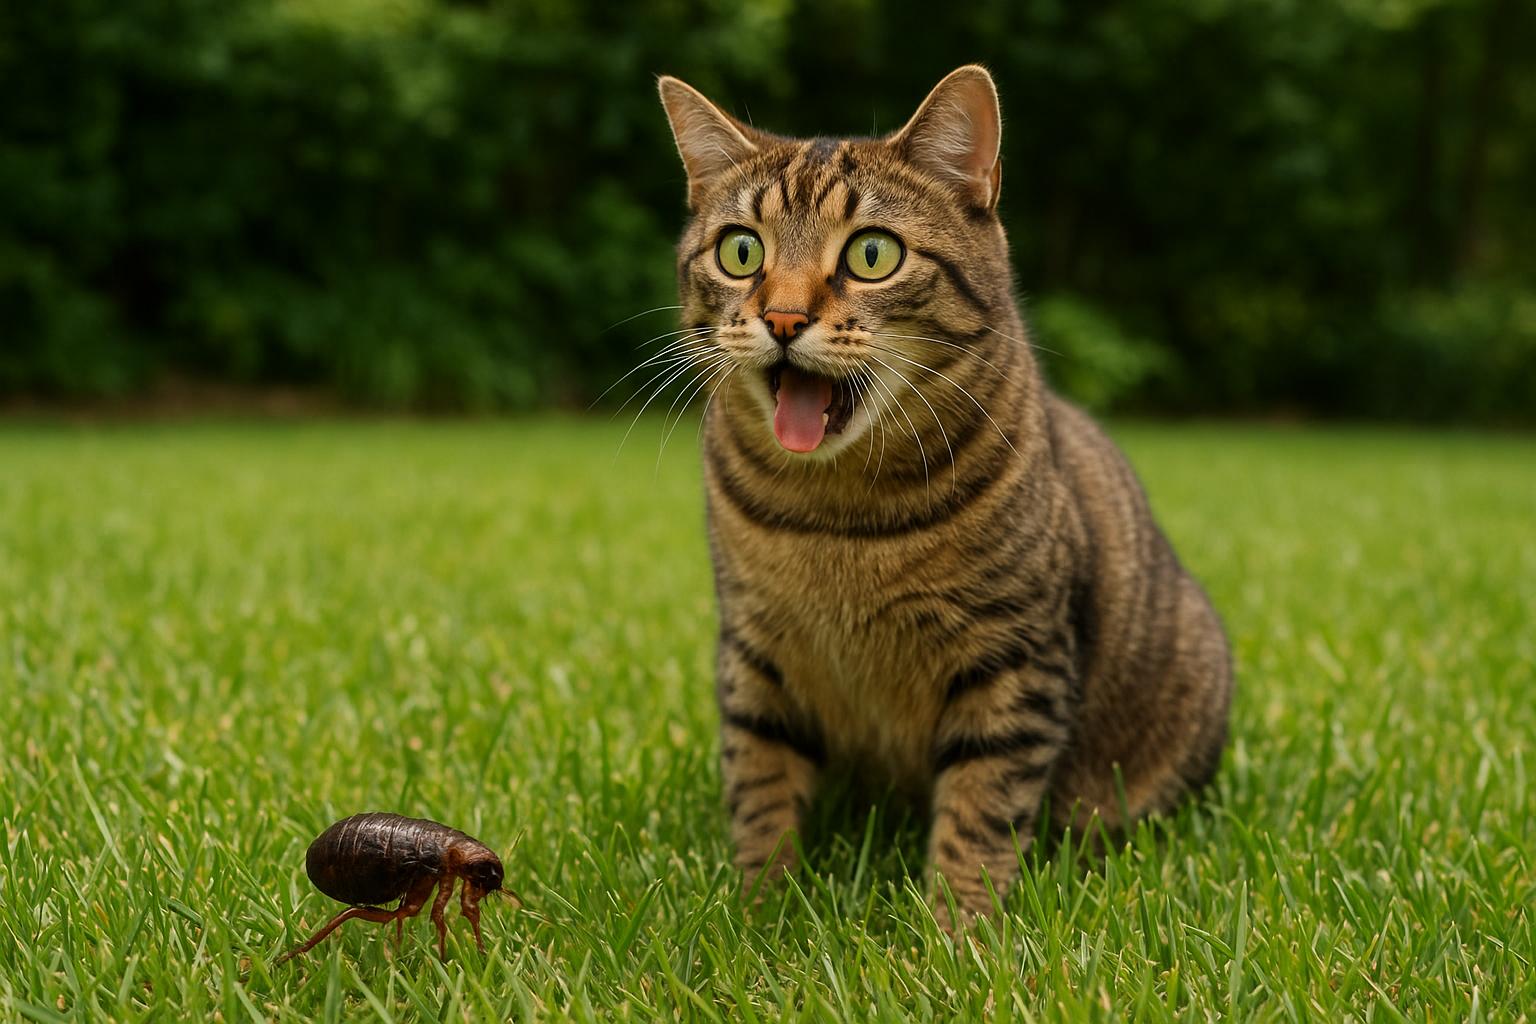
– Your cat scratching more than usual, especially at the base of the tail, neck, or behind the ears.
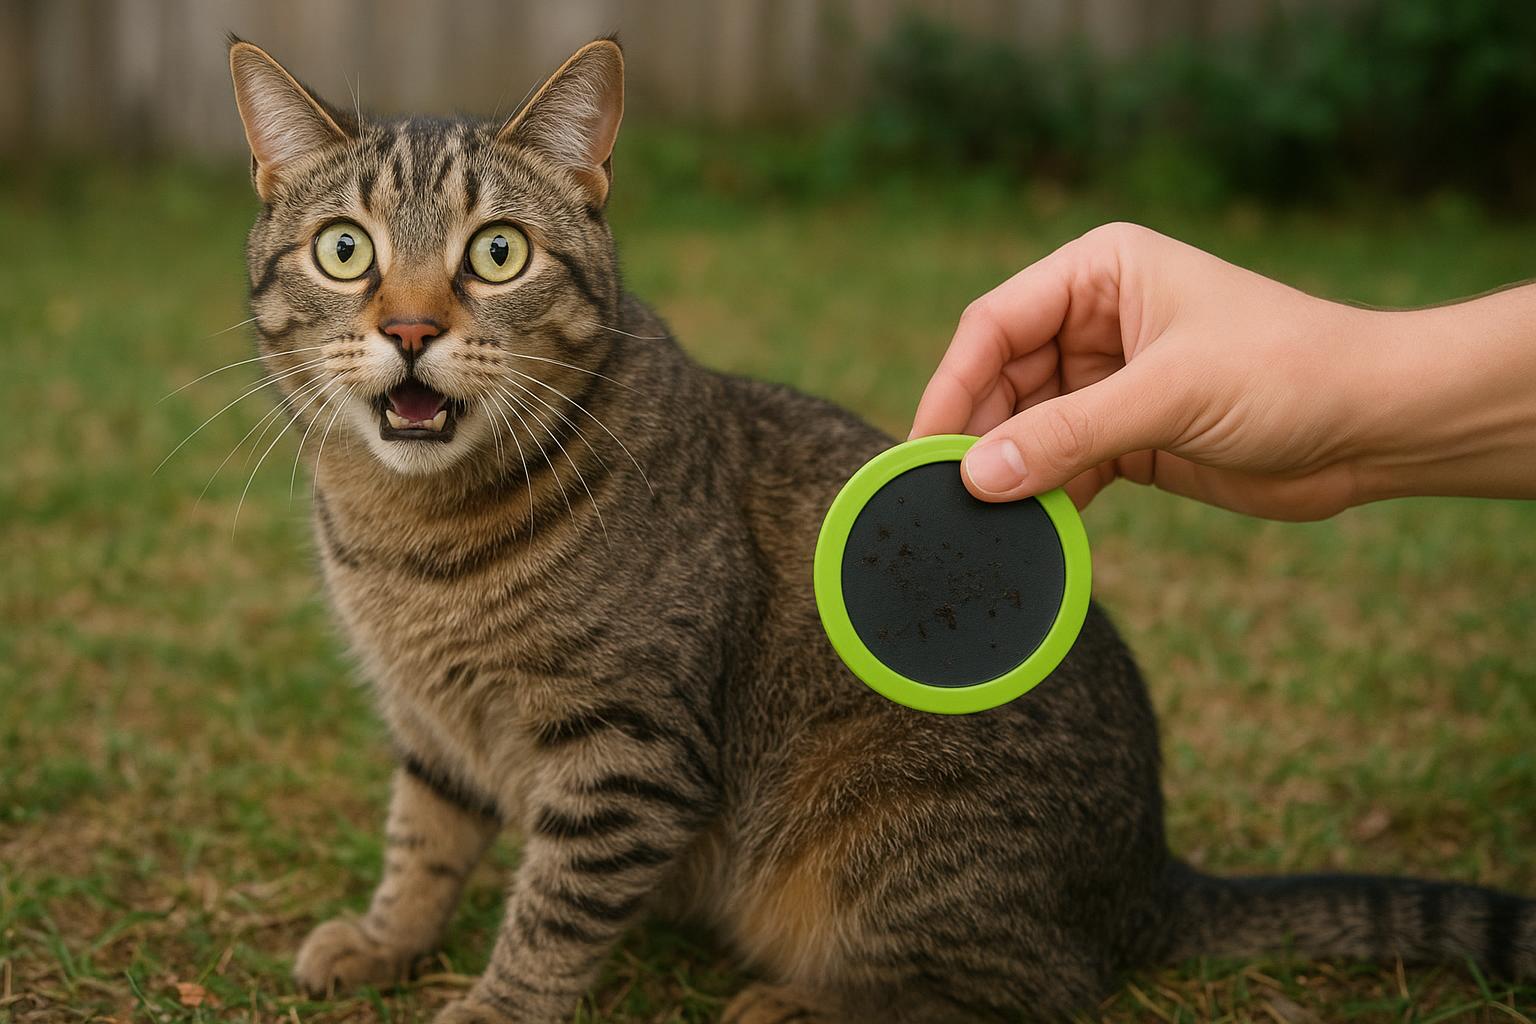
– Tiny black specks (flea dirt) on the surface or seams of the cat bed.
– Seeing tiny, fast-moving dark specks — adult fleas — in the fabric.
– Your cat seems itchy in the same spots after napping.
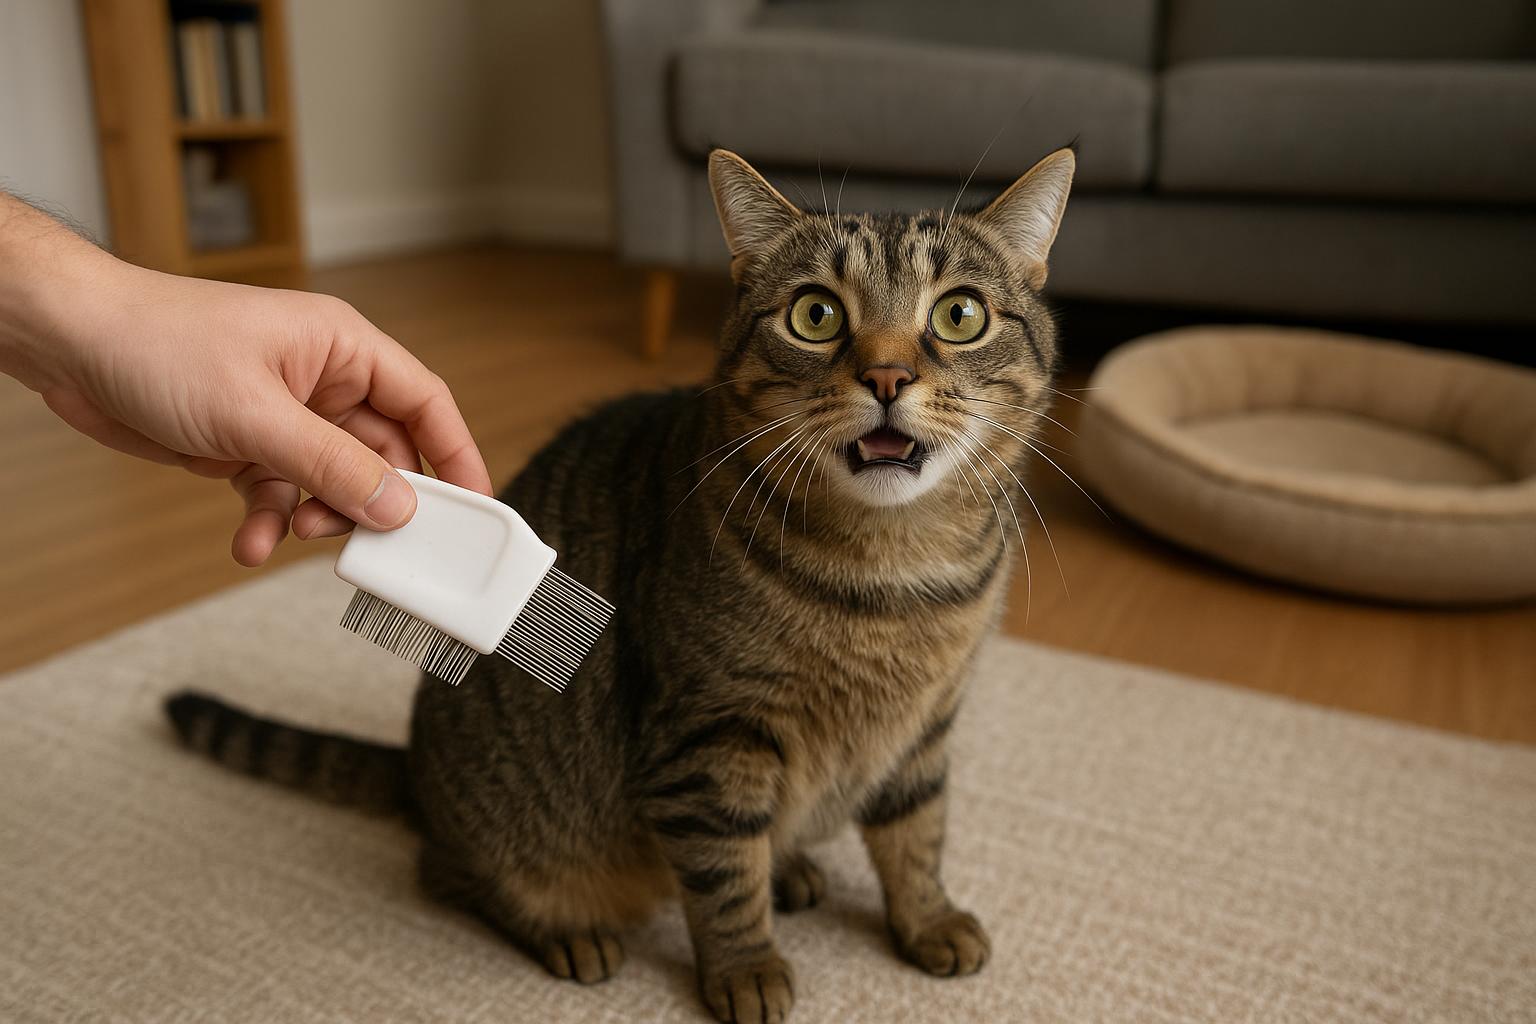
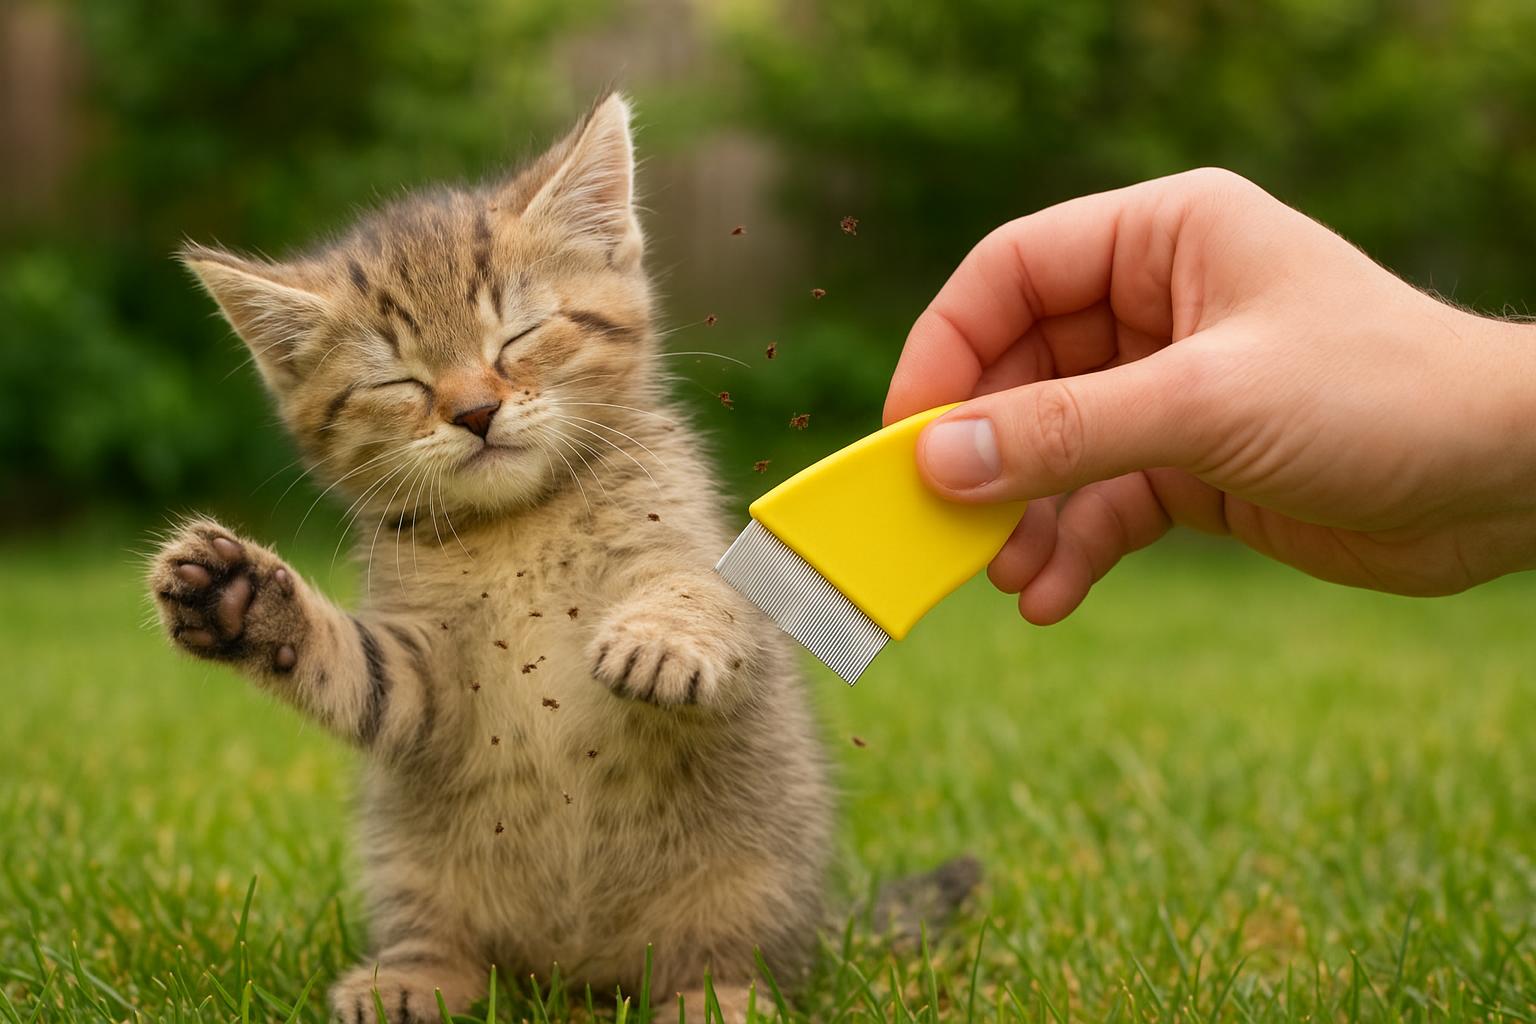
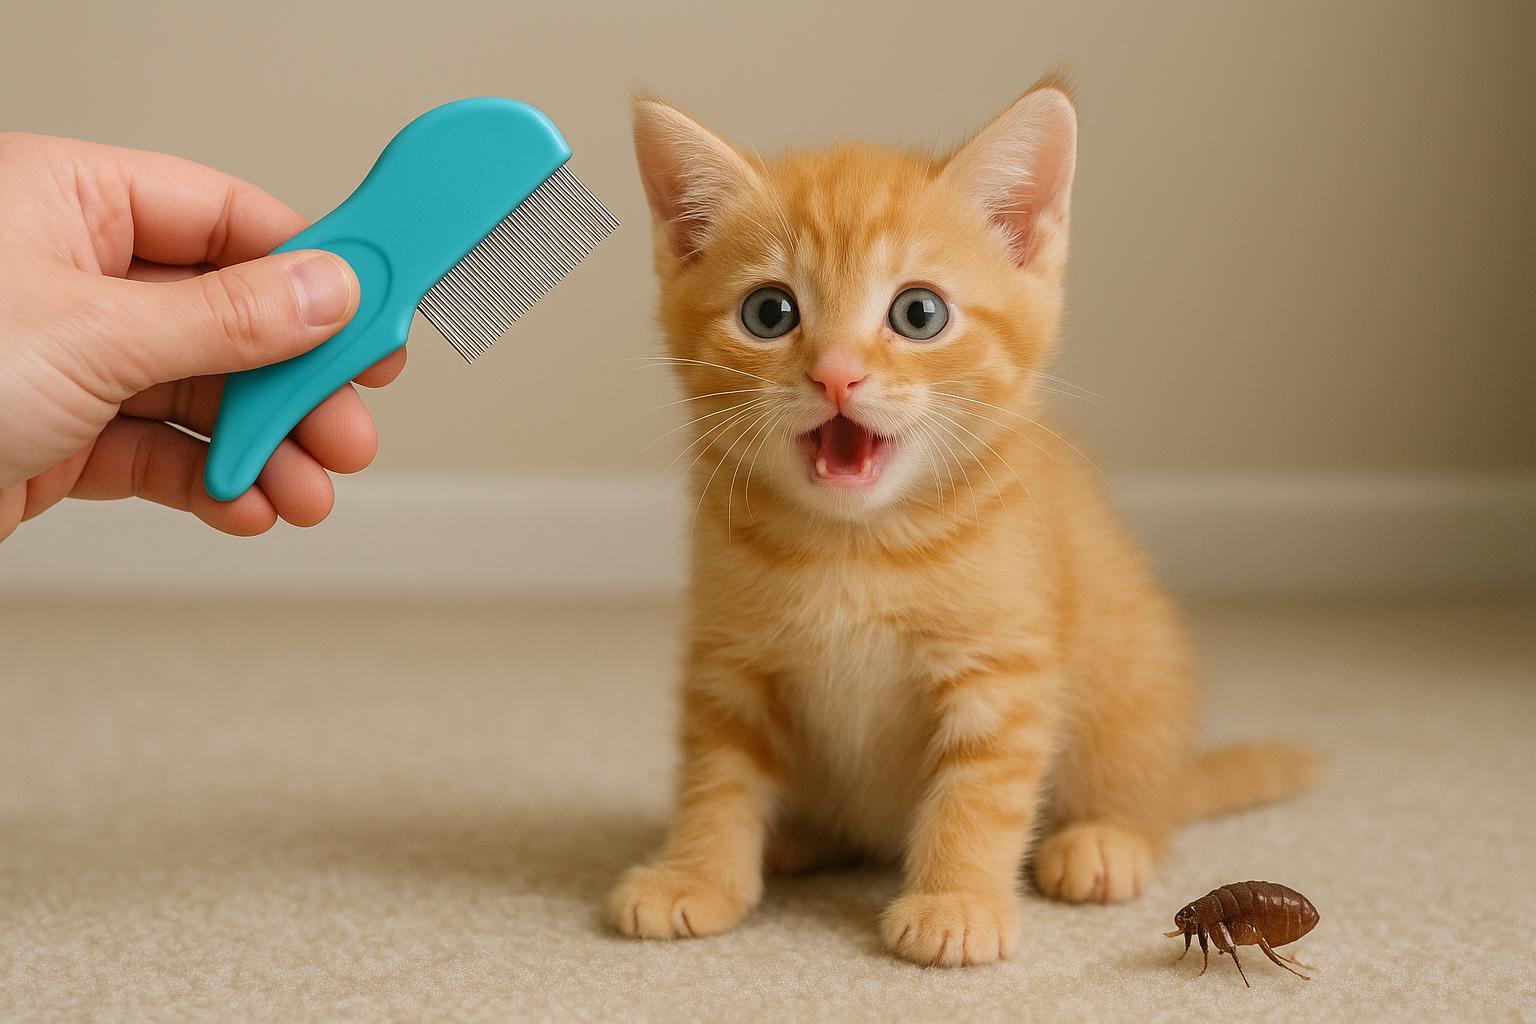
## Quick Inspection Checklist
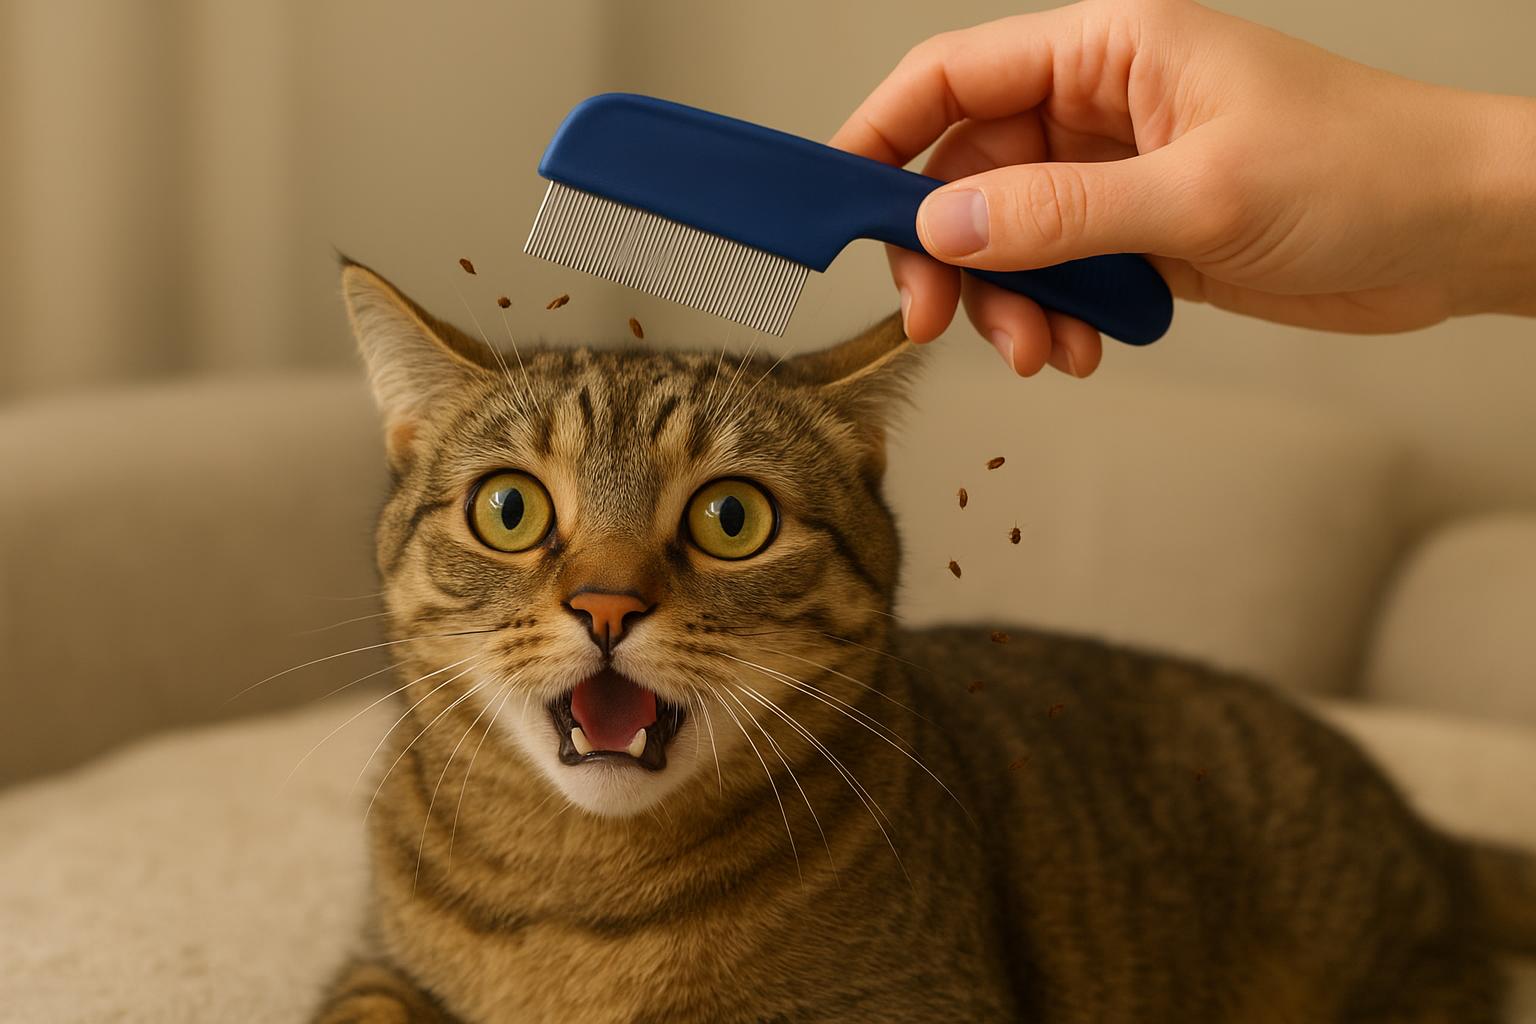
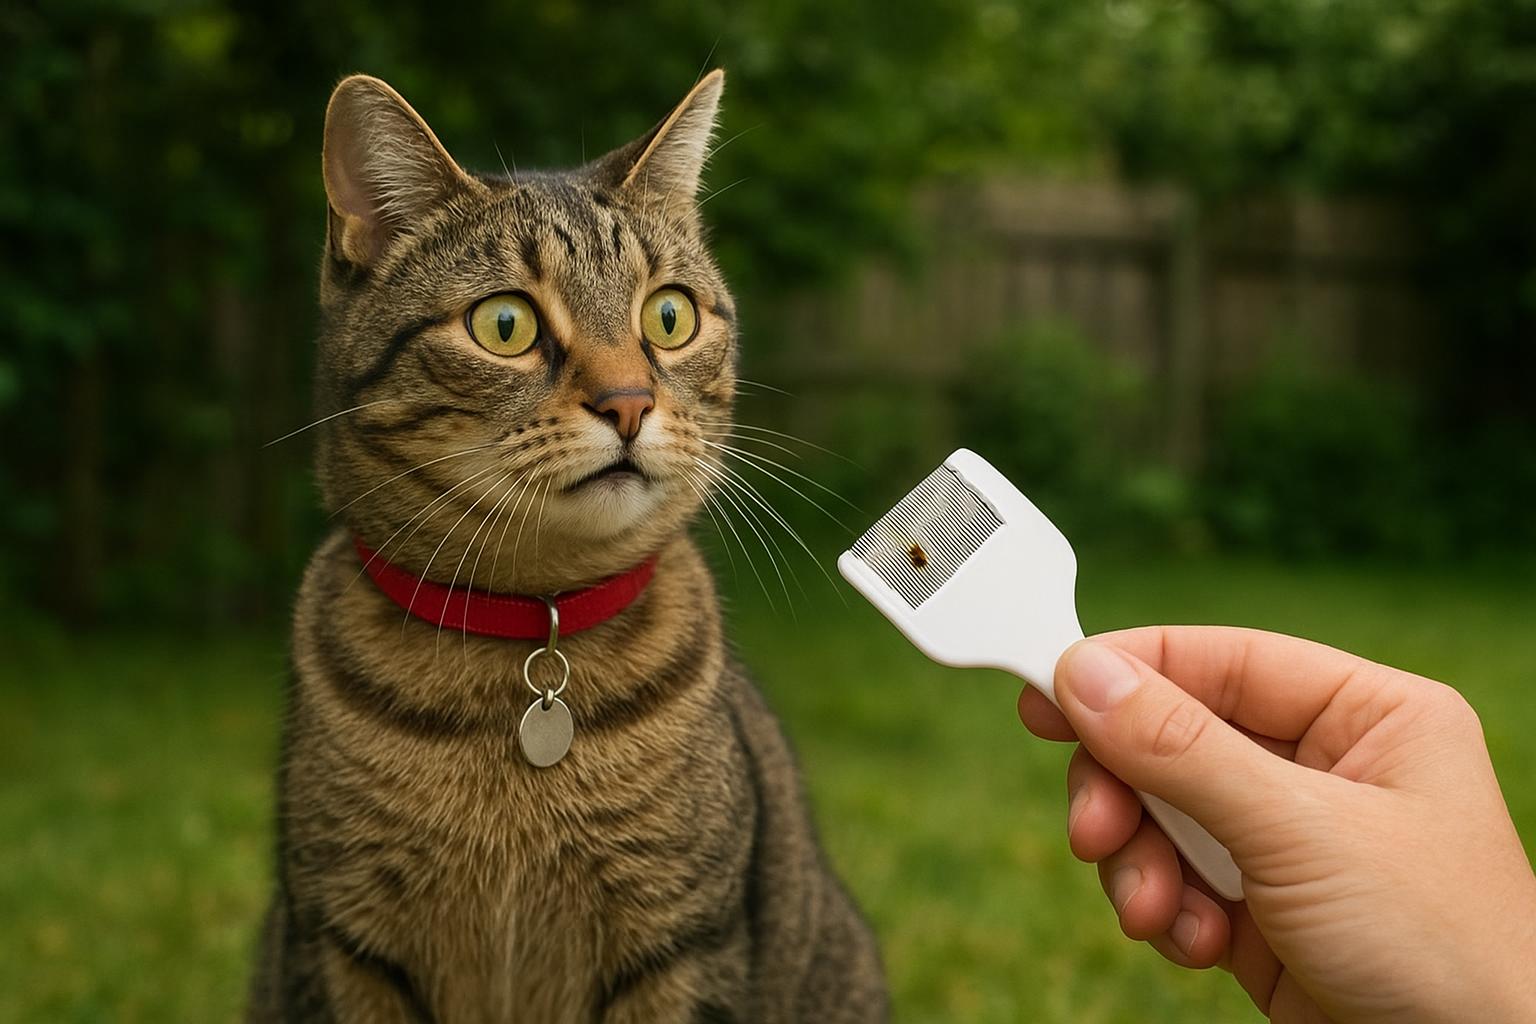
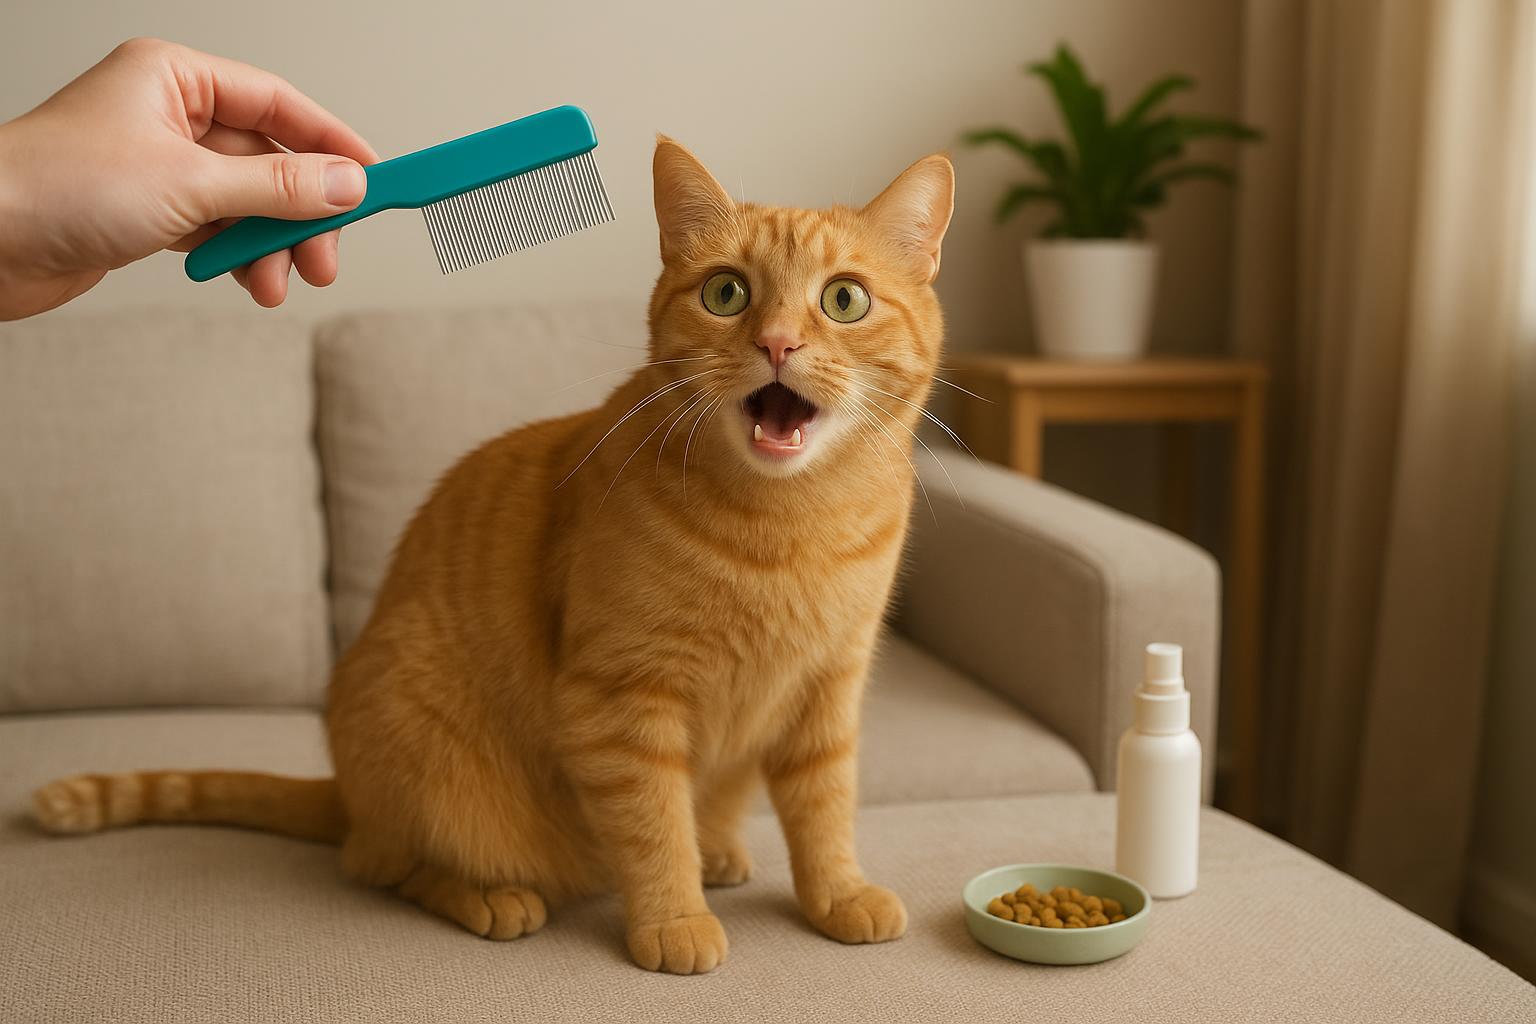
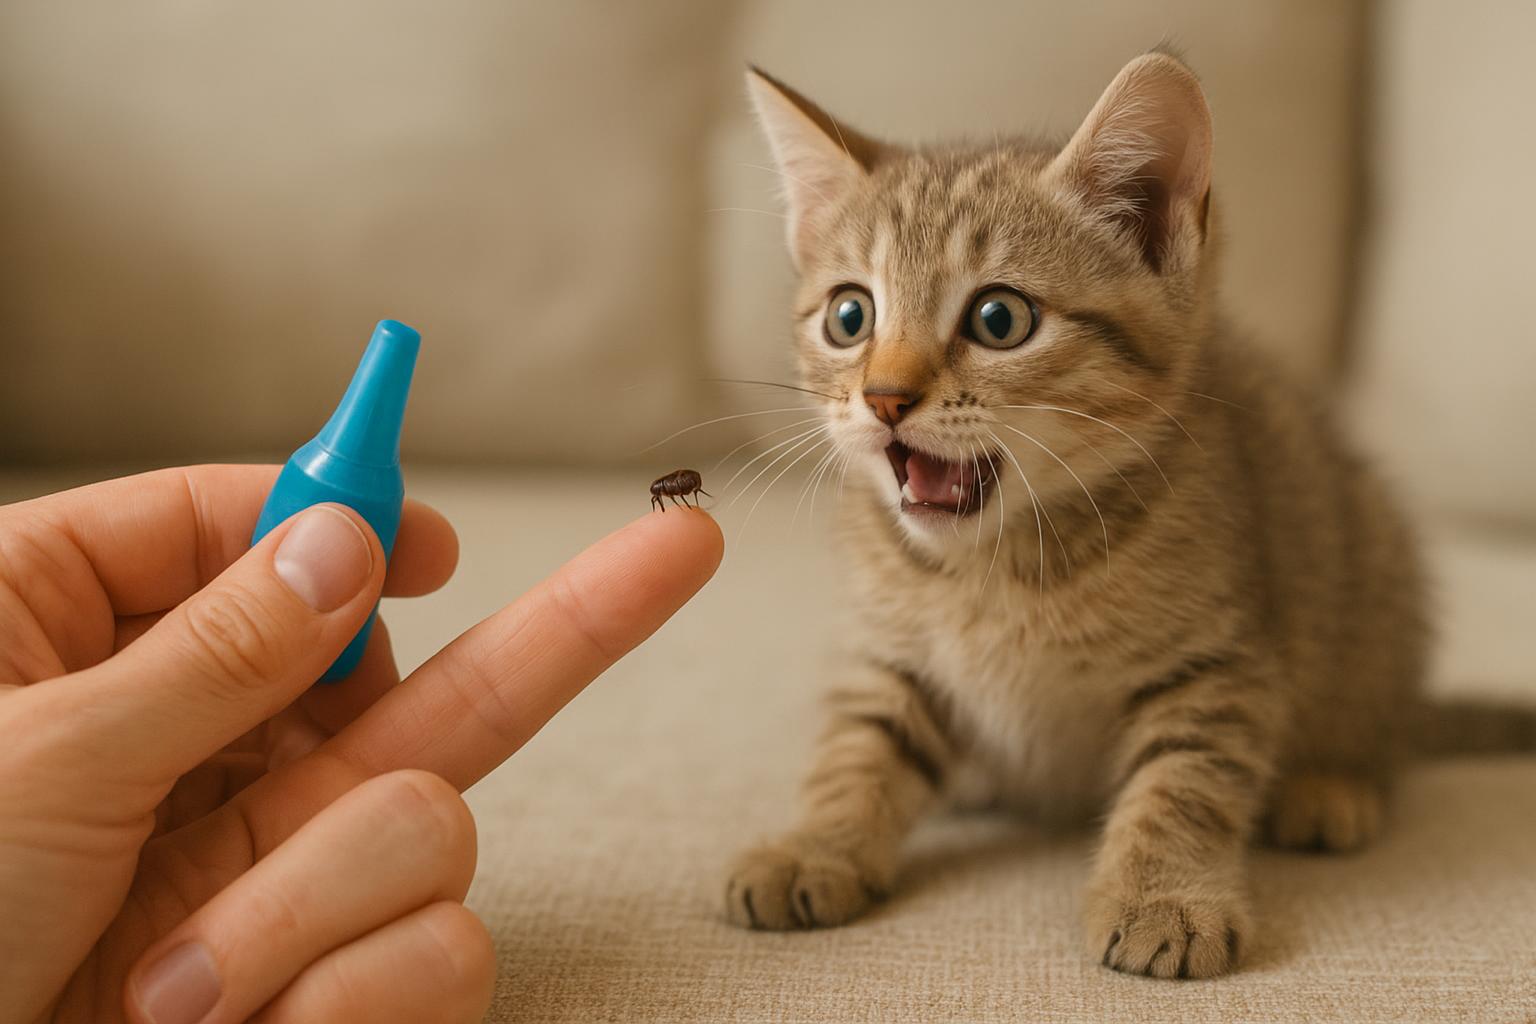
Before launching a full assault, do a quick check: remove the bed cover, shake it outside, and run a fine-tooth comb over your cat. If you see dark specks that turn reddish when placed on damp paper (flea dirt = dried blood), it’s time for action.
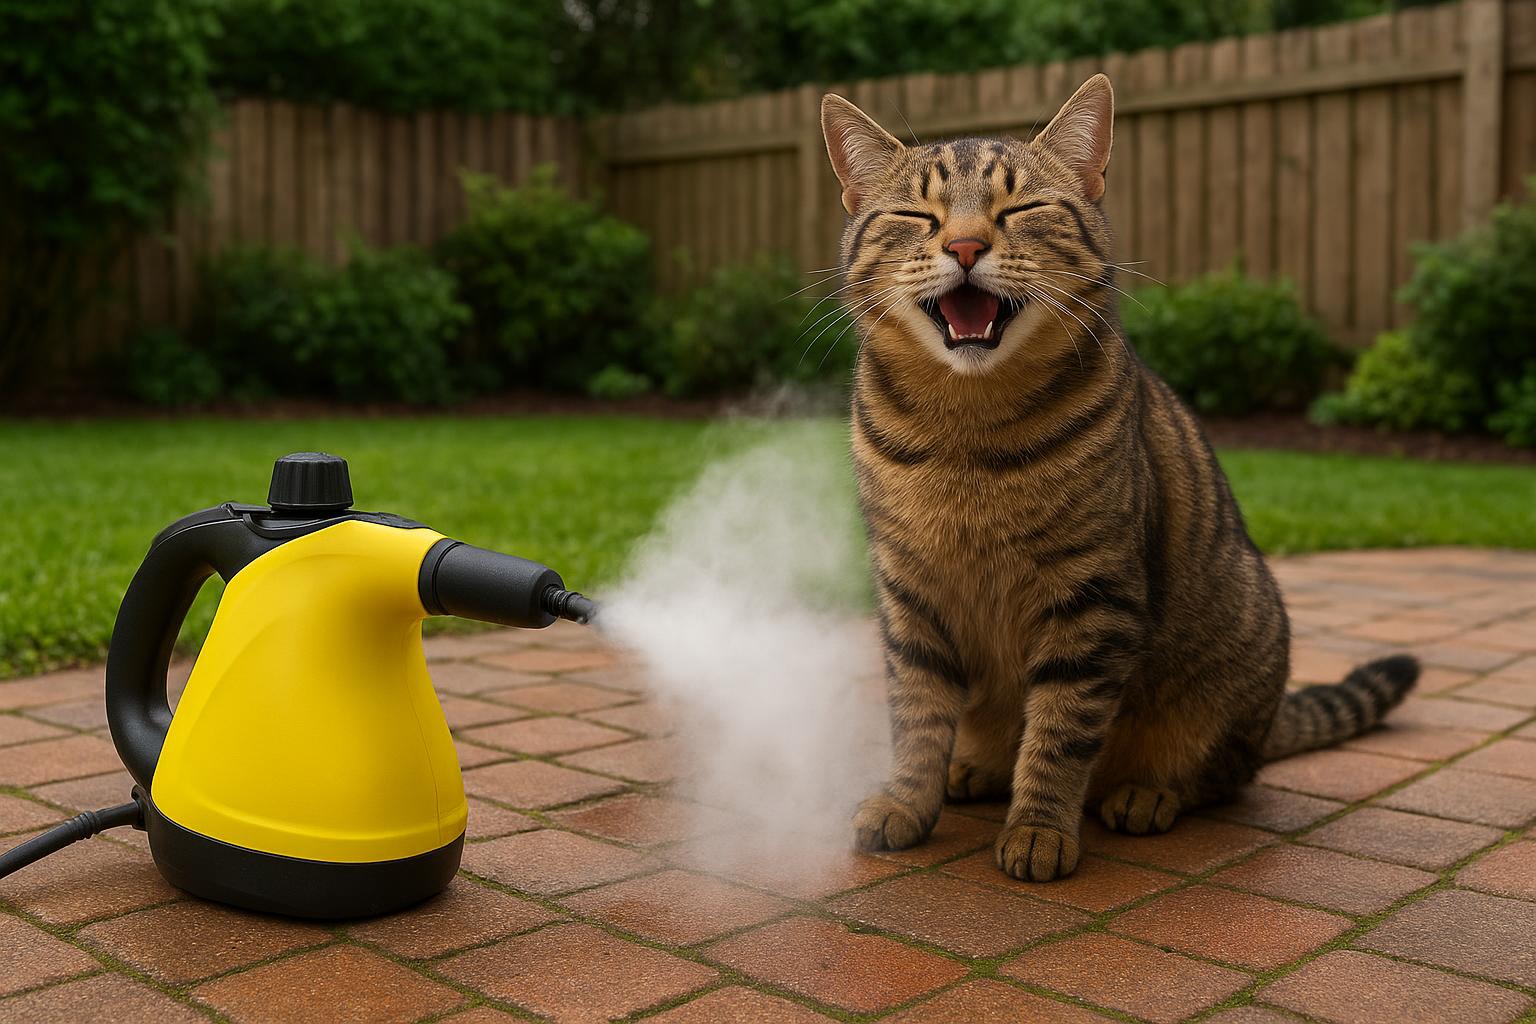
## Remedy 1: Deep Clean And Heat Treatment For Cat Bed
This is the primary, most reliable remedy for bed-based infestations. Be formal and methodical: heat is lethal to eggs, larvae, and adults, and mechanical removal reduces the population significantly. Follow these steps precisely.
### Materials And Equipment Required
1. Hot water laundry machine capable of at least 140°F (60°C) cycle.
2. Household dryer with high-heat setting.
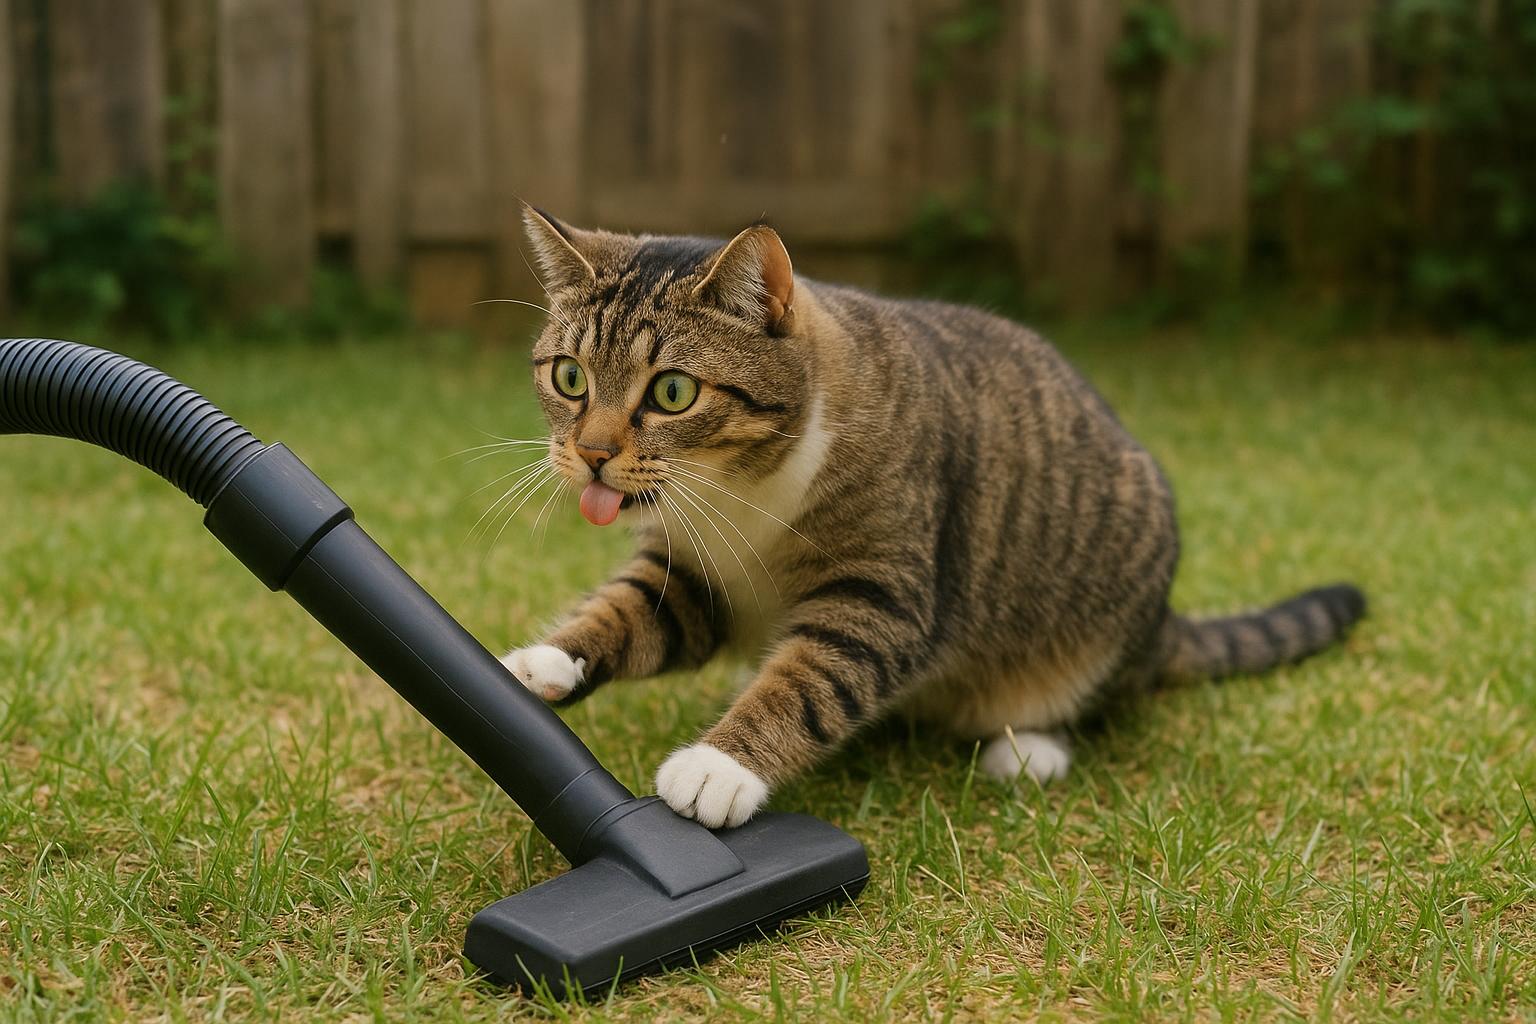
3. Vacuum cleaner with crevice tool and HEPA filter if available.
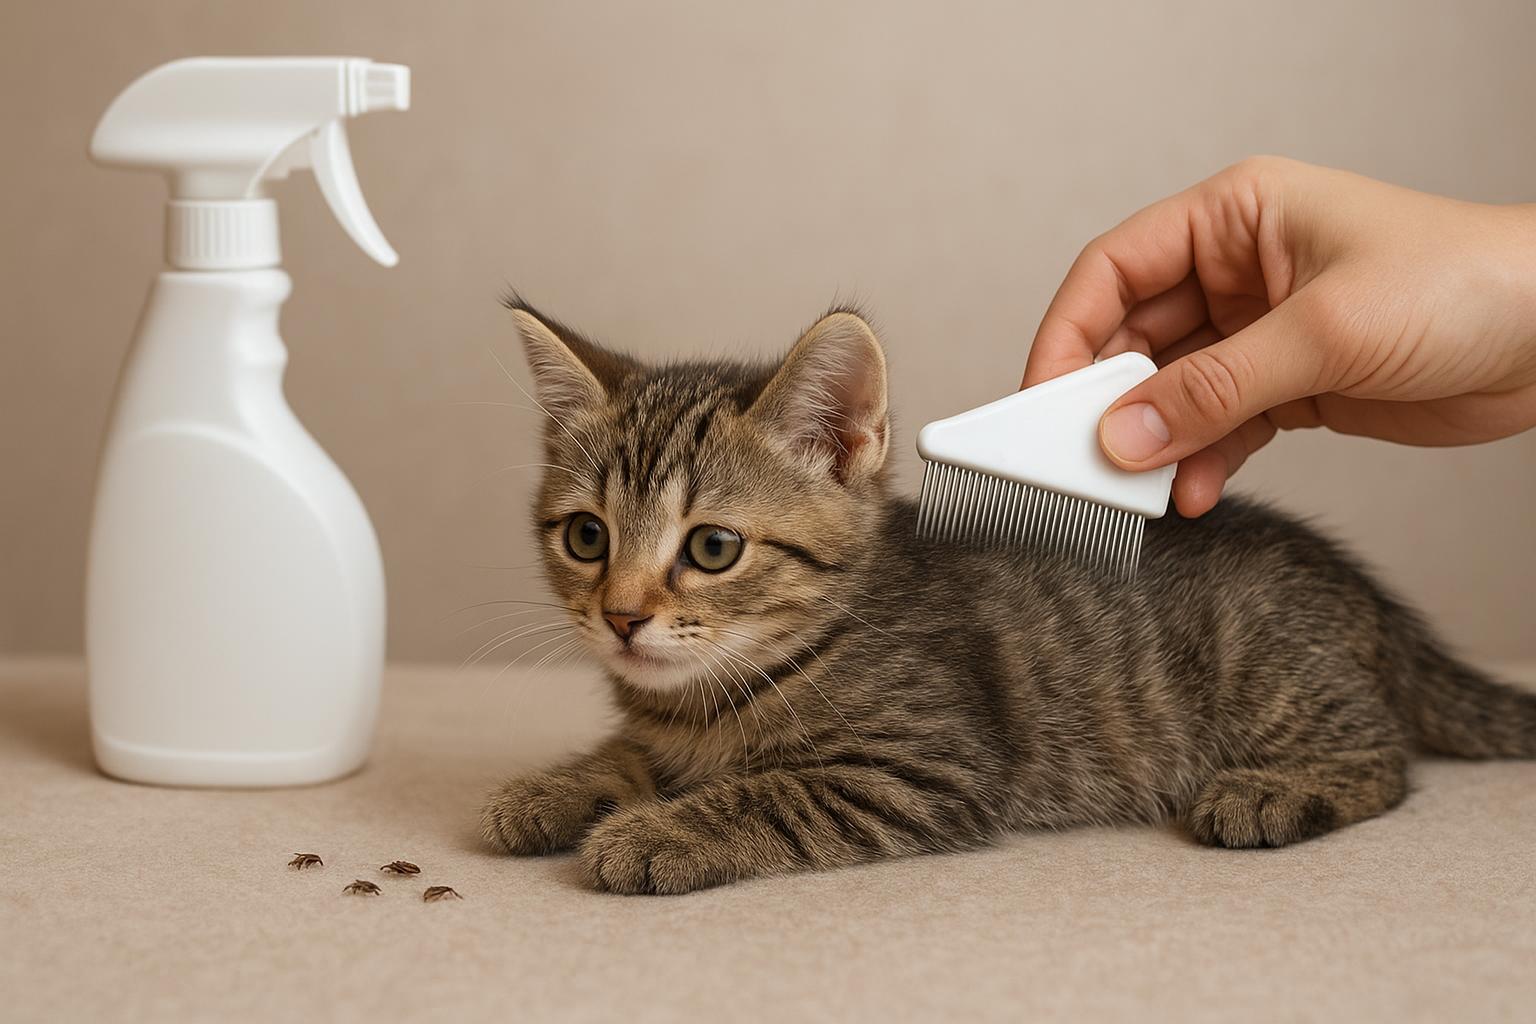
4. Stiff brush or pet hair removal tool.
5. Disposable trash bags.
6. Laundry-safe pet-safe detergent and optional enzymatic cleaner.
7. Access to outdoor space for shaking and sun exposure (if possible).
8. Nitrile gloves (optional, for those handling heavily infested bedding).
### Step-By-Step Deep Clean Procedure
1. Remove the cat bed cover and any removable padding. Inspect seams and zippers.
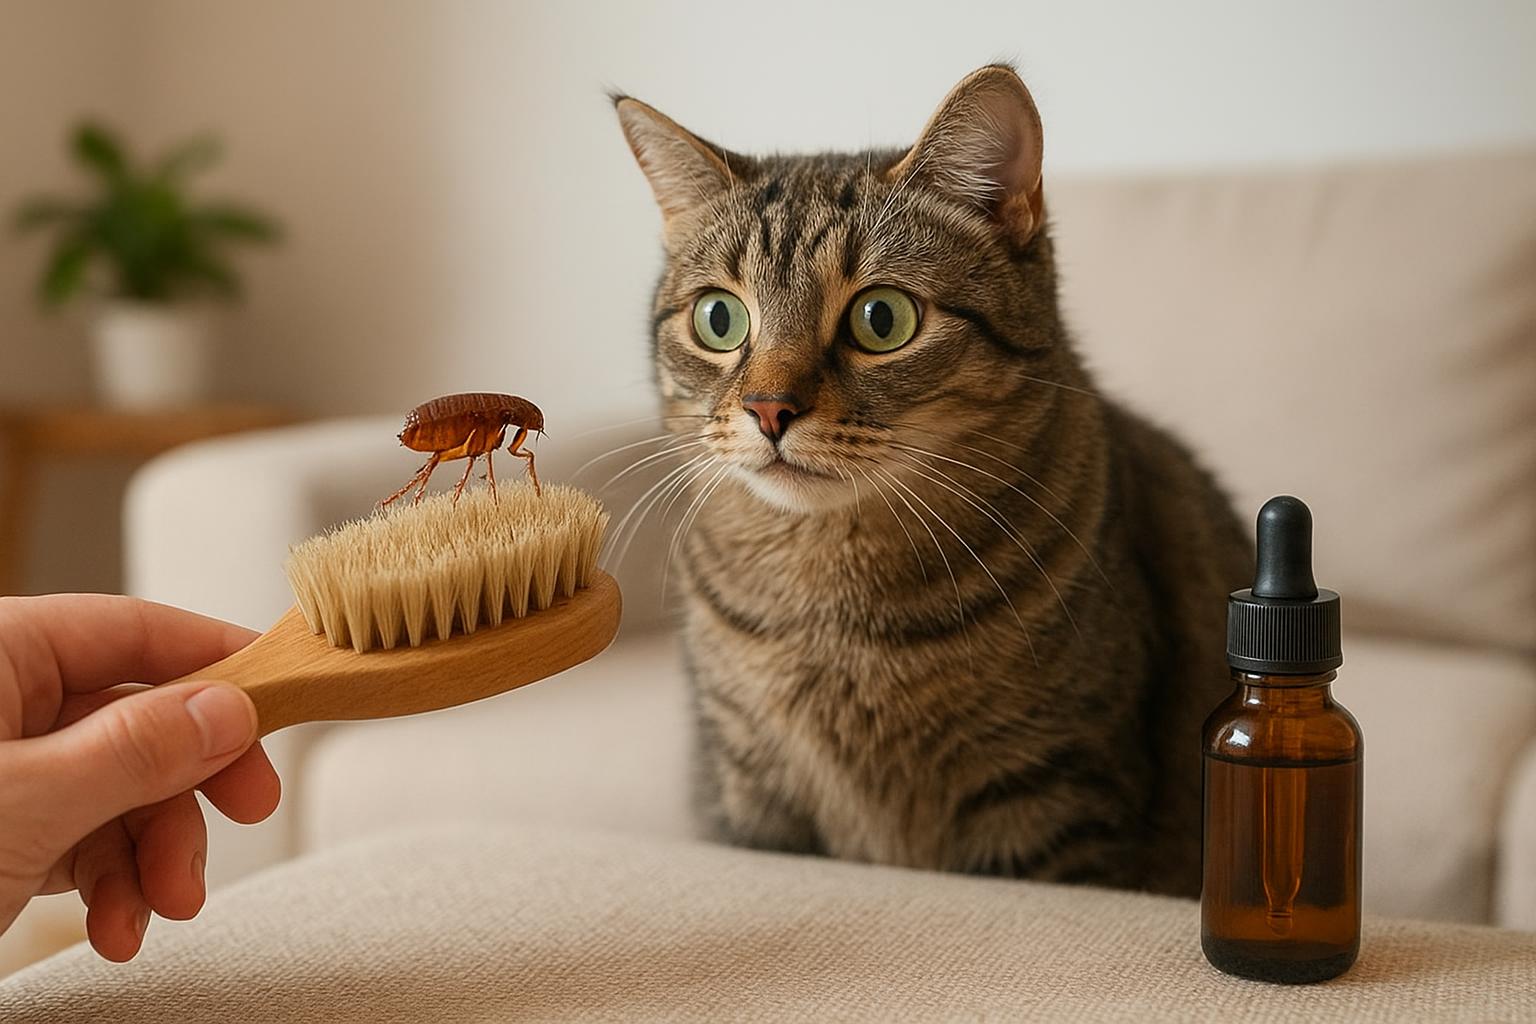
2. Take the bed outside. Shake vigorously to dislodge eggs and adults; use a stiff brush on seams. Collect debris directly into a disposable trash bag and seal it.
3. Vacuum the bed thoroughly, focusing on crevices and folds. Vacuum surrounding floor and furniture where your cat naps. Immediately dispose of the vacuum bag or empty the canister contents into a sealed trash bag.
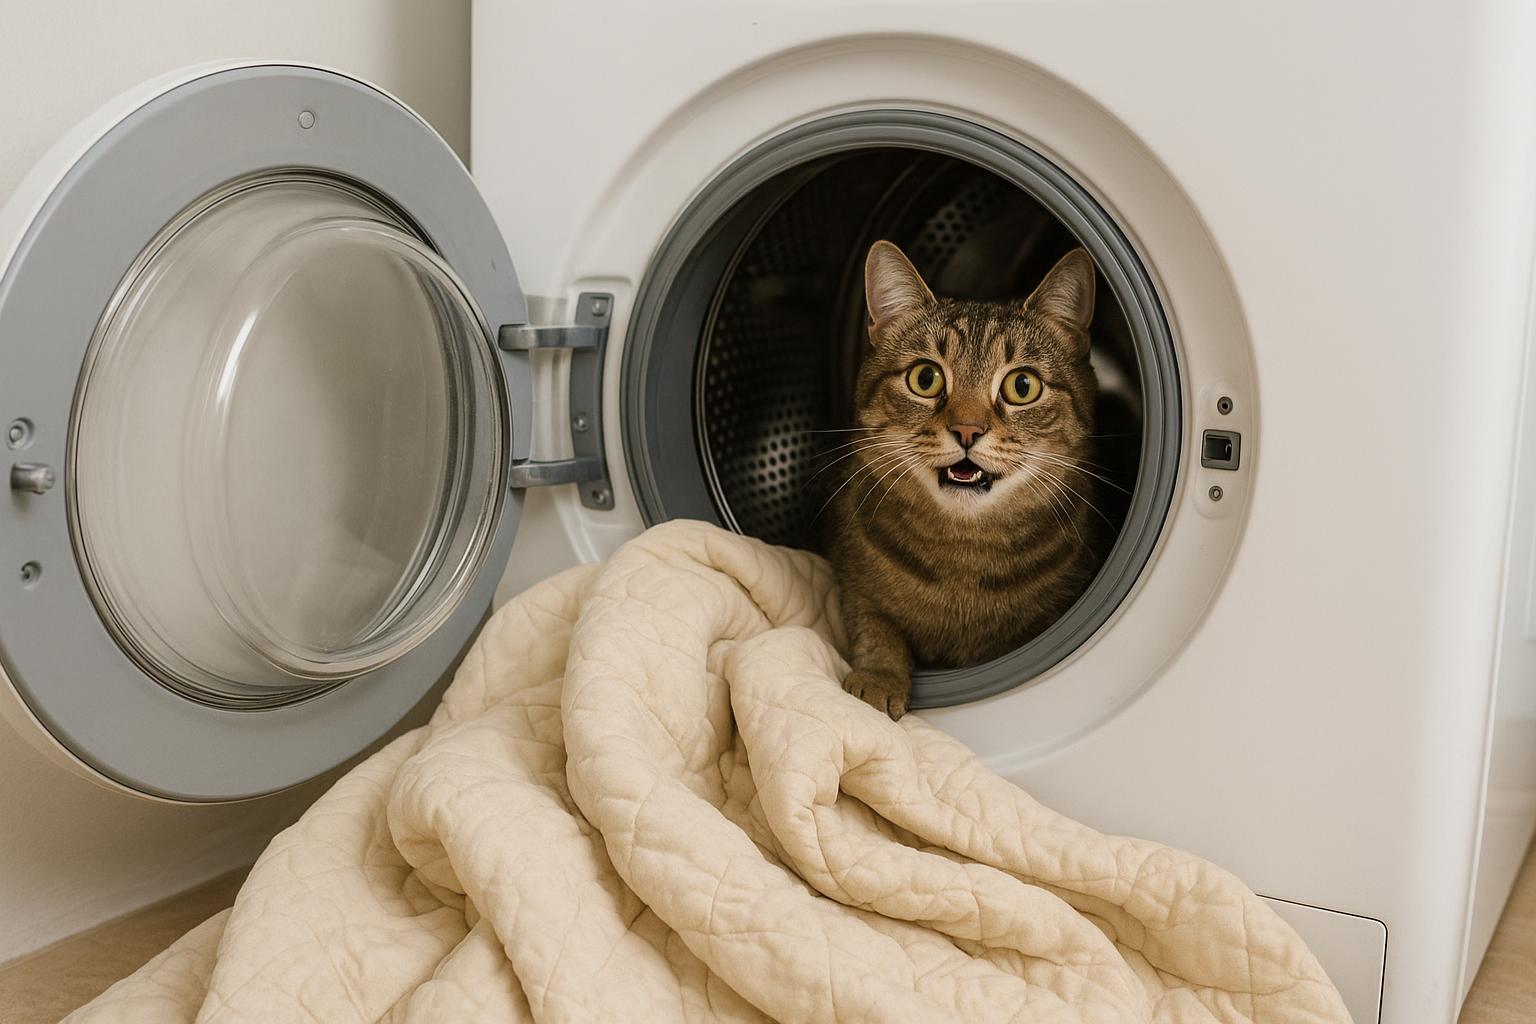
4. Place machine-washable covers and fabric inserts into the washing machine. Run on the hottest water setting the fabric will tolerate (ideally 140°F/60°C) with regular detergent.
5. After washing, run the items in the dryer on the highest heat setting for at least 30 minutes. Heat kills eggs, larvae, and adults.
6. For non-machine-washable beds, place outdoors in direct sunlight for several hours (sun + heat helps) and simultaneously vacuum and brush thoroughly. Consider replacing extremely infested foam pads; heat and vacuum reduce numbers but may not eliminate deep infestations in dense foam.
7. Reassemble only after all parts are fully dry and have been treated. Keep cleaned bed off the floor for a few hours if possible to reduce immediate recontamination.
### Application Notes And Precautions
– Check fabric care labels; if a piece cannot withstand high heat, consider replacing it.
– For severe infestations, combine cleaning with chemical or biological measures (see Remedy 2 and Veterinary Options).
– Dispose of vacuumed debris promptly in sealed bags to prevent re-infestation.
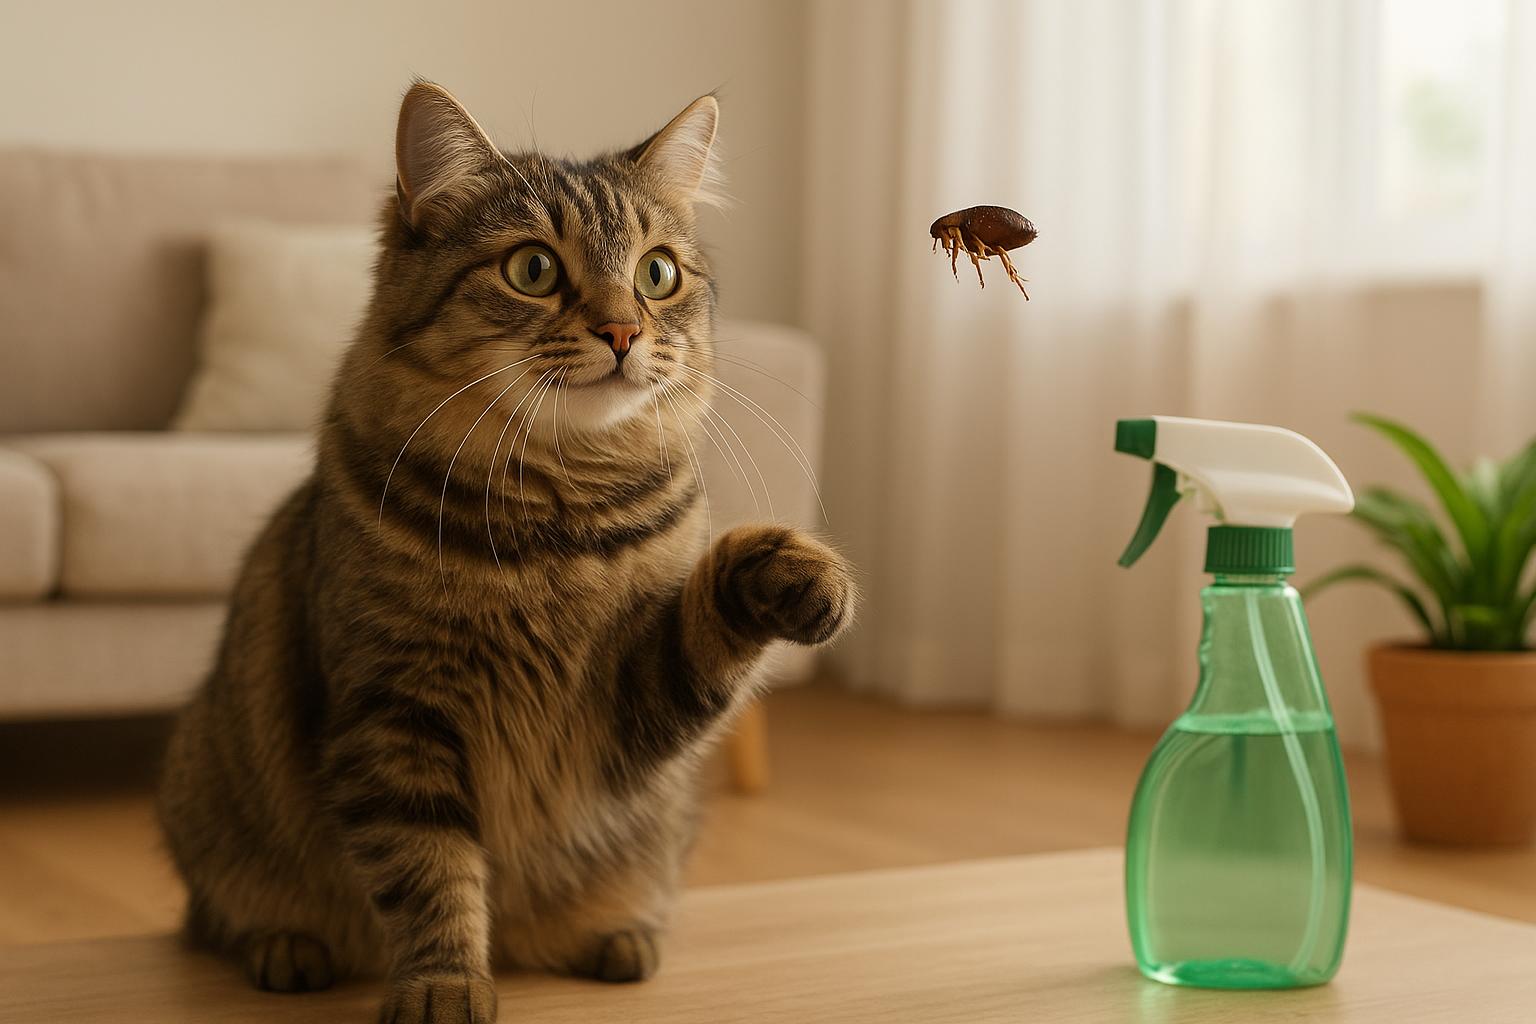
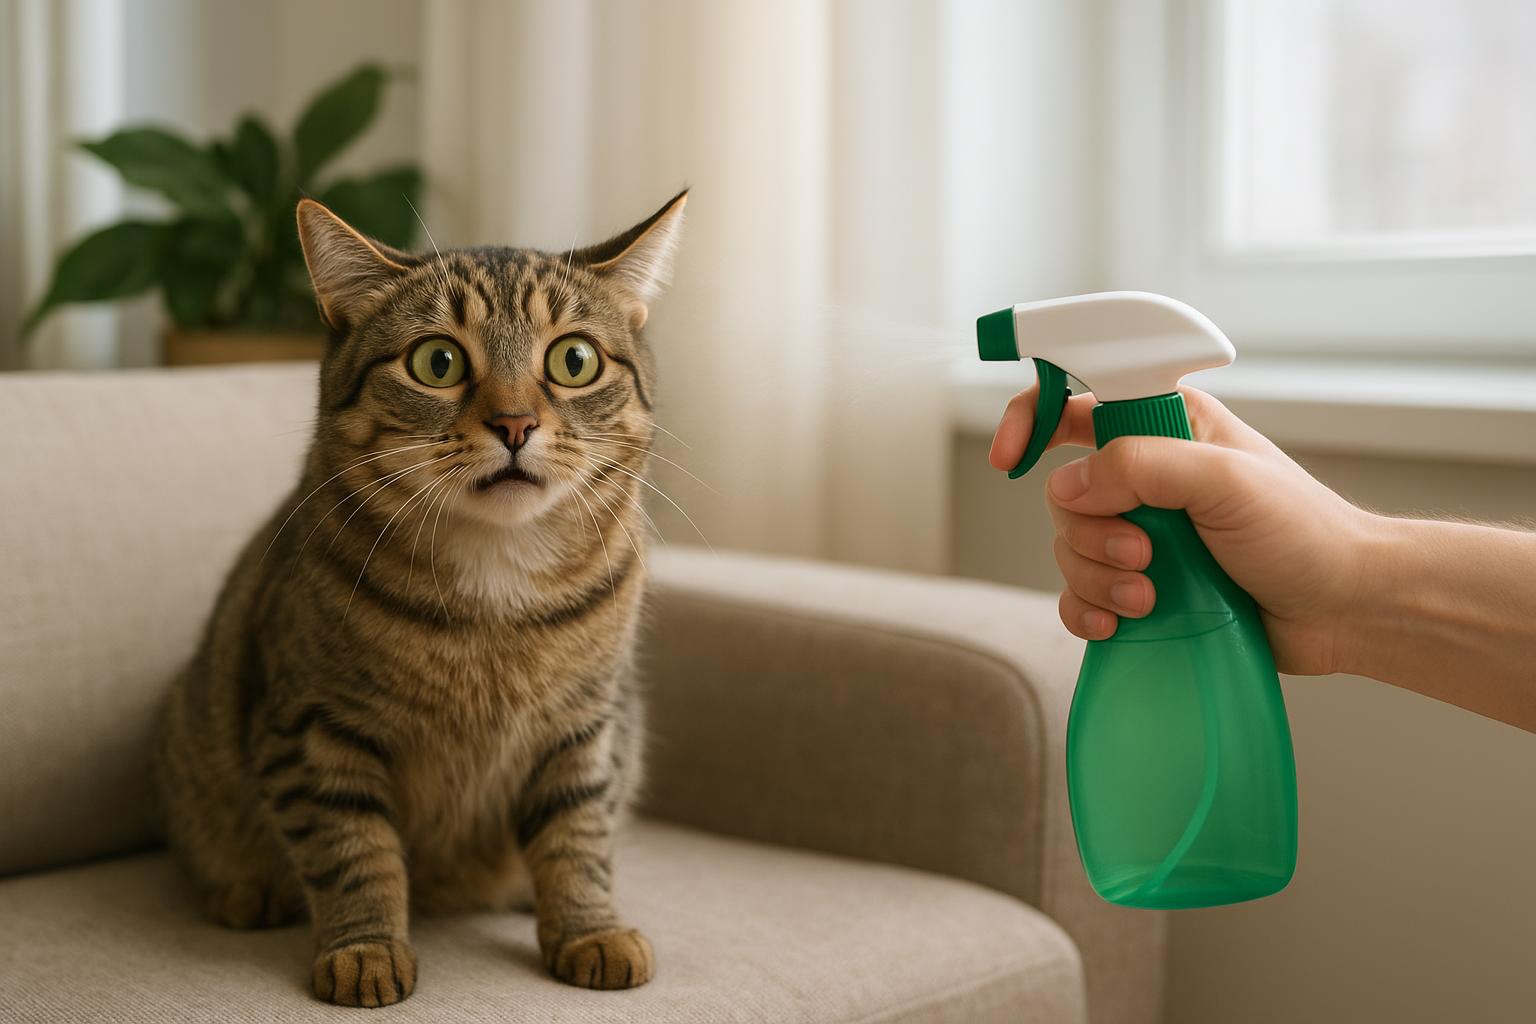
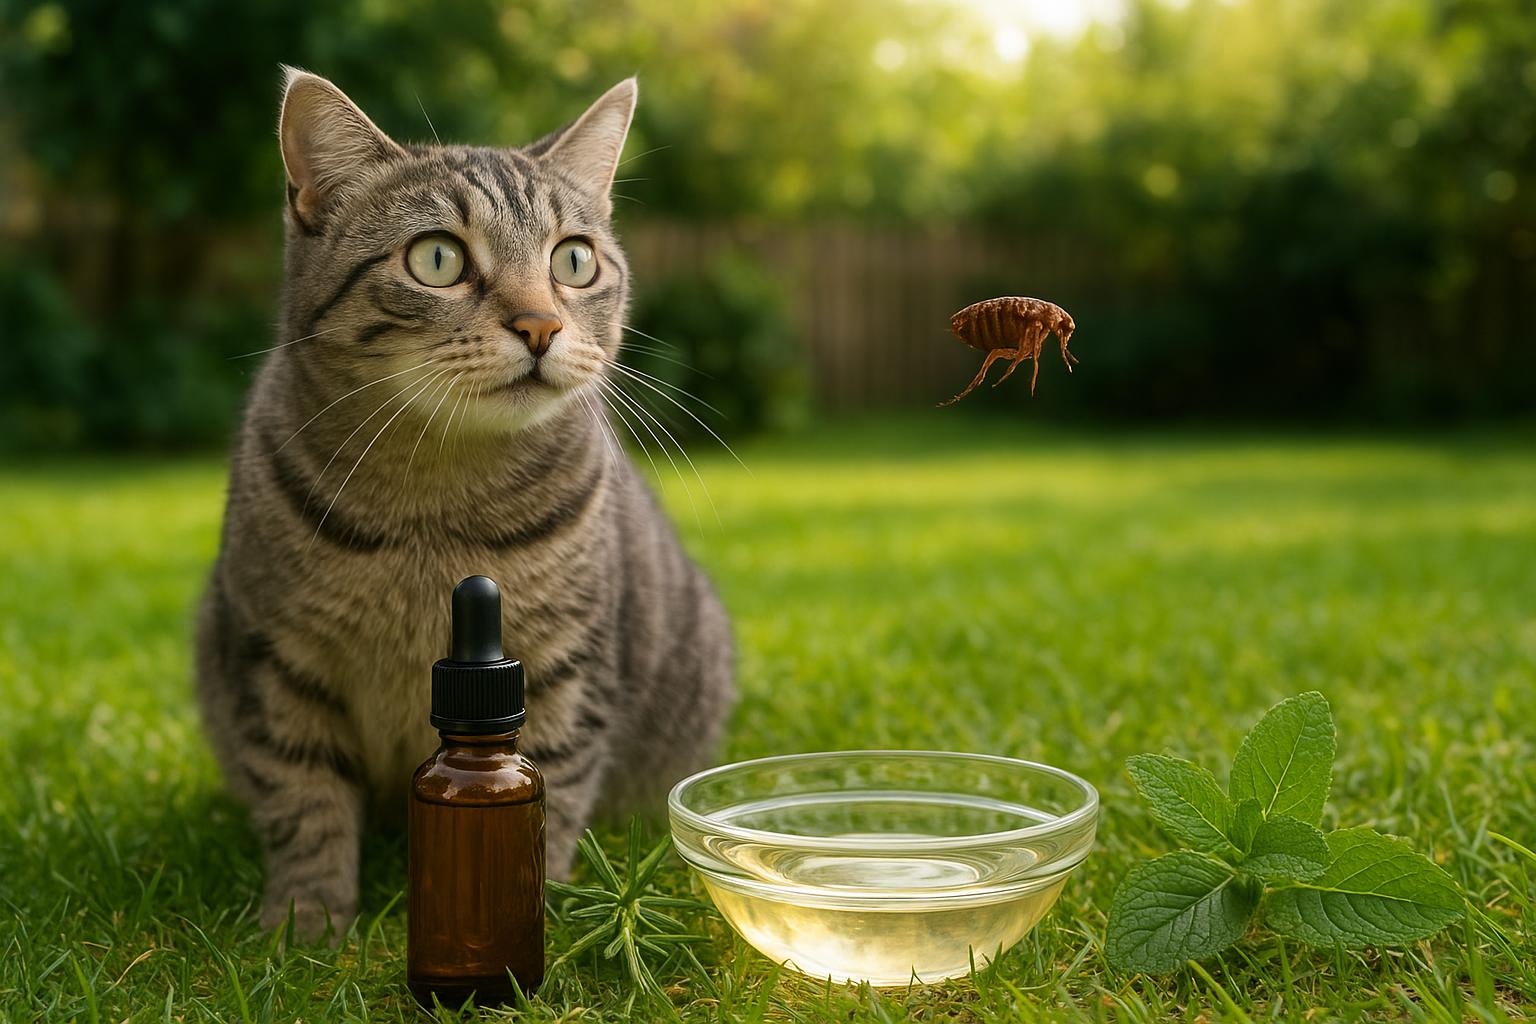
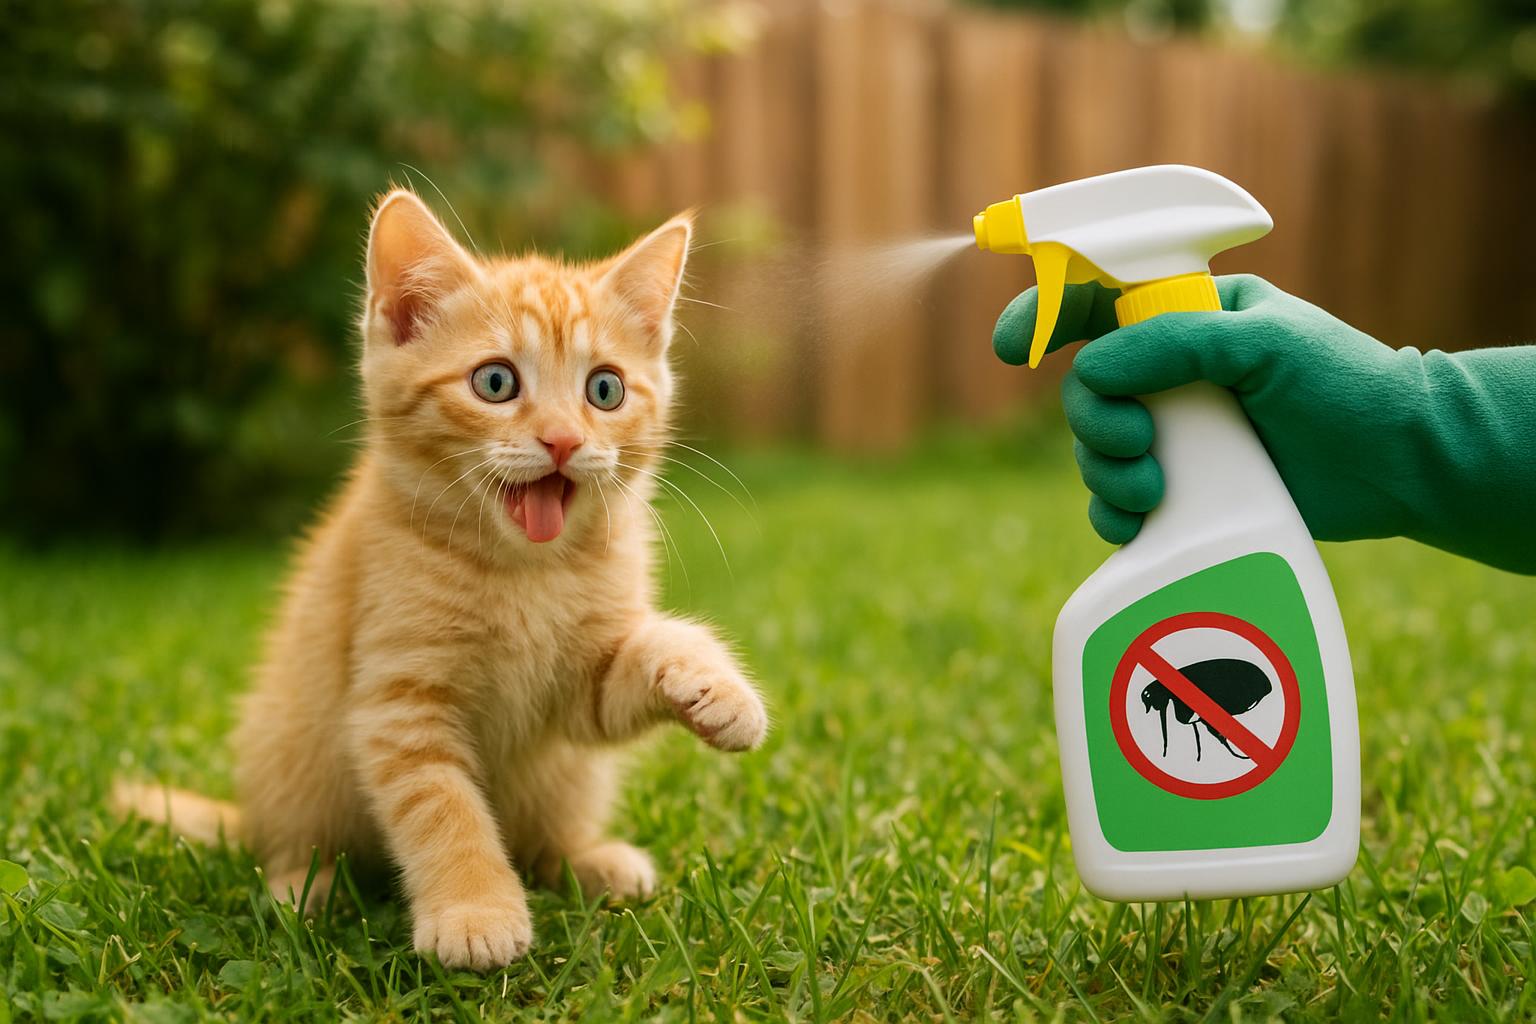
## Remedy 2: Natural Flea Spray And Preventive Measures For Your Cat Bed
This is remedy number 2, and it focuses on a targeted spray and household prevention. It’s intended to be safe for fabrics and non-toxic when prepared and used correctly. Formal instructions follow.
### Ingredients And Tools Needed
1. White vinegar (distilled) — 1 cup.
2. Rubbing alcohol (isopropyl 70%) — 1/2 cup.
3. Water (distilled or boiled and cooled) — 2 cups.
4. A few drops of fragrance-free dish soap (optional, helps spread).
5. Spray bottle (glass or high-quality plastic).
6. Measuring cups and a funnel.
7. Gloves and eye protection.
### Preparation And Application Steps
1. Sanitize your spray bottle by rinsing with hot water and vinegar before use.
2. Combine 1 cup white vinegar, 1/2 cup rubbing alcohol, and 2 cups water in the bottle. Add 2–3 drops of dish soap if using. Do not exceed recommended alcohol amounts; higher concentrations are unnecessary and potentially hazardous.
3. Cap and gently invert the bottle to mix. Label the bottle clearly and keep it stored safely away from pets and children.
4. Test a small, inconspicuous area of the cat bed fabric for colorfastness. Wait 10–15 minutes and inspect.
5. Lightly mist the surface of the cat bed and seams — do not saturate foam entirely. Allow to air dry. Repeat once daily for 5–7 days to interrupt the flea life cycle.
6. In parallel, spray baseboards, carpet edges, and furniture where your cat rests. Avoid direct spraying on your cat. Do not spray areas where there are open wounds or sensitive skin on animals.
7. Combine this treatment with the deep-clean routine for best results.
### Notes On Efficacy And Safety
– Natural sprays help reduce environmental loads but may not eradicate pupae protected in deep fibers. Use as part of an integrated plan.
– Do not substitute household remedies for veterinarian-prescribed medications on your cat. If your cat has fleas, treat the animal directly with approved flea control products from a vet.
### Treating Pets And Household Prevention
Treating the environment without treating the pet is like mopping while the faucet runs. A formal approach is required when it comes to animals.
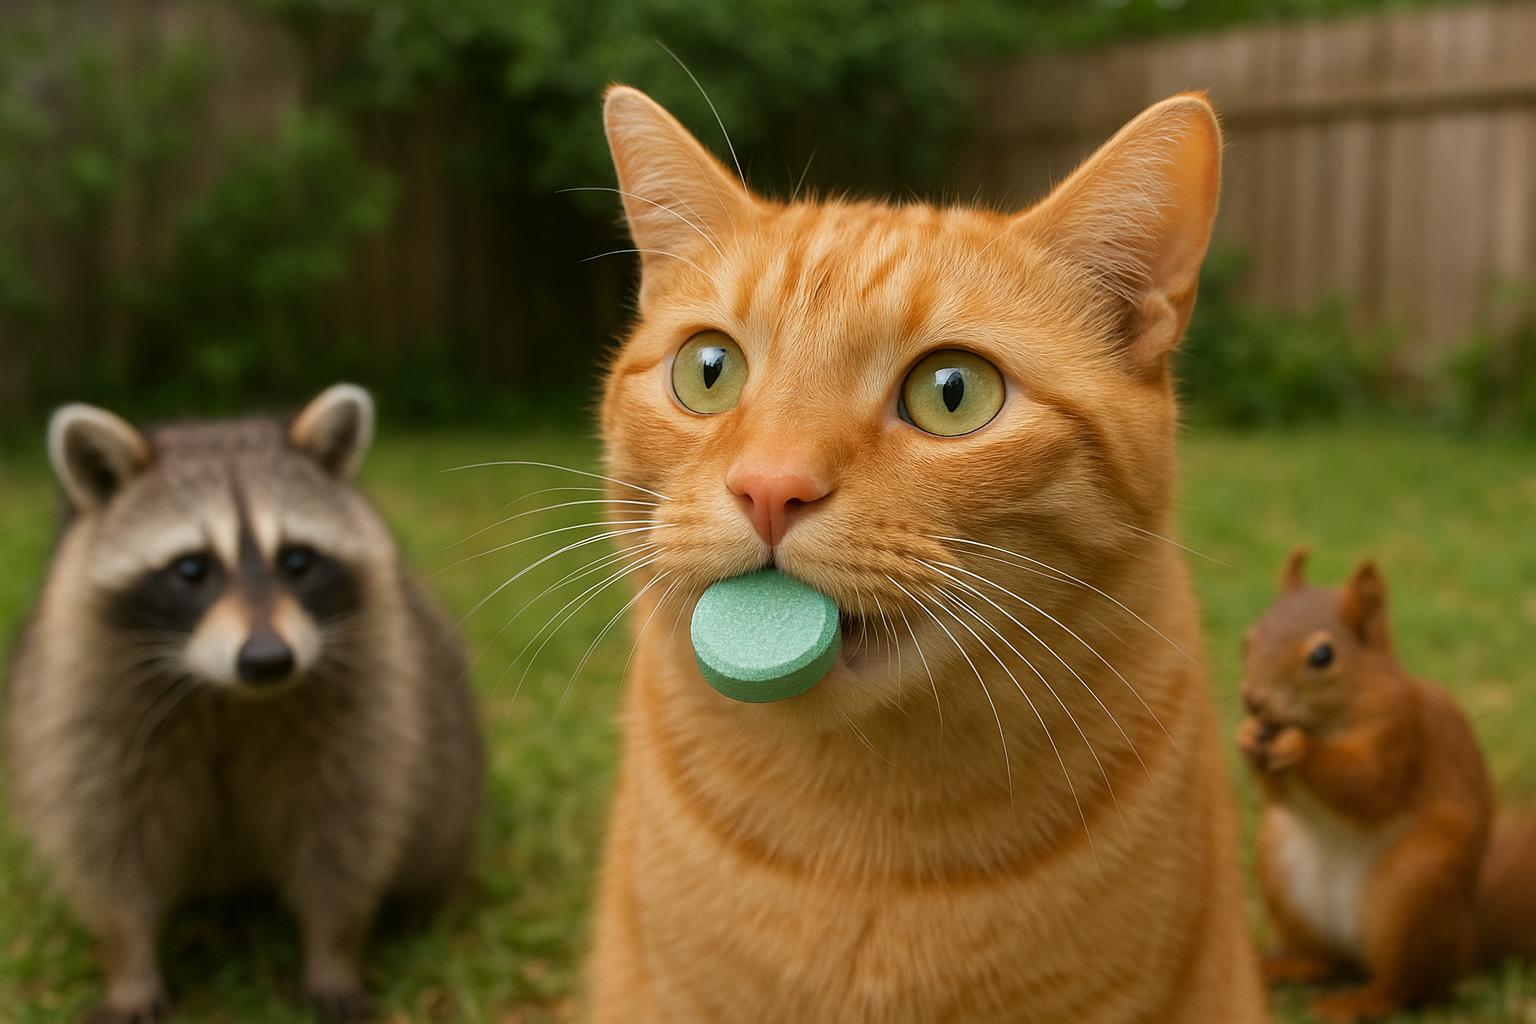
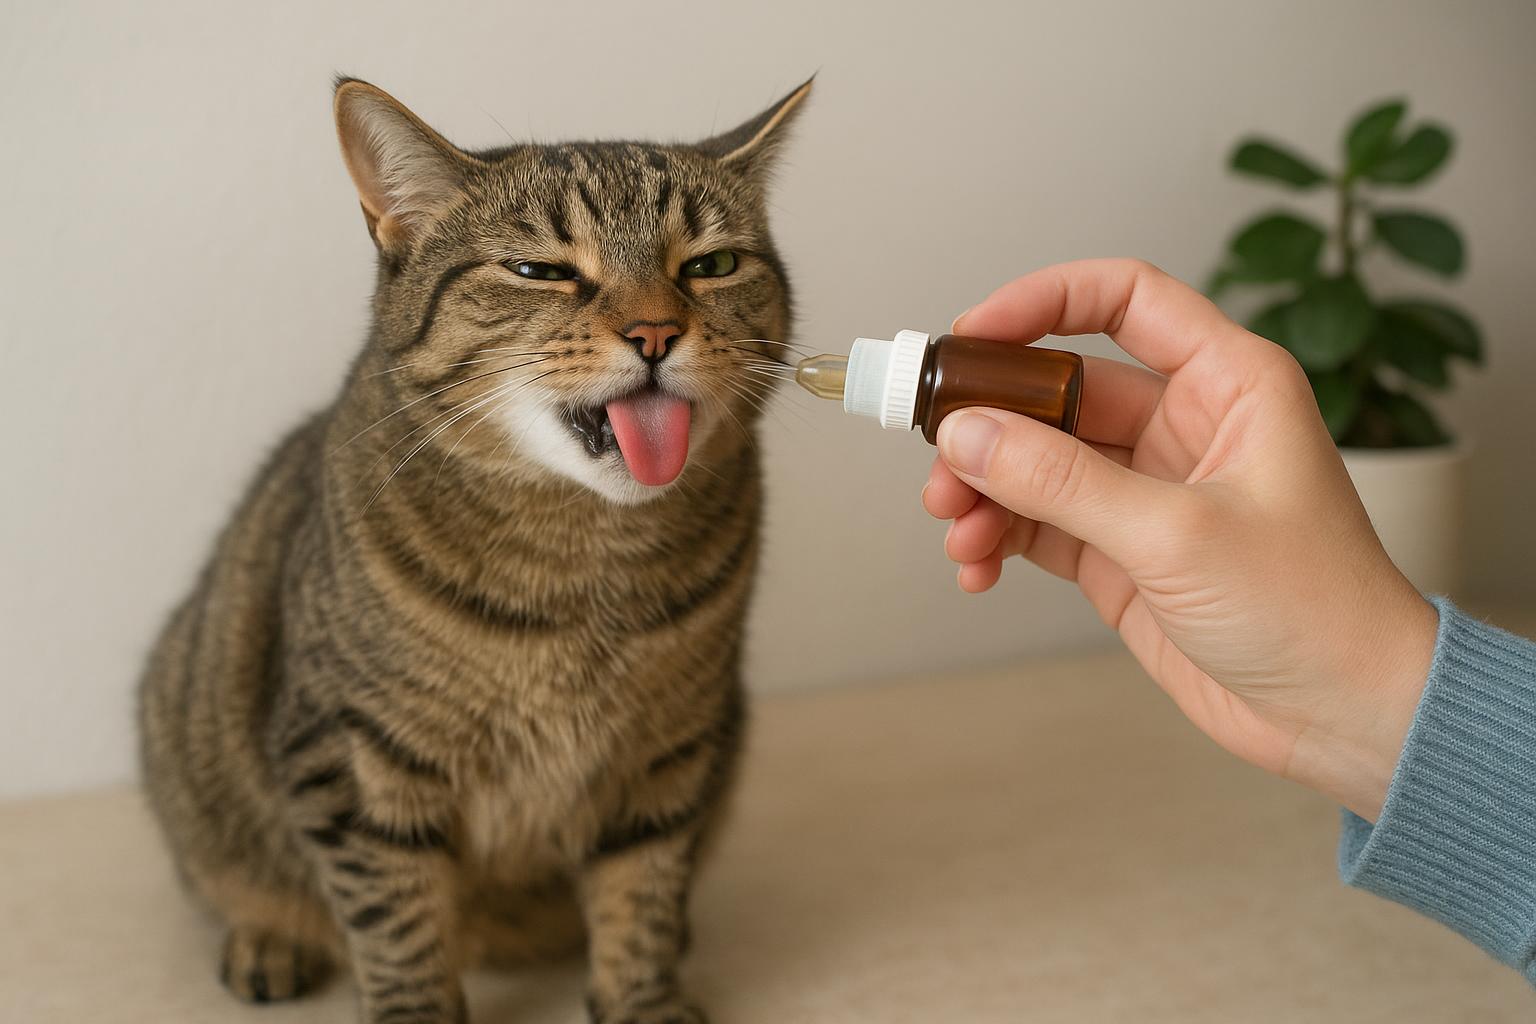
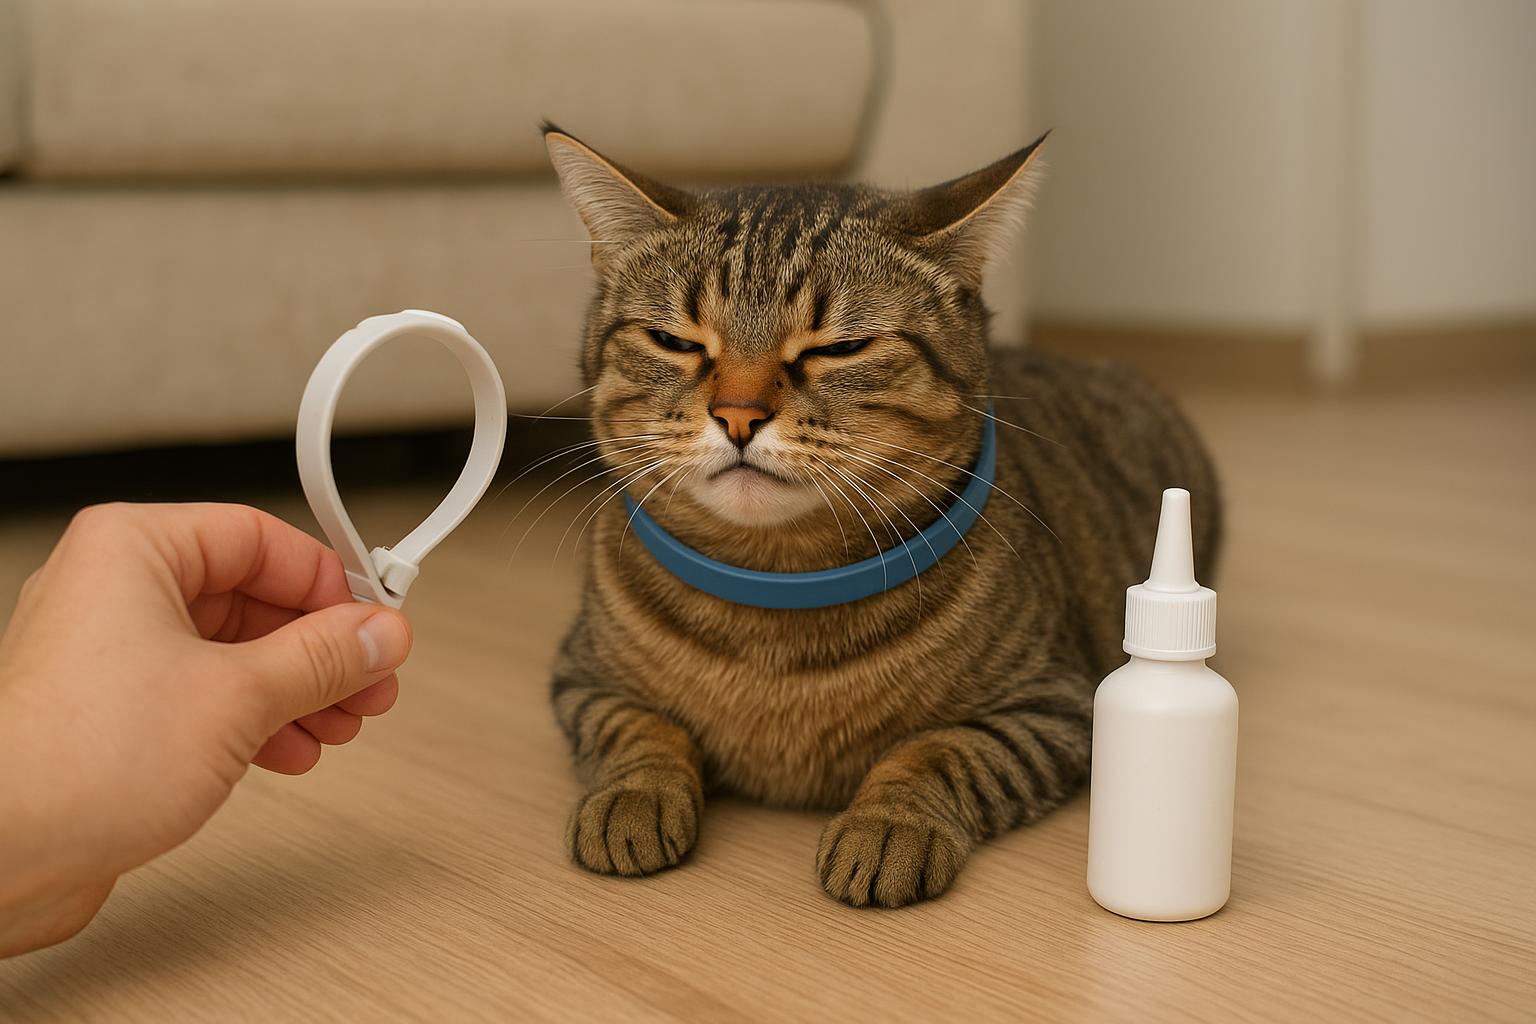
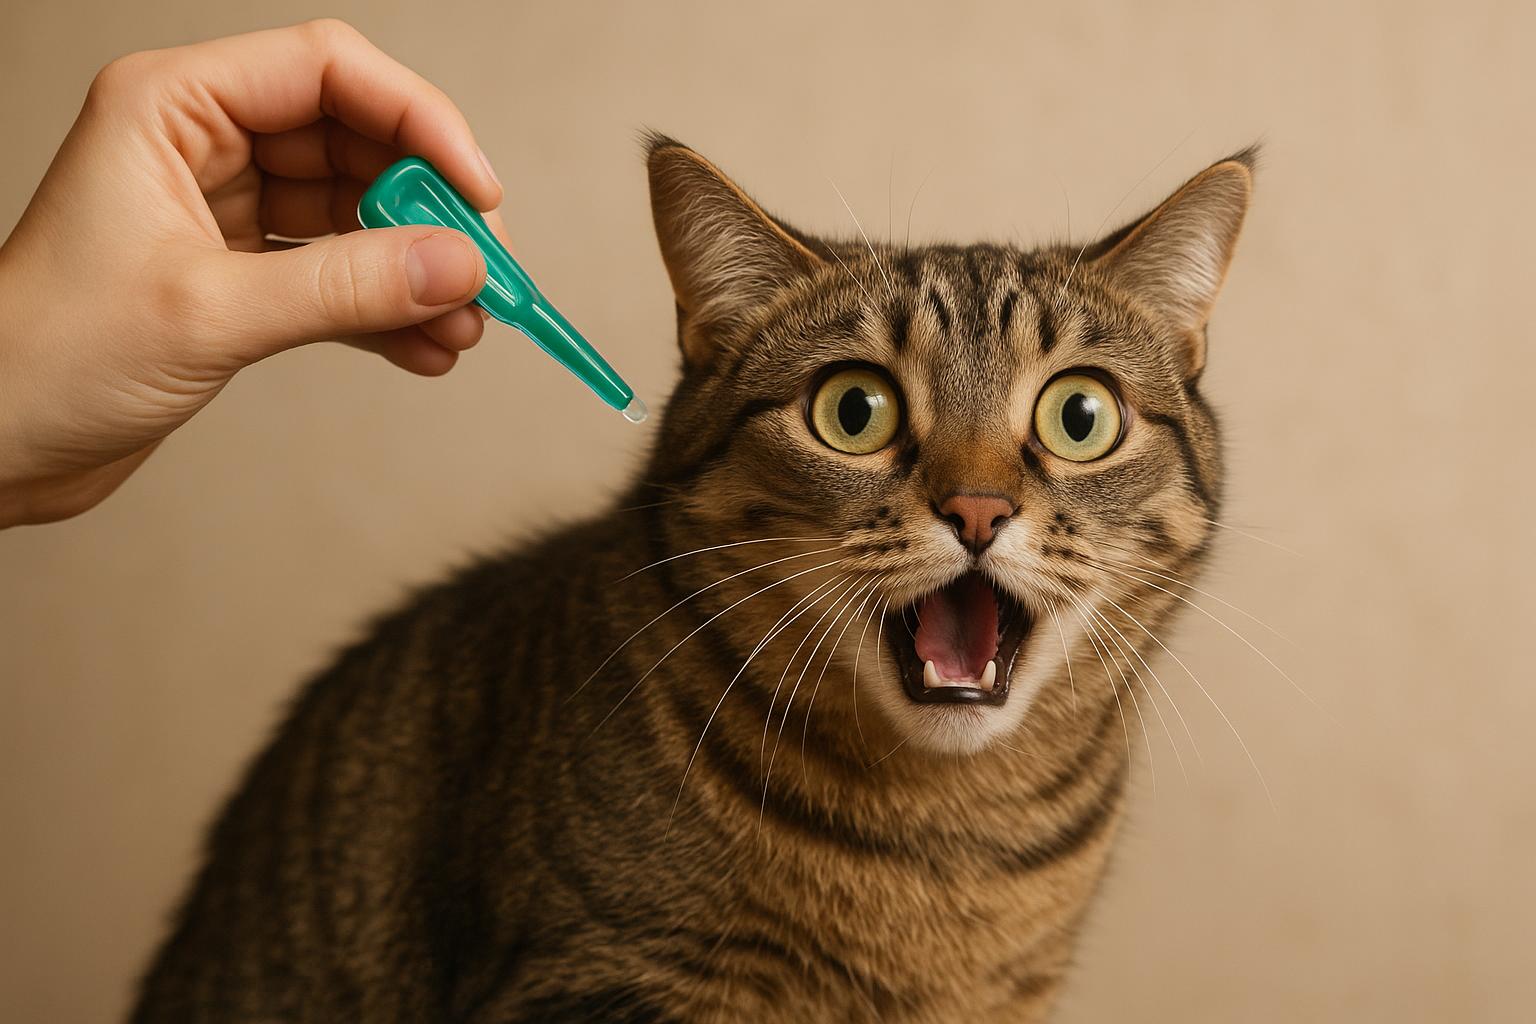
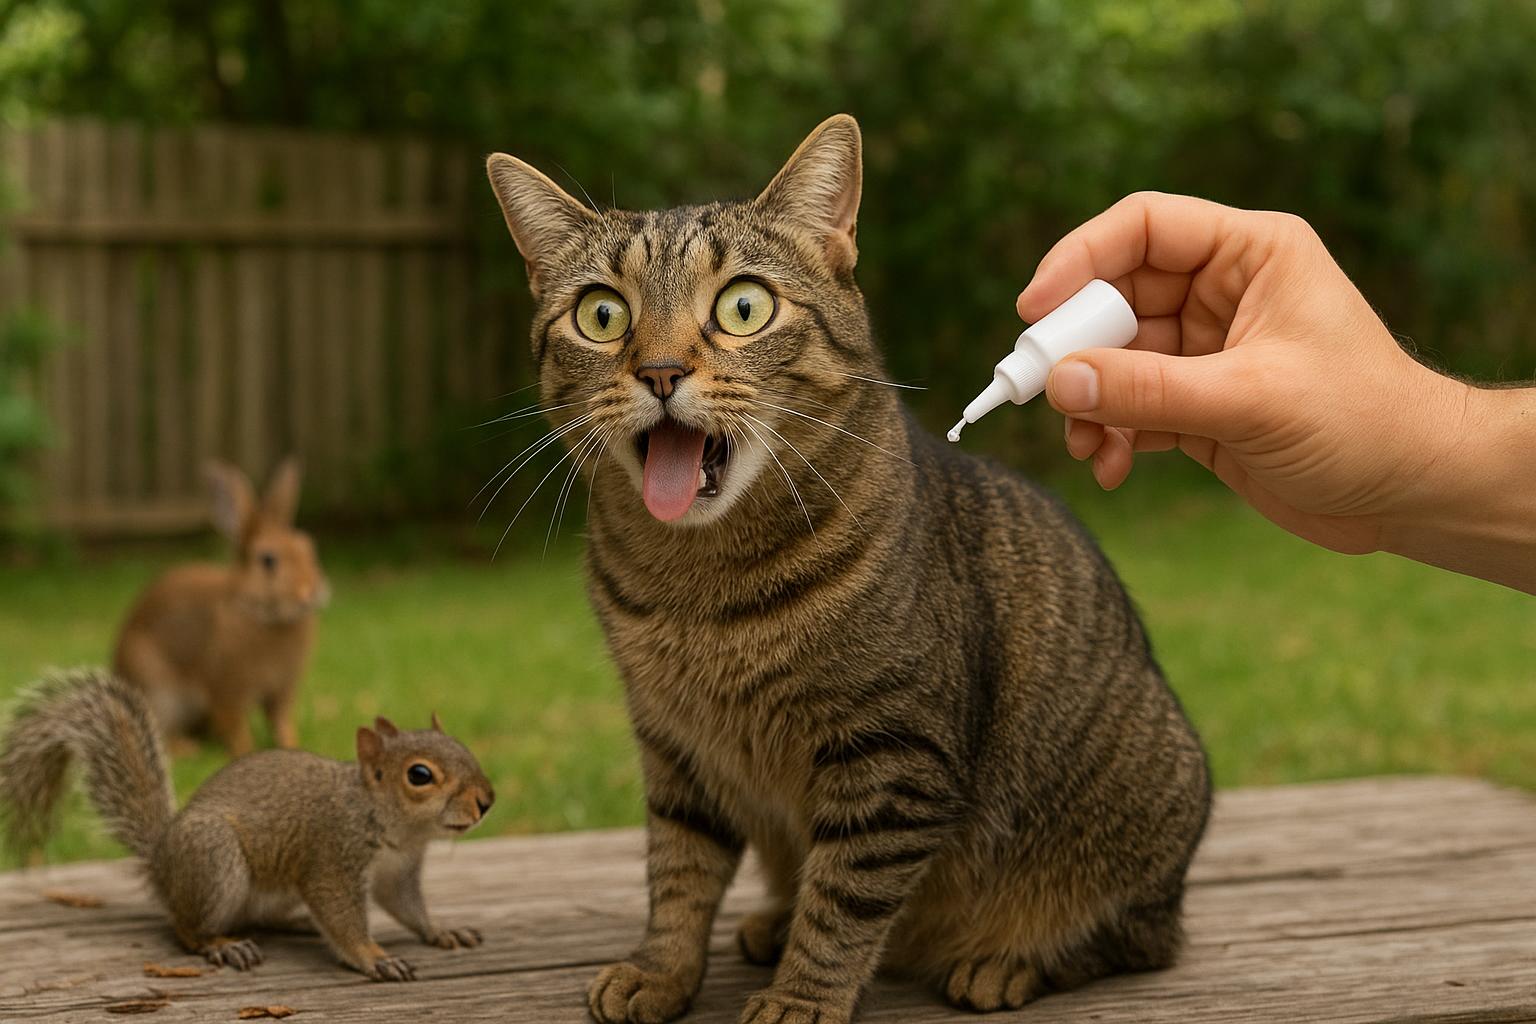
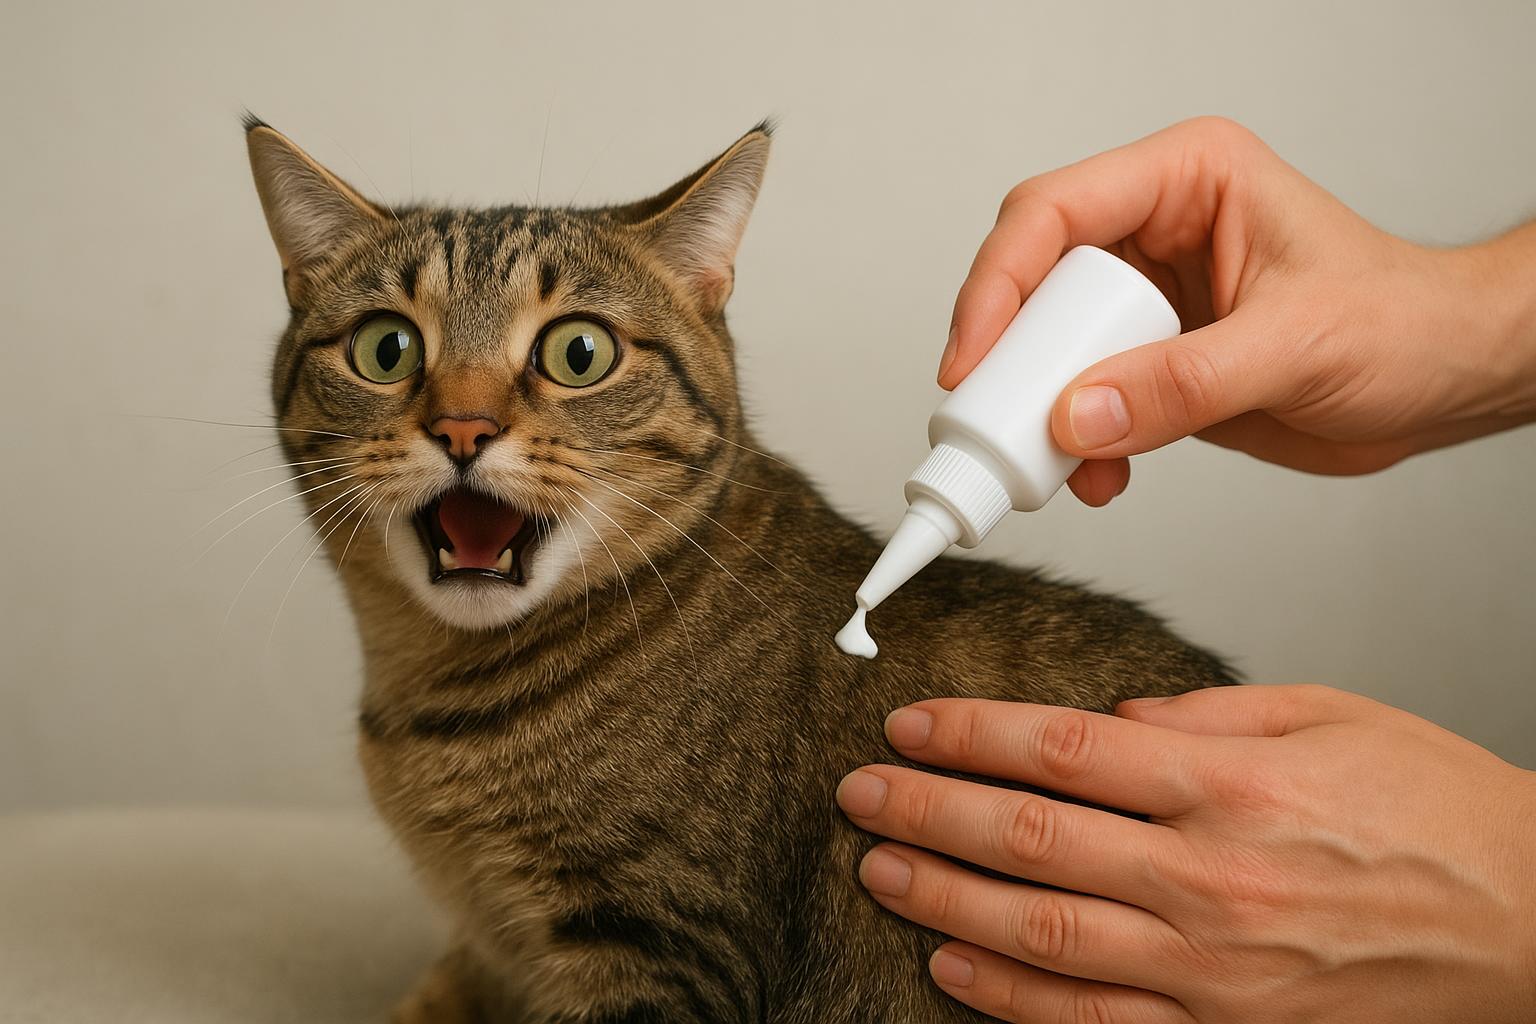
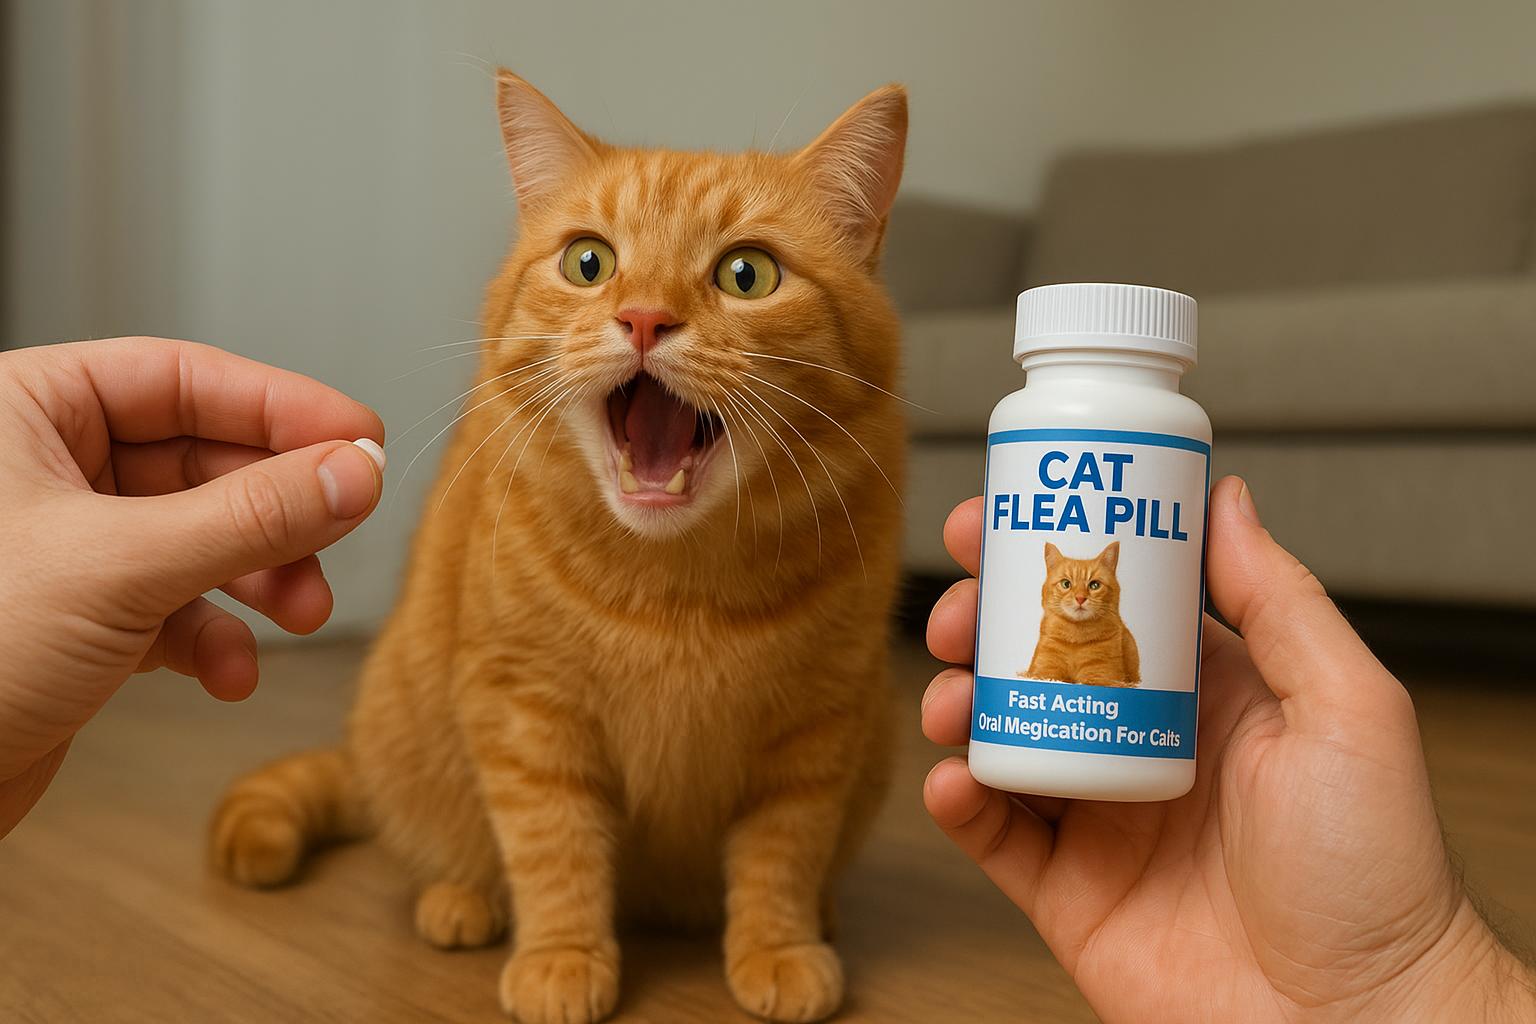
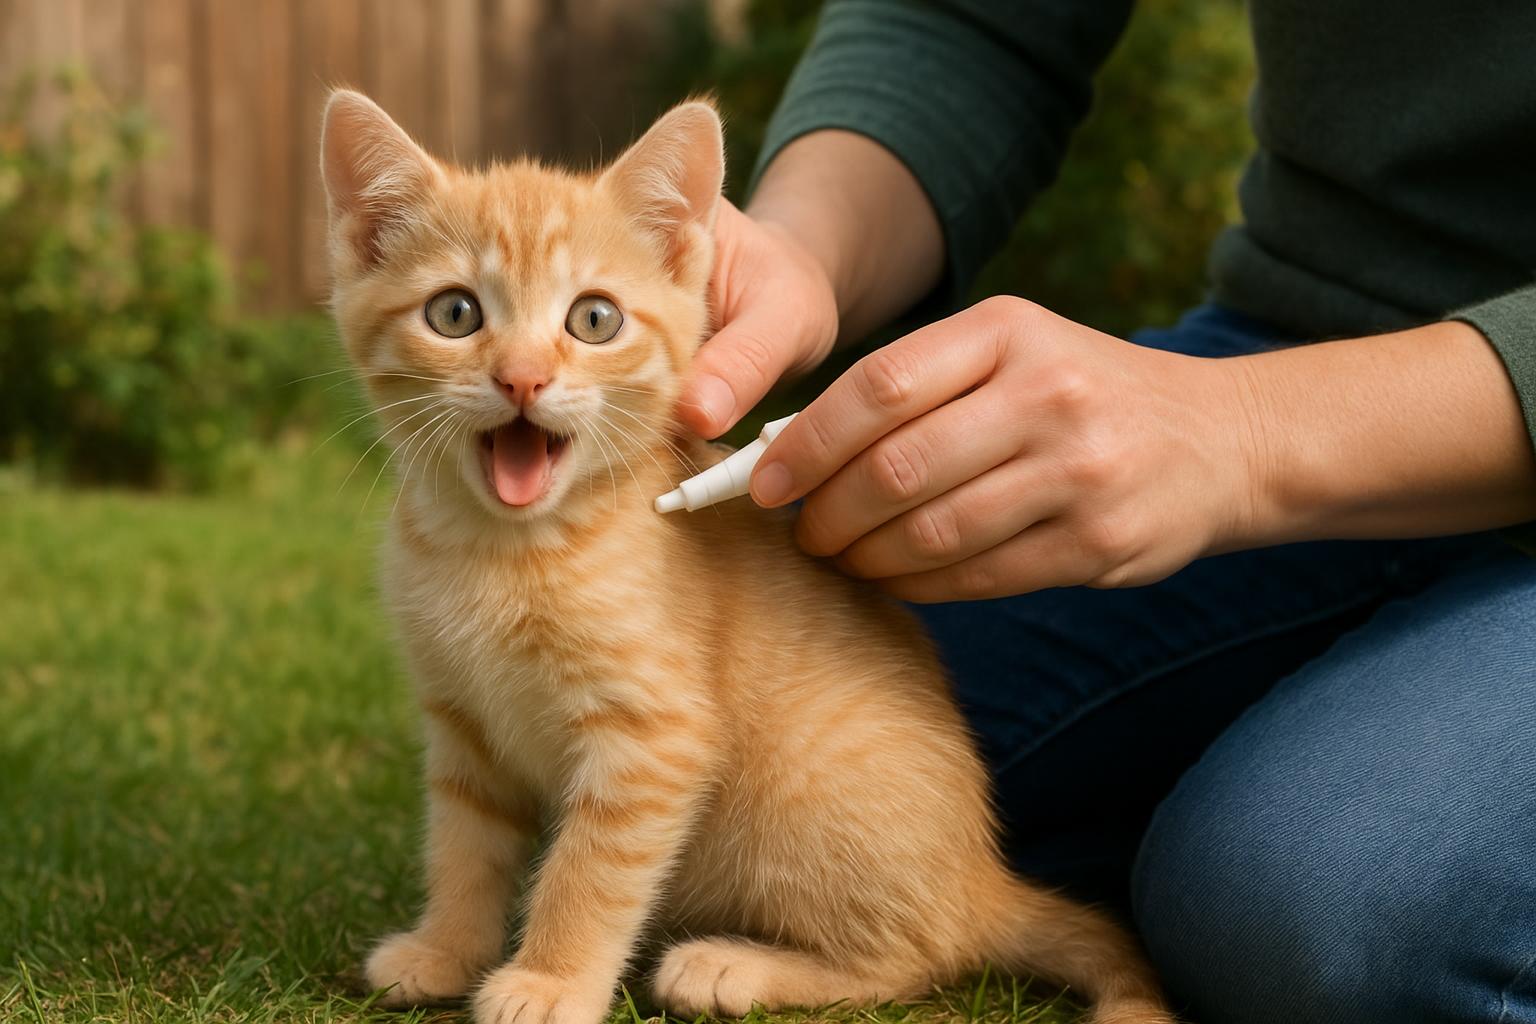
#### Veterinary-Approved Treatments
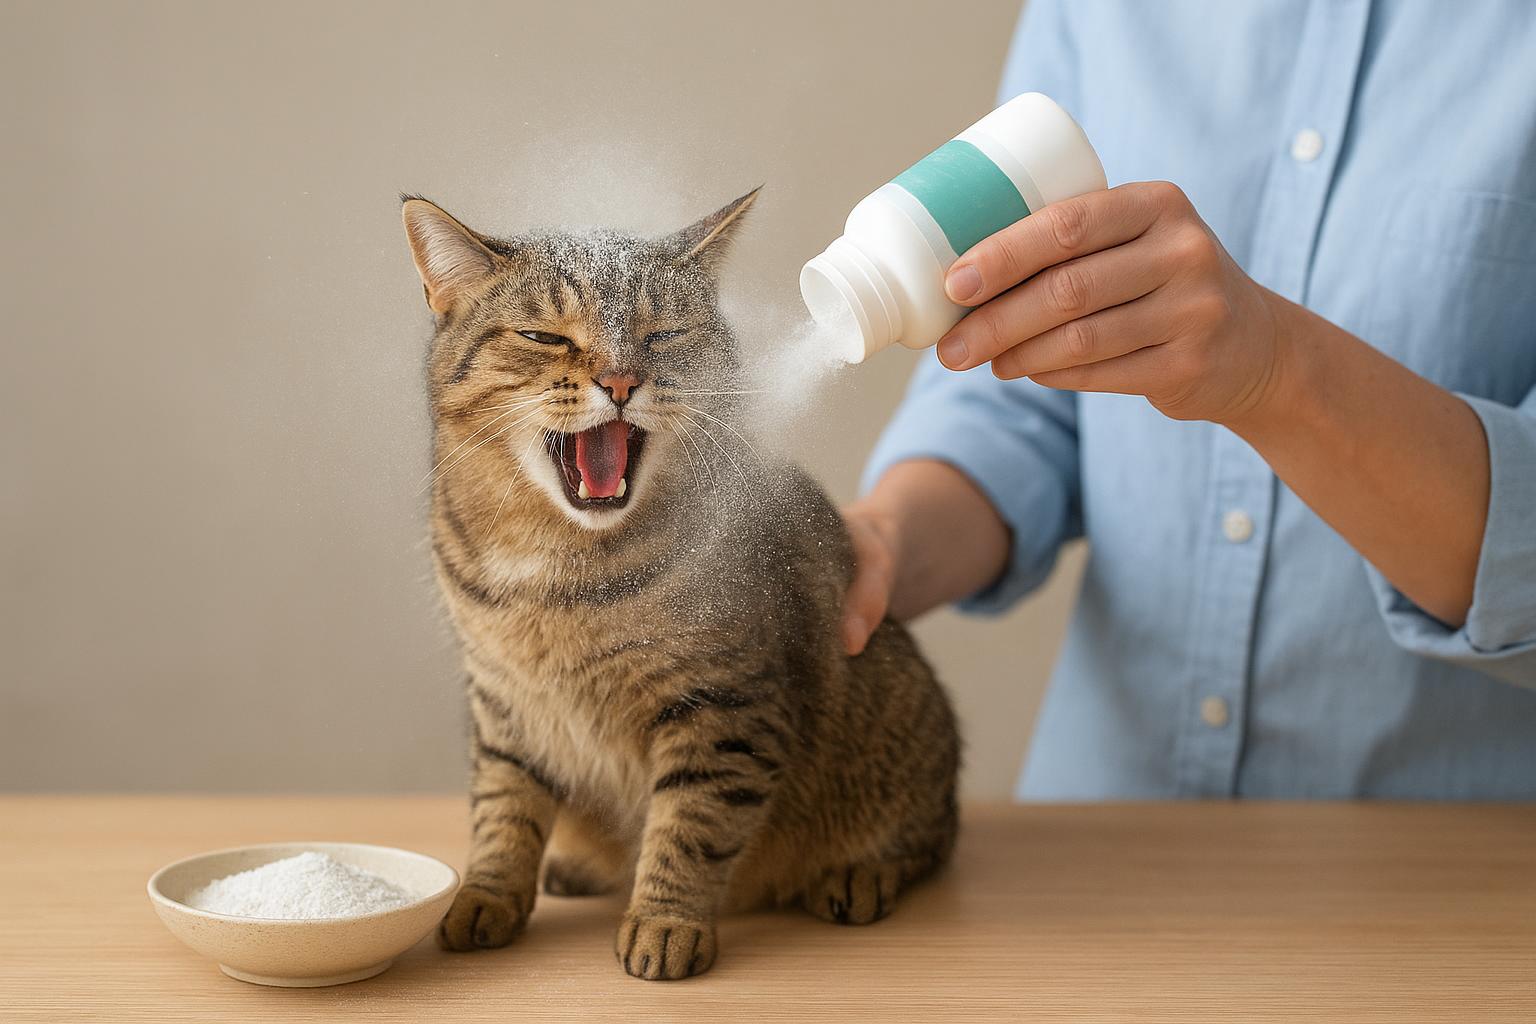
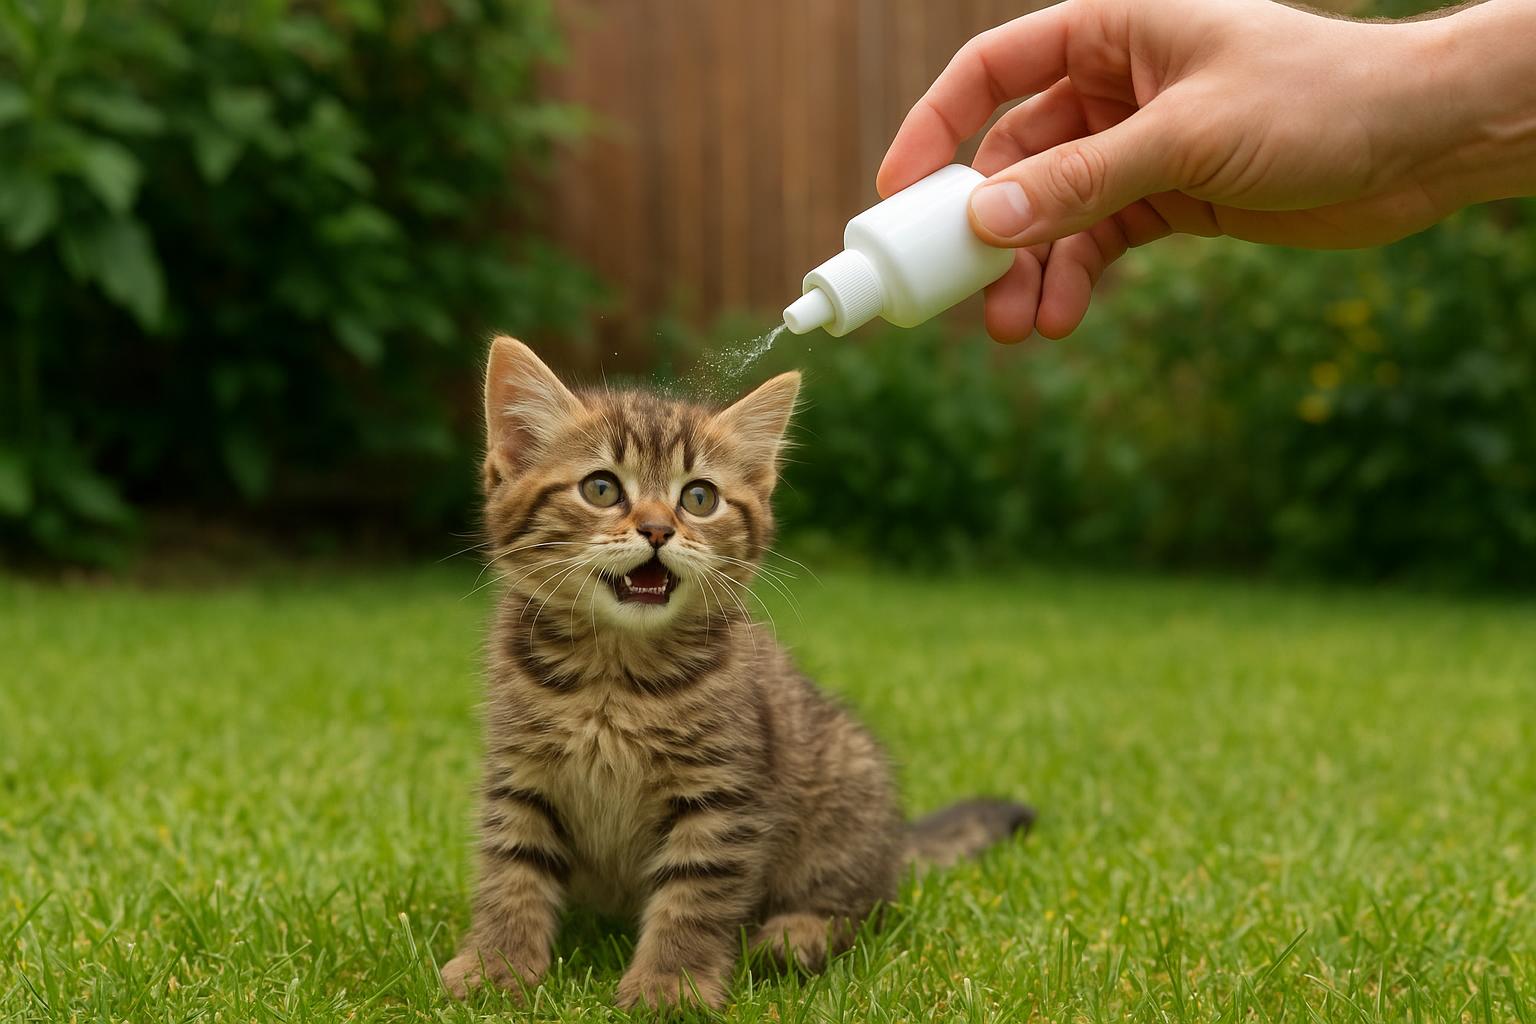
1. Consult your veterinarian for age- and weight-appropriate flea prevention. Options include topical spot-on treatments, oral medications, flea collars (veterinary-grade), and shampoos labeled for flea eradication.
2. Follow dosing instructions precisely. Overdosing or using products not intended for cats (e.g., some dog products) can be toxic or fatal.
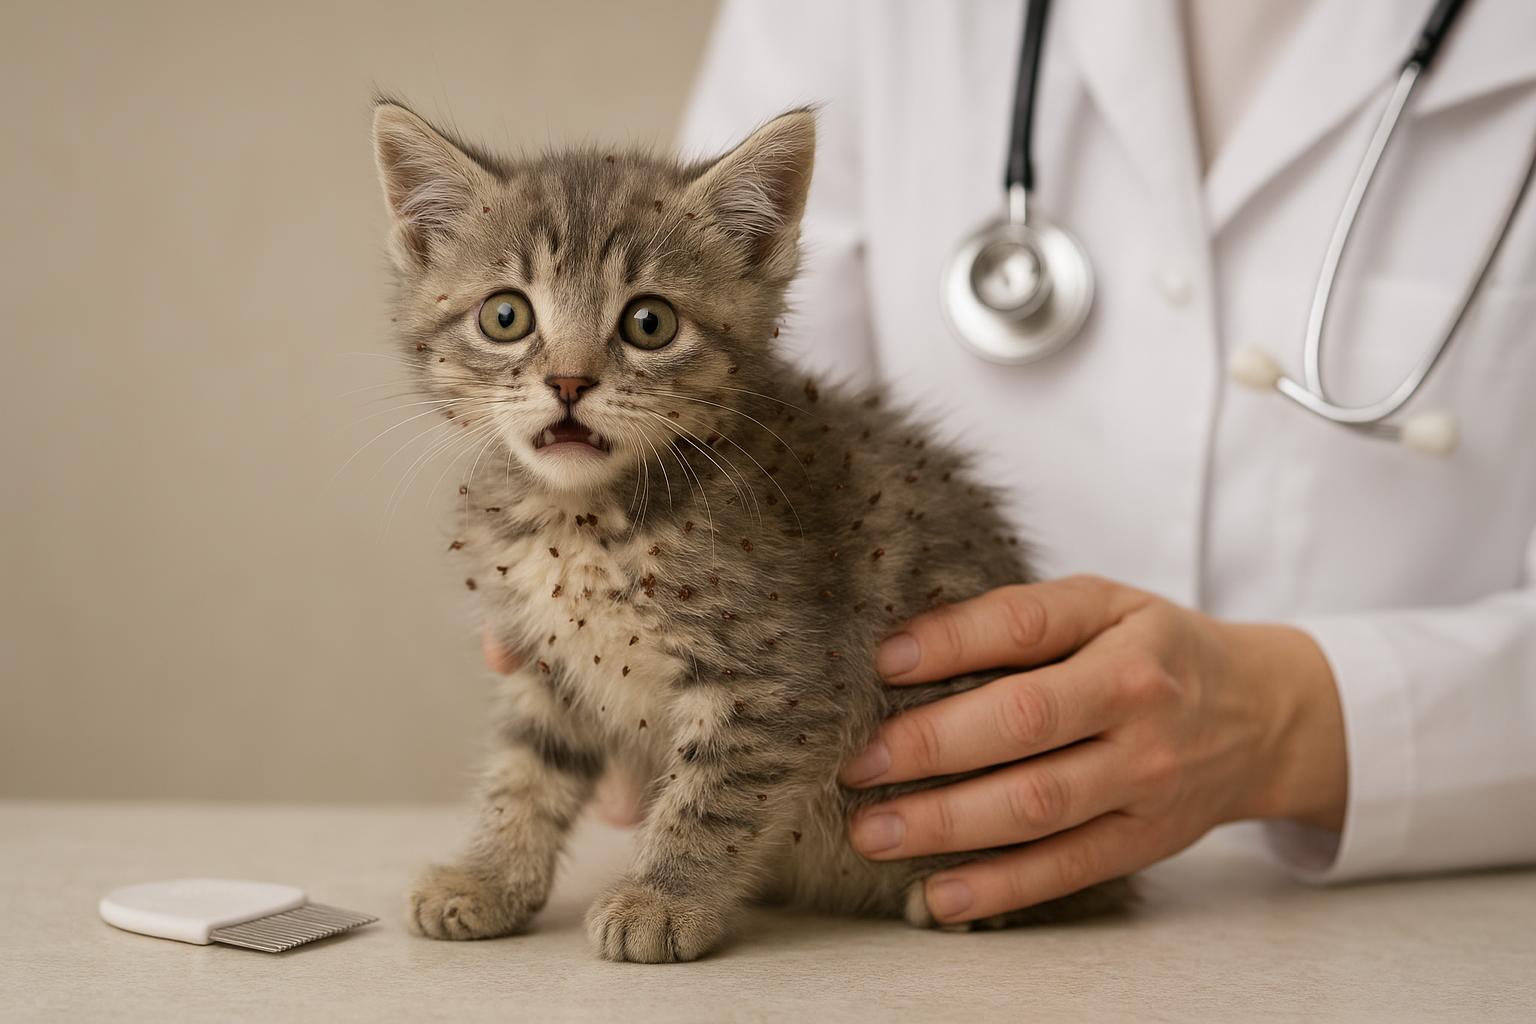
3. If your cat shows signs of flea allergy dermatitis (severe itching, hair loss, irritated skin), seek immediate veterinary care.
#### Home Prevention Best Practices
1. Maintain a regular cleaning schedule: vacuum high-contact areas twice weekly, wash bedding weekly, and treat pets monthly with recommended preventives.
2. Create a flea-management perimeter: treat yard areas, limit stray animal access, and check visiting pets.
3. Replace or thoroughly treat heavily infested foam pads — long-term infestations embed deep in porous materials.
## When To Call A Professional
If you’ve cleaned, sprayed, and treated your pets but the infestation persists, professional pest control with flea-specific interventions (insect growth regulators, targeted pesticides) may be necessary. Share details with the technician about pets and children in the home so they can select the safest approach.
Now that you know where fleas like to lurk, how to detect them, and two action plans — one focused on deep-cleaning heat tactics and one on a natural spray plus prevention — you can take control of that cat bed before your feline decides fleas are a new accessory.


Leave a Reply