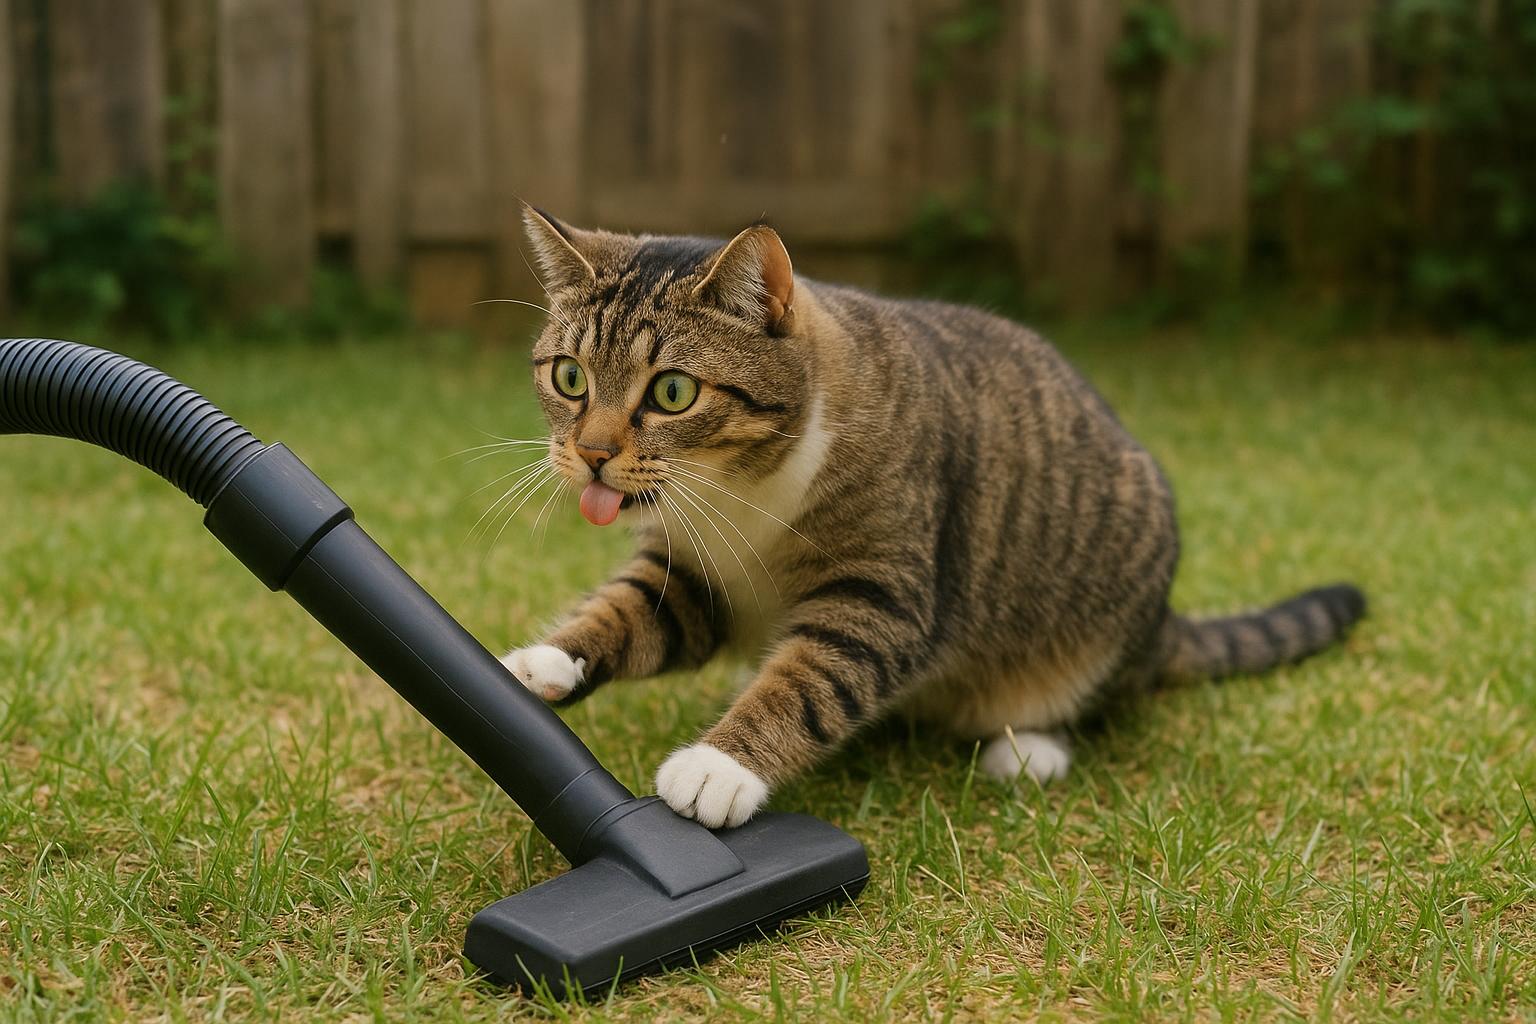
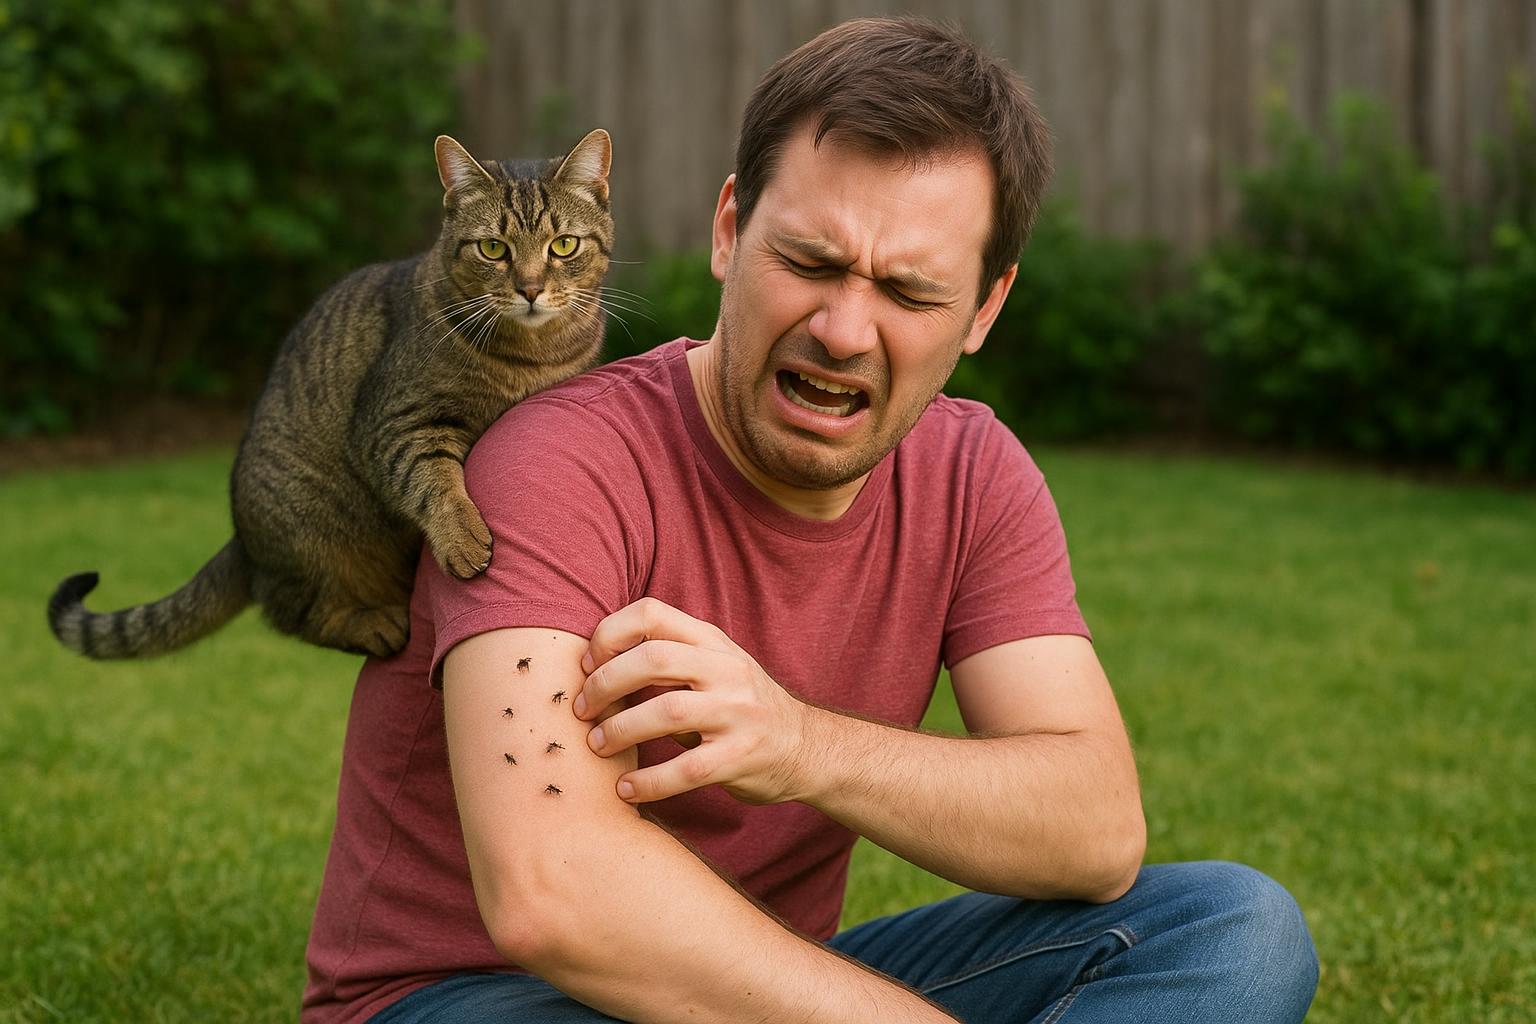
You’ve spotted a few tiny jumpers in the grass or maybe felt a few itchy reminders after a sunny afternoon — welcome to the club no one asked to join. Fleas in the backyard can be a nuisance for pets and people alike, but the good news is one of the most straightforward, least toxic tools you have is probably already in your garage: a vacuum. This guide will walk you through how to use that vacuum for fleas effectively, what equipment and supplies you’ll need, and a couple of complementary backyard treatments to keep the little critters from throwing another block party.
## Why A Vacuum For Fleas Works Better Than You Think
Fleas aren’t just adults hopping around; the majority of a flea population—eggs and larvae—lives in the environment, not on your pet. Using a vacuum for fleas helps remove adults, eggs, larvae, and pupae from the grass edges, patio crevices, under decks, and even dirt-packed pathways. Vacuuming disrupts life cycles and reduces numbers without spreading chemicals everywhere.
### Flea Biology In Simple Terms
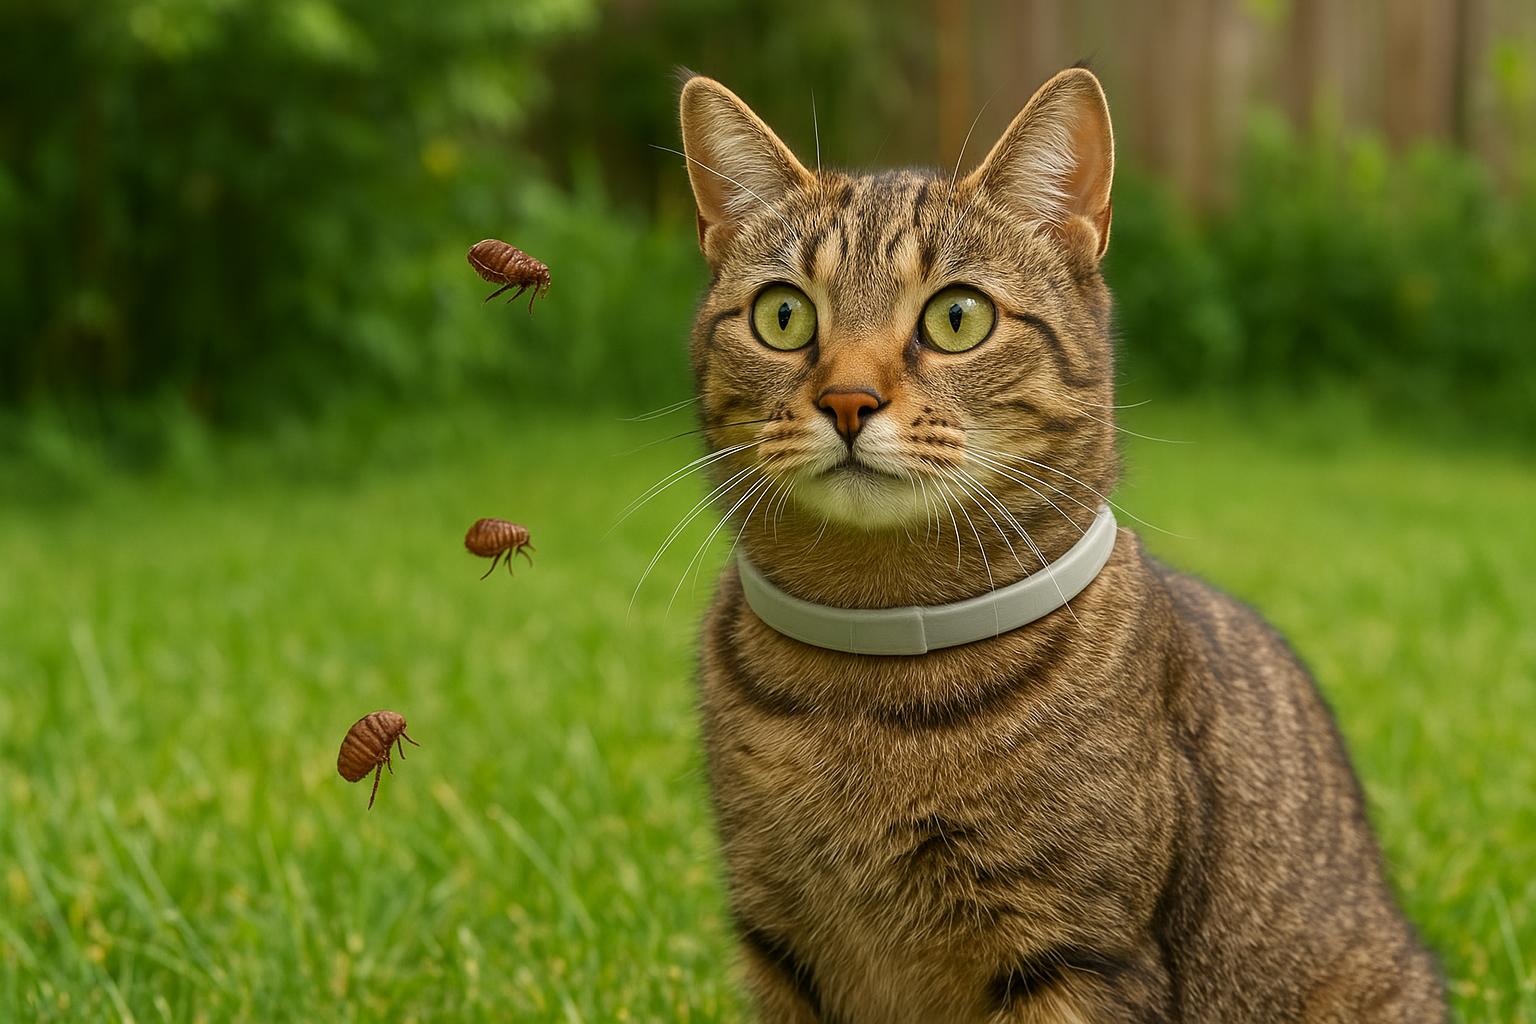
Fleas lay tiny, sticky eggs that fall into the environment where your pet spends time. Larvae hide in shaded, protected spots and feed on organic debris. Pupae are in cocoons and can sit dormant for months waiting for a host. A vacuum physically removes many of these stages and exposes others to conditions they don’t like (dry air, sunlight), making them less likely to survive.
### When Vacuuming Helps Most
Use a vacuum for fleas after you notice signs: increased scratching in pets, tiny dark specks (flea dirt), or adult fleas. Regular scheduled vacuuming during the warm months—weekly or biweekly—greatly reduces populations. Focus on high-traffic wildlife and pet transit routes.
## Choosing The Right Vacuum For Fleas
Not all vacuums are created equal for backyard flea work. You don’t need commercial pest control gear, but some features matter.
### Key Vacuum Features To Look For
– Strong suction and a robust brush roll to dislodge eggs and larvae from textured surfaces.
– A sealed bag or a HEPA-rated canister to trap tiny particles and prevent escape.
– A long hose and versatile attachments to reach crevices and under benches.
– Durability for outdoor use (avoid cheap indoor-only models that clog easily with dirt).
### Safety And Practical Notes
Use a vacuum outdoors only if it’s designed for that use or you protect it from moisture and dust overload. Clean or replace filters more often when using the vacuum for fleas, and empty bags or canisters into sealed trash bags.
## Remedy 1: Vacuum For Fleas — Materials And Steps
This is the formal, step-by-step treatment protocol. Follow carefully for best results.
Materials/Required Equipment:
– Upright or canister vacuum with strong suction and a brush roll
– Disposable vacuum bags or a container you can empty into a sealed trash bag
– HEPA filter or fine filter (if available)
– Extension hose and crevice tool
– Garden gloves
– Trash bags for sealed disposal
– Optional: masking tape and paper towels for delicate spots
Step-by-Step Procedure:
1. Prepare Equipment: Fit a disposable bag or ensure the canister is clean. Install a HEPA or recommended fine filter. If using a bagless canister, have trash bags ready to seal the contents after emptying.
2. Pre-Clean High Areas: Remove loose debris and large clumps of grass or leaves from patios and seating areas so the vacuum can focus on fine material and flea stages.
3. Target Pet Pathways: With the brush roll engaged, vacuum along border areas where pets rest or walk, under low shrubs, along deck perimeters, and on textured walkways. Move slowly to give the vacuum time to pull eggs and larvae from crevices.
4. Crevices and Tight Spots: Use the crevice tool and hose to reach gaps, cracks in paving, and seams where mulch meets soil. Those are favorite hiding spots.
5. Pay Attention to Shade: Fleas prefer shaded, humid microhabitats. Focus on these pockets first.
6. Empty and Seal Immediately: After vacuuming, remove the bag or empty the canister into a trash bag. Seal the bag tightly and dispose of it in an outdoor receptacle away from the house.
7. Clean Filters: Wash or replace filters where applicable and wipe down the vacuum exterior. Allow any washed parts to dry fully before reuse.
8. Repeat Schedule: Perform this protocol once a week for three to four weeks, then maintain monthly or as needed seasonally.
Be formal and consistent: the effectiveness of a vacuum for fleas depends on thoroughness and repeat visits. Flea life stages can take time to cycle, and one pass will rarely eliminate a well-established infestation.
## Remedy 2: Complementary Yard Treatments
Vacuuming is effective but works best paired with targeted outdoor measures. Here are two non-chemical and chemical options.
### 1. Diatomaceous Earth (Food Grade)
Materials:
– Food-grade diatomaceous earth (DE) with applicator
– Garden spreader or hand sifter
– Gloves and dust mask
Application:
1. Apply DE lightly across shady areas, under shrubs, and near pet bedding zones. Avoid windy days to limit drift.
2. Reapply after heavy rain or every two weeks during peak flea season.
DE dehydrates flea larvae and adults on contact. Do not use pool-grade DE and avoid inhalation.
### 2. Targeted Yard Insecticide (If Needed)
Materials:
– EPA-registered outdoor flea/tick insecticide (granular or spray)
– Sprayer or spreader per product instructions
– Gloves, eye protection, and follow PPE on label
Application:
1. Read label thoroughly. Apply to turf edges, shady yard zones, and around foundation per label rates.
2. Keep pets and children away until the material has settled/dried per instructions.
Professional-grade treatments are most effective when timed with vacuuming and pet topical/in-oral preventives.
### Timing And Integrated Strategy
Combine weekly vacuuming for fleas with DE or insecticide applications every two to four weeks for several months depending on infestation severity. Treat pet bedding and wash fabrics on hot cycles, and coordinate with your veterinarian on pet treatments.
## Preventive Habits That Help The Vacuum Work Better
Small lifestyle tweaks reduce flea pressure and make your vacuum’s job easier. Trim overgrown grass and remove dense leaf litter where fleas thrive. Keep pet resting areas on hardscapes or washable mats that you can vacuum and launder frequently. Treat wildlife attractants—secure trash, remove bird seed spills, and block spaces under porches that invite rodents or feral animals.
### What Not To Do
Don’t assume a single chemical spray will fix everything. Do not use indoor vacuums on wet outdoor areas. Avoid dusting the yard with large volumes of unapproved powders; always follow label and safety guidance.
## Troubleshooting Common Issues
If fleas reappear despite regular vacuuming, consider these checks:
– Did you treat pet(s) directly with a vet-recommended product? Pets can reinfect the yard.
– Were hard-to-reach microhabitats missed? Focus on shaded seams and under structures.
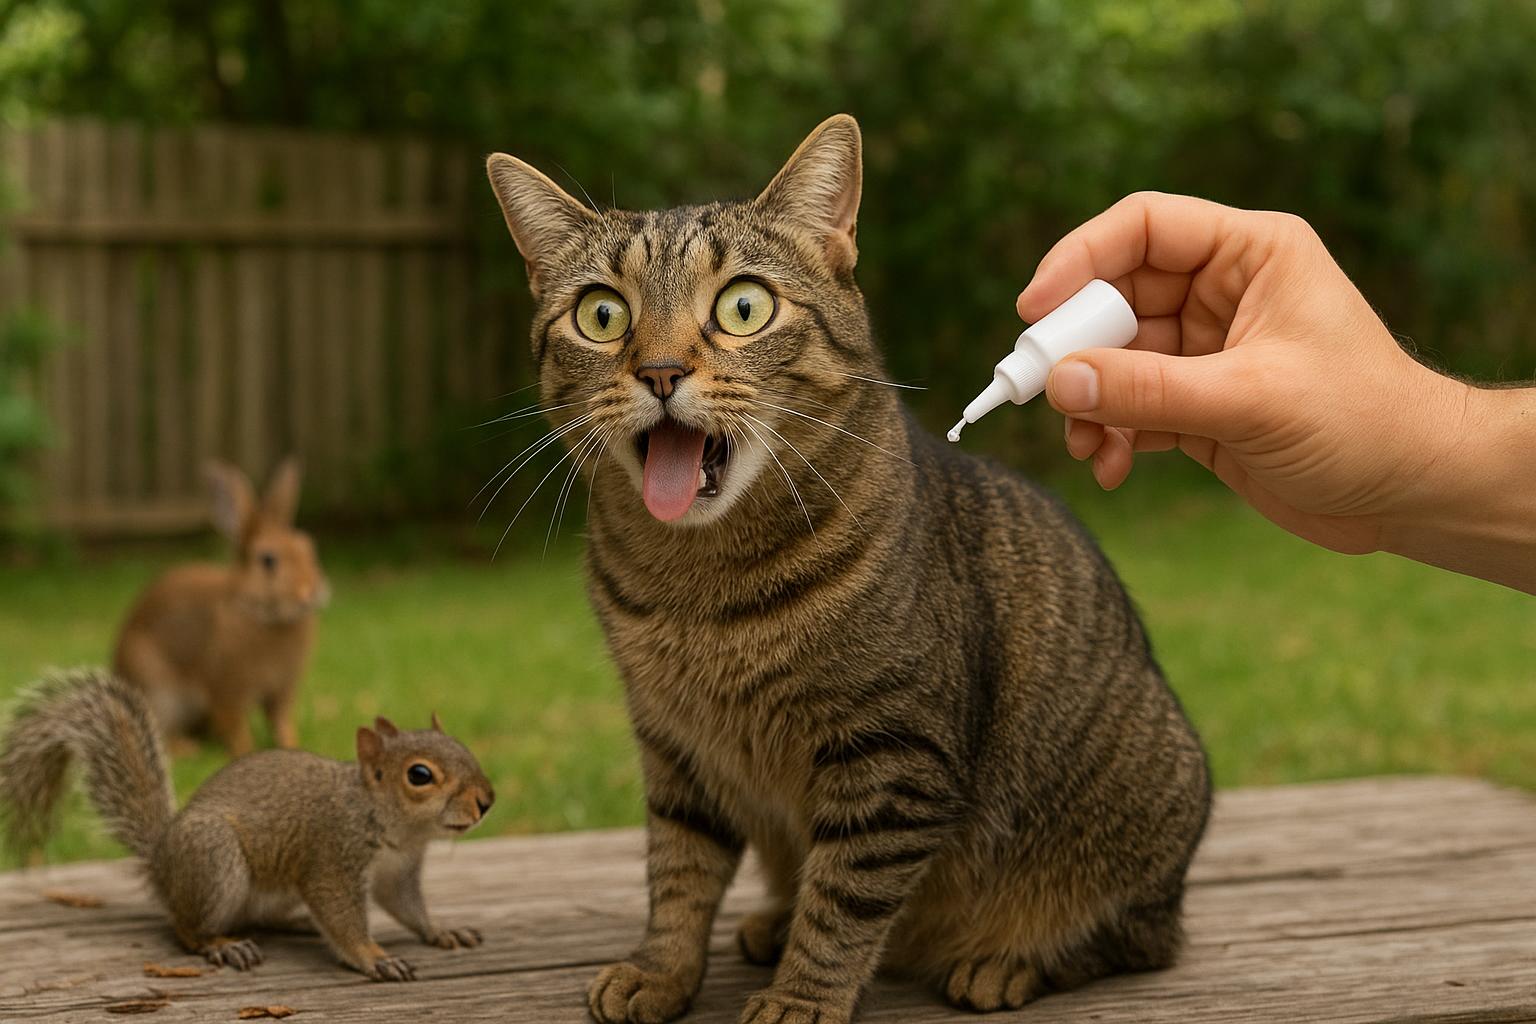
– Is wildlife frequently visiting? Wildlife control or exclusion might be necessary to break the cycle.
### When To Call A Pro
If infestations persist after diligent vacuuming, yard treatments, and pet prevention, a licensed pest control professional can assess nesting wildlife, heavy soil reservoirs, or recommend professional-grade interventions safely.
A vacuum for fleas is one of your best first-line tools: inexpensive, low-toxicity, and under your control. Use it methodically, pair it with targeted yard work, and keep up preventative habits — your pets (and your peace of mind) will thank you.


Leave a Reply