Nobody wants tiny hitchhikers sharing the birdbath and brush pile. If you’re tending a backyard that welcomes wildlife, a gentle, consistent plan keeps critters comfortable and your lawn pleasant — and that includes dealing with the occasional flea without turning the place into a chemical battleground.
## Monthly Flea Prevention Checklist
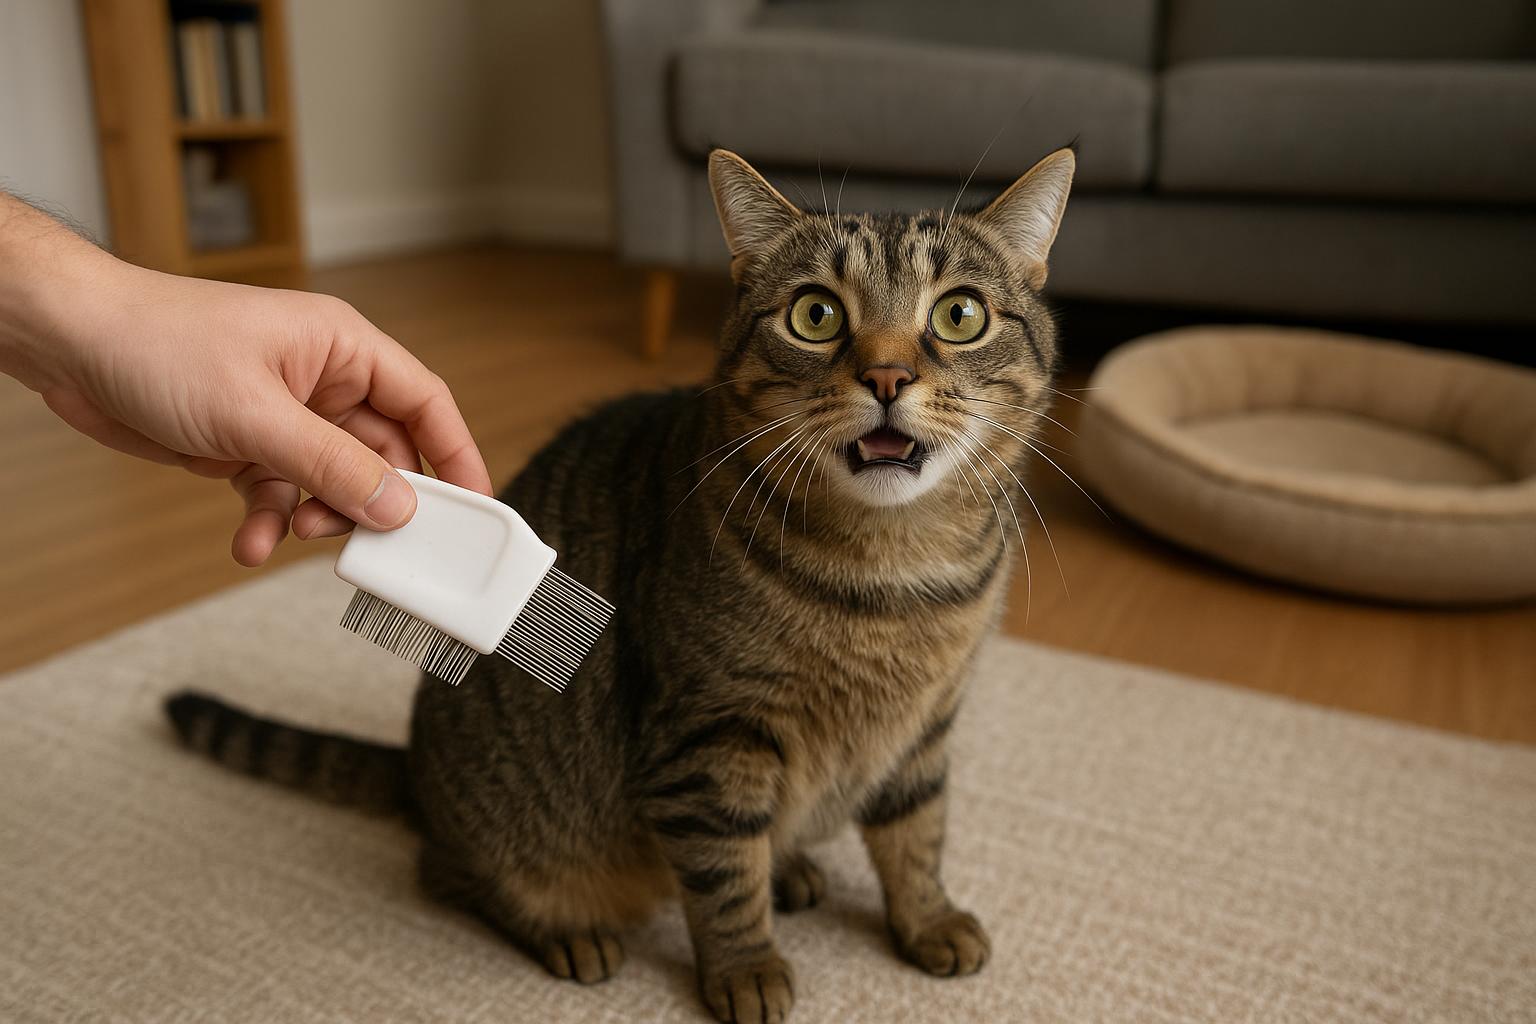
Start with a simple, repeatable monthly checklist that respects wildlife and targets hotspots. Make this part of your regular yard care: inspect nest boxes, brush piles, and areas under decks; clear tall grass and leaf litter in ringed paths; and keep feeding stations tidy. Each month, walk your property and mark any places where animals are bedding or lingering longer than usual.
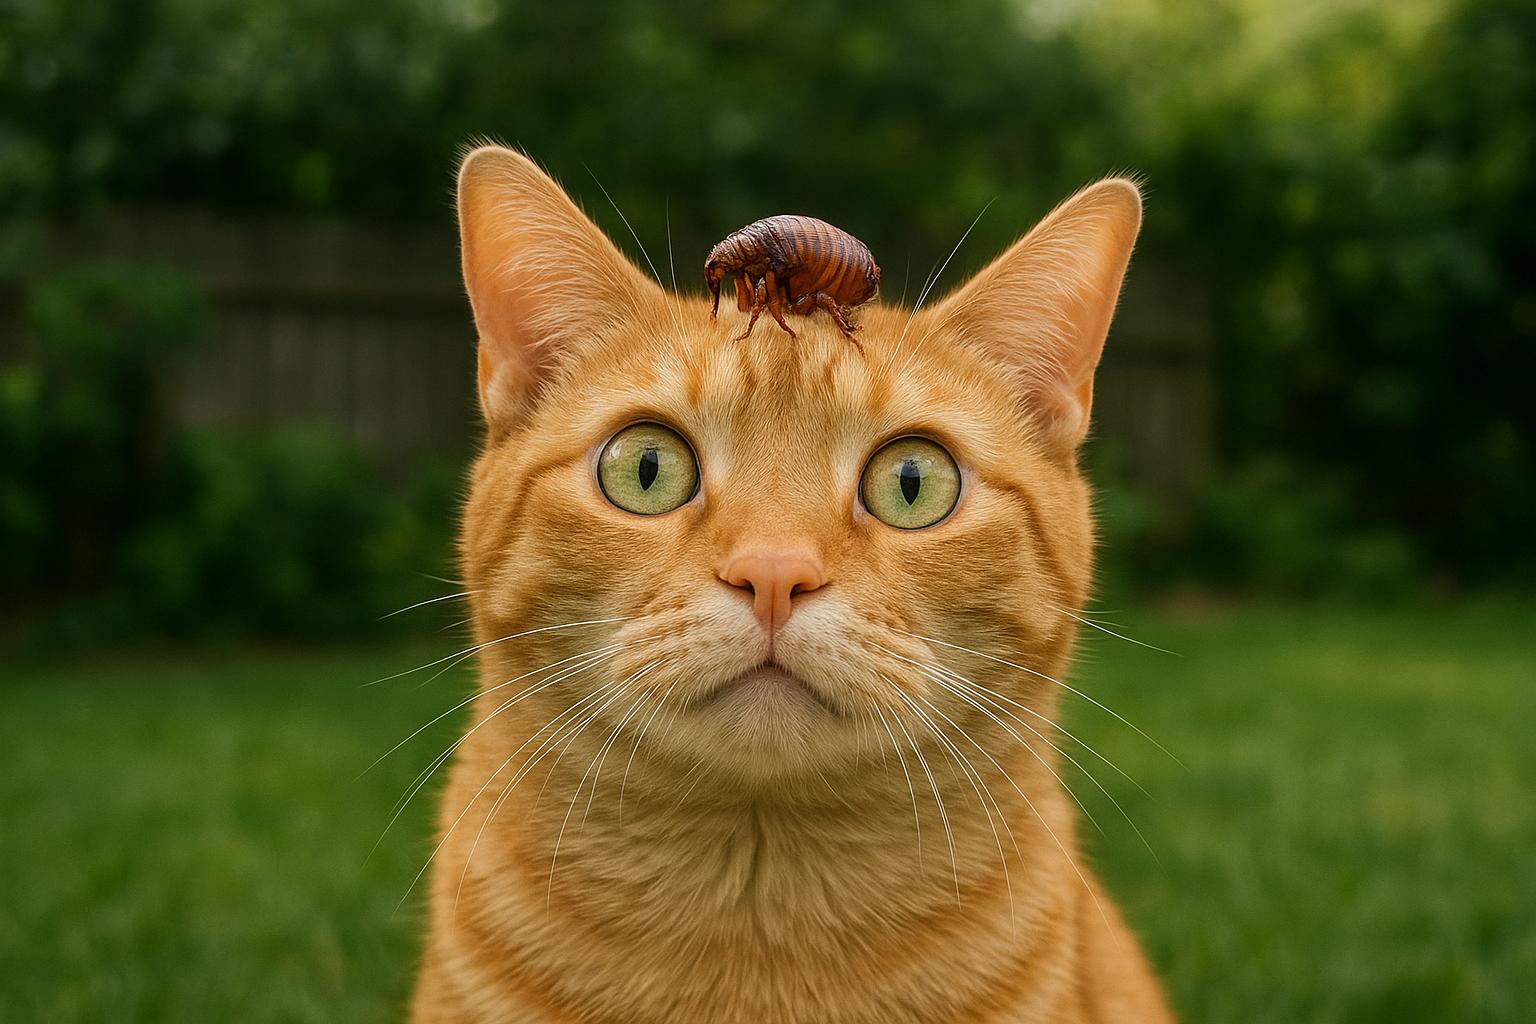
### Understand The Pest Life Stage
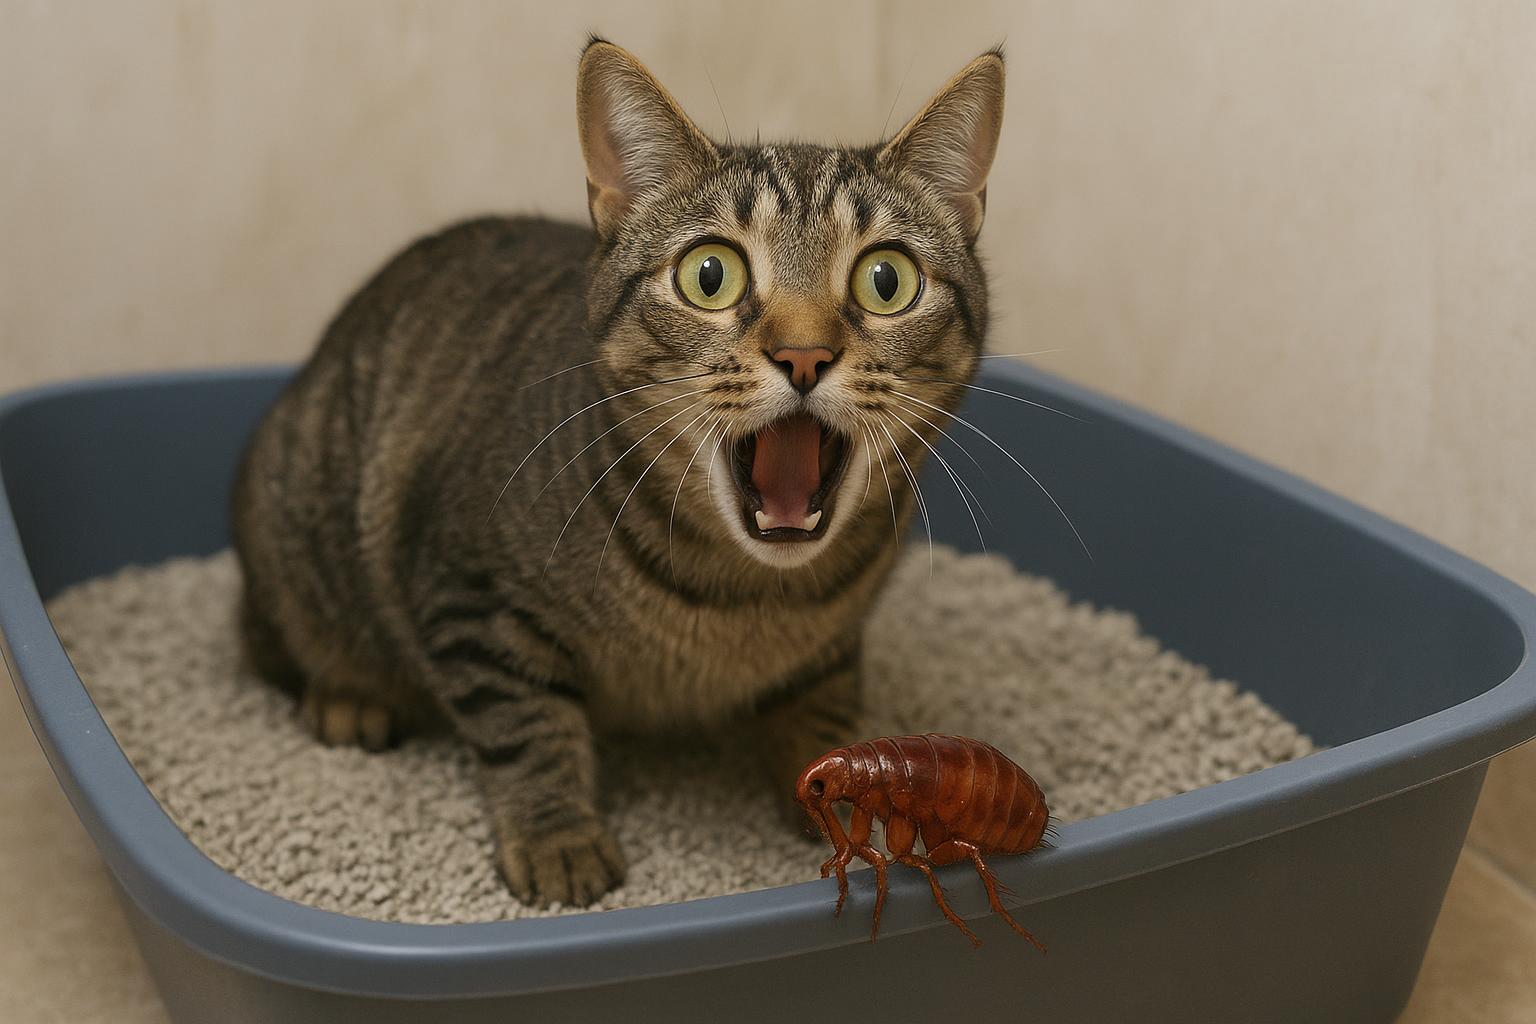
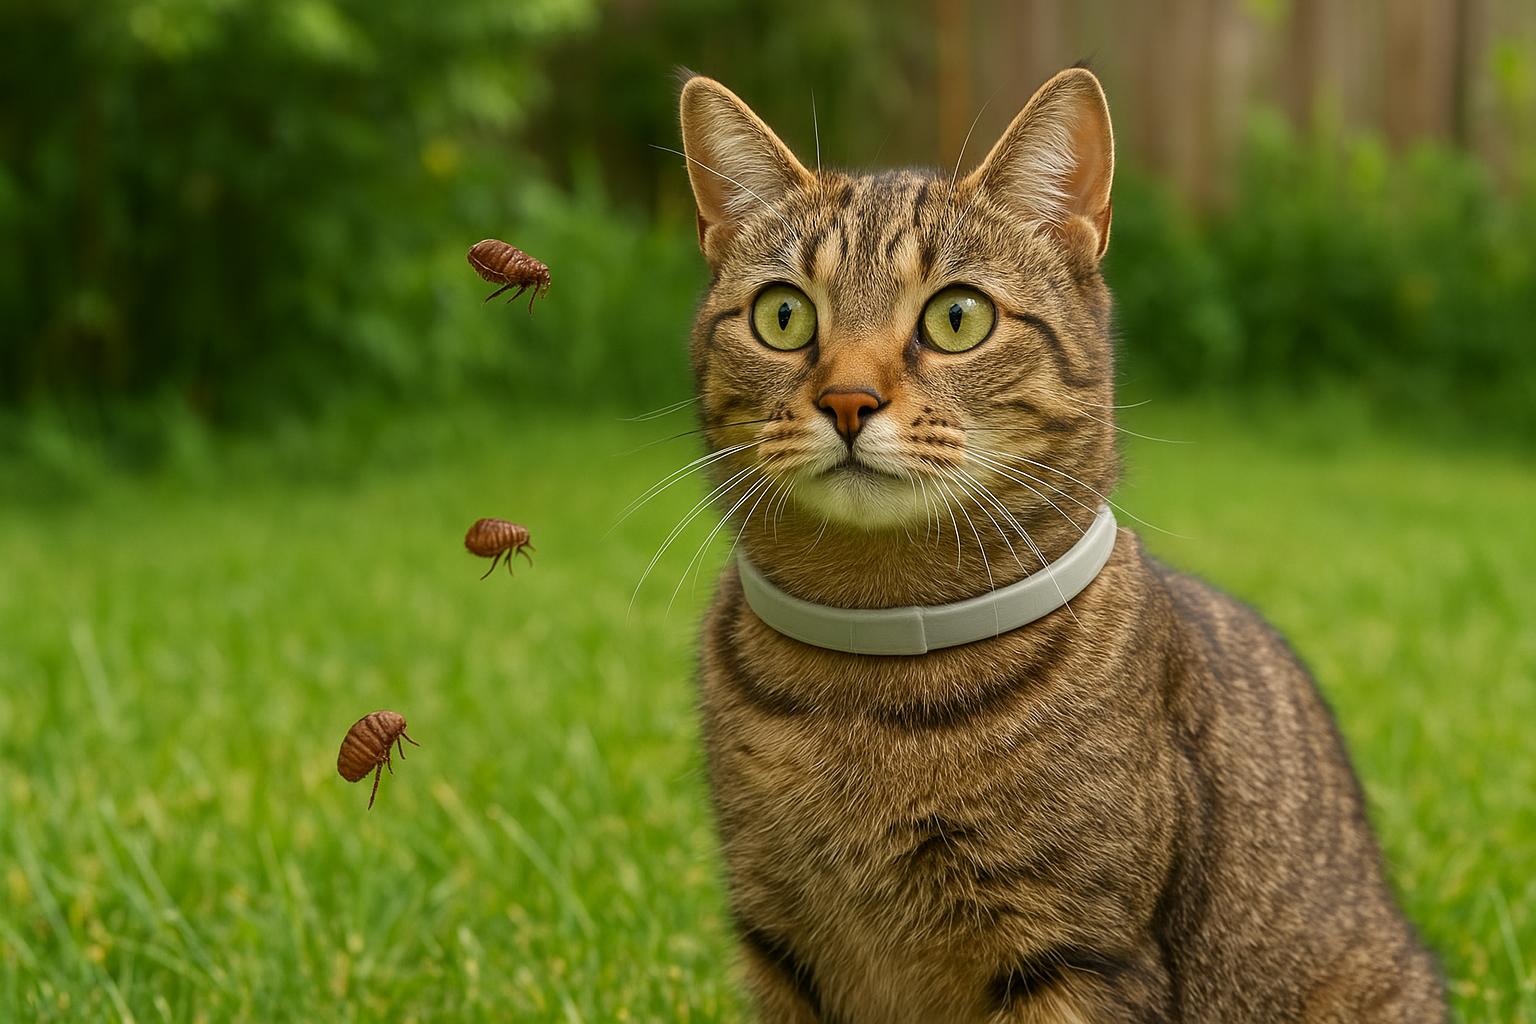
The life cycle matters. Adult flea adults live on hosts, but most of the lifecycle – eggs and larvae – happens in the environment. Interrupting development in the soil and shaded corners prevents infestations before they reach wildlife or pets.
### Read Wildlife Behavior
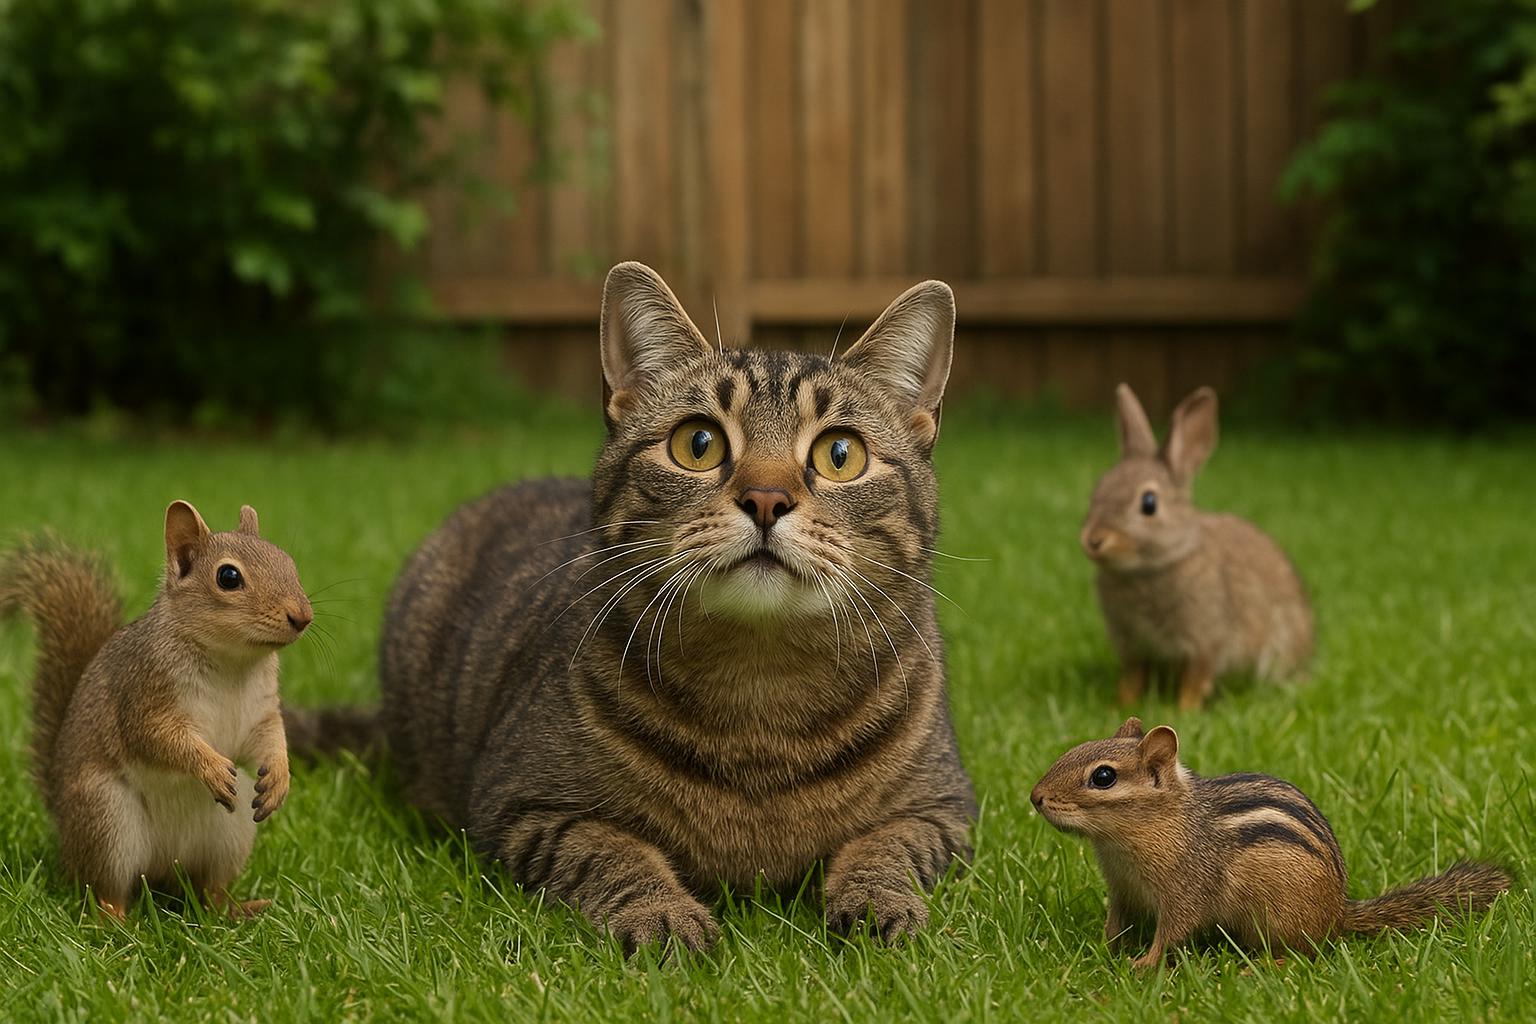
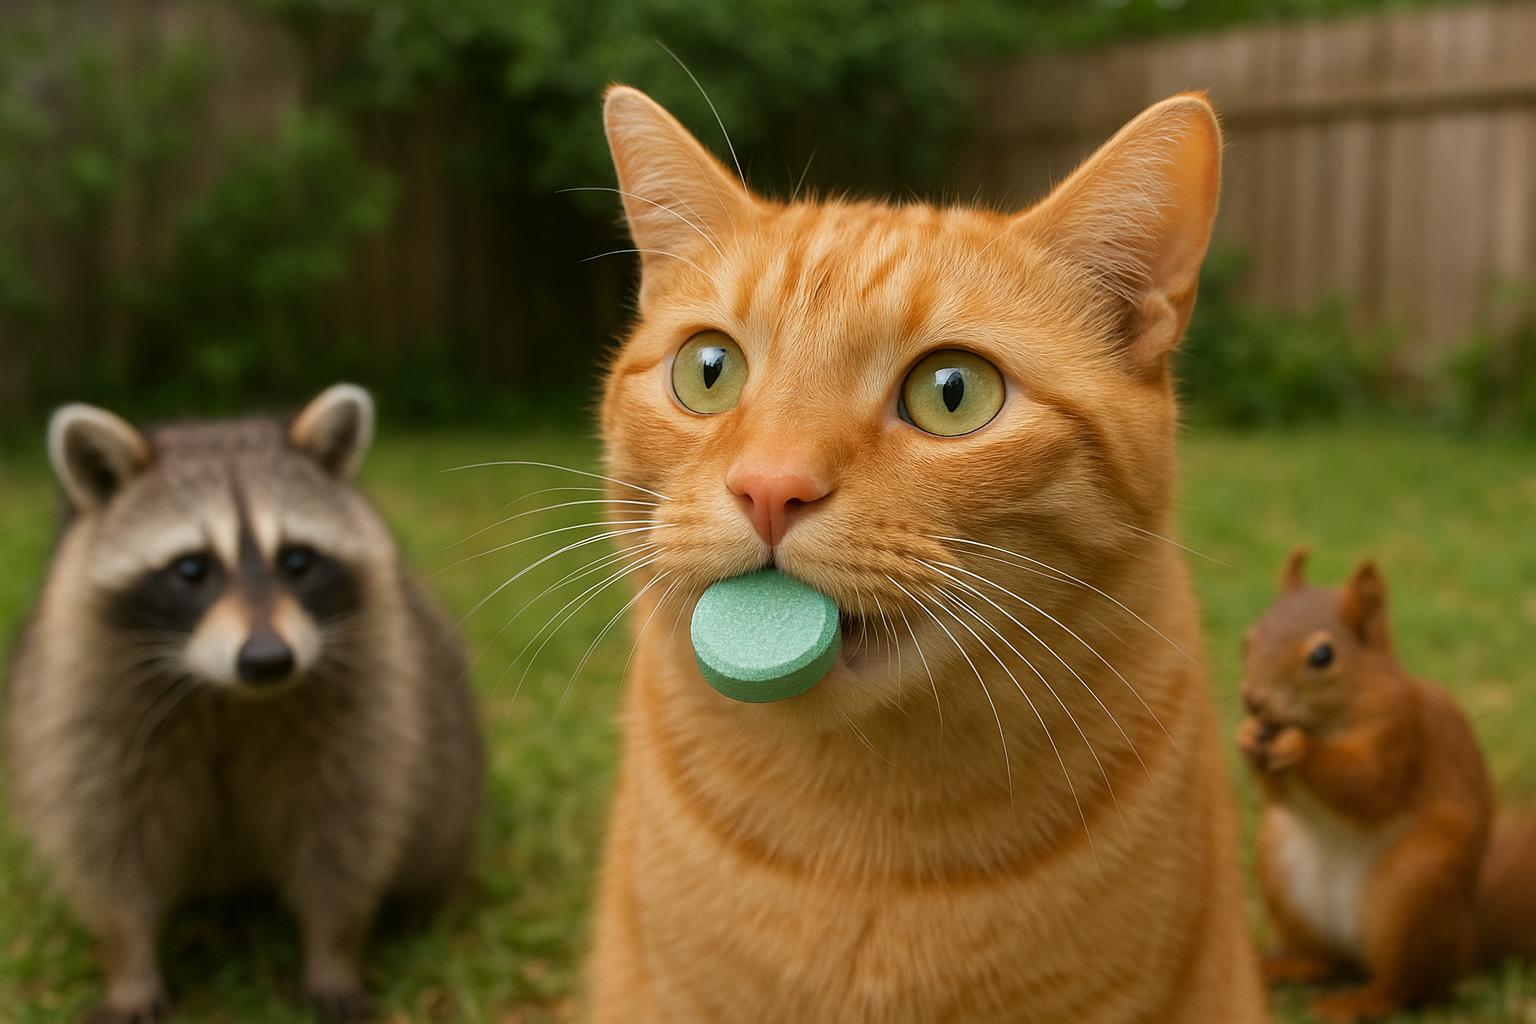
Different backyard visitors use your space differently. Ground-nesting birds, rabbits, and small mammals will concentrate bedding in certain spots. Note those locations and prioritize them in your monthly routine.
## Habitat Management That Works
Managing habitat is the most wildlife-friendly, long-term method. Keep the edges neat but natural: short grass within 10–15 feet of structures, a maintained brush pile placed away from living areas, and elevated nesting boxes that discourage ground-level bedding.
### Create Movement Corridors
Wildlife prefers consistent routes. Creating clear corridors of movement with trimmed vegetation reduces congregation points where parasites can build up.
### Reduce Moisture Pockets
Many immature stages need moisture. Avoid pooling water by grading soil away from foundations and keeping gutters functioning. Dry, sunlit spots are less hospitable to many parasites.
## Remedy 1: Beneficial Nematodes For Yard Soil
Beneficial nematodes are a biological control that target soil-dwelling larvae. They are safe for birds, mammals, pets, and plants when applied correctly, and they work on the immature stages that cause the next generation of adult pests.
#### Materials Required
– Commercial beneficial nematode product (Steinernema carpocapsae or Steinernema feltiae)
– Clean watering can or hose-end sprayer with fine nozzle
– Measuring cup and mixing container
– Shade cloth or tarp (for storage of mixed solution if needed)
– Thermometer (optional; nematodes work best between 50–85°F)
#### Preparation And Application Steps
1. Follow the supplier’s storage instructions. Keep nematodes refrigerated until use to preserve viability.
2. Mix the nematodes in the manufacturer-recommended volume of water in a clean container. Stir gently; avoid aerating vigorously.
3. Apply the solution in shaded conditions, early morning or late evening, to avoid UV damage. Do not apply in direct sun.
4. Evenly drench the target areas where wildlife beds or congregates: under decks, near brush piles, and around nest box bases.
5. Water lightly after application to move nematodes into the soil profile where larvae live.
6. Repeat monthly for three months during peak seasons, then quarterly as prevention. Store any unused, mixed solution only as directed by the product label; typically, nematodes should be applied immediately.
## Remedy 2: Diatomaceous Earth Barrier For Dry Zones
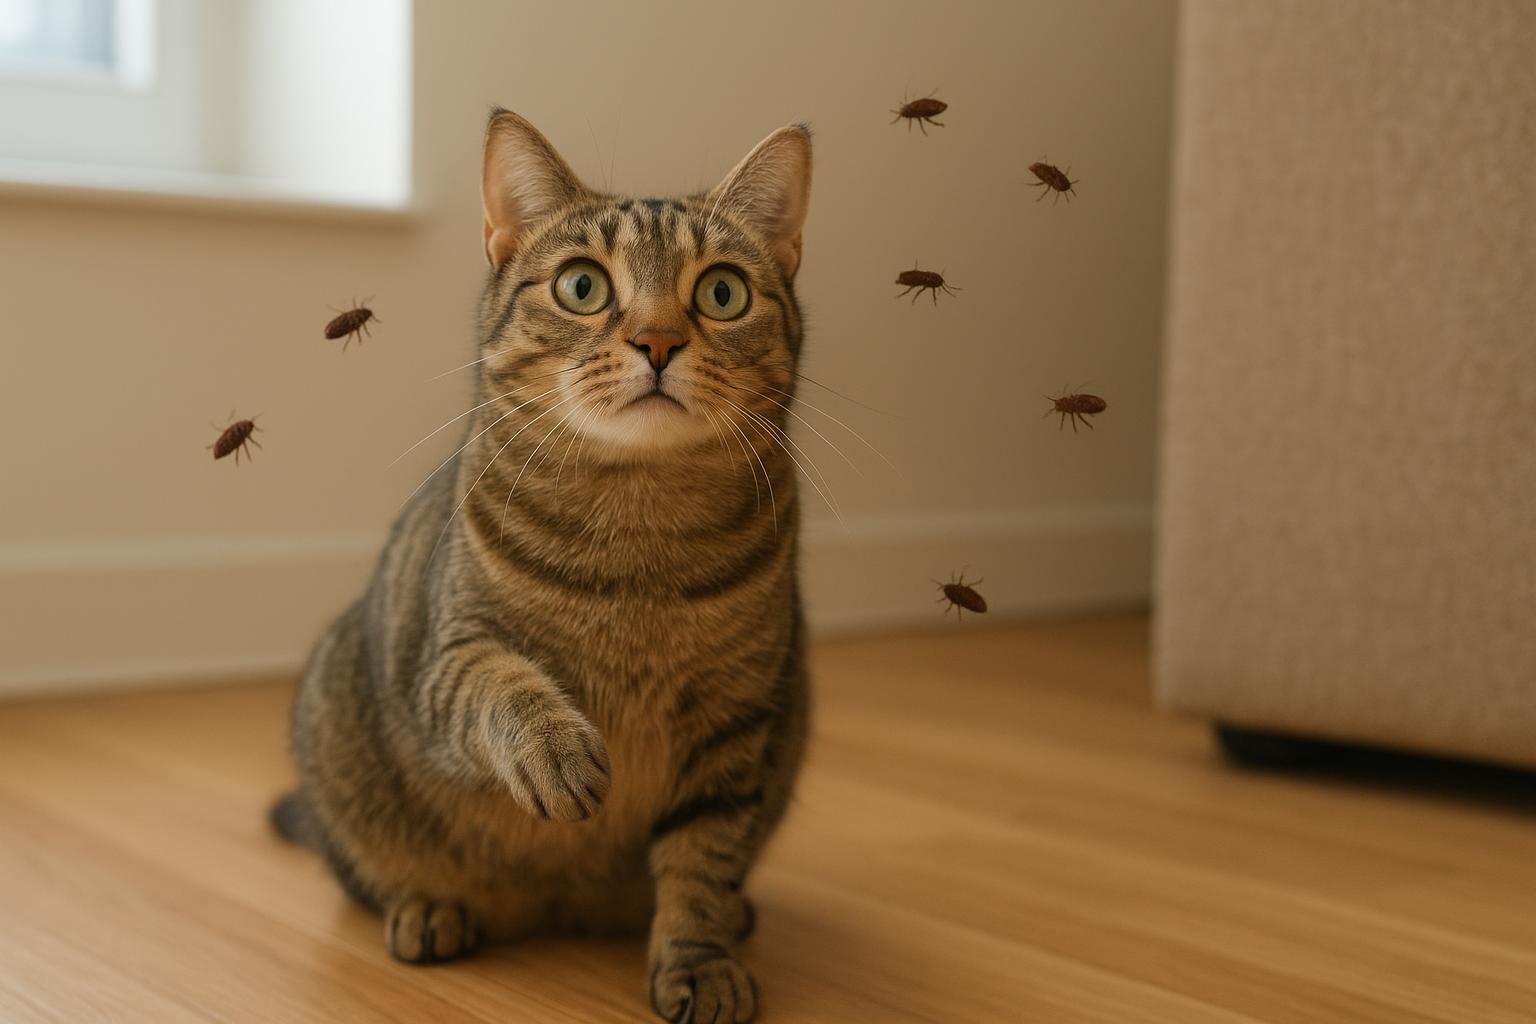
Food-grade diatomaceous earth (DE) can be used as a physical barrier in dry areas. Applied carefully and sparingly, it desiccates small arthropods without broad-spectrum poisoning. Because DE is a dust, avoid windy application and don’t use it where it will contact nesting animals directly.
#### Materials Required
– Food-grade diatomaceous earth
– Stiff brush or small hand rake
– Measuring scoop
– Dust mask and gloves
– Small containers or shaker bottles for precise placement
#### Preparation And Application Steps
1. Wear a dust mask and gloves to avoid inhaling fine particles during application.
2. Identify target zones: dry perimeter under porches, around foundation edges, and under garden benches. Do not apply directly in active nest sites or where animals will be lying in the treated dust.
3. Using a shaker or scoop, apply a thin, even layer along the ground in the selected zones — you want a light dusting, not a deep pile.
4. Use a brush or hand rake to distribute it into cracks and crevices where larvae may develop.
5. Reapply monthly after light rains or when the layer is disturbed. If rain is frequent, skip DE and use the nematode option instead.
## Monthly Schedule And Seasonal Notes
A consistent monthly rhythm is easier than reactive treatment. Here’s a friendly template you can adapt:
– Month 1: Inspect habitat, apply nematodes to shaded soil areas, tidy feeding stations.
– Month 2: Clear debris, perform elevated nest box checks, apply DE in dry perimeter areas if appropriate.
– Month 3: Repeat nematode drench in high-traffic bedding zones; refresh brush pile placement if needed.
– Months 4–12: Continue alternating inspections with targeted applications; reduce frequency in cold months but maintain monitoring.
Adjust frequency based on local climate and wildlife patterns. In warm, wet seasons, expect to be more diligent; in cold, dry months, environmental development slows and monthly visual checks may suffice.
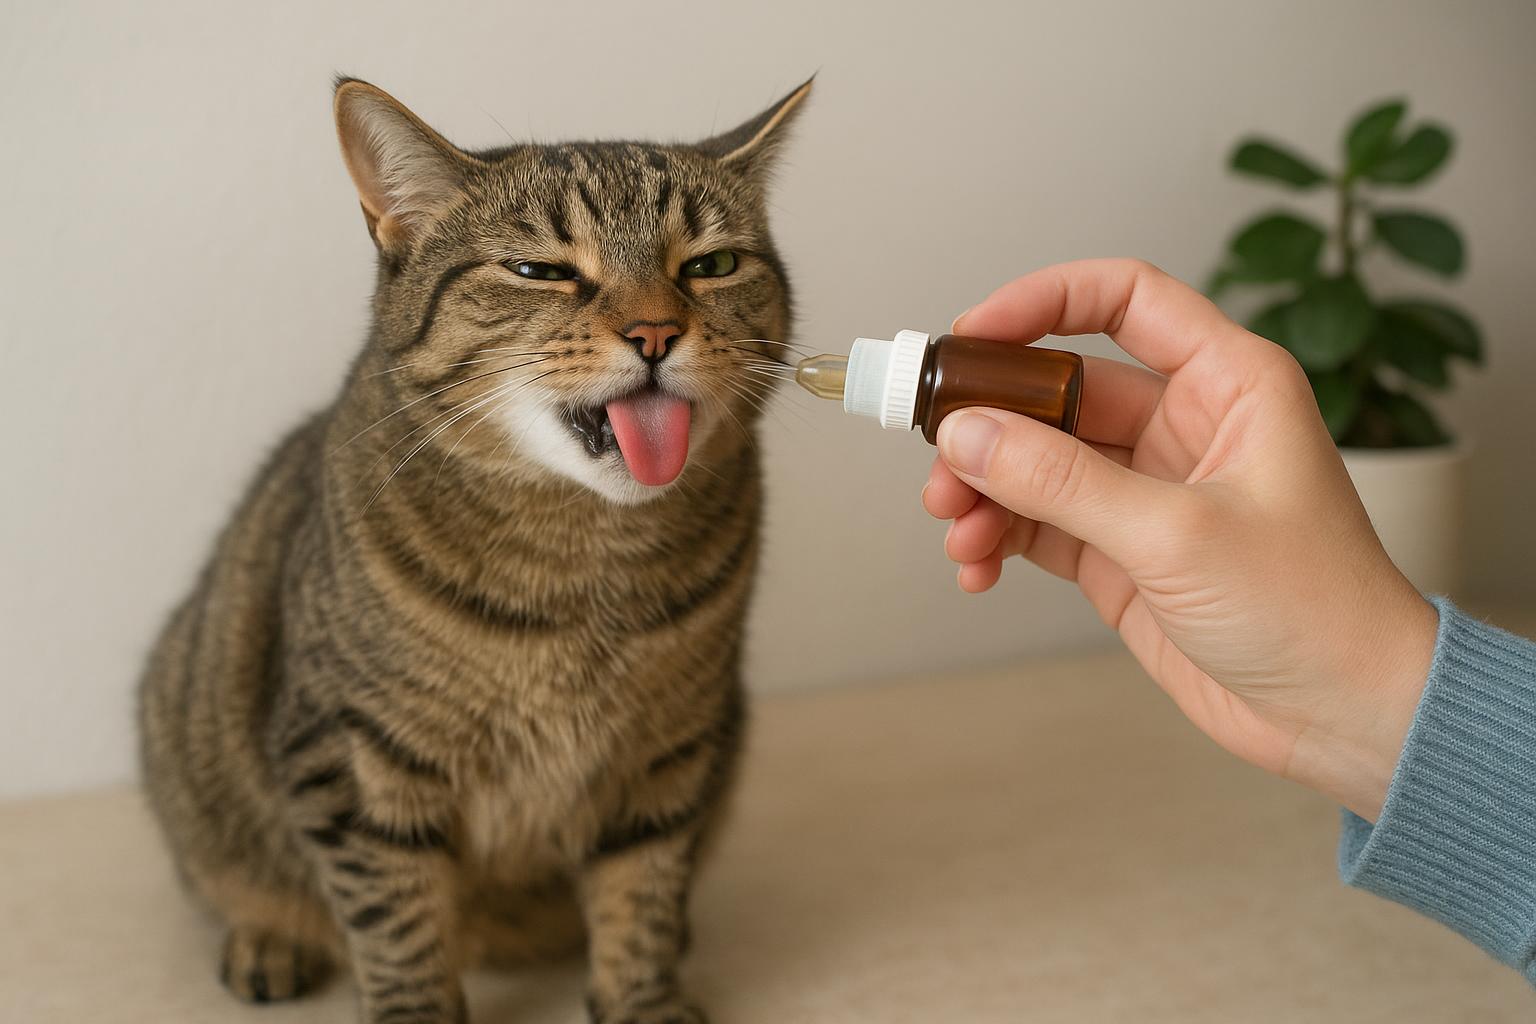
### Coordinate With Pets And Neighbors
If you have pets, keep them on a schedule for their own preventive care to avoid cross-transmission. Communicate with neighbors if you share greenways — a coordinated approach prevents reintroduction from adjacent yards.
### Safety And Legal Considerations
Use only labeled products and follow label instructions. For chemical insecticides or growth regulators, consult a licensed pest professional if wildlife rehabilitation centers or communal wildlife corridors are nearby. For wildlife health concerns, contact local rehabilitators before treating nest sites.
## Monitoring And Record Keeping
Keep a simple log each month noting inspections and treatments. Photos and brief notes help detect trends: increased animal visits, repeating hotspots, or changes after treatments. If you spot any animals that look ill or weak, contact a wildlife rehabilitator rather than attempting DIY treatment on the animal.
### When To Call In Professionals
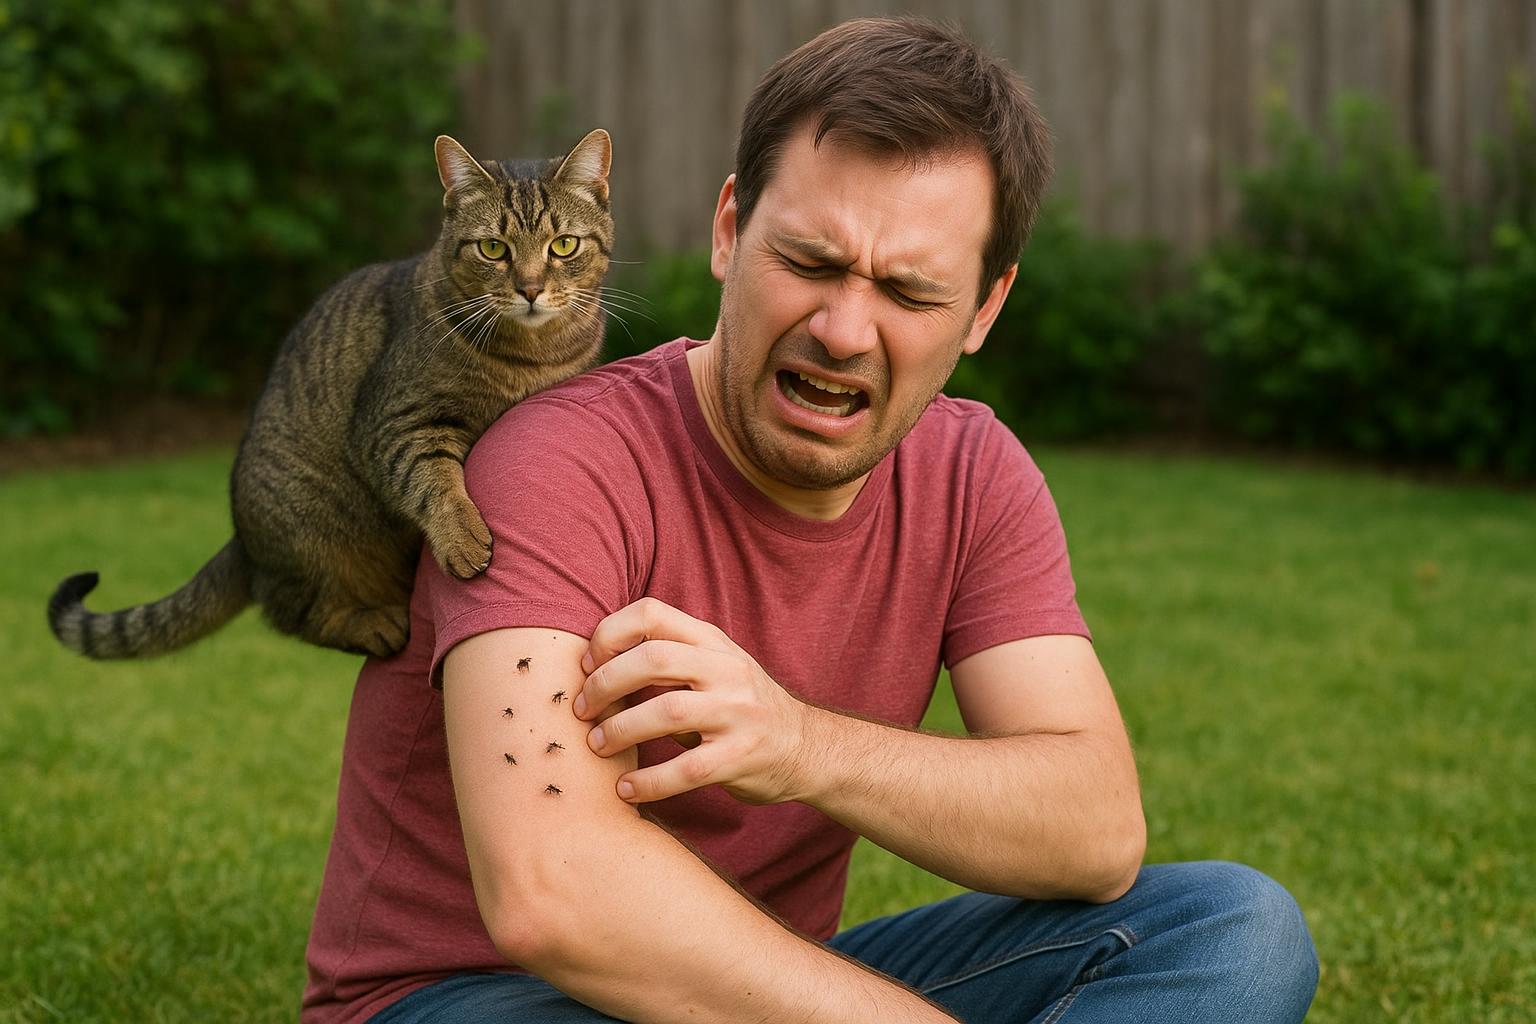
If you observe persistent host animals with visible irritation, excessive scratching, or lethargy, a professional wildlife rehabilitator or a licensed pest manager experienced with wildlife should be consulted. They can determine if on-animal treatment is necessary and arrange safe handling.
Keep your yard welcoming and healthy with modest monthly effort, a few biological tools, and careful observation. You’ll protect backyard visitors, reduce the risk to pets, and enjoy critter-friendly spaces without over-reliance on harsh chemicals or panic.


Leave a Reply