Noticed a tiny, frantic speck on a paw or in the grass and wondered whether your backyard companions are hosting uninvited guests? A good cat flea photo can make all the difference when you’re trying to identify, document, or explain an infestation to friends, a vet, or fellow wildlife enthusiasts. Let’s walk through what to look for, how to take useful pictures, and practical remedies you can apply in and around your yard.
## How To Interpret A Cat Flea Photo
A decent cat flea photo is more than just a cute (or gross) snapshot. It’s evidence: size, shape, color, and behavior clues all help separate fleas from other tiny critters and debris. When examining a photo, consider scale (is there something for size reference?), clarity (are legs and body margins visible?), and context (was it on fur, carpet, or soil?).
### What A Flea Looks Like Up Close
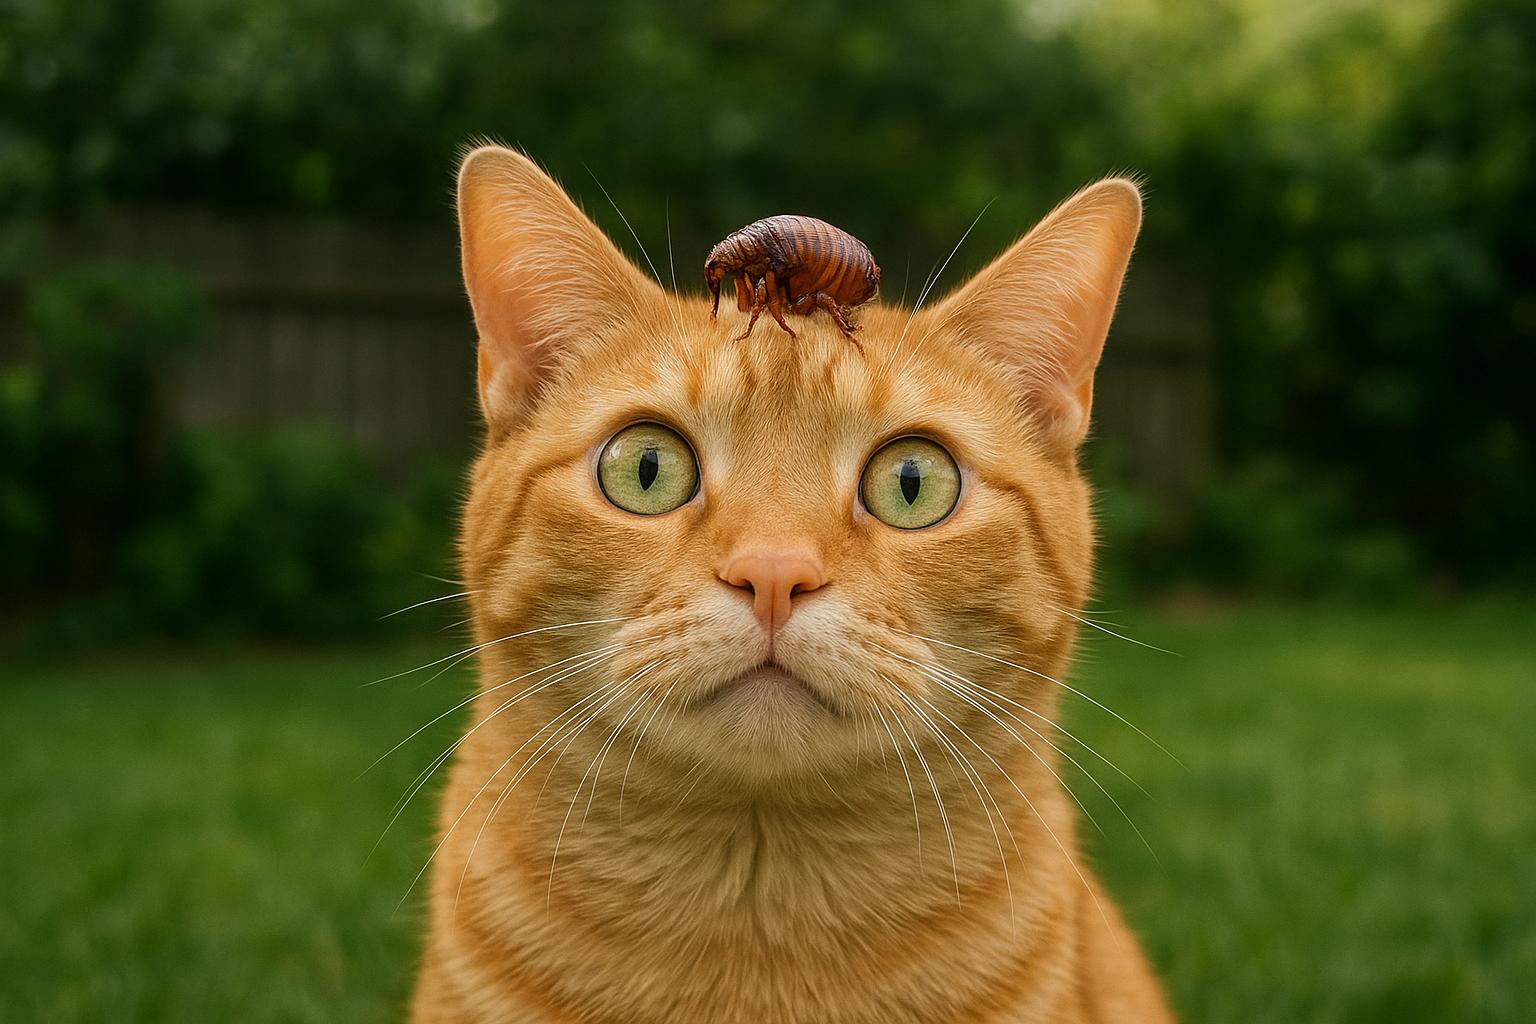
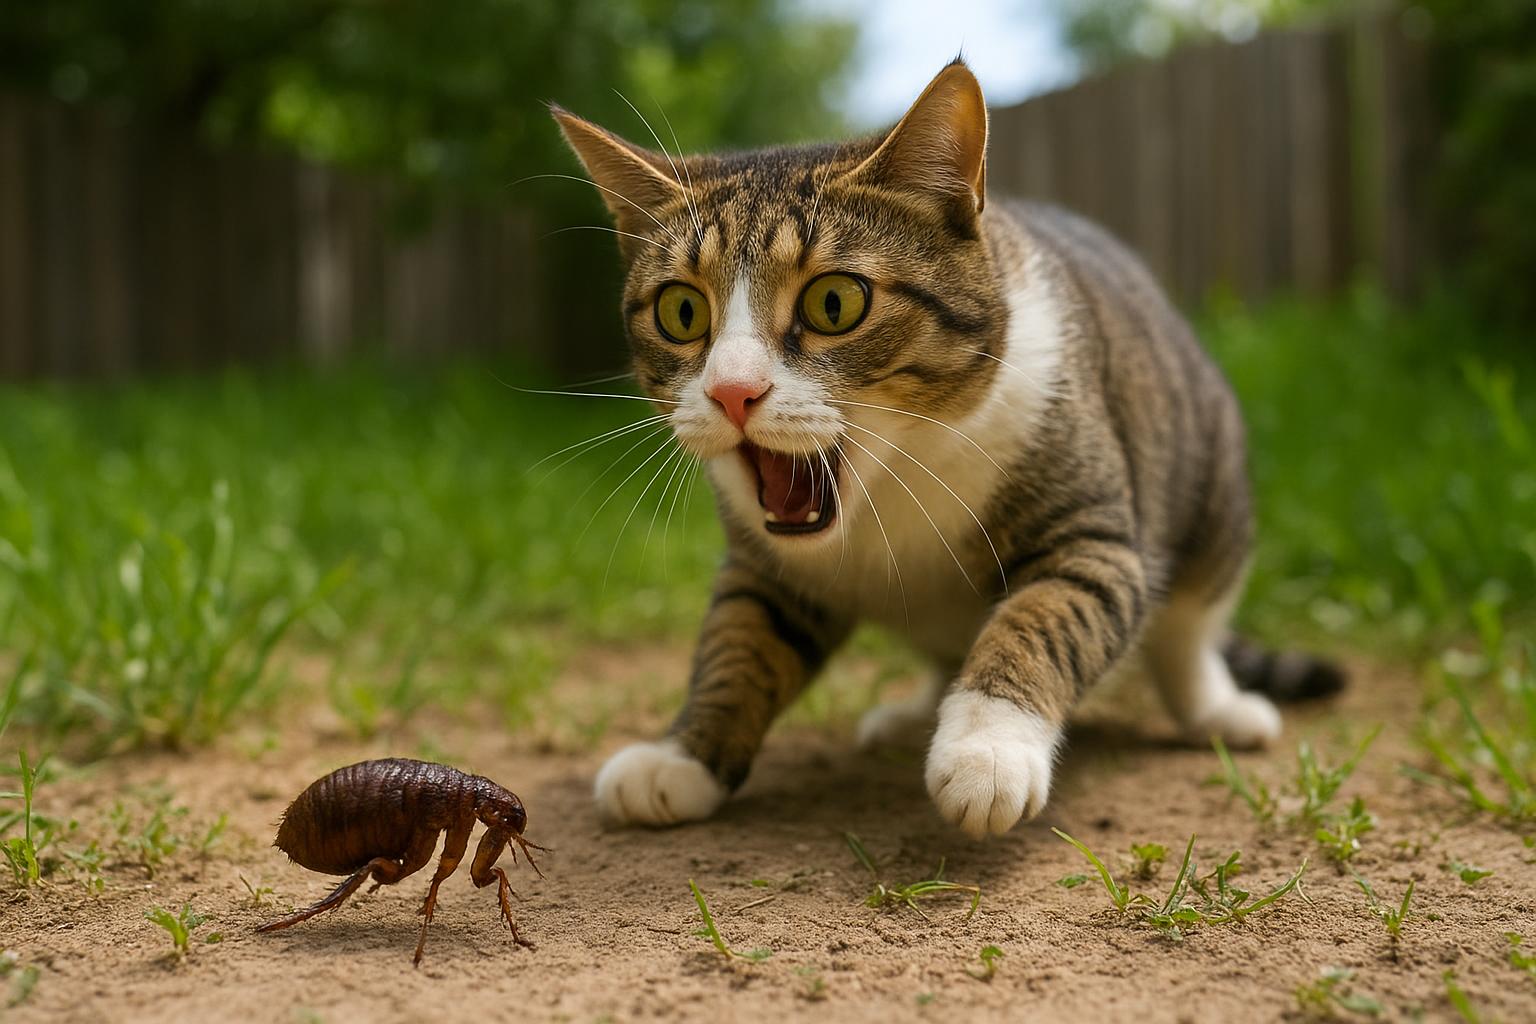
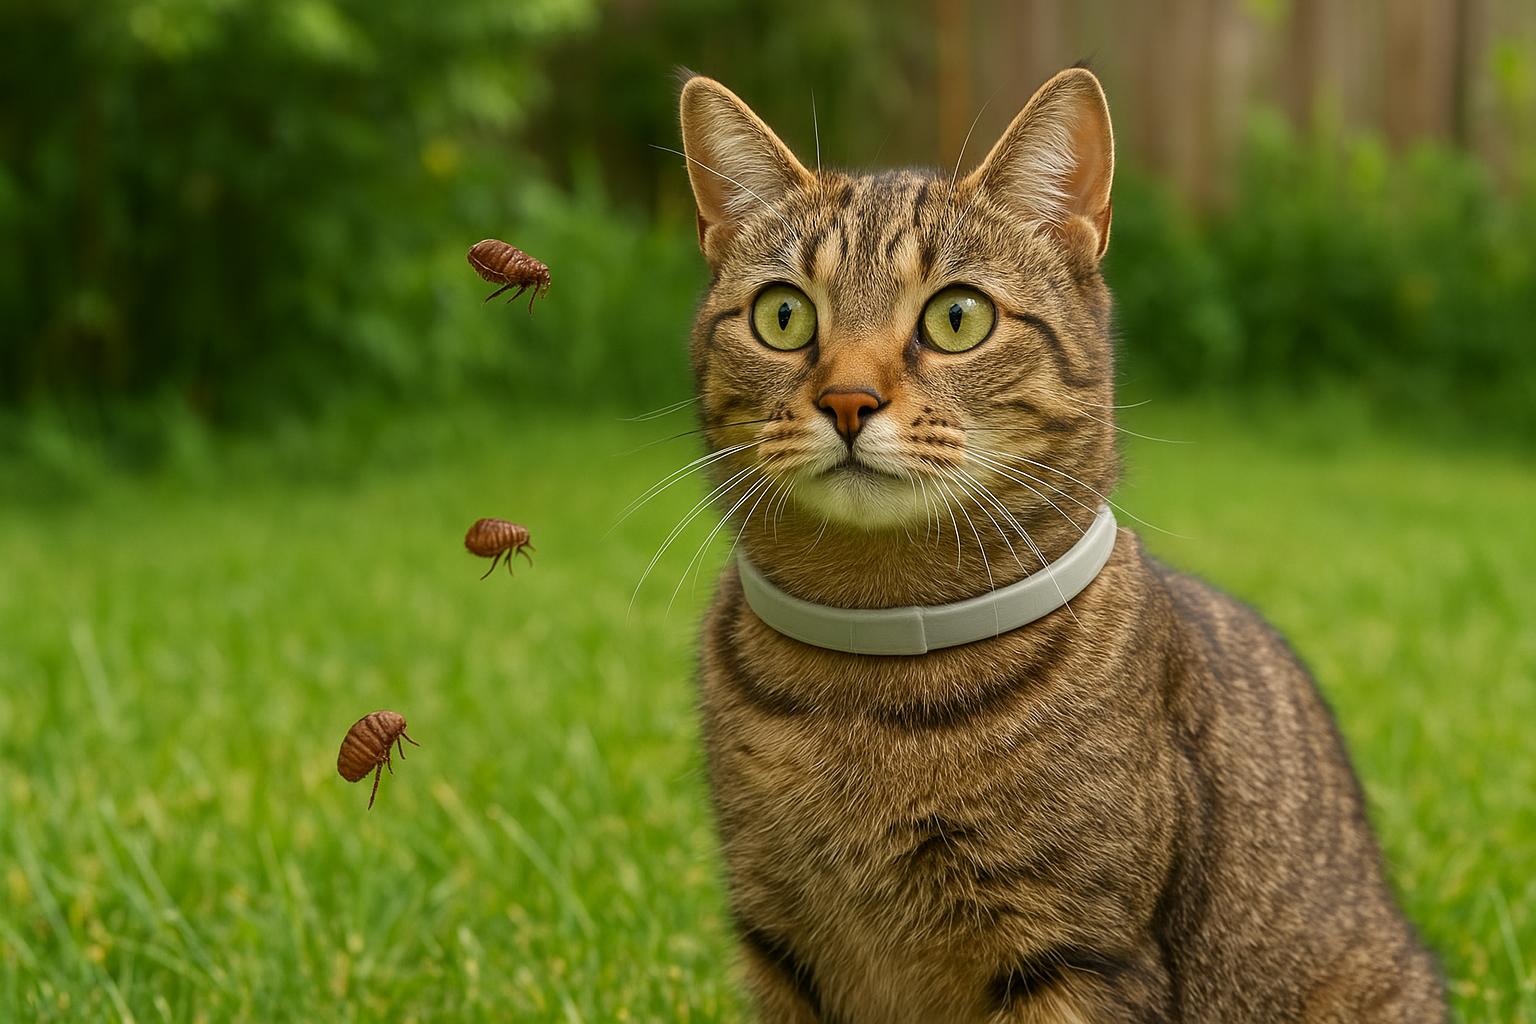
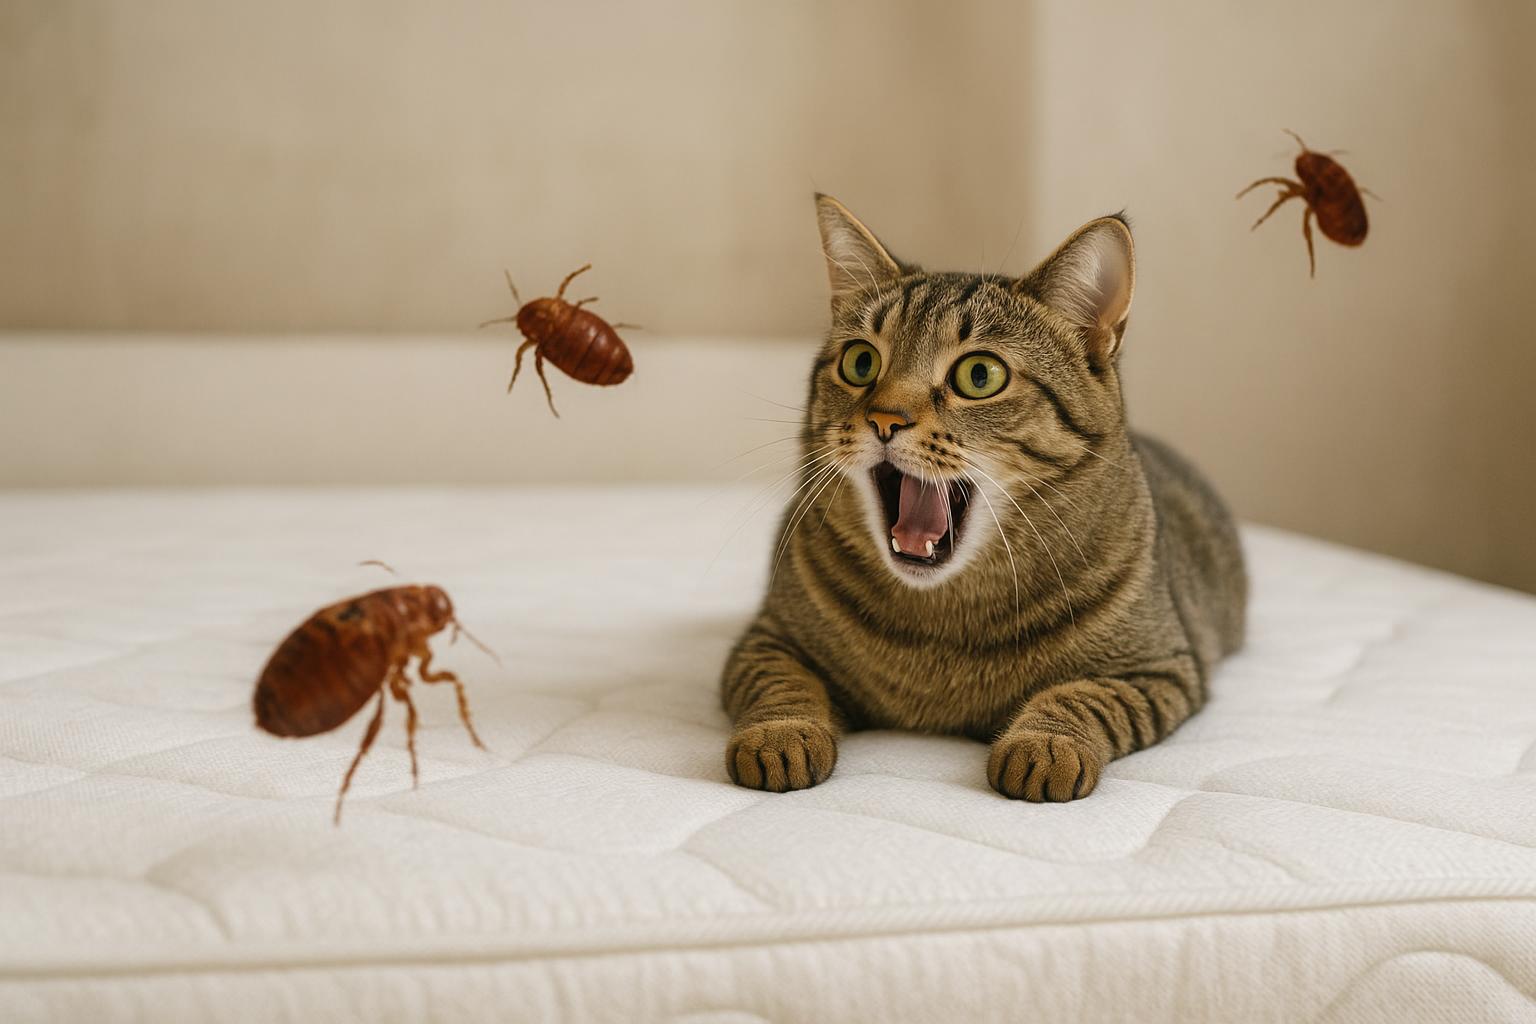
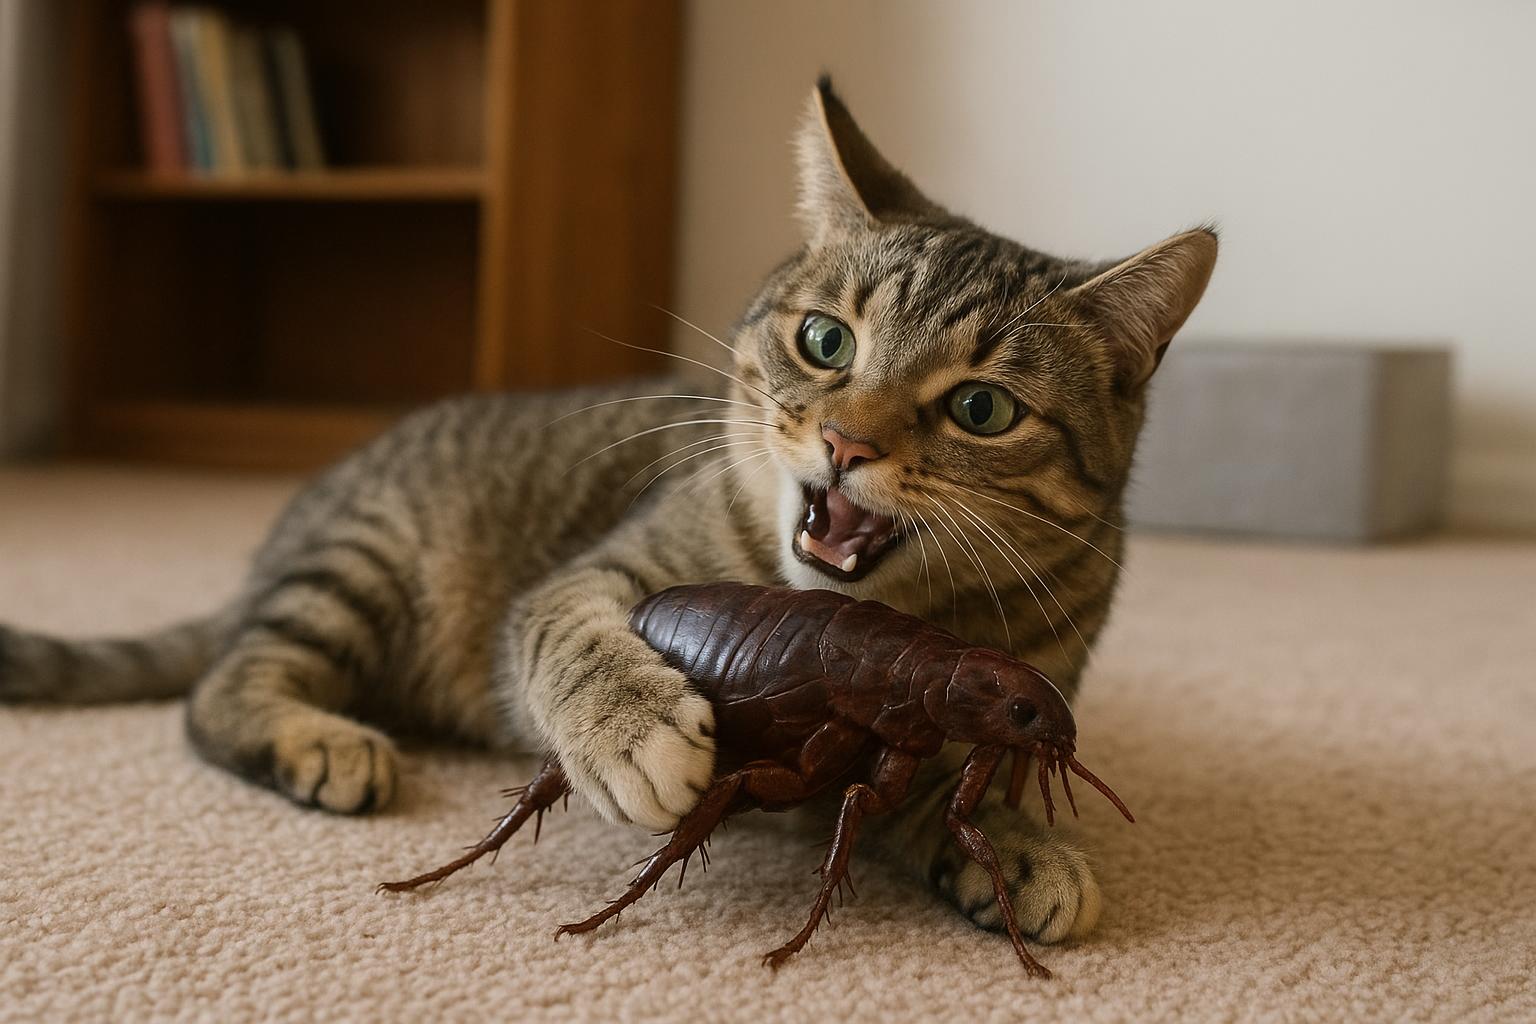
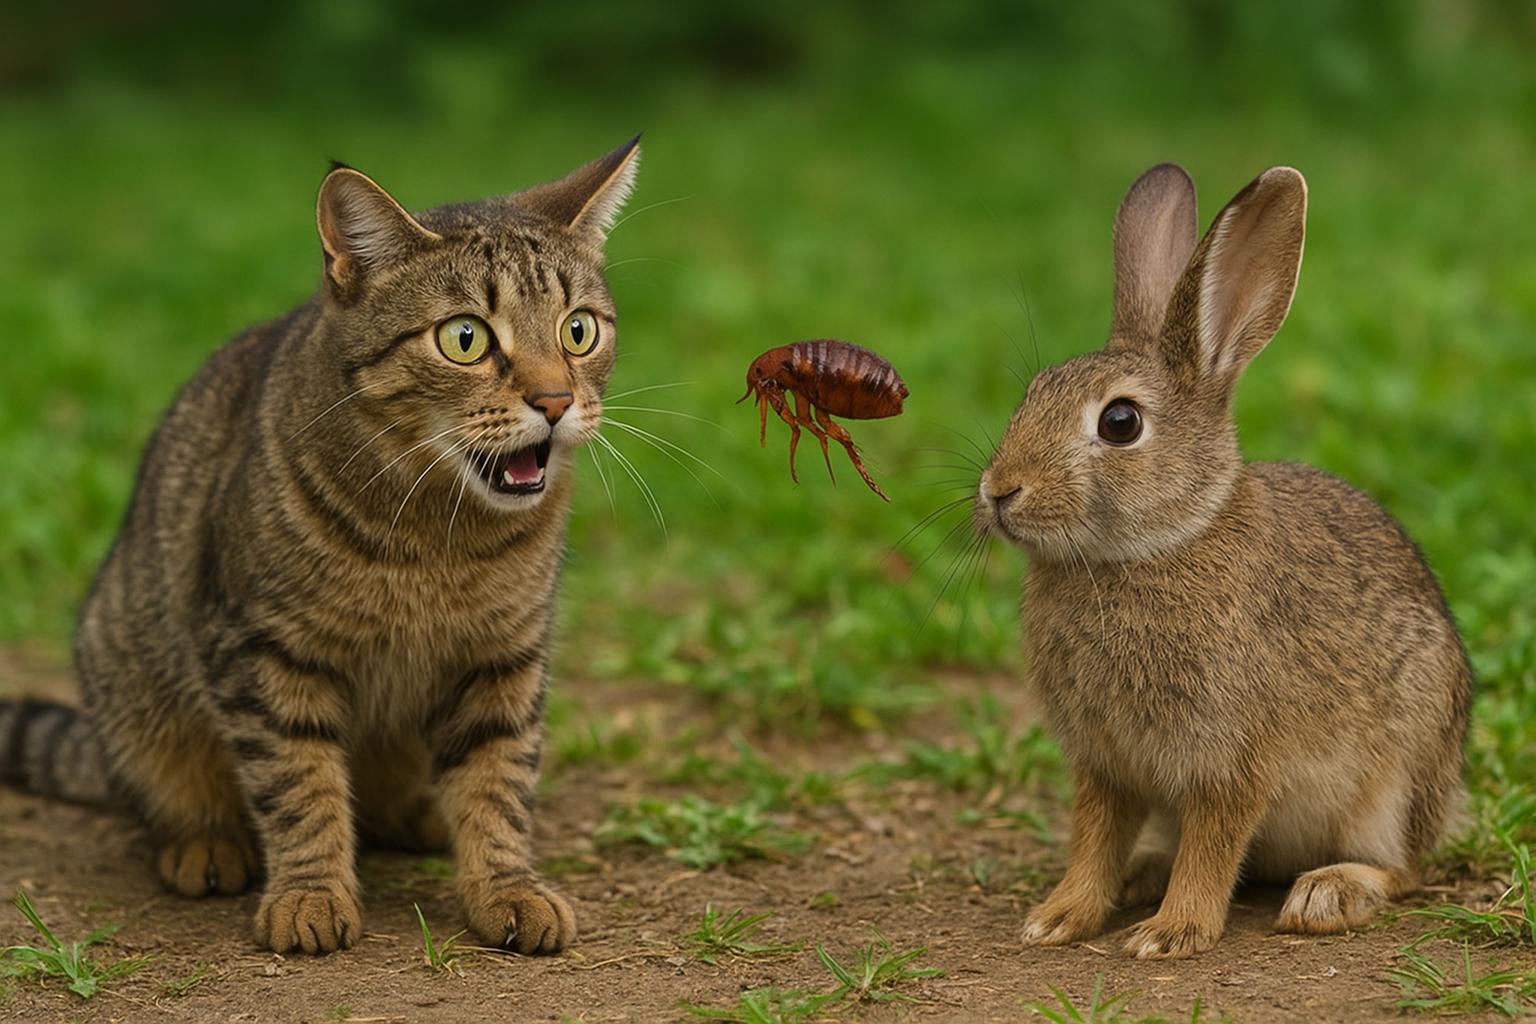
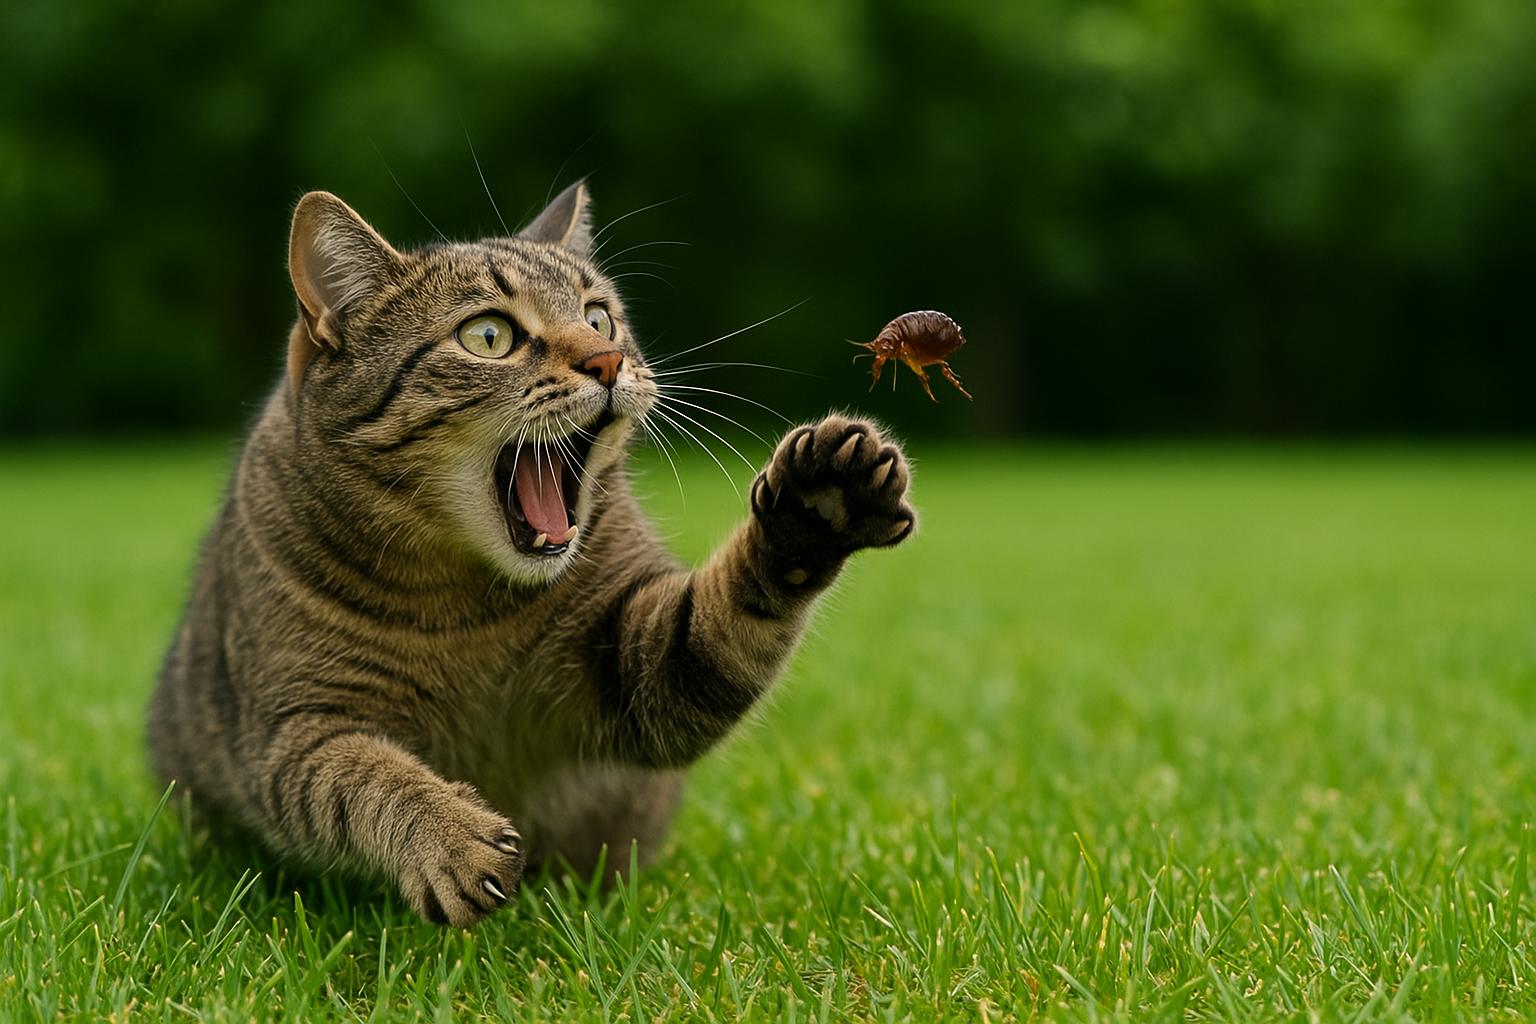
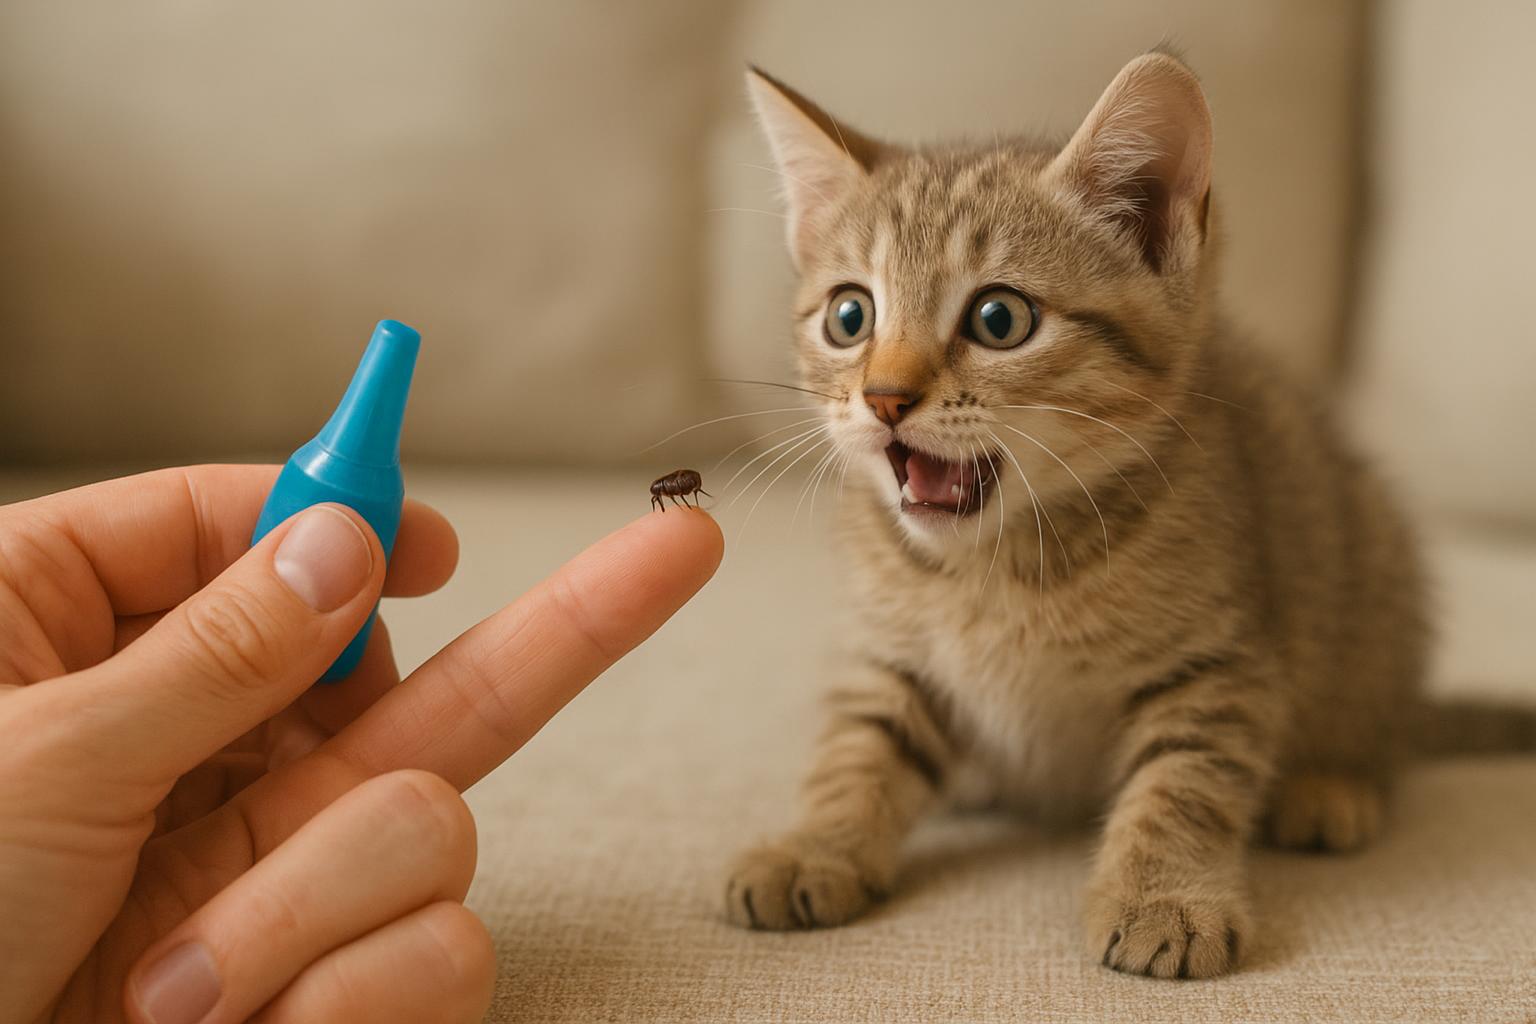
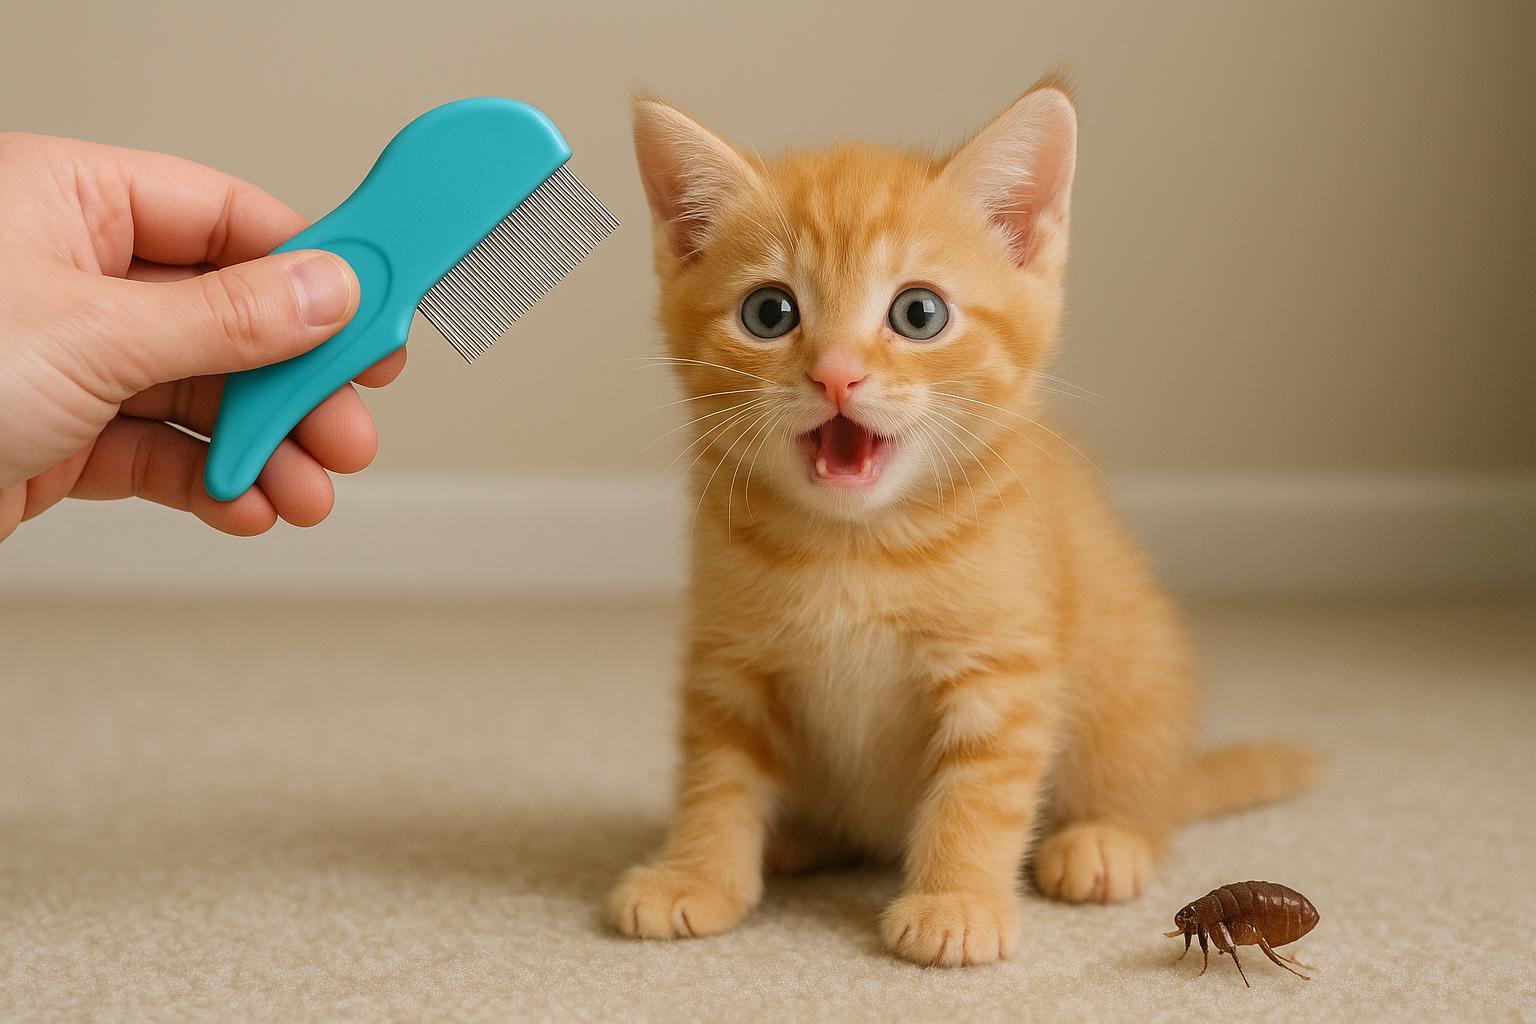
Fleas are laterally compressed—meaning they look thin from front to back—which helps them move through fur. In a good cat flea photo you’ll see:
– A small, dark, wingless insect.
– Long hind legs adapted for jumping (often tucked).
– A roughly oval body with a hard shell (exoskeleton).
If the photo is magnified, you may even discern tiny hairs or comb-like structures near the head, which are characteristic of certain flea species.
### Common Misidentifications
People often mistake fleas for:
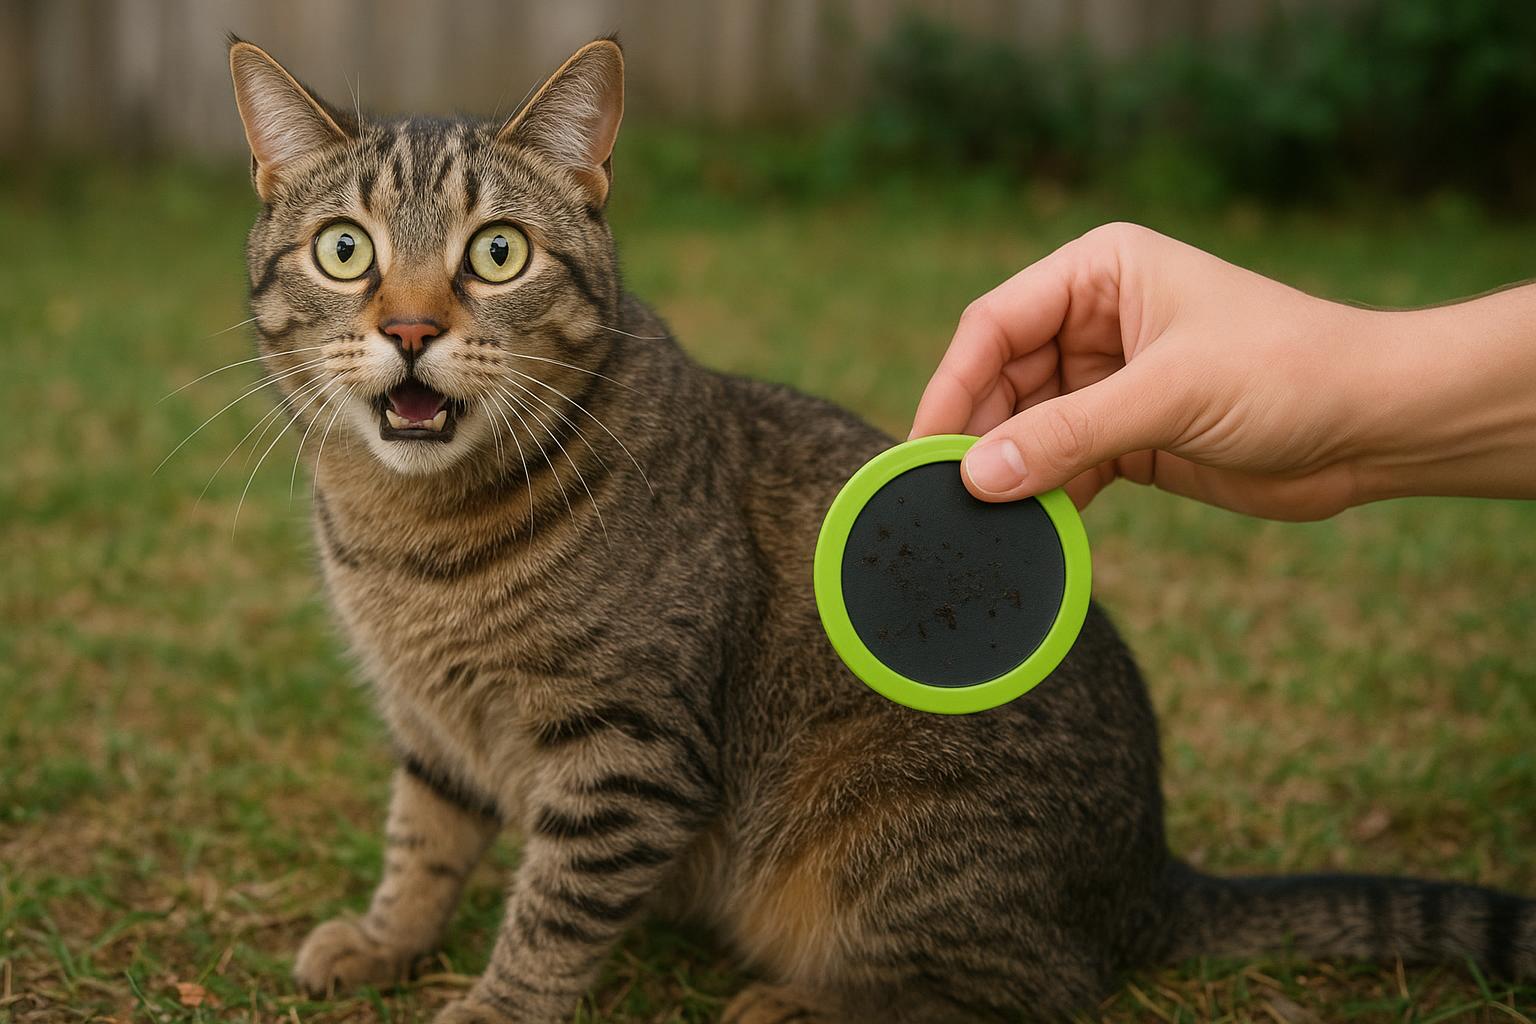
– Flea dirt (which is tiny black specks of dried blood).
– Ticks (rounder and slower-moving; they have visible legs spread out).
– Carpet beetles or tiny fly larvae.
A focused cat flea photo usually clears this up—fleas move quickly and have a streamlined jumping build that sets them apart.
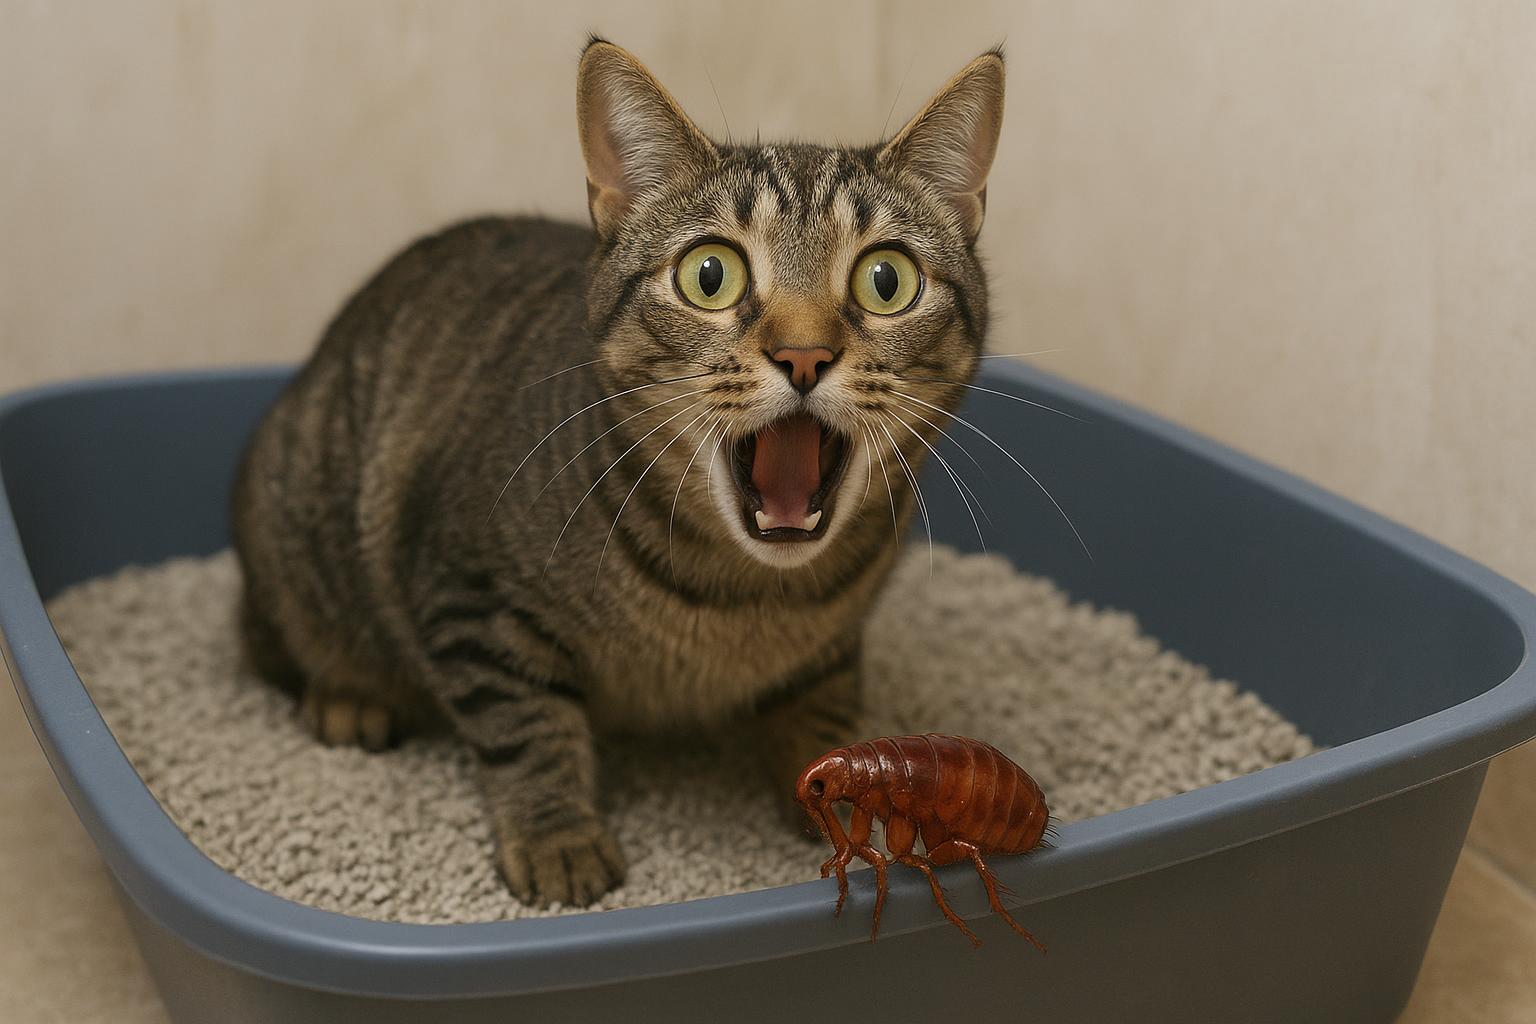
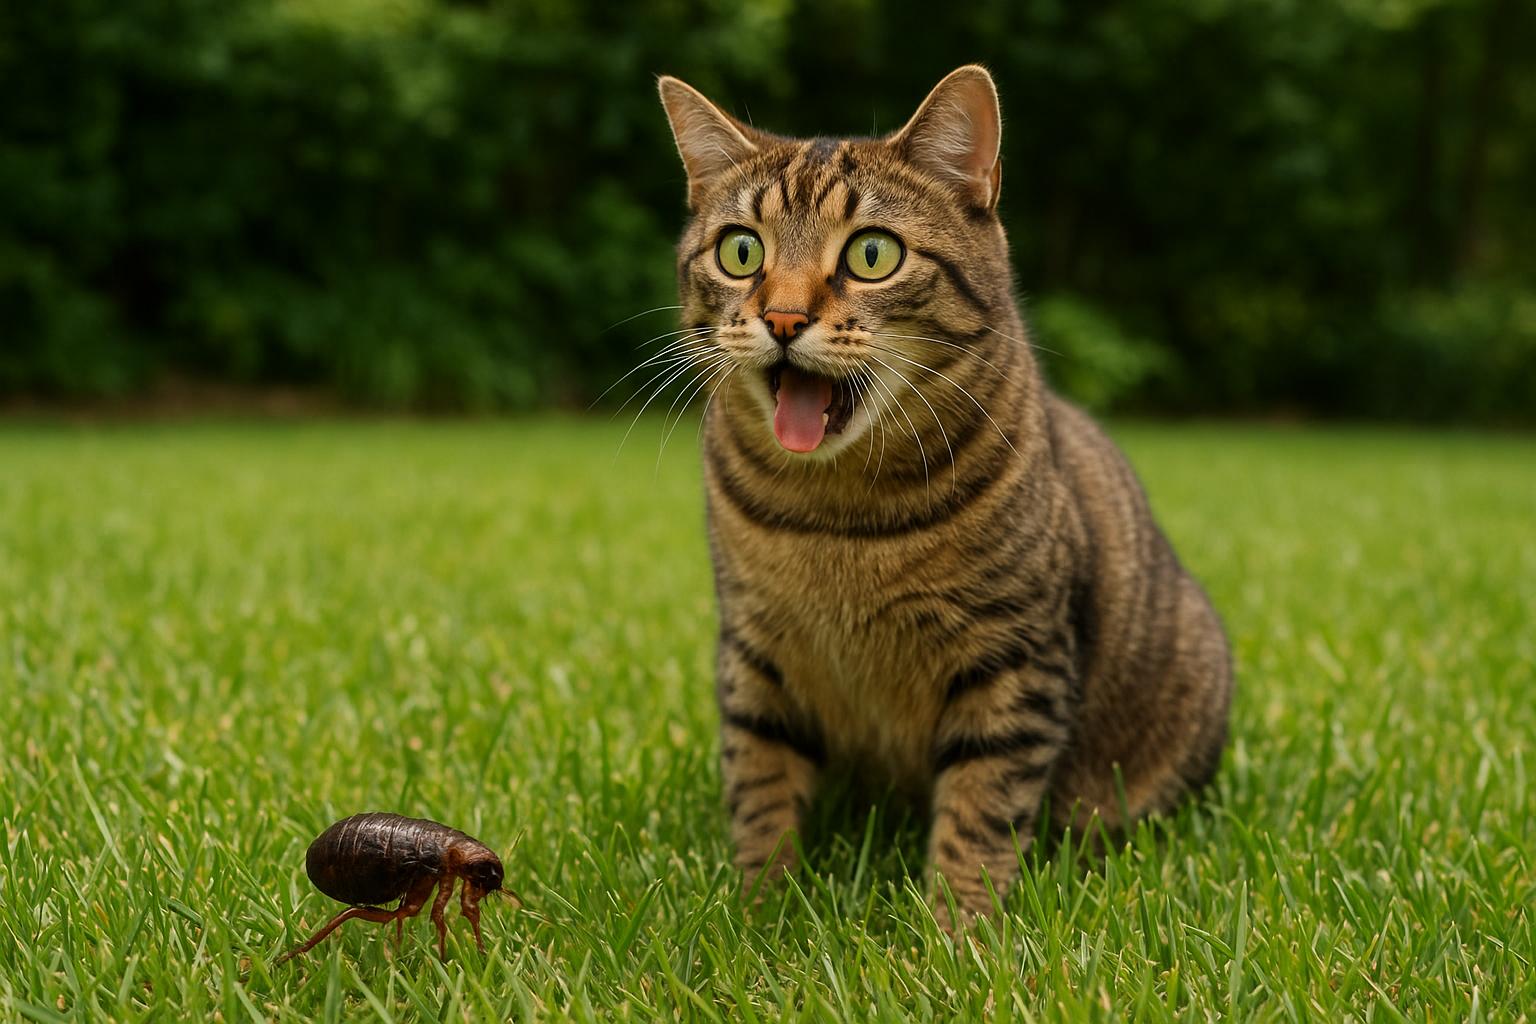
#### Size And Shape
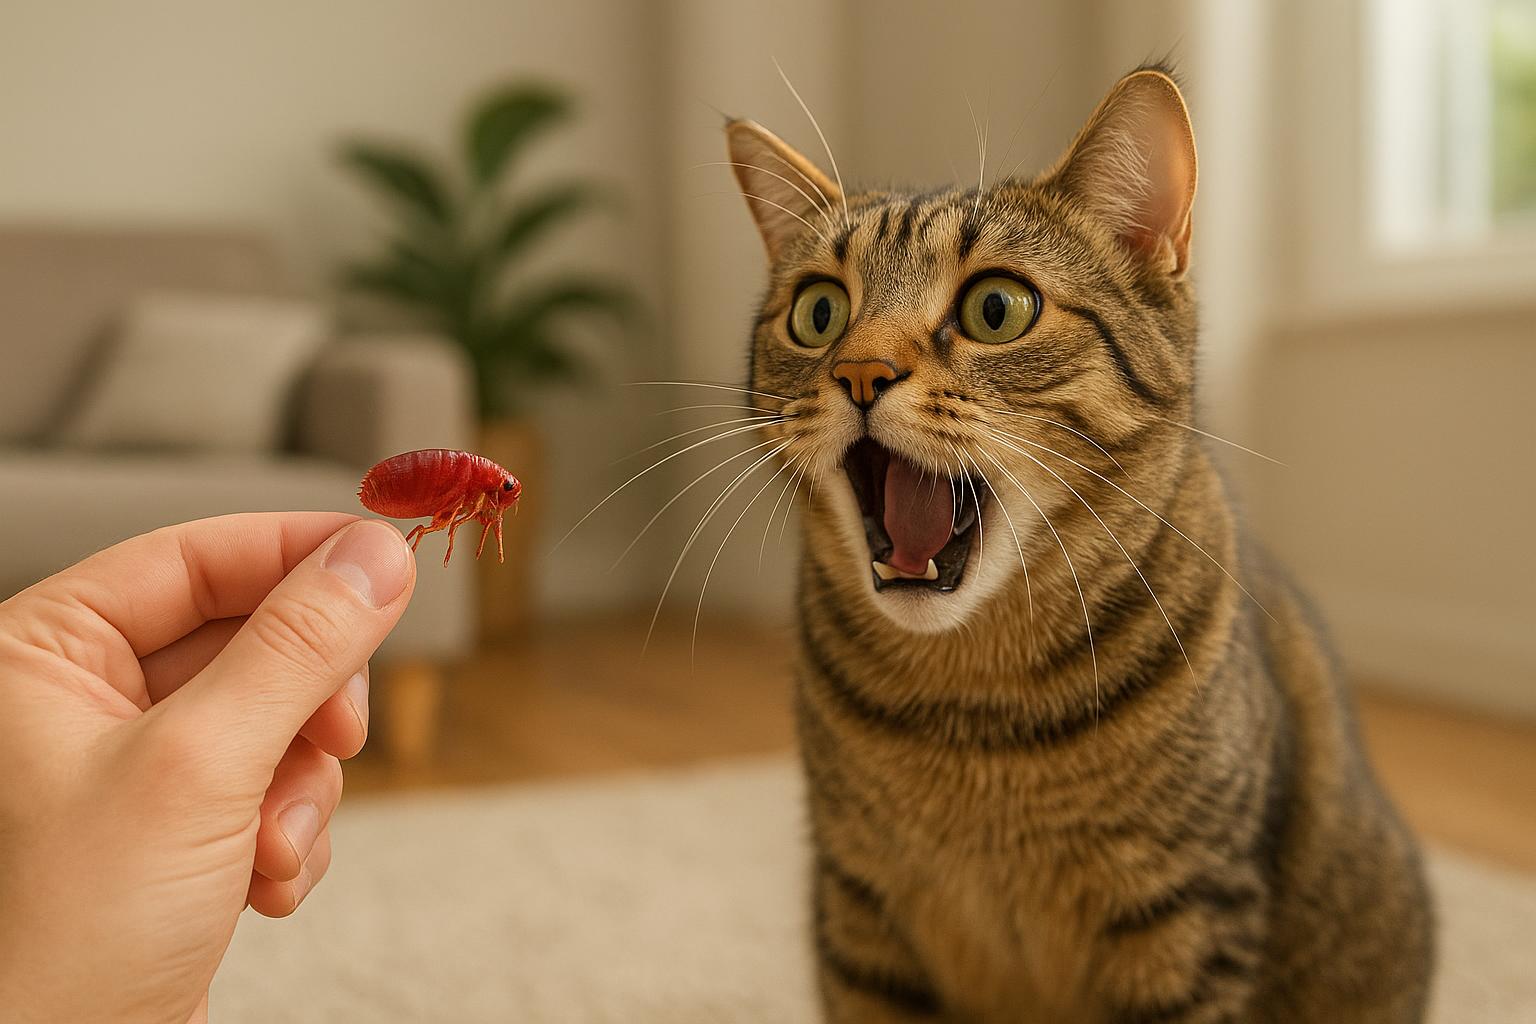
A cat flea photo that includes a ruler, a penny, or a cat whisker for scale is gold. Adult cat fleas are typically 1.5–3.3 mm long. If the photographed insect is clearly larger or rounder, you’re probably looking at a tick or beetle.
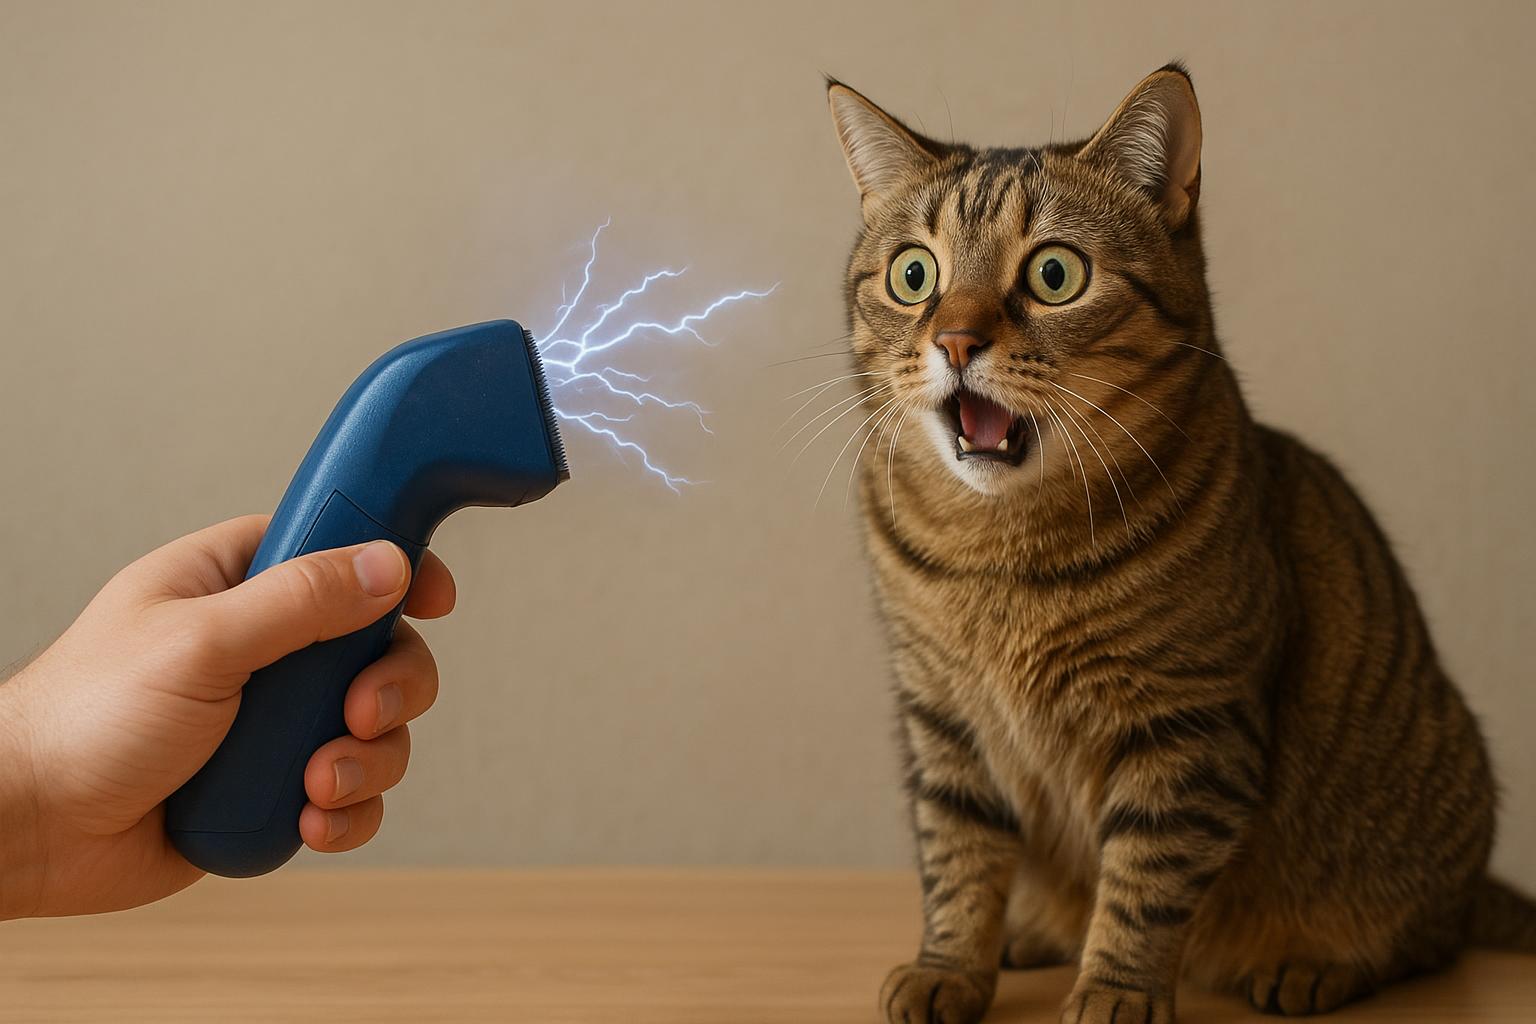
#### Movement Patterns
If your photo captures motion blur or shows the subject mid-jump, that’s another clue pointing to fleas. Ticks crawl; fleas launch. Photographic evidence of a rapid vertical or horizontal jump helps confirm identity.
## How To Take A Useful Cat Flea Photo For Backyard Guides
You don’t need professional equipment—just patience and a few simple tricks. Good photos help educate readers, support treatment plans, and distinguish pest species in wildlife guides.
### Practical Tips For Clear Images
– Use macro mode on your phone or camera; get as close as the lens allows.
– Provide scale—use a coin, ruler, or a blade of grass.
– White or neutral backgrounds help contrast dark fleas; gently place the specimen on a sheet if safe and ethical.
– Take multiple shots from different angles and focus manually if possible.
### Ethical Considerations When Photographing Wildlife And Pets
Always prioritize welfare. If you remove a flea from an animal for a photo, do so gently and with clean tweezers. Avoid stressing wildlife; photographing from a short distance with a zoom lens is usually better.
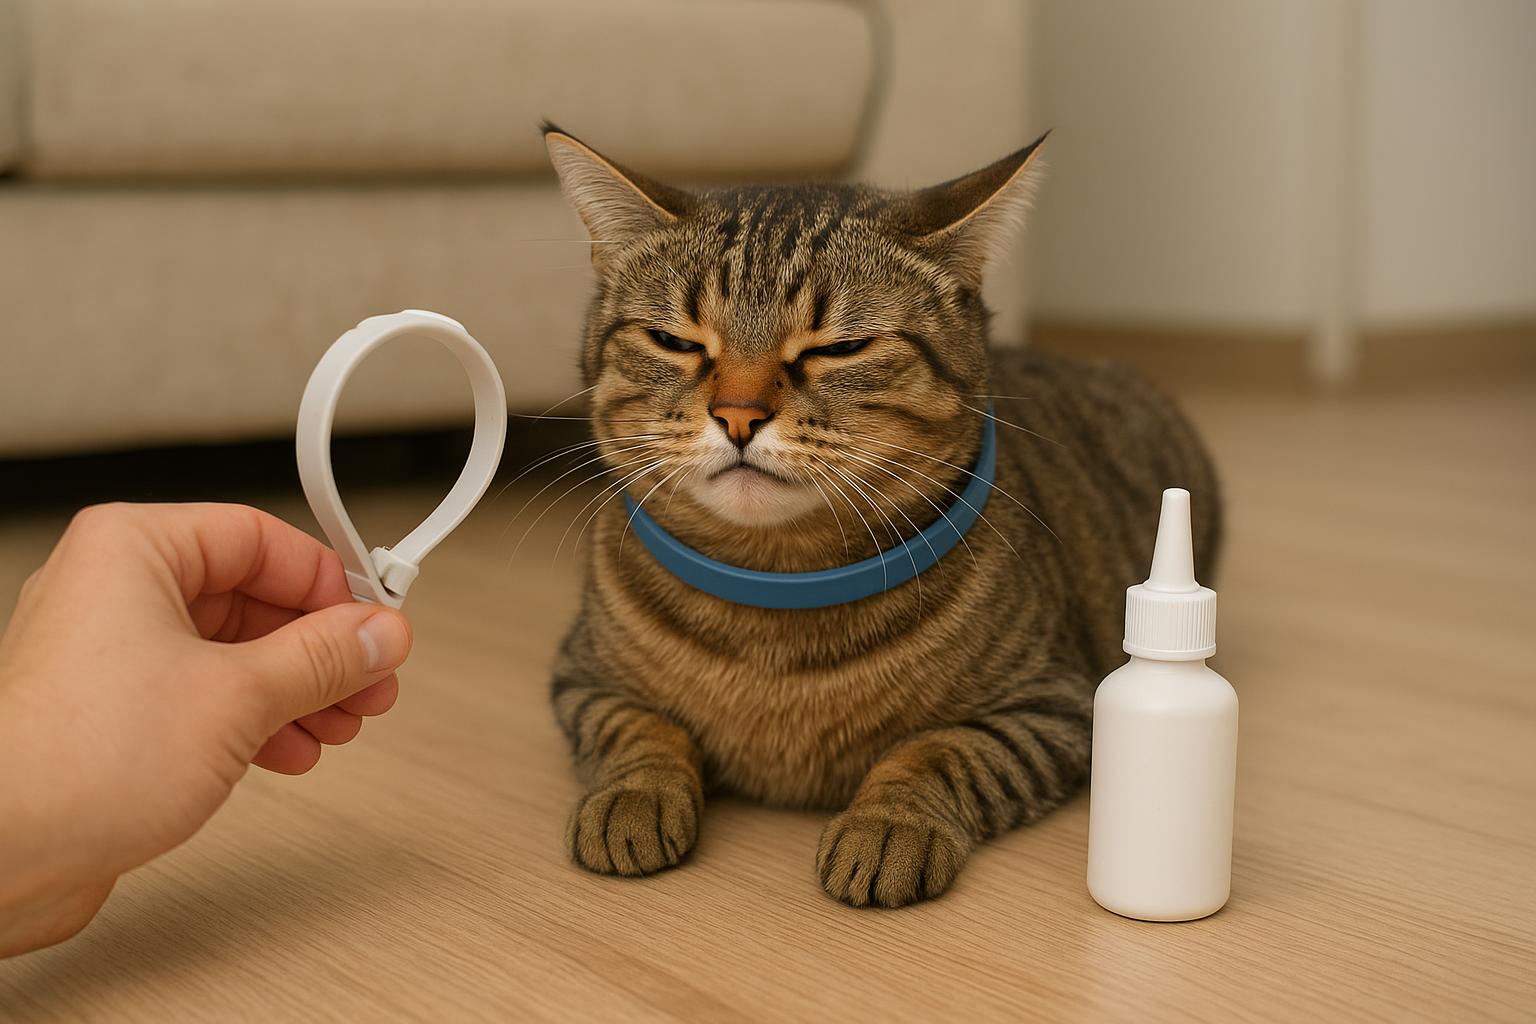
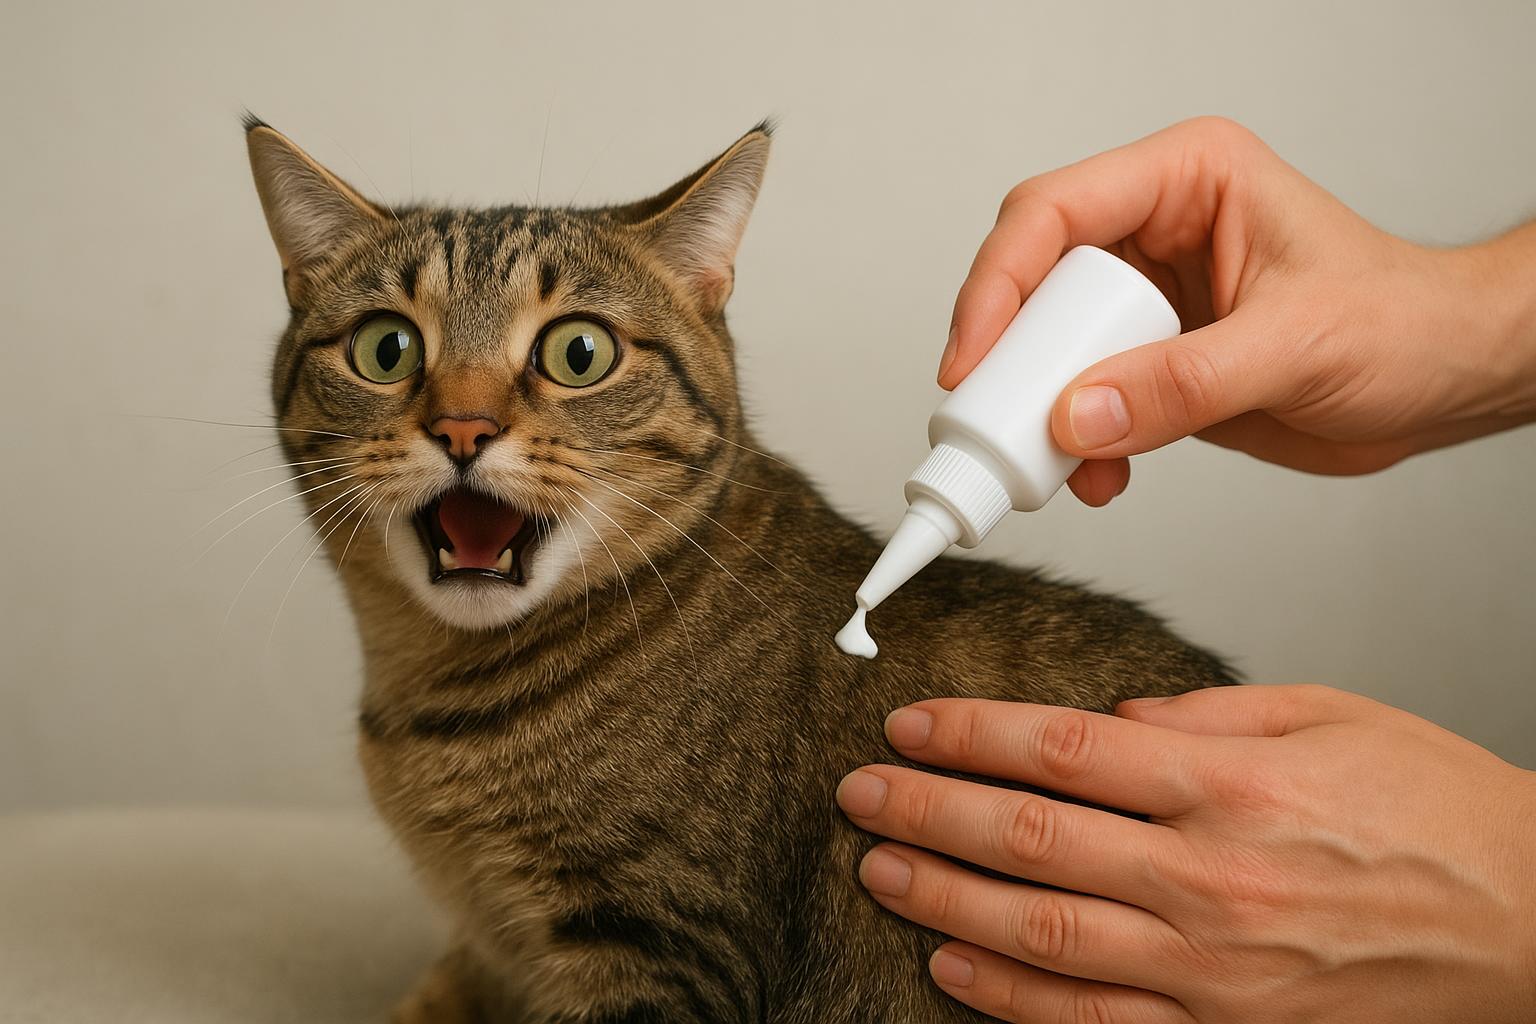
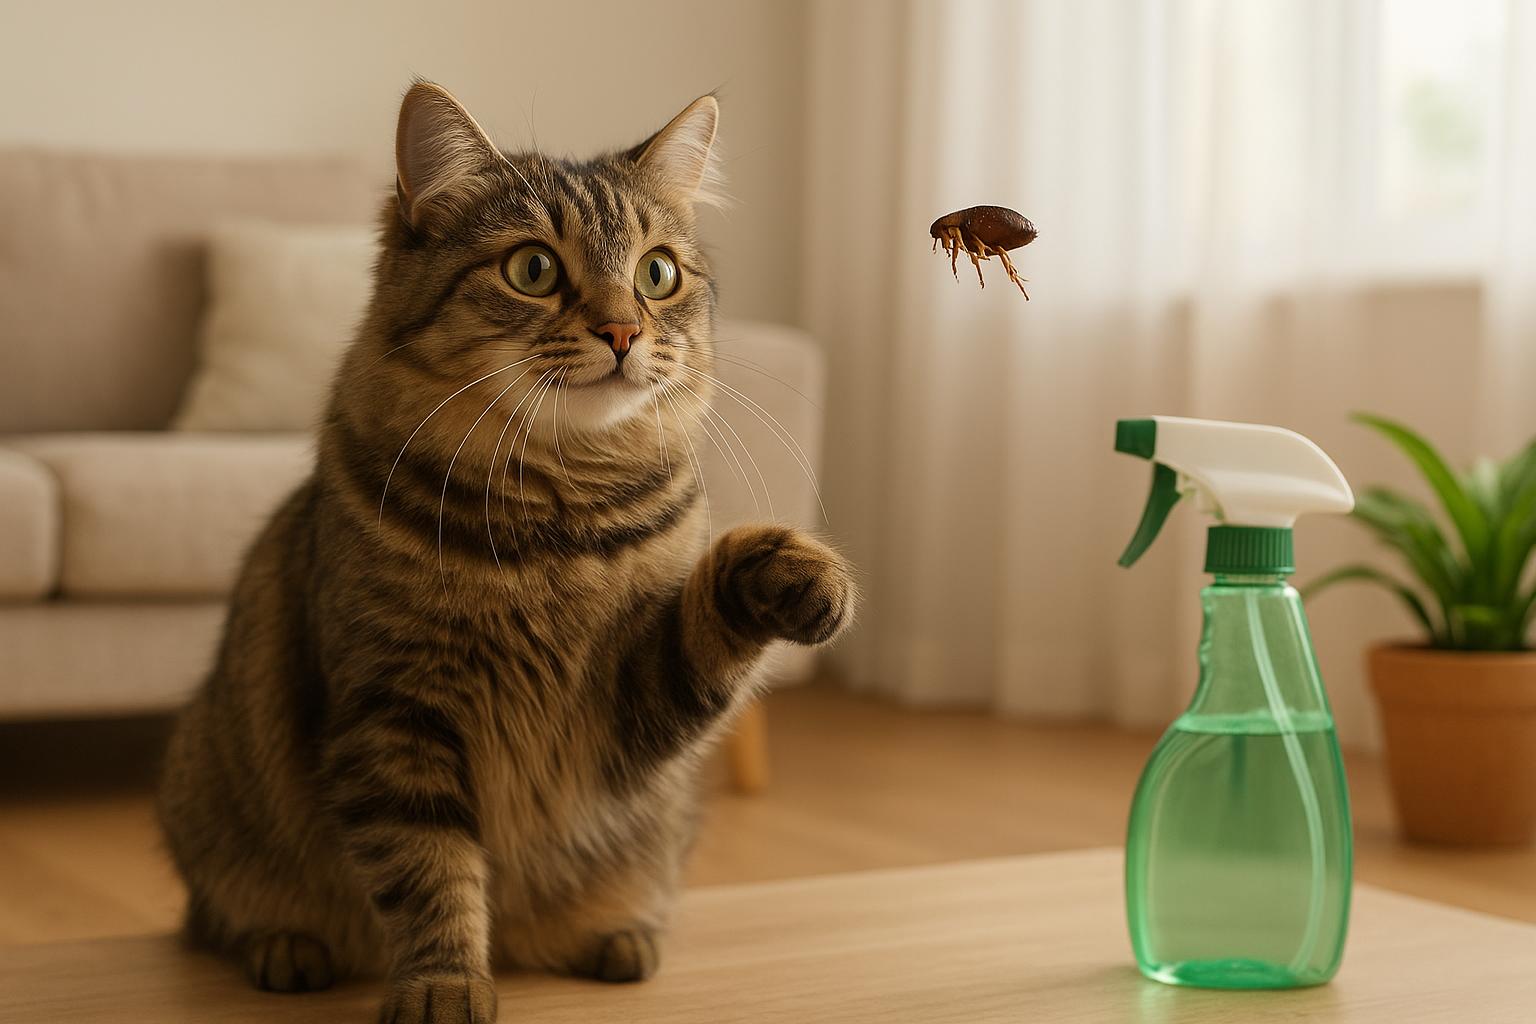
## Remedies: 1. Pet-Safe Home Treatment (For Cats And Indoor Areas)
When the evidence is clear—your cat flea photo confirms an infestation—you’ll want a responsible, effective response. The following remedy is focused on treating pets and indoor environments. The tone here is formal to ensure clarity and safety.
Required Materials:
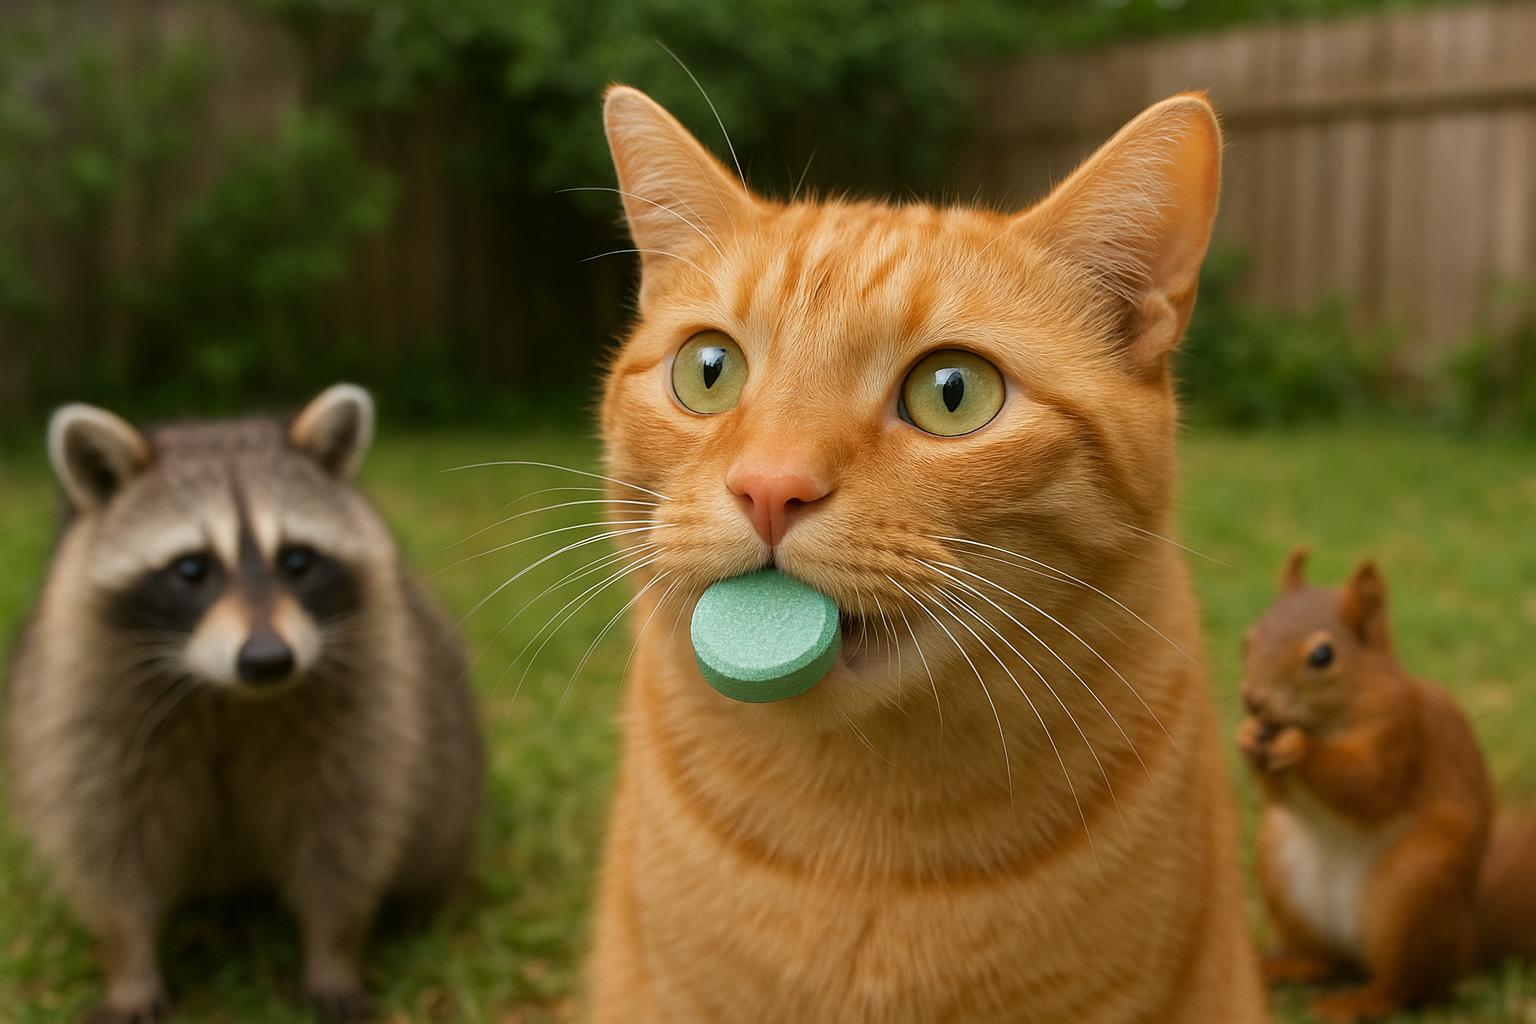
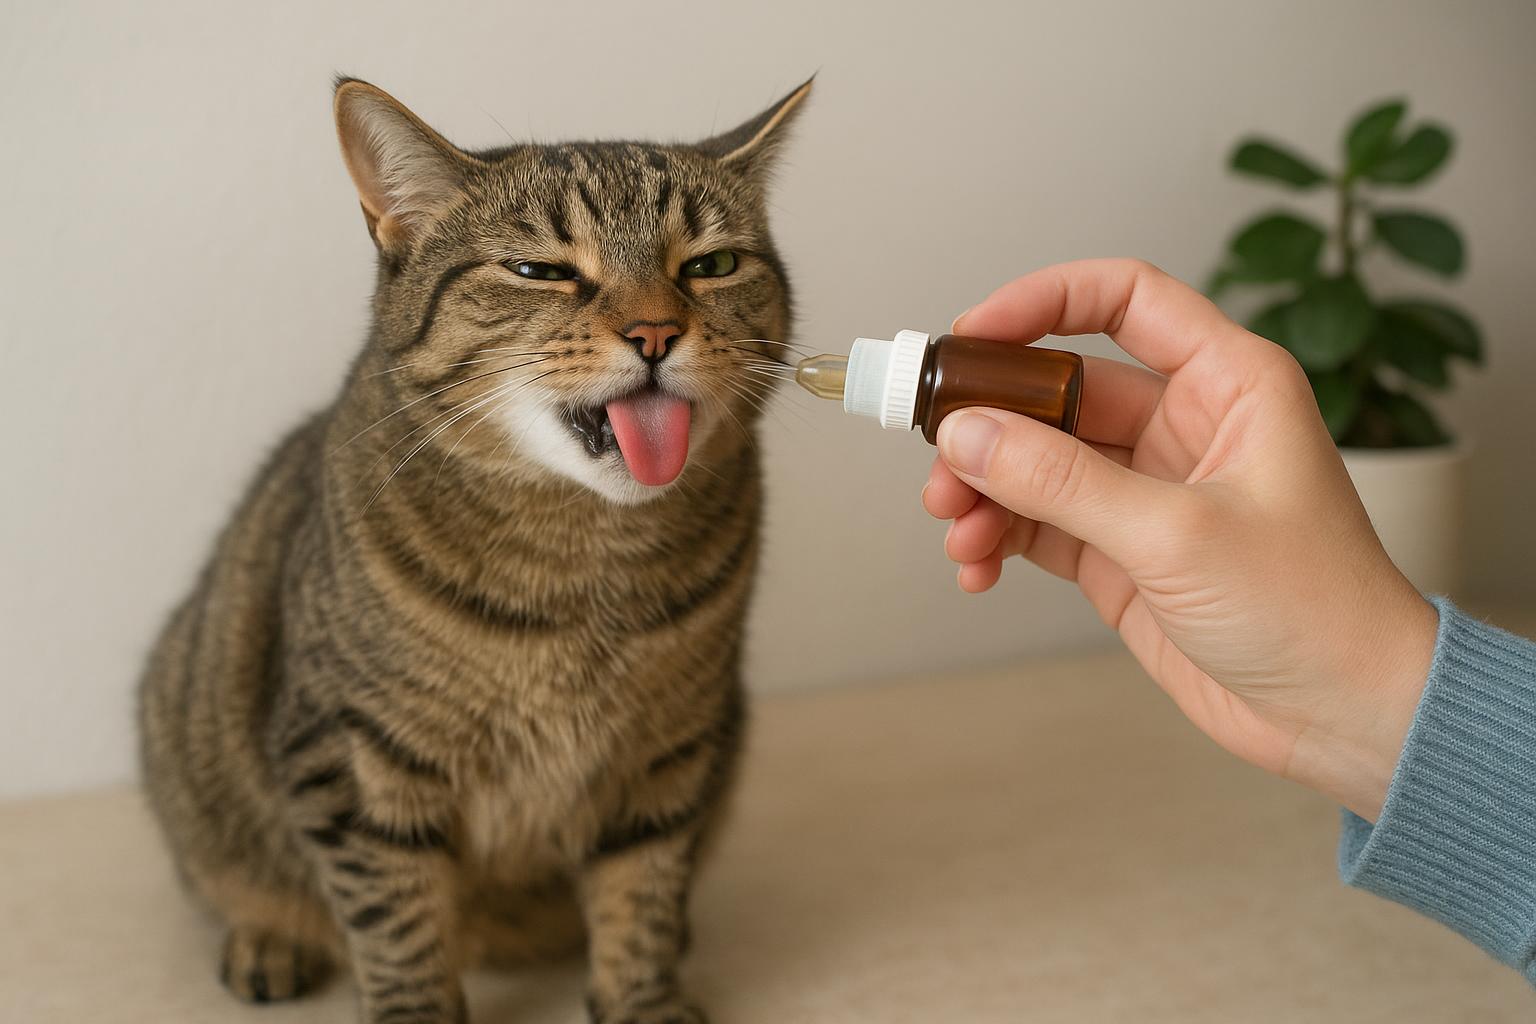
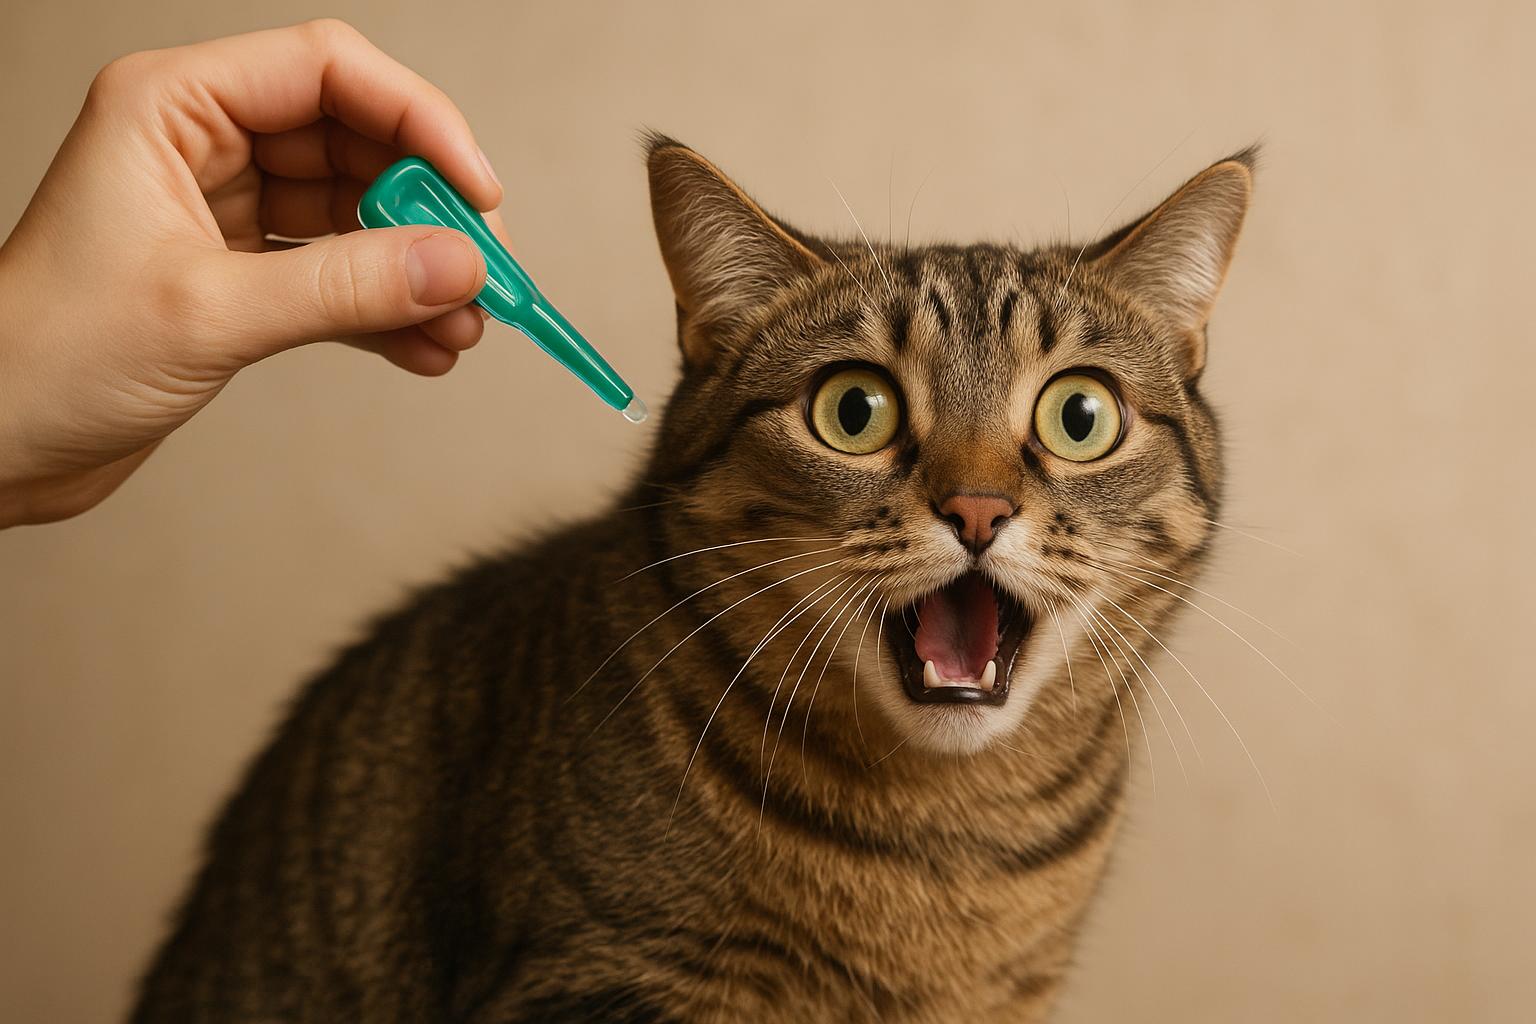
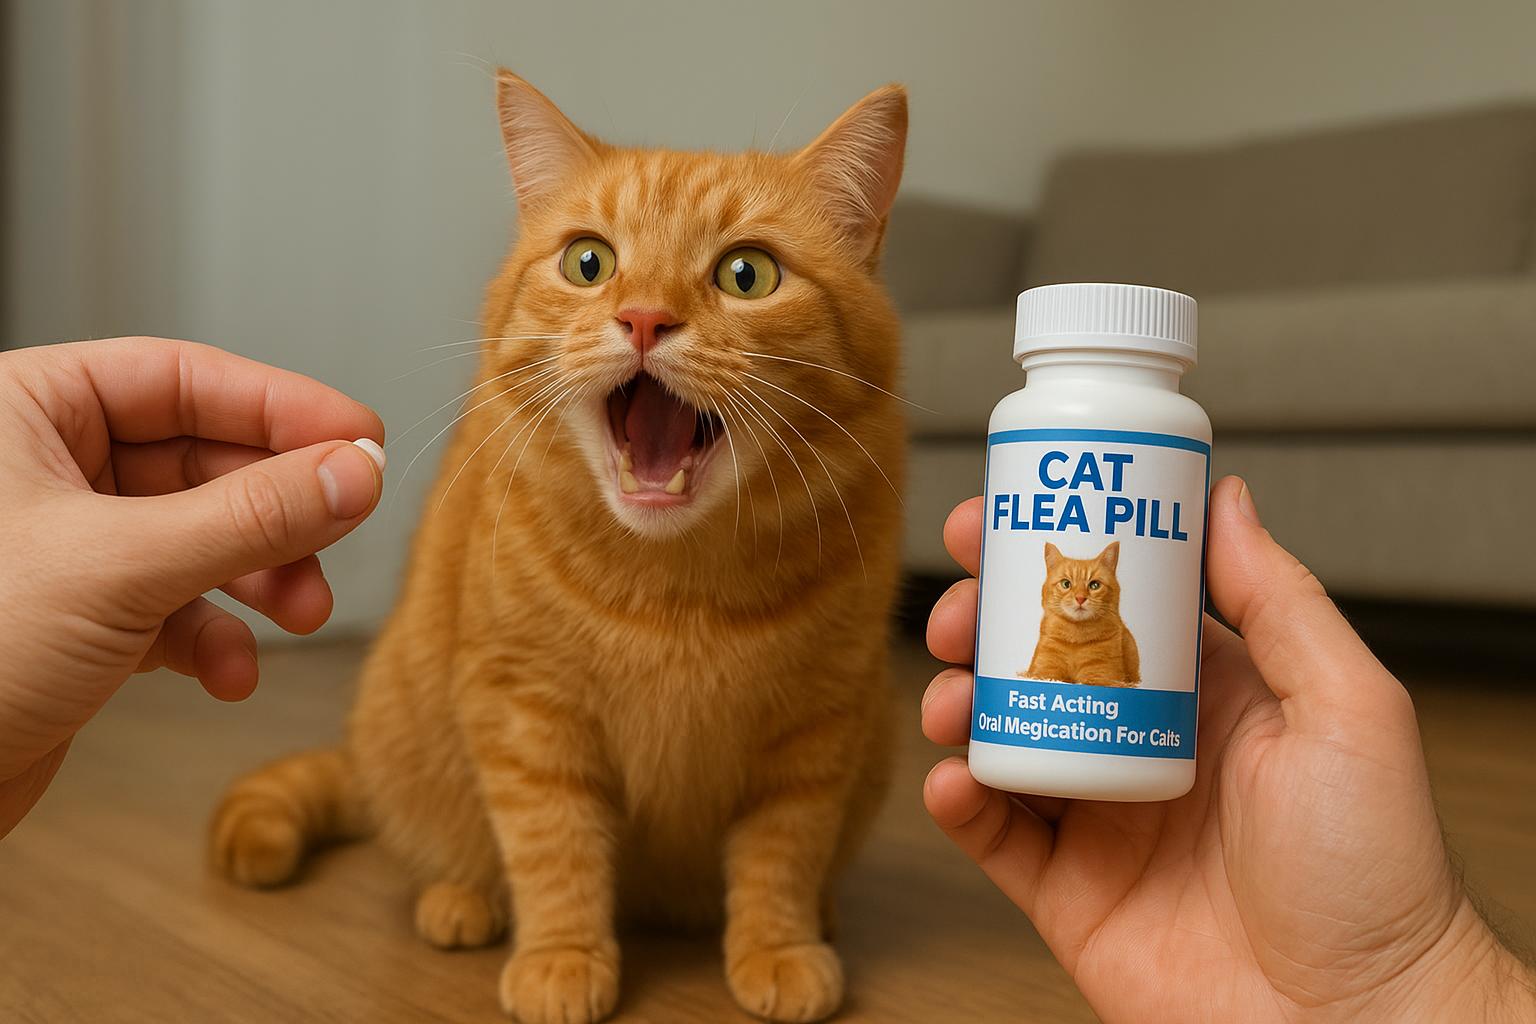
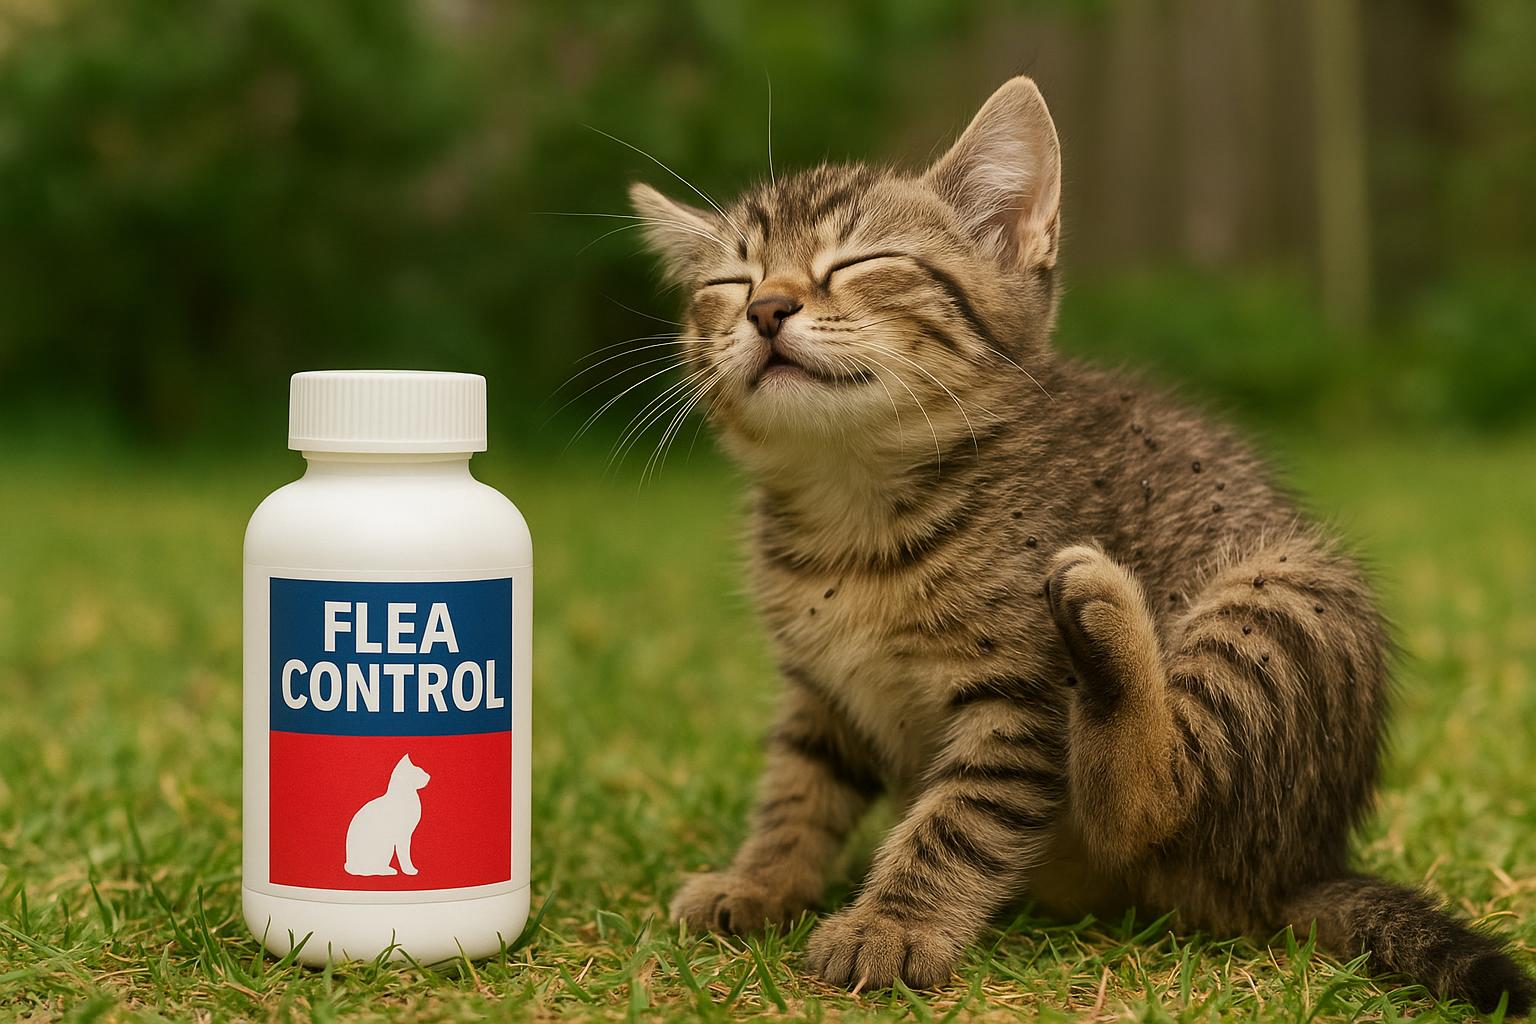
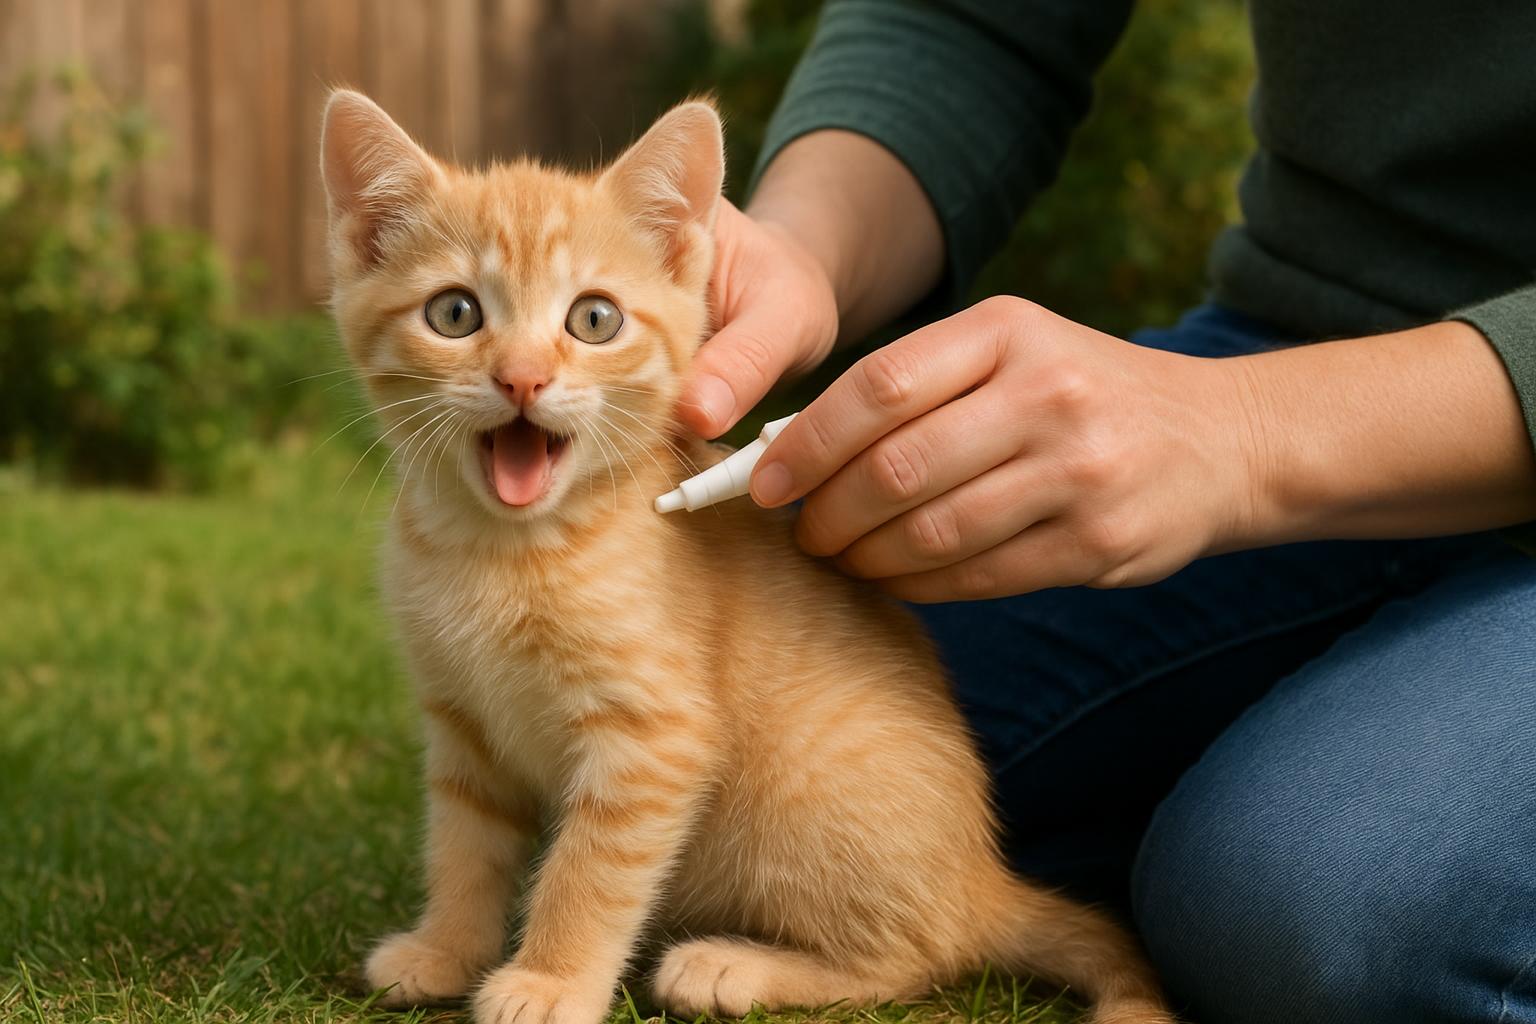
– Veterinary-approved topical flea treatment or oral prescription (as recommended by a veterinarian)
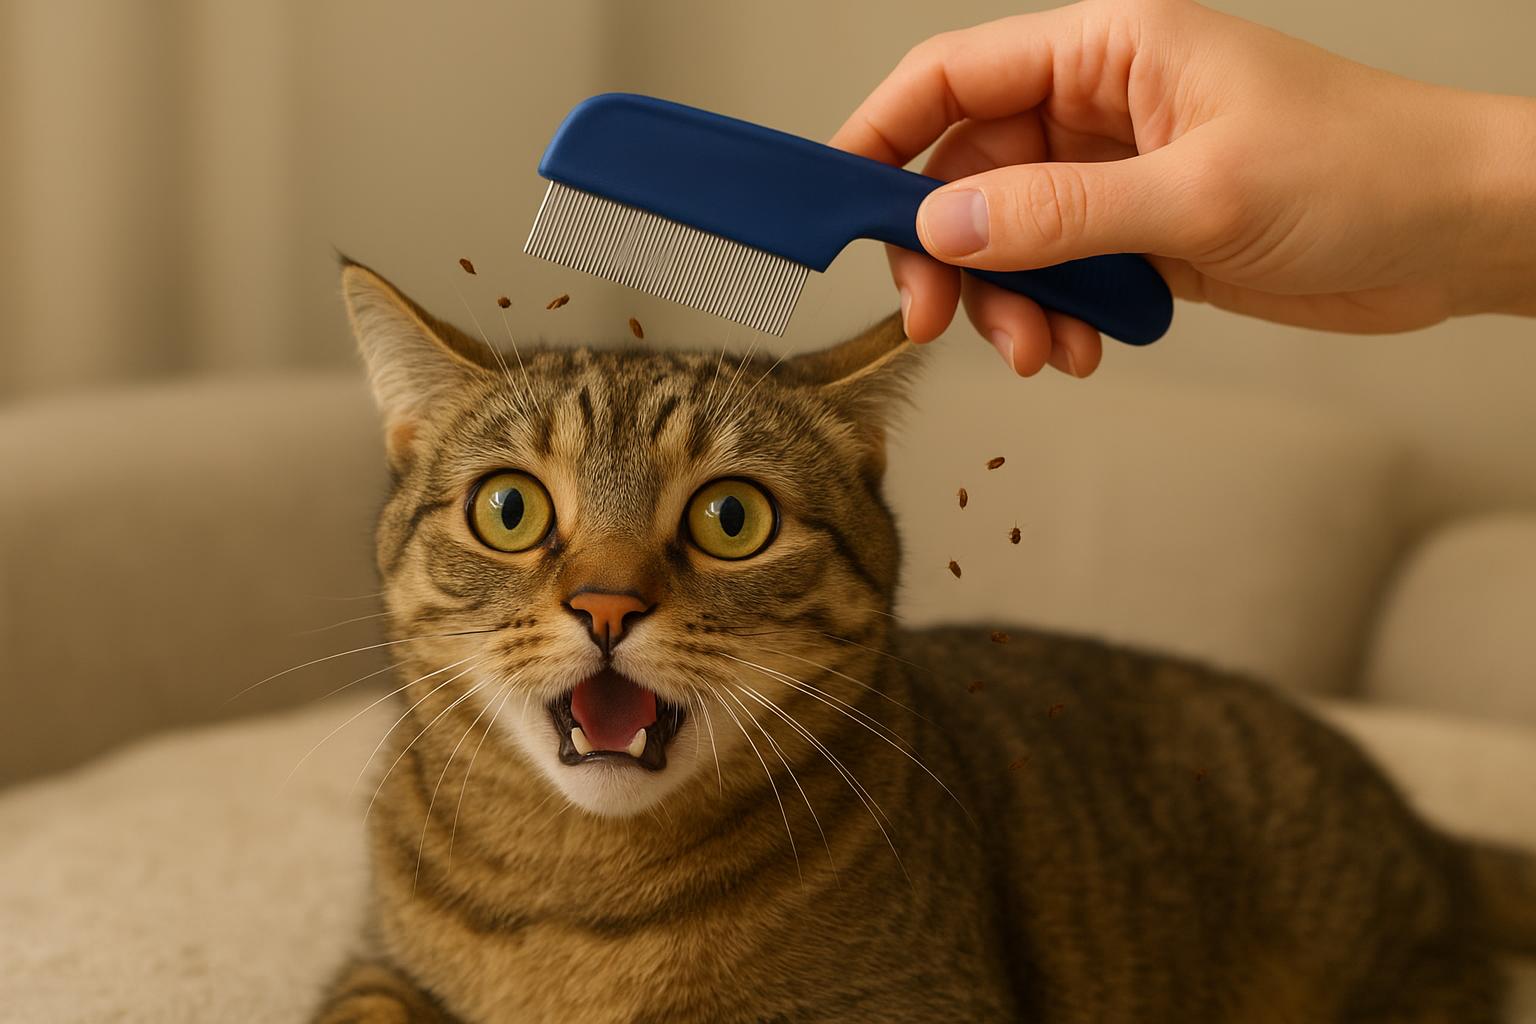
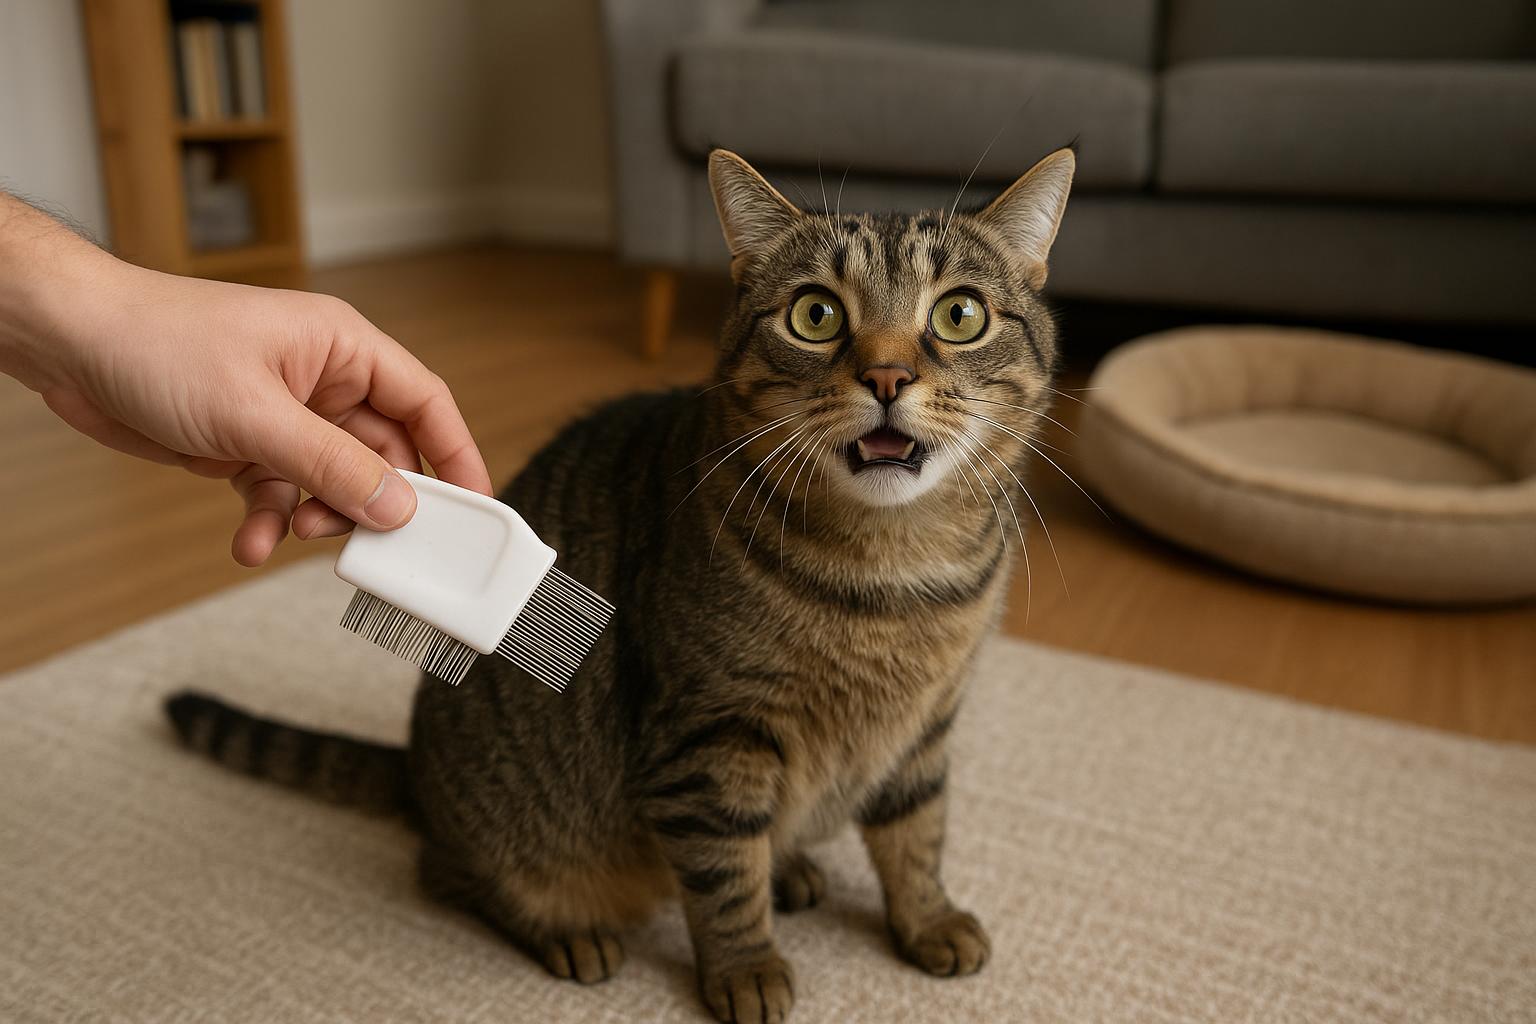
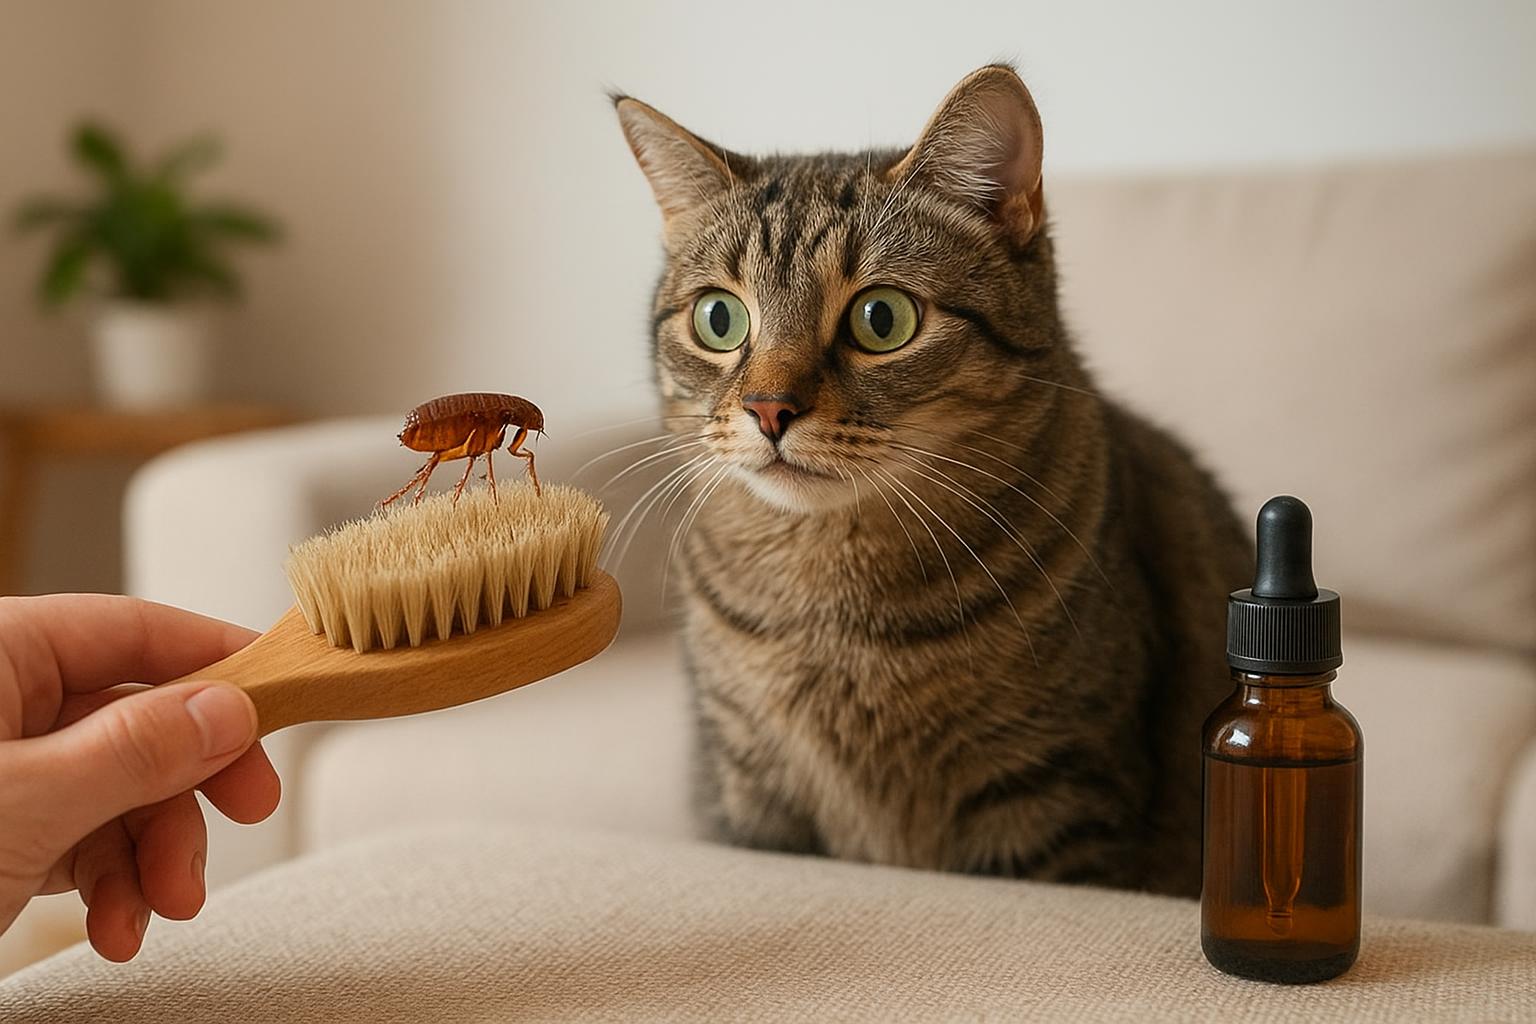
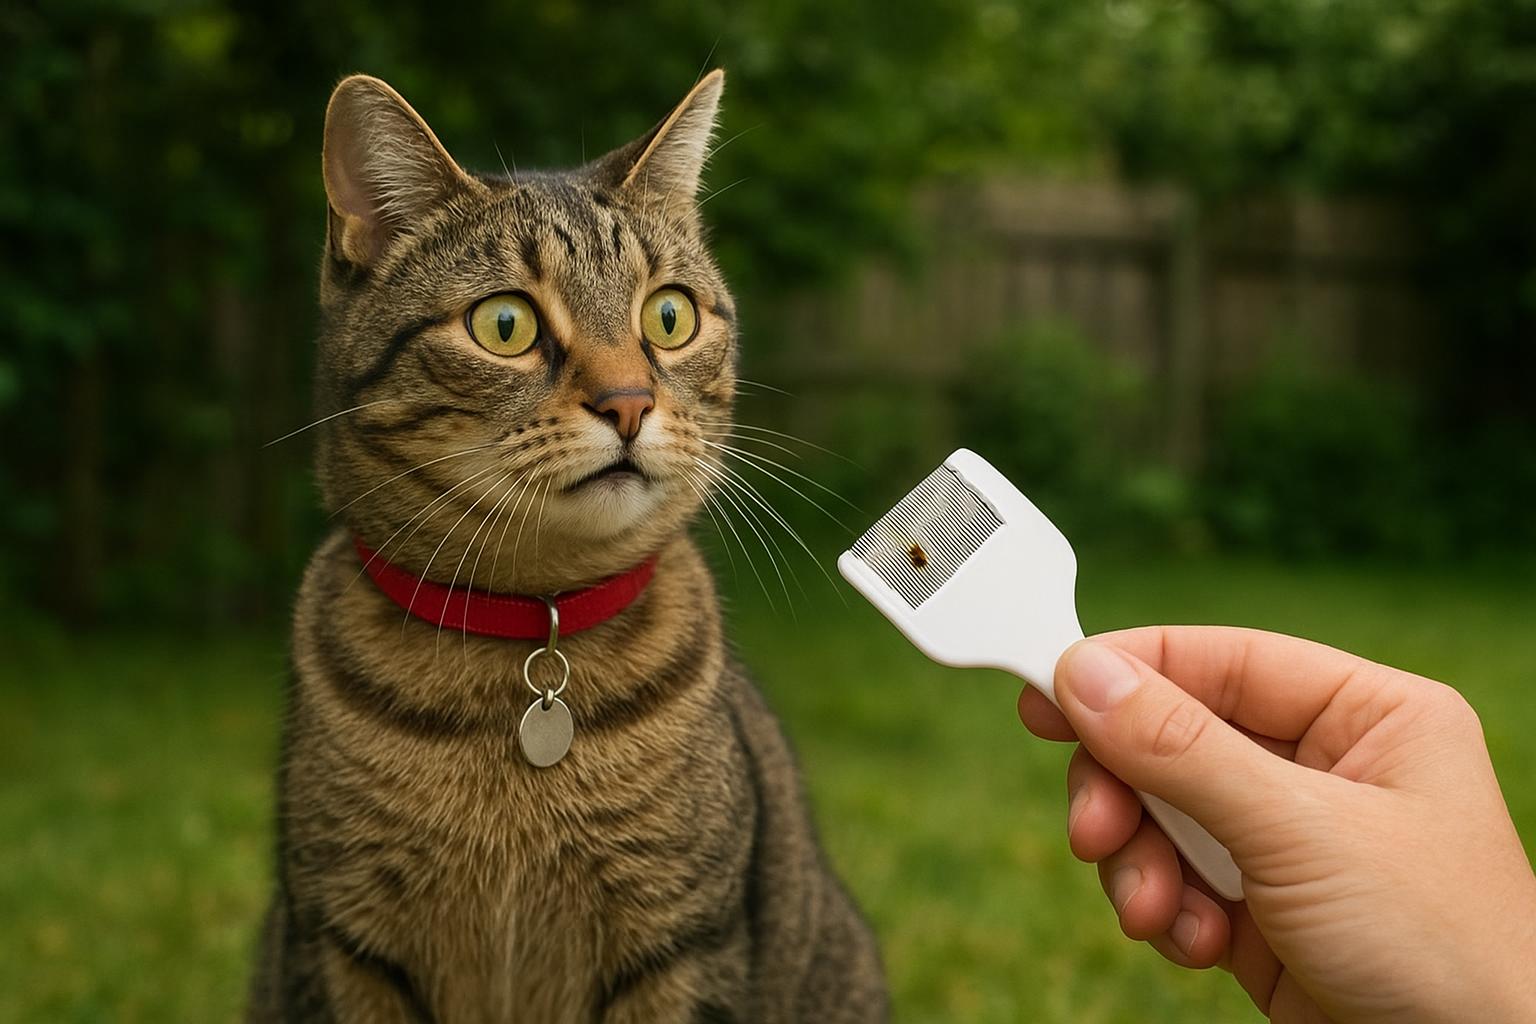
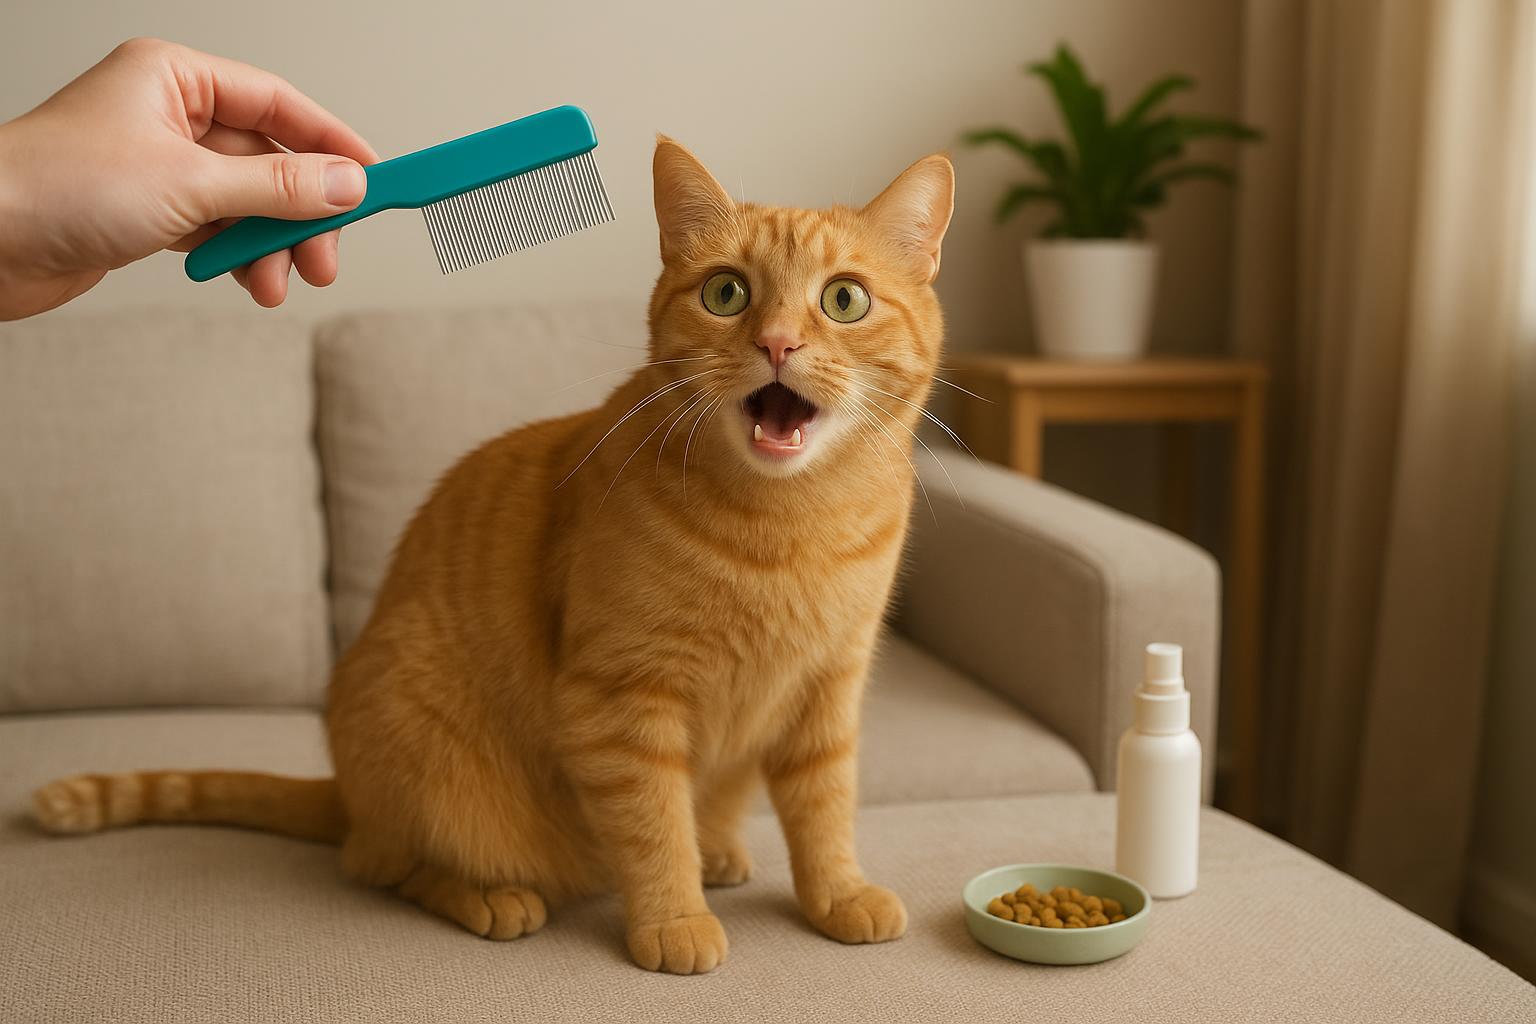
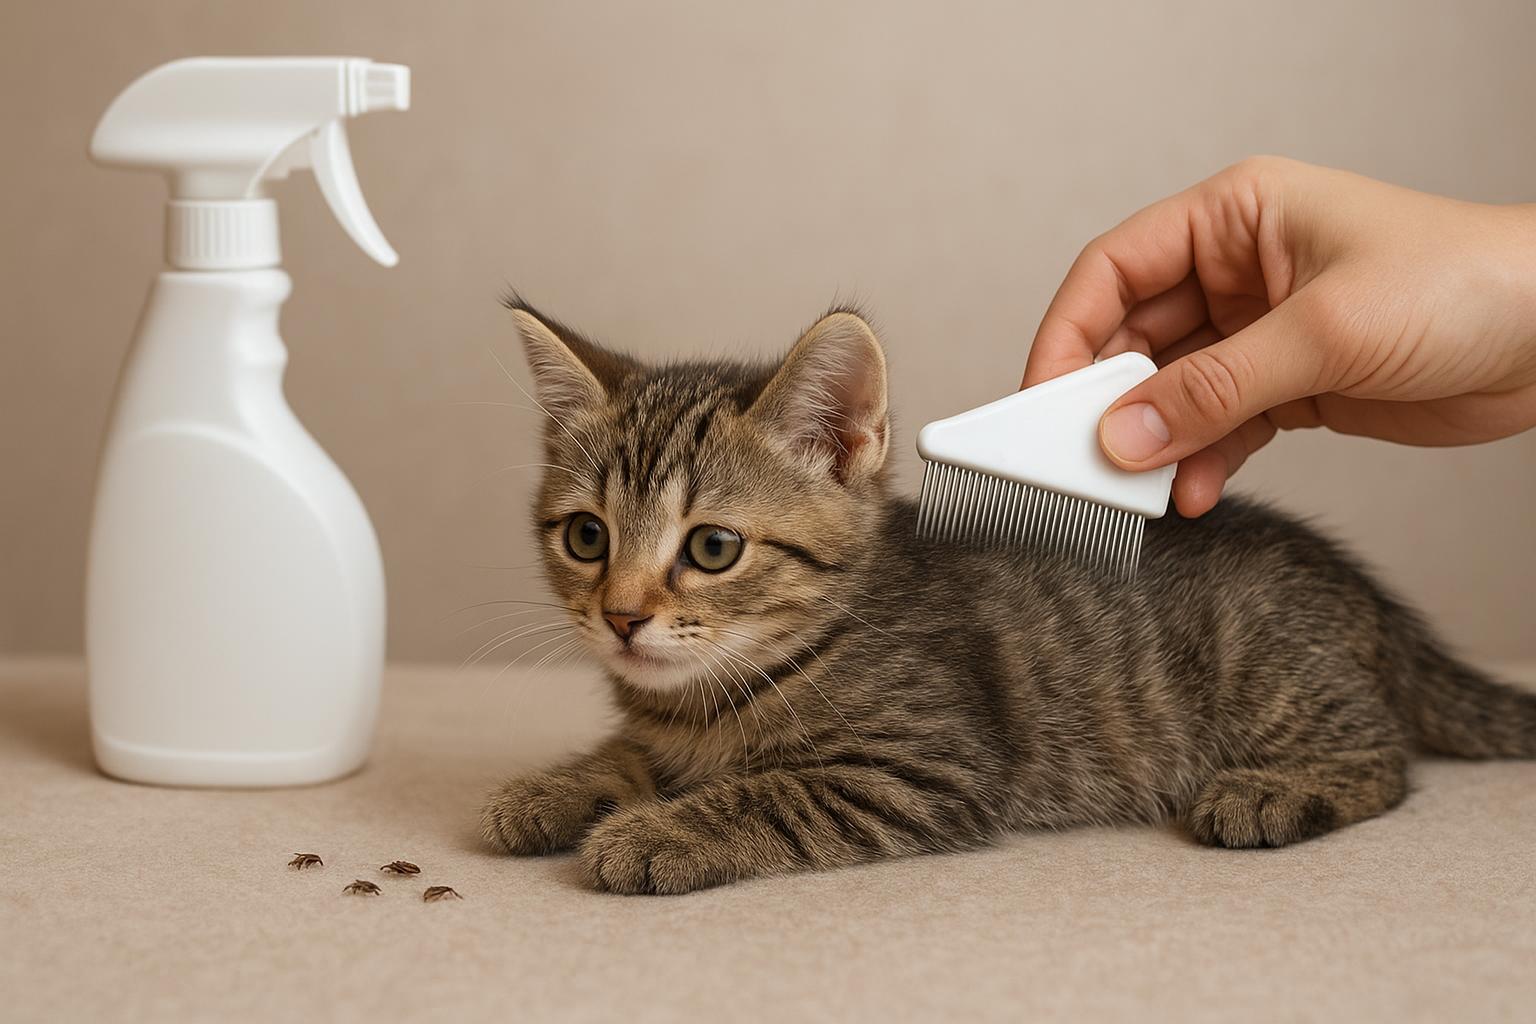
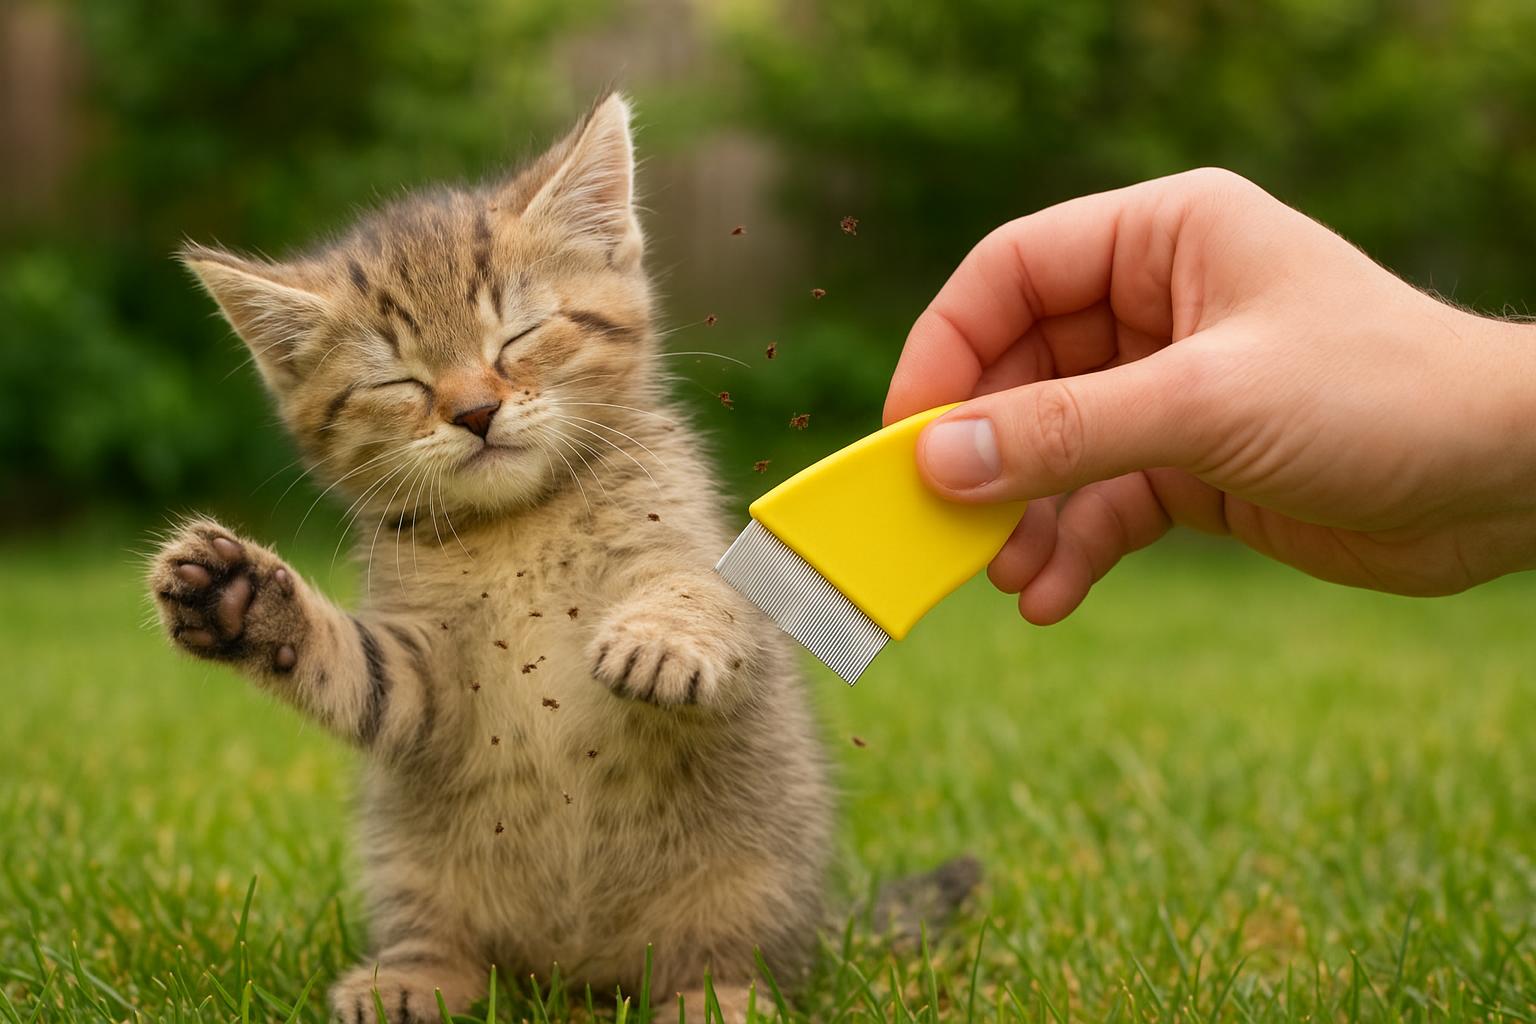
– Flea comb
– Mild pet-safe shampoo (with flea-eliminating properties, if advised)
– Two clean towels
– Disposable gloves
– Sealed trash bag for disposal
Step-By-Step Application:
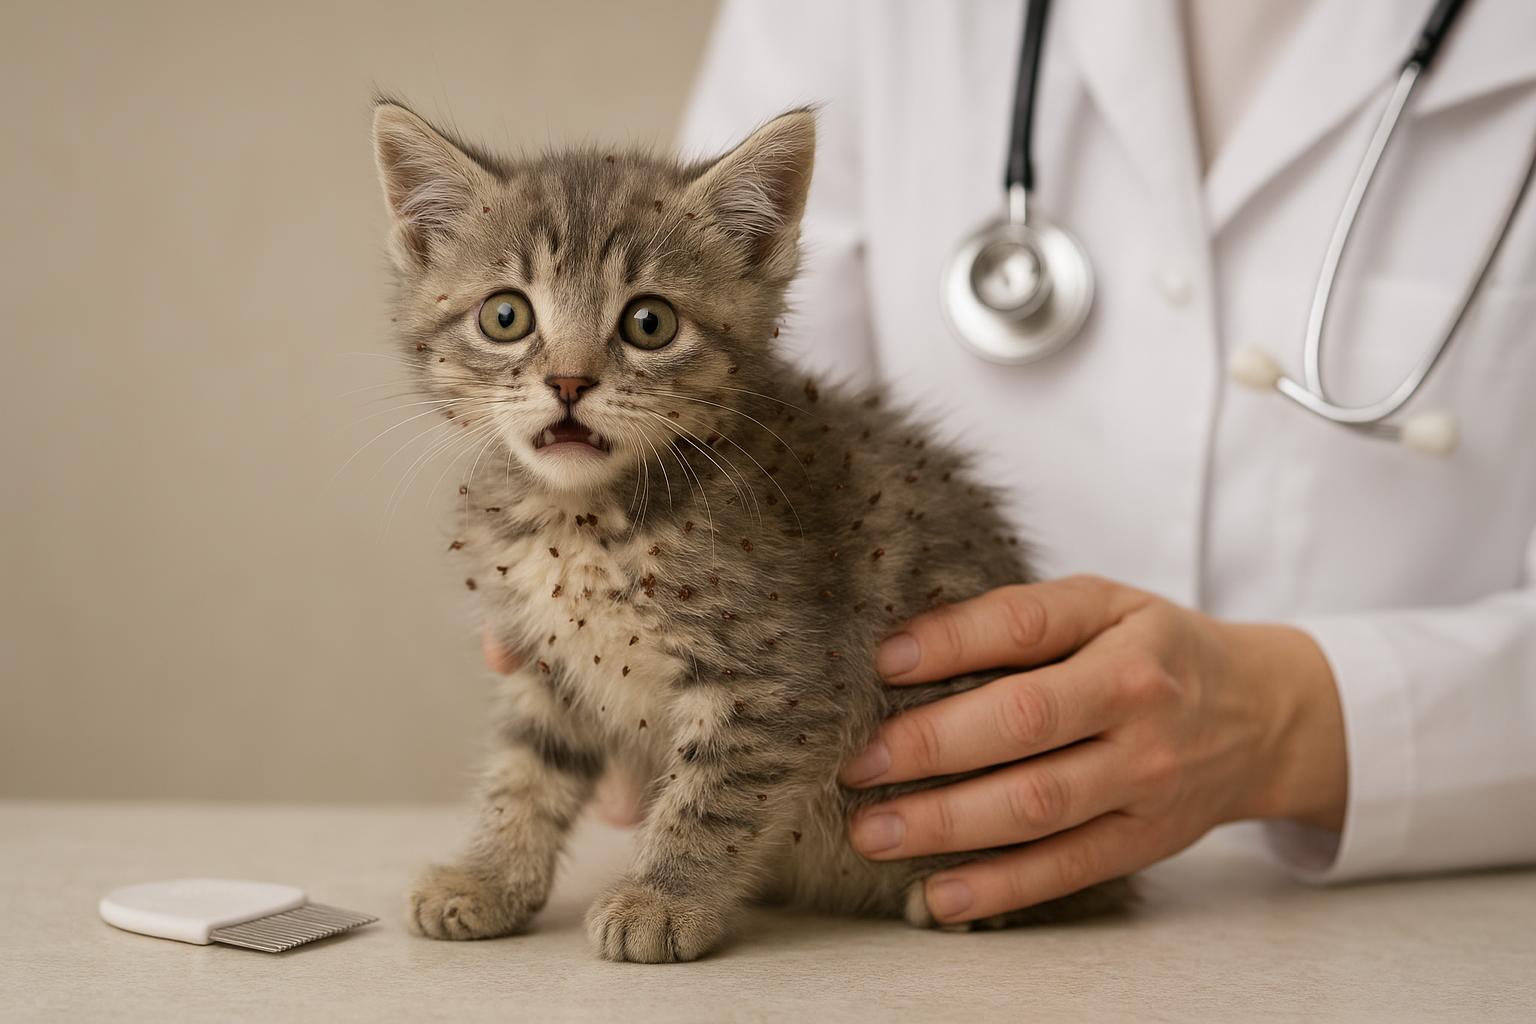
1. Consult a Veterinarian: Before applying any treatment, obtain veterinary advice particularly for kittens, elderly cats, pregnant or nursing animals, or animals with medical conditions.
2. Administer Veterinary Medication: Follow the veterinarian’s directions for topical or oral flea medication precisely. Dosage is weight-specific and timing is critical.
3. Use A Flea Comb: After treatment begins, comb the pet daily to remove adult fleas and flea dirt. Dip the comb in soapy water between passes.
4. Wash Bedding And Towels: Launder pet bedding, throw blankets, and any washable surfaces in hot water (at least 60°C if fabric permits) and dry on high heat. Seal non-washables in a bag and store in sunlight for 48 hours to kill fleas.
5. Clean Floors And Upholstery: Vacuum carpets, rugs, and upholstered furniture thoroughly, focusing on areas where the pet rests. Immediately empty vacuum contents into a sealed trash bag and remove from the home.
6. Follow-Up: Continue flea prevention per veterinary guidance—many treatments require monthly application for sustained control.
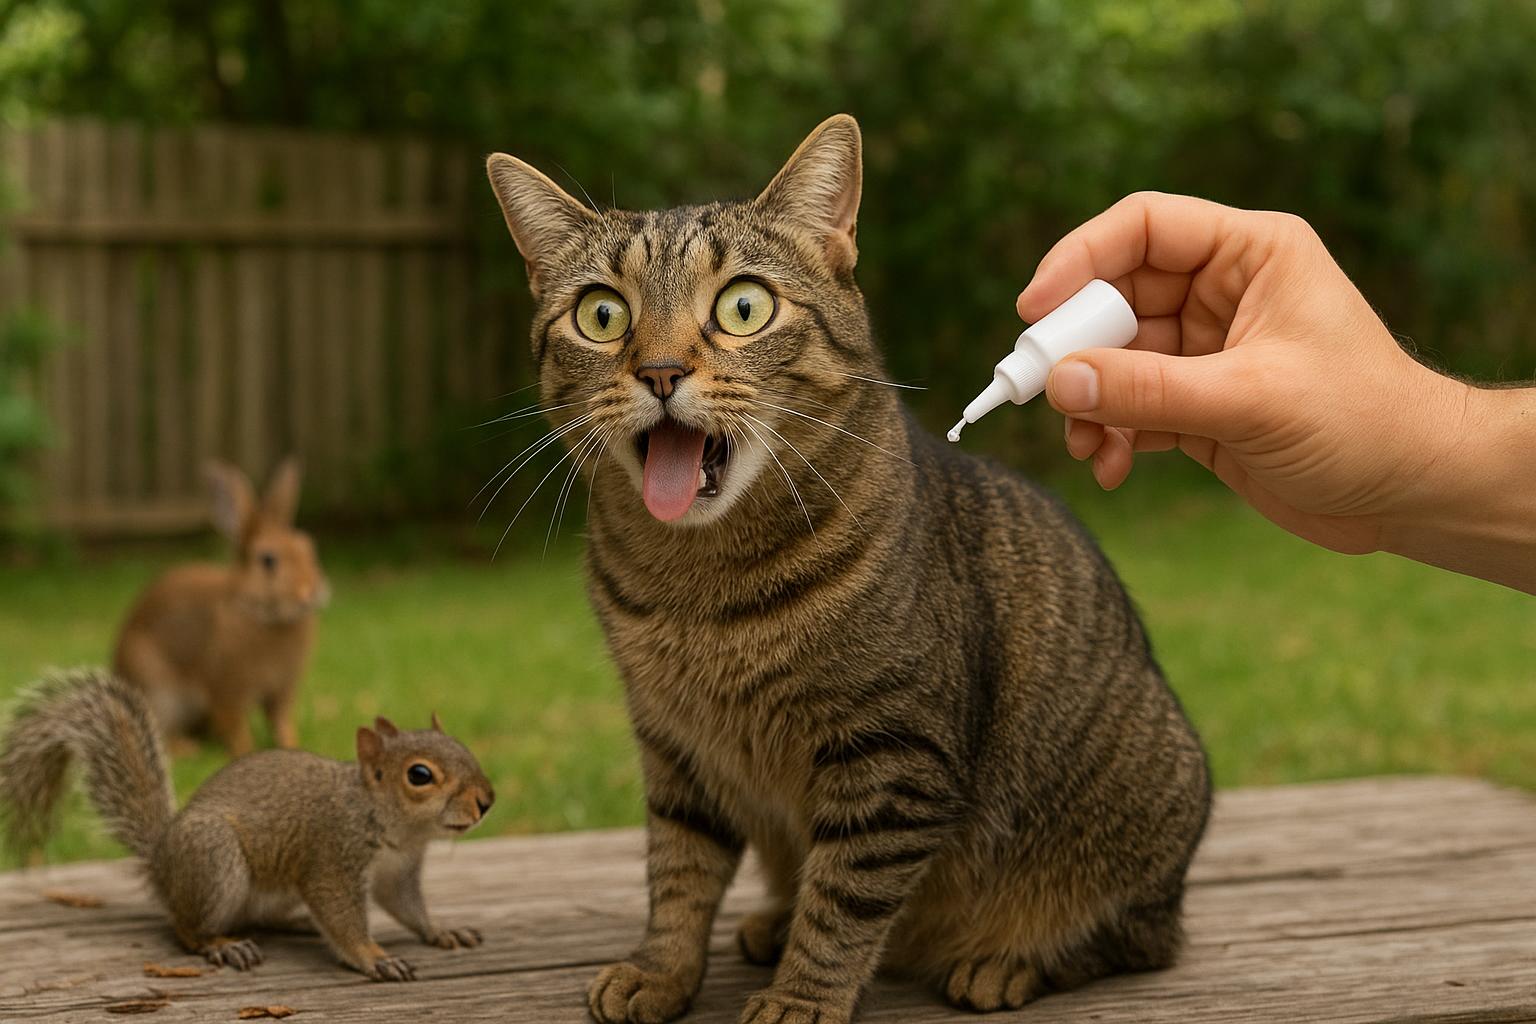
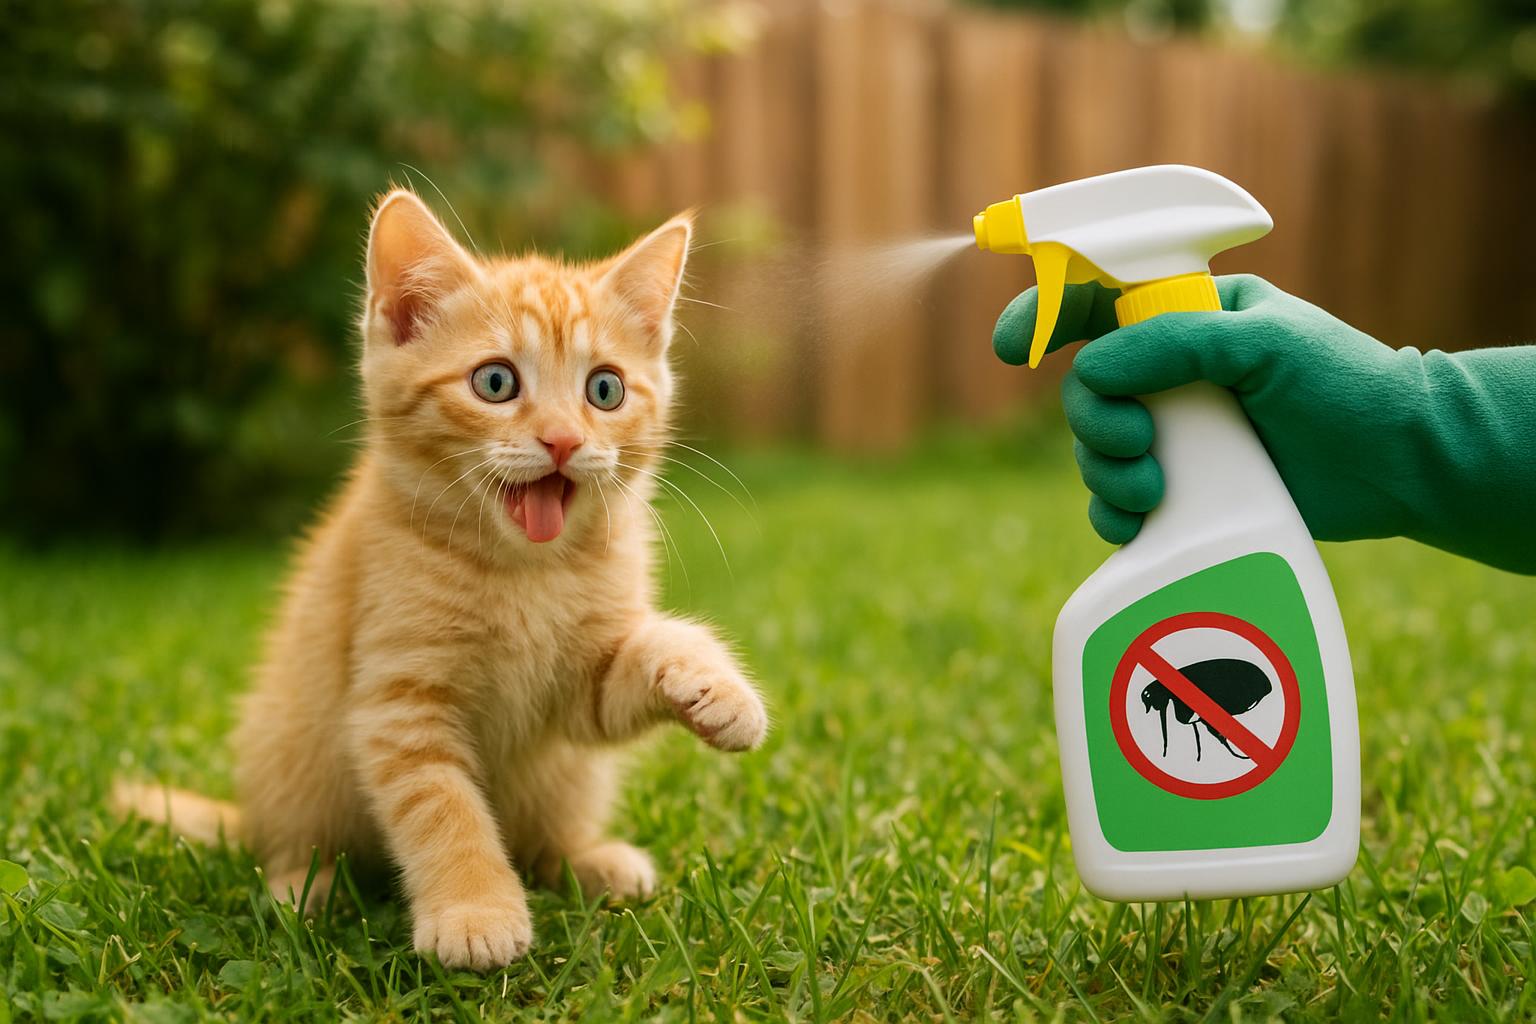
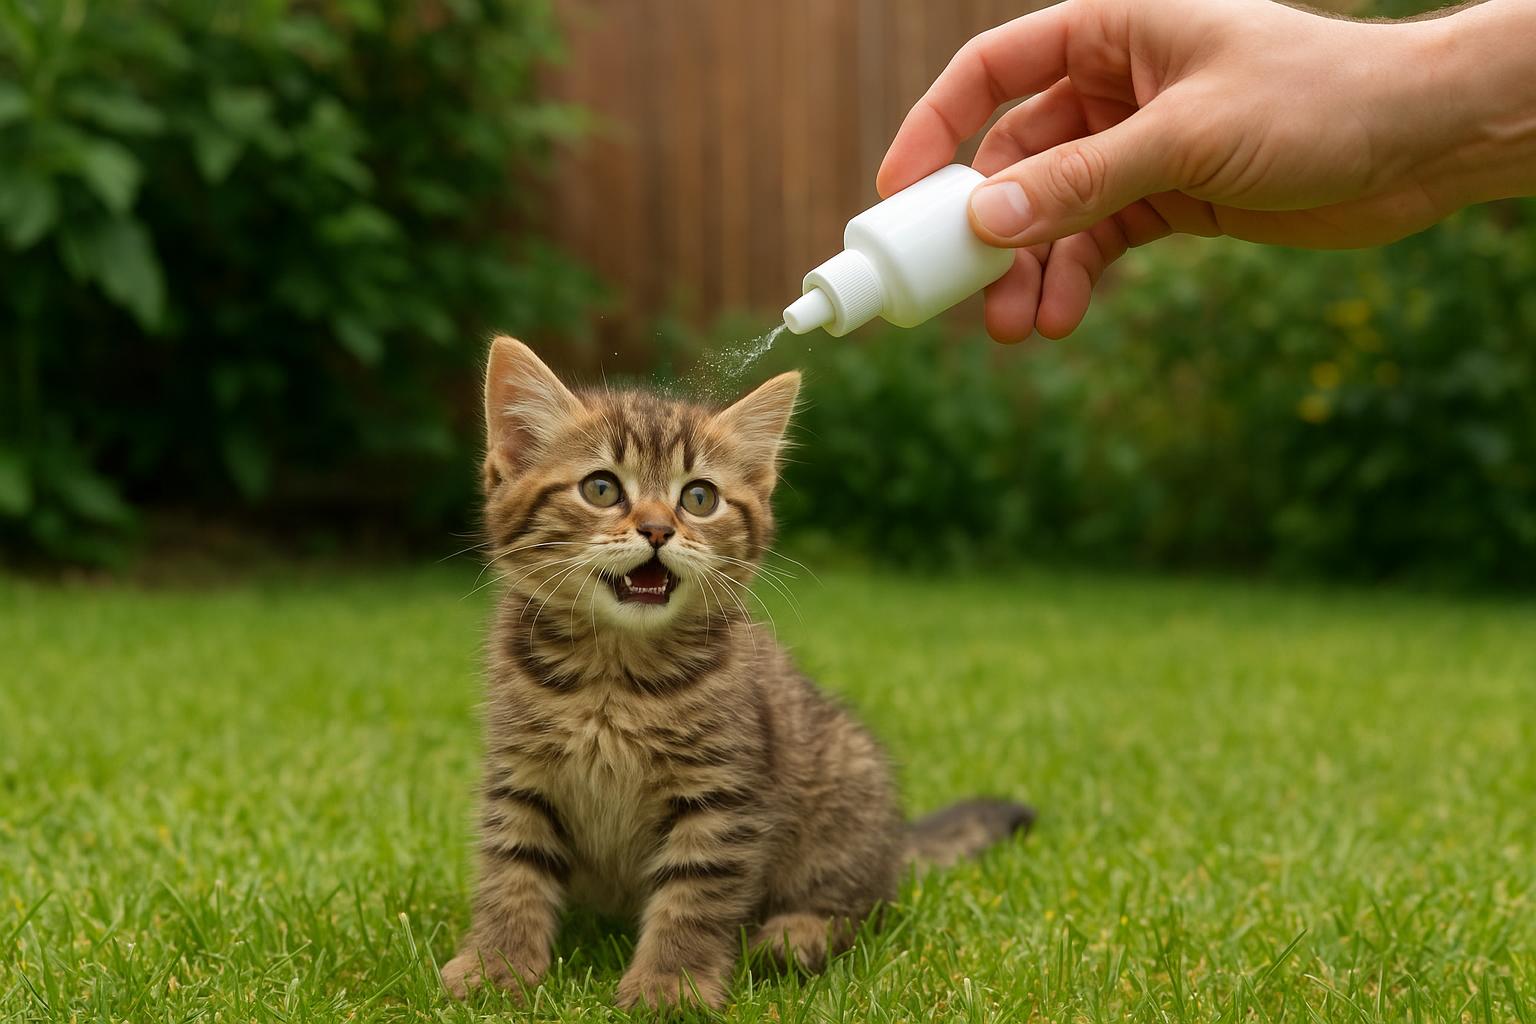
## Remedies: 2. Yard Treatment For Wildlife Areas
Outdoor remediation differs because you’re managing habitat shared with wildlife. This remedy is structured to minimize harm to non-target species while reducing flea pressure in your backyard.
Required Materials:
– Diatomaceous earth (food-grade) or nematode product (Steinernema carpocapsae) formulated for flea control
– Protective mask and gloves
– Garden sprayer (for nematodes) or duster (for diatomaceous earth)
– Rake or leaf blower (to clear debris)
– Thermometer (optional) to check soil temperature for nematode application
Step-By-Step Application:
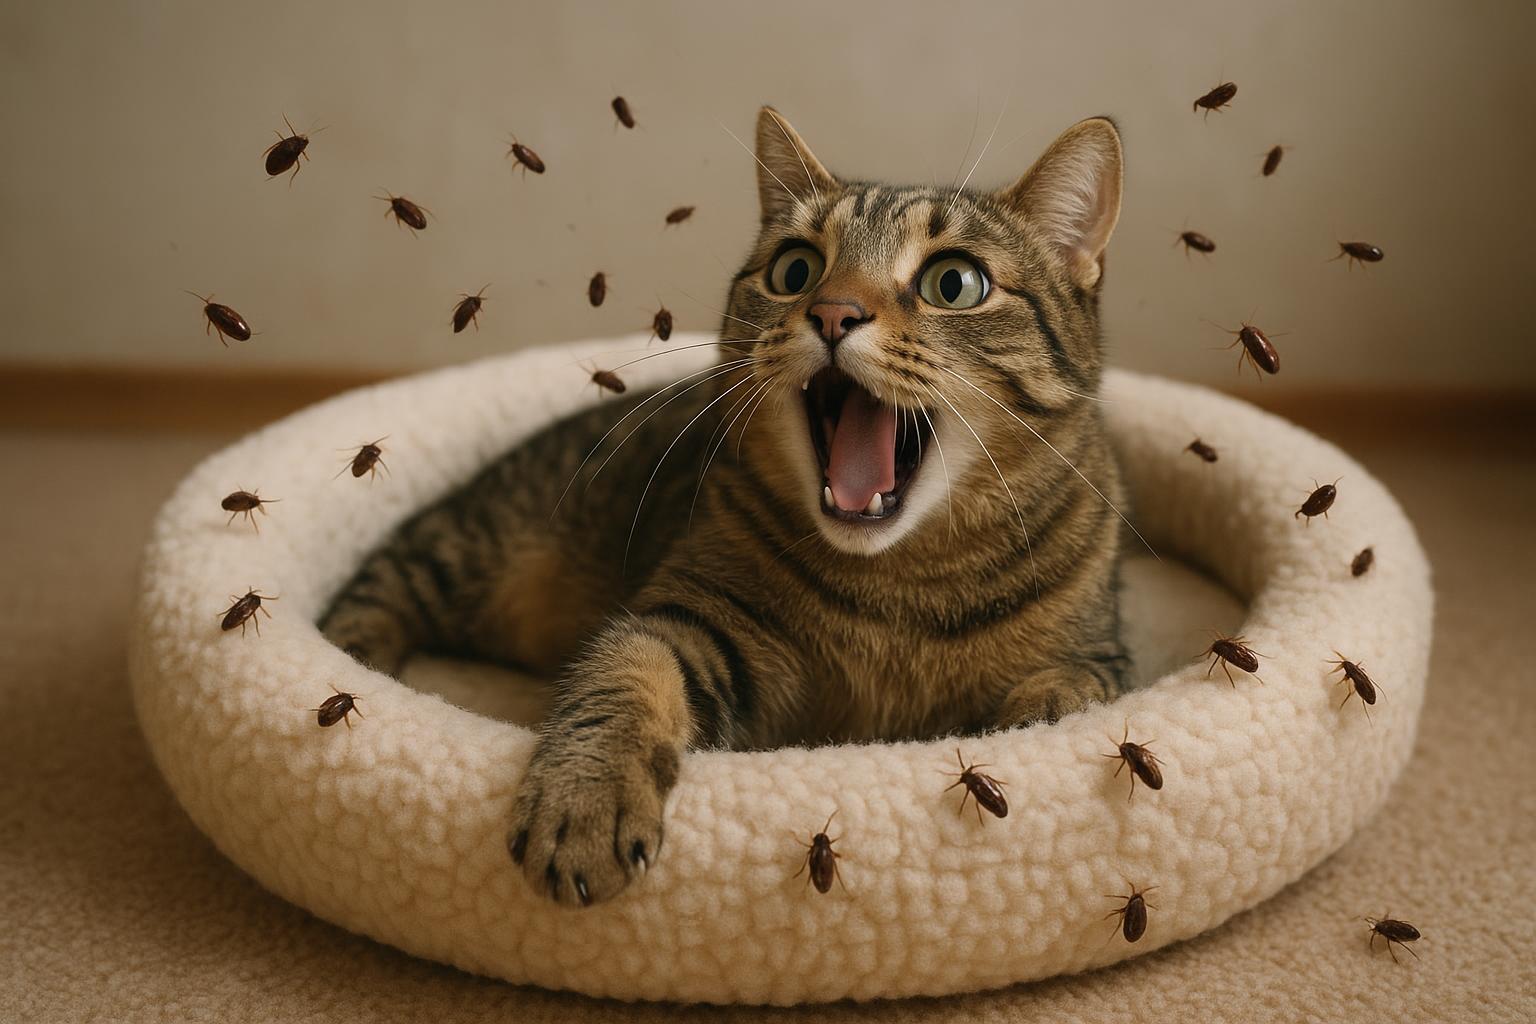
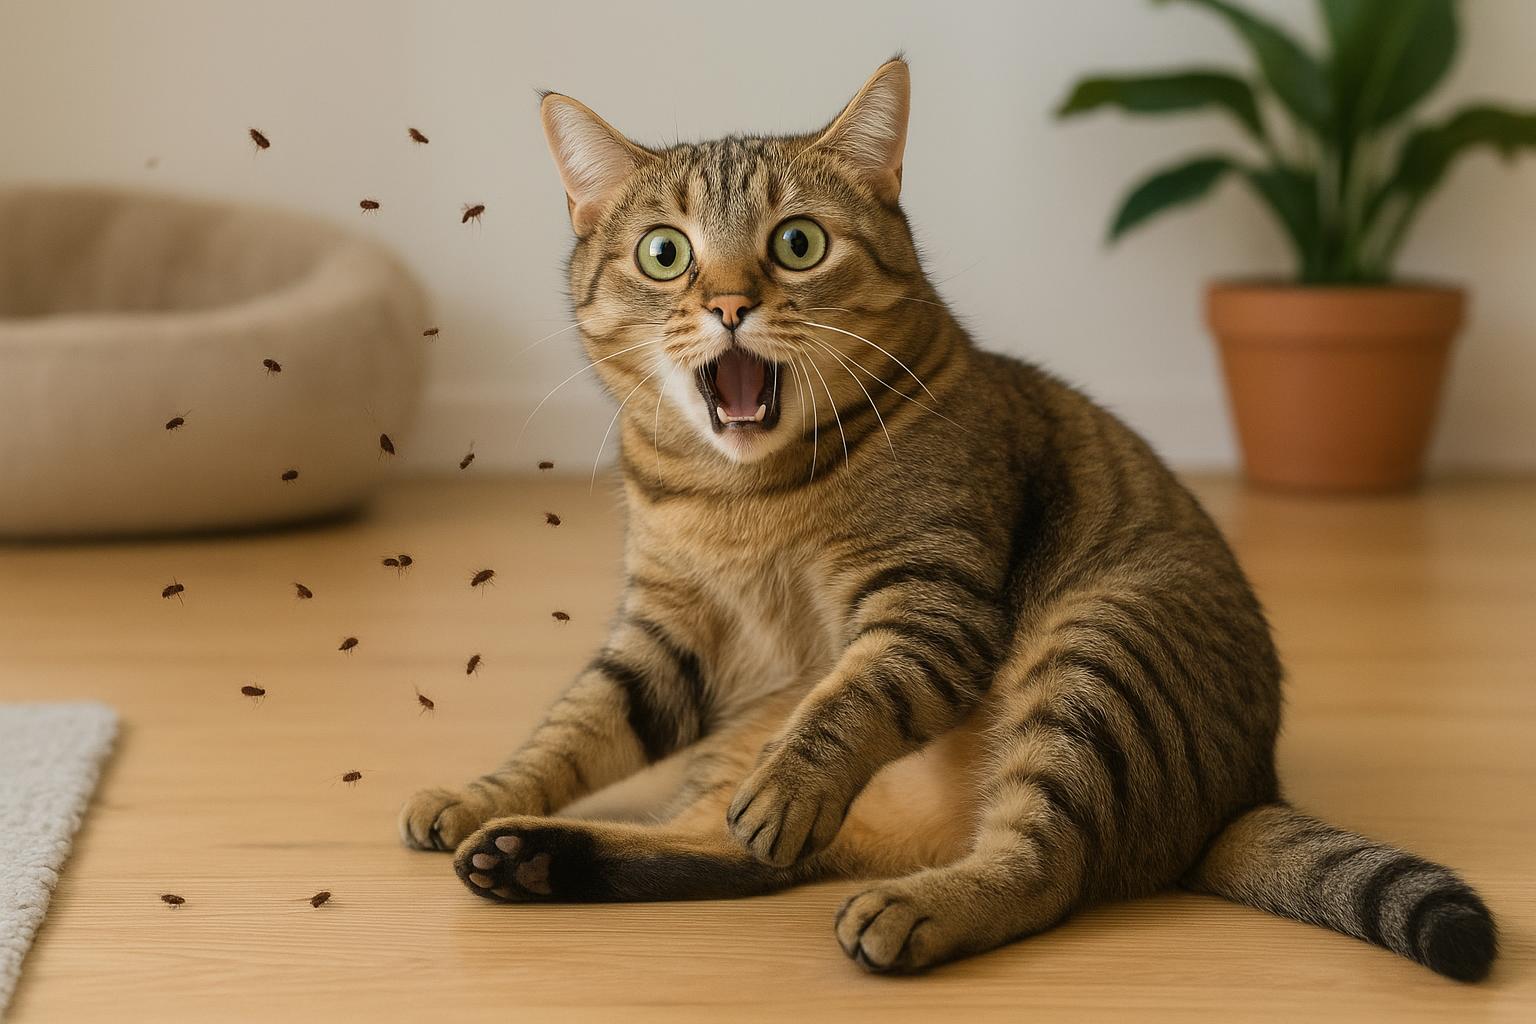
1. Assess The Area: Identify shaded, moist microhabitats where fleas and flea larvae thrive (under shrubs, leaf piles, and animal bedding spots).
2. Clear Debris: Rake and remove leaf litter and excessive grass clippings to reduce flea harborage. Dispose of debris away from wildlife resting areas.
3. Choose Treatment: For a non-chemical approach, use food-grade diatomaceous earth applied sparingly to dry, shaded zones. For biological control, apply beneficial nematodes via garden sprayer according to label instructions—nematodes require moist soil and moderate temperatures (roughly 10–30°C) for effectiveness.
4. Apply Product: Wear gloves and a mask. Lightly dust diatomaceous earth in targeted areas and reapply after rain. For nematodes, spray during cooler parts of the day and keep soil moist for 48 hours post-application.
5. Monitor And Repeat: Check the treated zones and inspect wildlife resting spots. Repeat applications every 2–4 weeks during peak flea season or as product directions suggest.
6. Protect Wildlife: Avoid broad-spectrum insecticides that may harm beneficial insects, birds, reptiles, and mammals. If chemical controls are necessary, consult a licensed pest professional and use targeted baits/traps away from wildlife corridors.
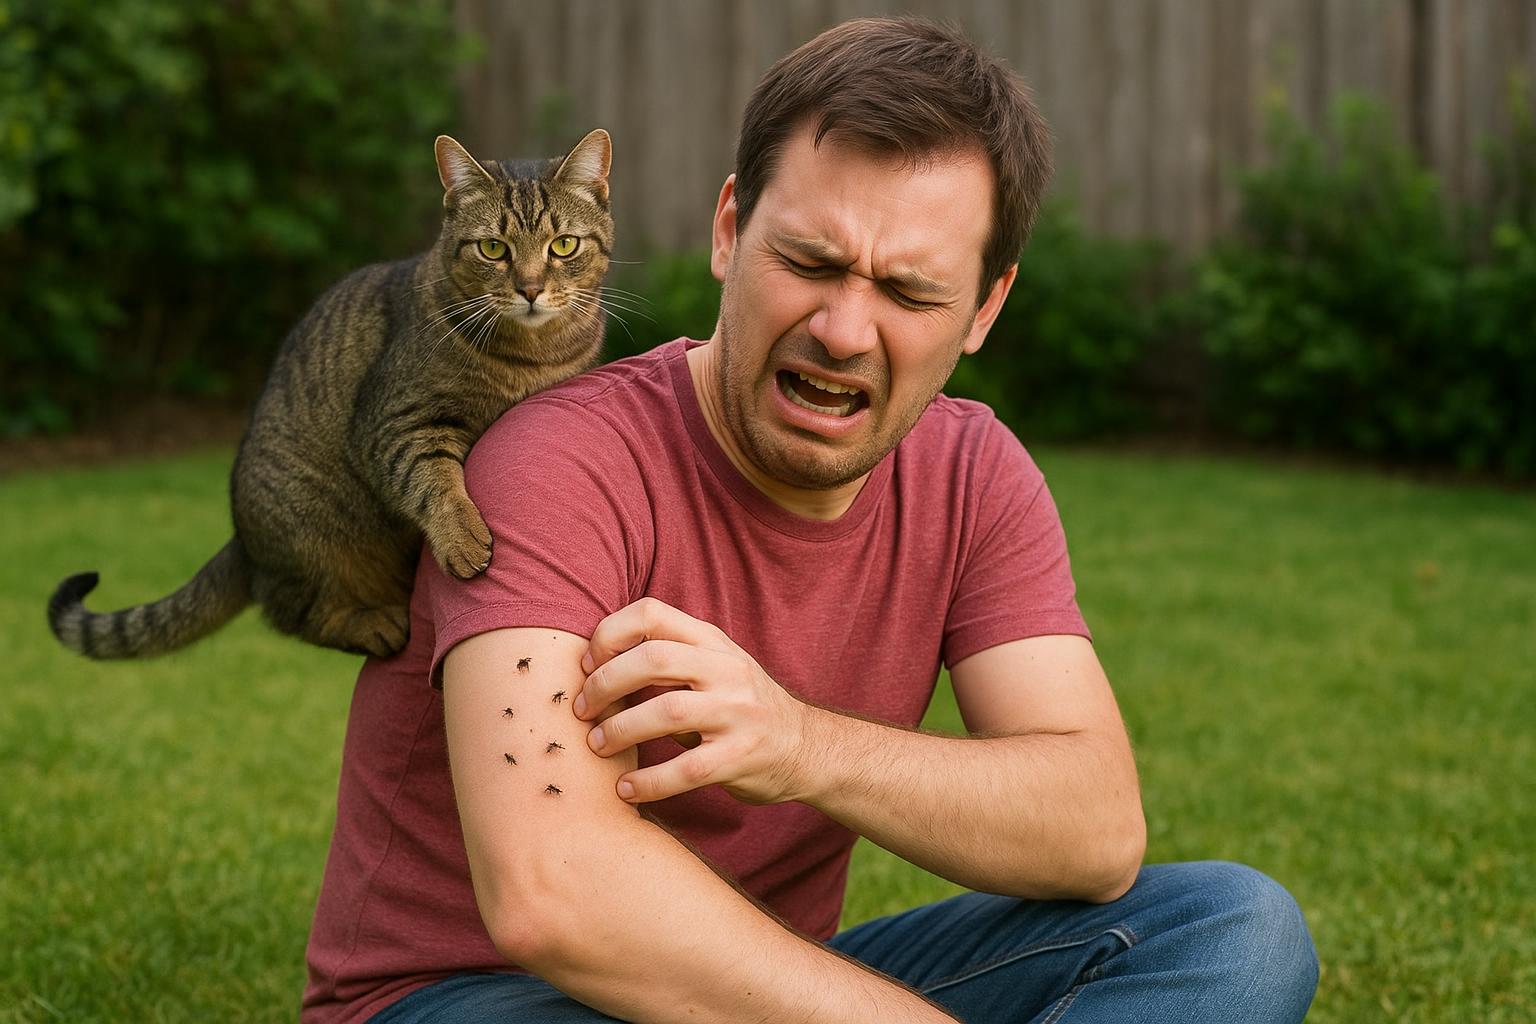
### When To Call A Professional
If a cat flea photo shows heavy infestation across multiple animals or property areas, or if household members experience bites and allergic reactions, contact a licensed pest control service and your veterinarian. Professionals can coordinate integrated pest management strategies that reduce risks to pets and wildlife.
## Using A Cat Flea Photo As A Teaching Tool In Backyard Wildlife Guides
A well-captioned cat flea photo can be immensely helpful in community science and backyard wildlife education. Use it to illustrate life stages (egg, larvae, pupa, adult), demonstrate habitat links (where fleas hide), and explain why prevention matters for both pets and local wildlife. Humor can lighten the mood—“Fleas: tiny gymnasts with surprisingly impressive jumping skills”—but keep facts clear and actionable.
### Documentation Tips For Guides
– Label each image with date, location, and environmental context (e.g., “under deck, shaded, leaf litter present”).
– Pair photos with a brief note about the subject animal’s condition and any remedial steps taken.
– Maintain a small catalogue of clear cat flea photo examples that show common variations for identification reference.
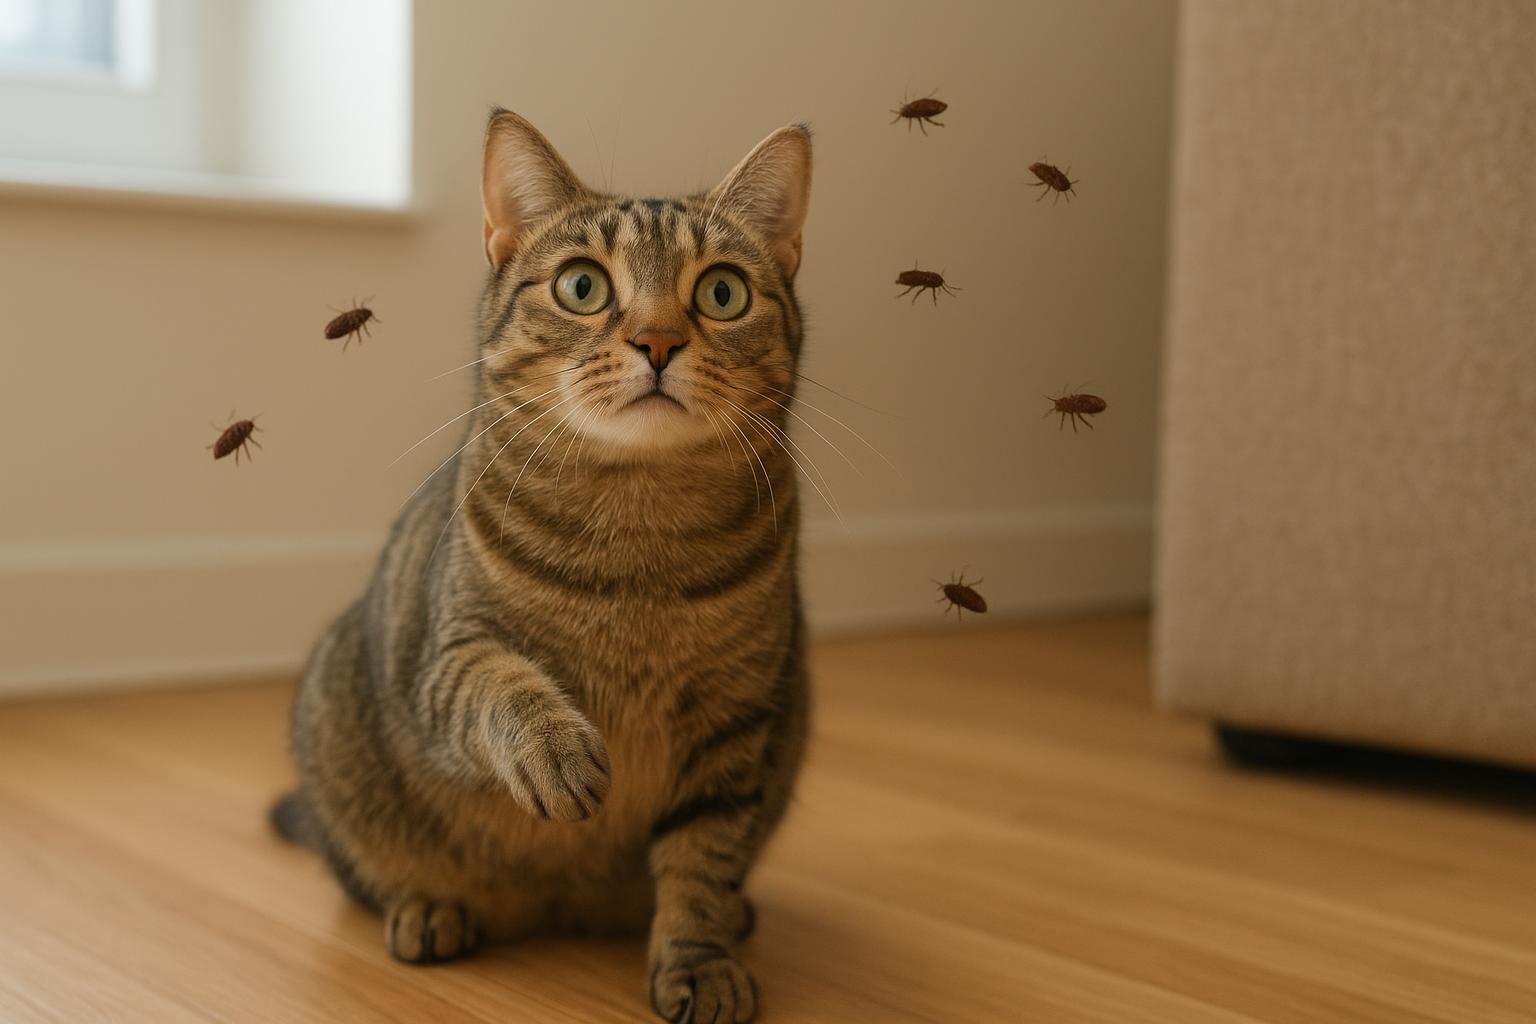
## Detection And Prevention Practices For Backyard Wildlife Enthusiasts
Prevention is part habitat management and part routine pet care. Maintain trimmed grass, remove dense leaf litter, and discourage rodent or feral animal bedding near human habitation. Regularly photograph and document sightings—your next cat flea photo might be the wake-up call that prevents a bigger problem.
Stay patient when photographing pests; it’s a niche hobby that rewards persistence. And remember: if a cat flea photo confirms a problem, act promptly and sensibly—your neighbors, pets, and the local wildlife community will thank you (silently, in their own crittery way).


Leave a Reply